Subaru Impreza 3 / Impreza WRX / Impreza WRX STI. Service manual — part 745
EI-67
Roof Trim
EXTERIOR/INTERIOR TRIM
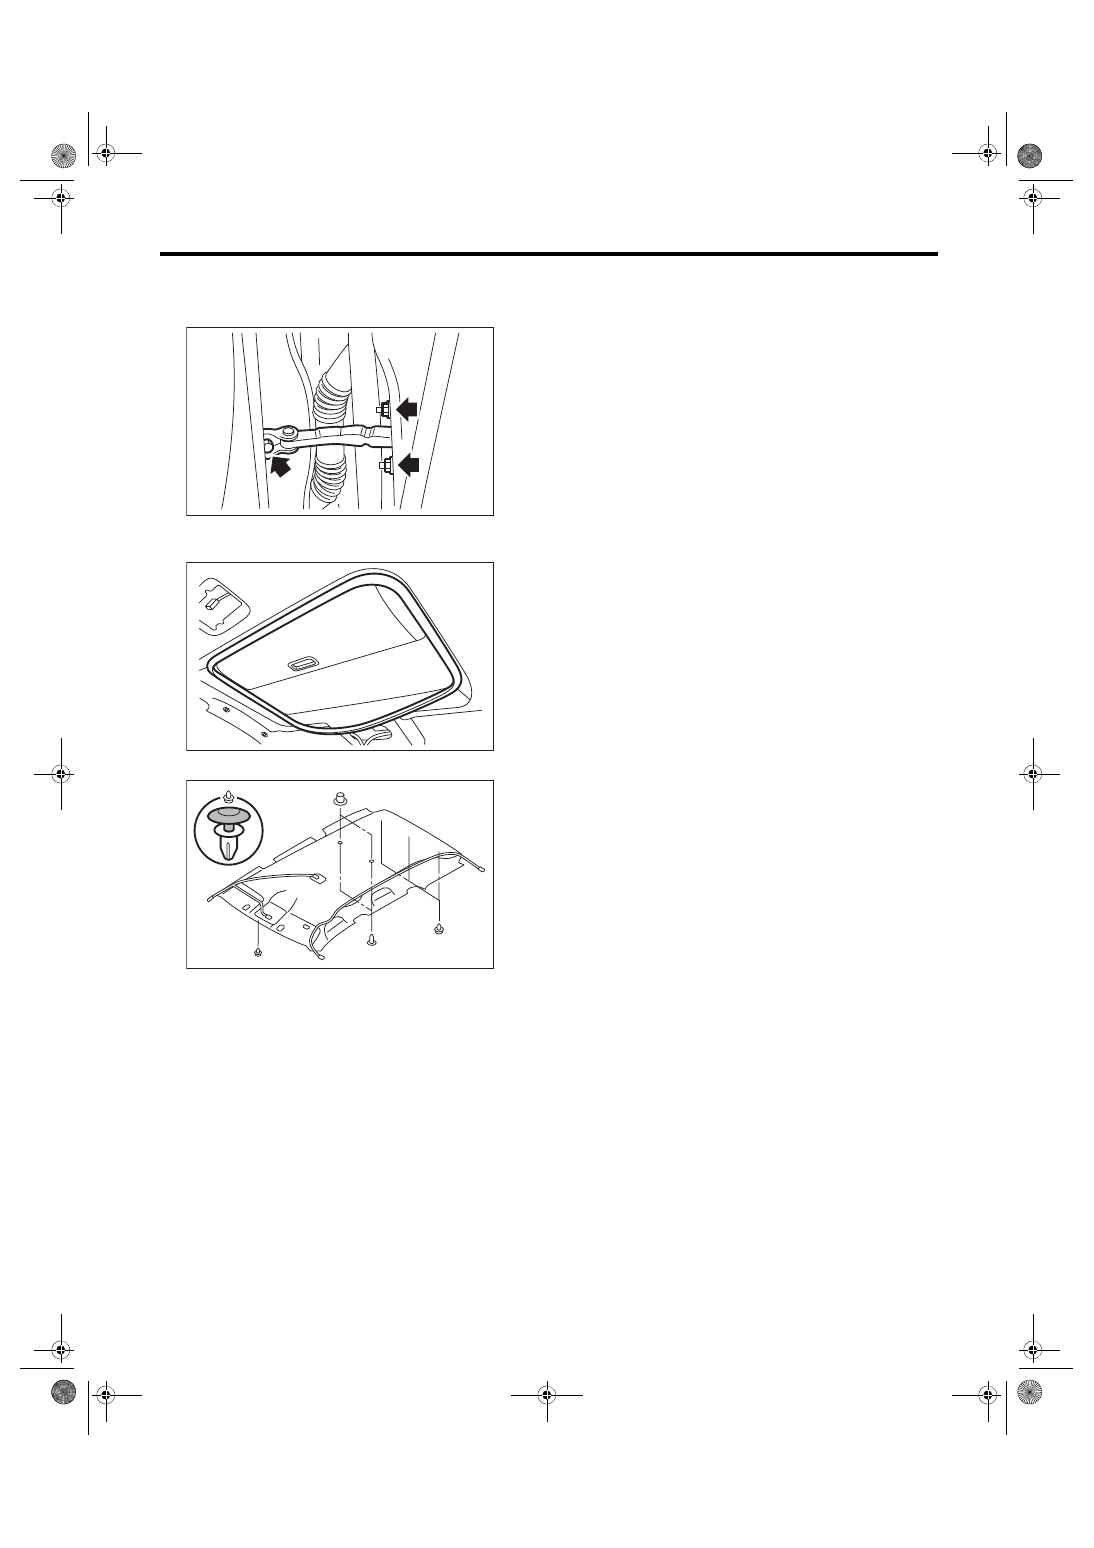
11) Remove the steering wheel. <Ref. to PS-13, REMOVAL, Steering Wheel.>
12) Remove the passenger’s side door trim. <Ref. to EI-45, REMOVAL, Door Trim.>
13) Remove the passenger’s side door checker.
14) Fully recline the front seat.
15) Remove the sunroof opening trim. (model with sunroof)
16) Remove the clips, and then remove the roof trim.
17) Open the passenger’s side door all the way, and maintain at that position.
18) Take out the roof trim from the passenger’s side opening.
NOTE:
Rotate the roof trim to go through the gap between the front accessory socket and airbag control unit.
EB-00388
EI-00501
EI-02414
EI-68
Roof Trim
EXTERIOR/INTERIOR TRIM
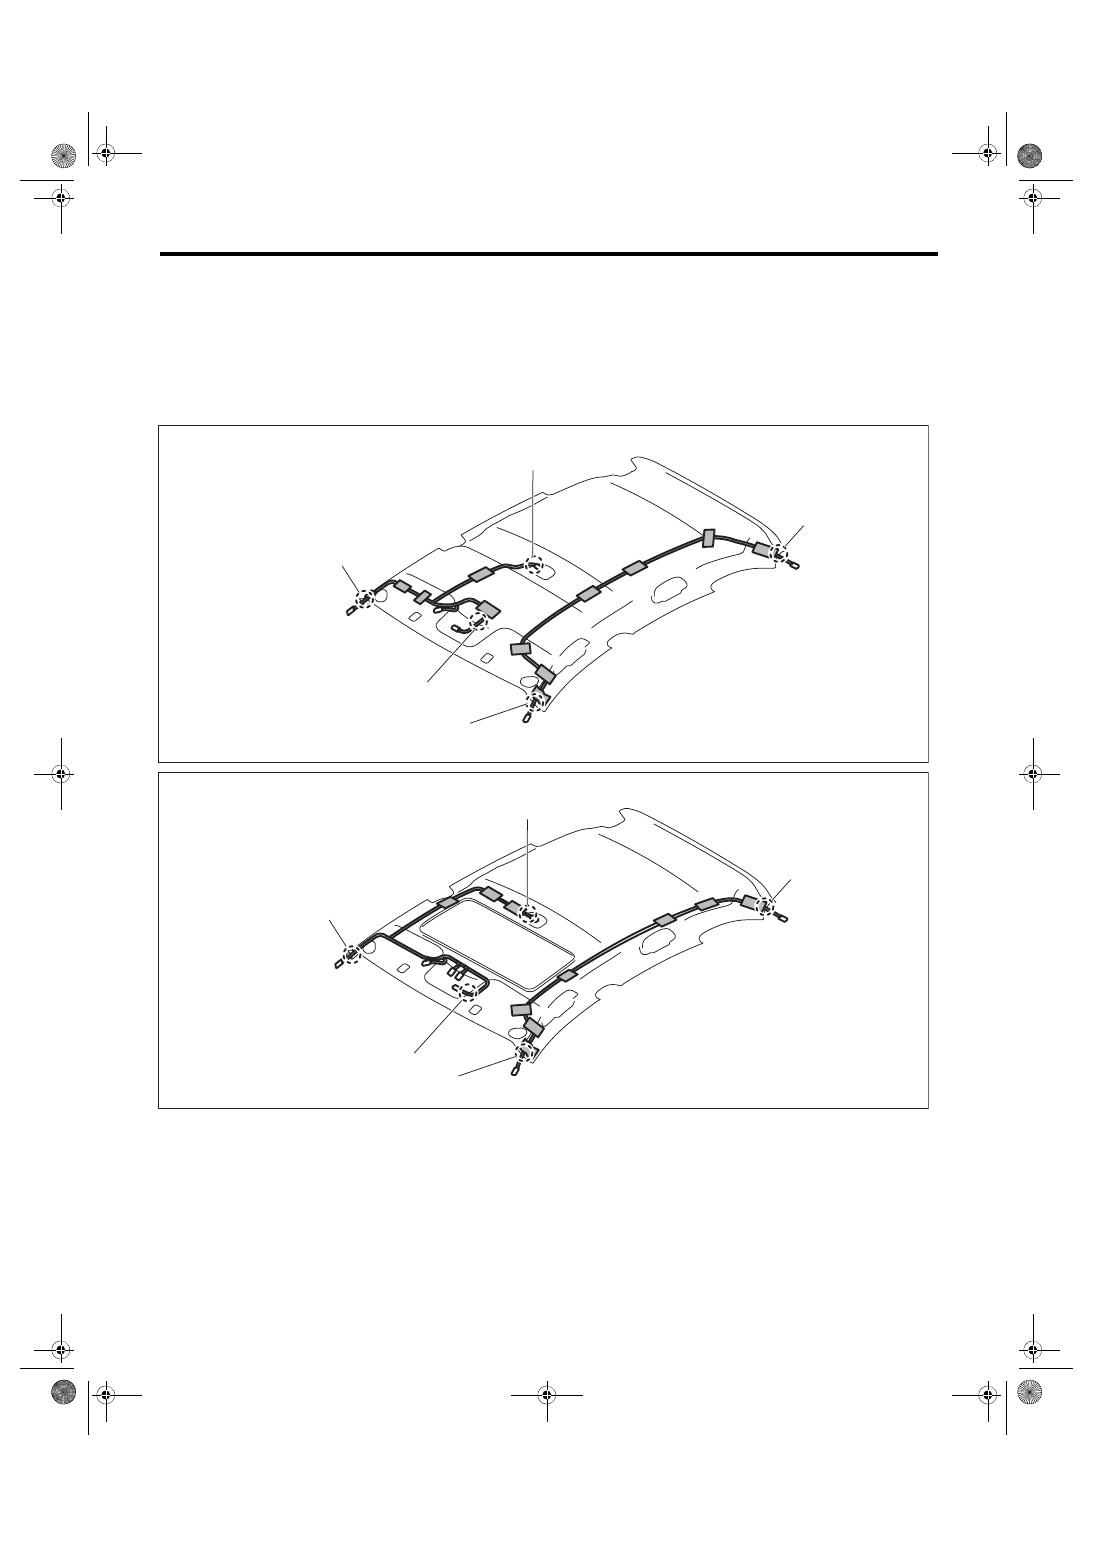
B: INSTALLATION
1) Apply the roof cord and feeder cord along the mark-off line of the roof trim.
CAUTION:
Route and apply each cord so that they pass over the mark-off line. If not doing so, the cord may in-
terfere, thus preventing normal deployment of the curtain airbag when necessary.
Tape:
Use the tape contained in the roof trim replacement parts.
2) Install each part in the reverse order of removal.
(A)
Align the end of roof cord white tape
and the end of roof trim, and route
the cord along the mark-off line of
roof trim, and then affix with tape.
(C)
Align the marking to the roof trim
terminal end, and affix with tape.
(D)
Affix the roof cord end to the patch
area of room light.
(B)
Align the end of feeder cord white
tape and the end of roof trim, and
route the cord along the mark-off line
of roof trim, and then affix with tape.
ET-00450
(A)
(B)
(C)
(C)
(C) (D)
ET-00451
(A)
(B)
(C)
(C)
(C) (D)
EI-69
Rear Gate Trim
EXTERIOR/INTERIOR TRIM
28.Rear Gate Trim
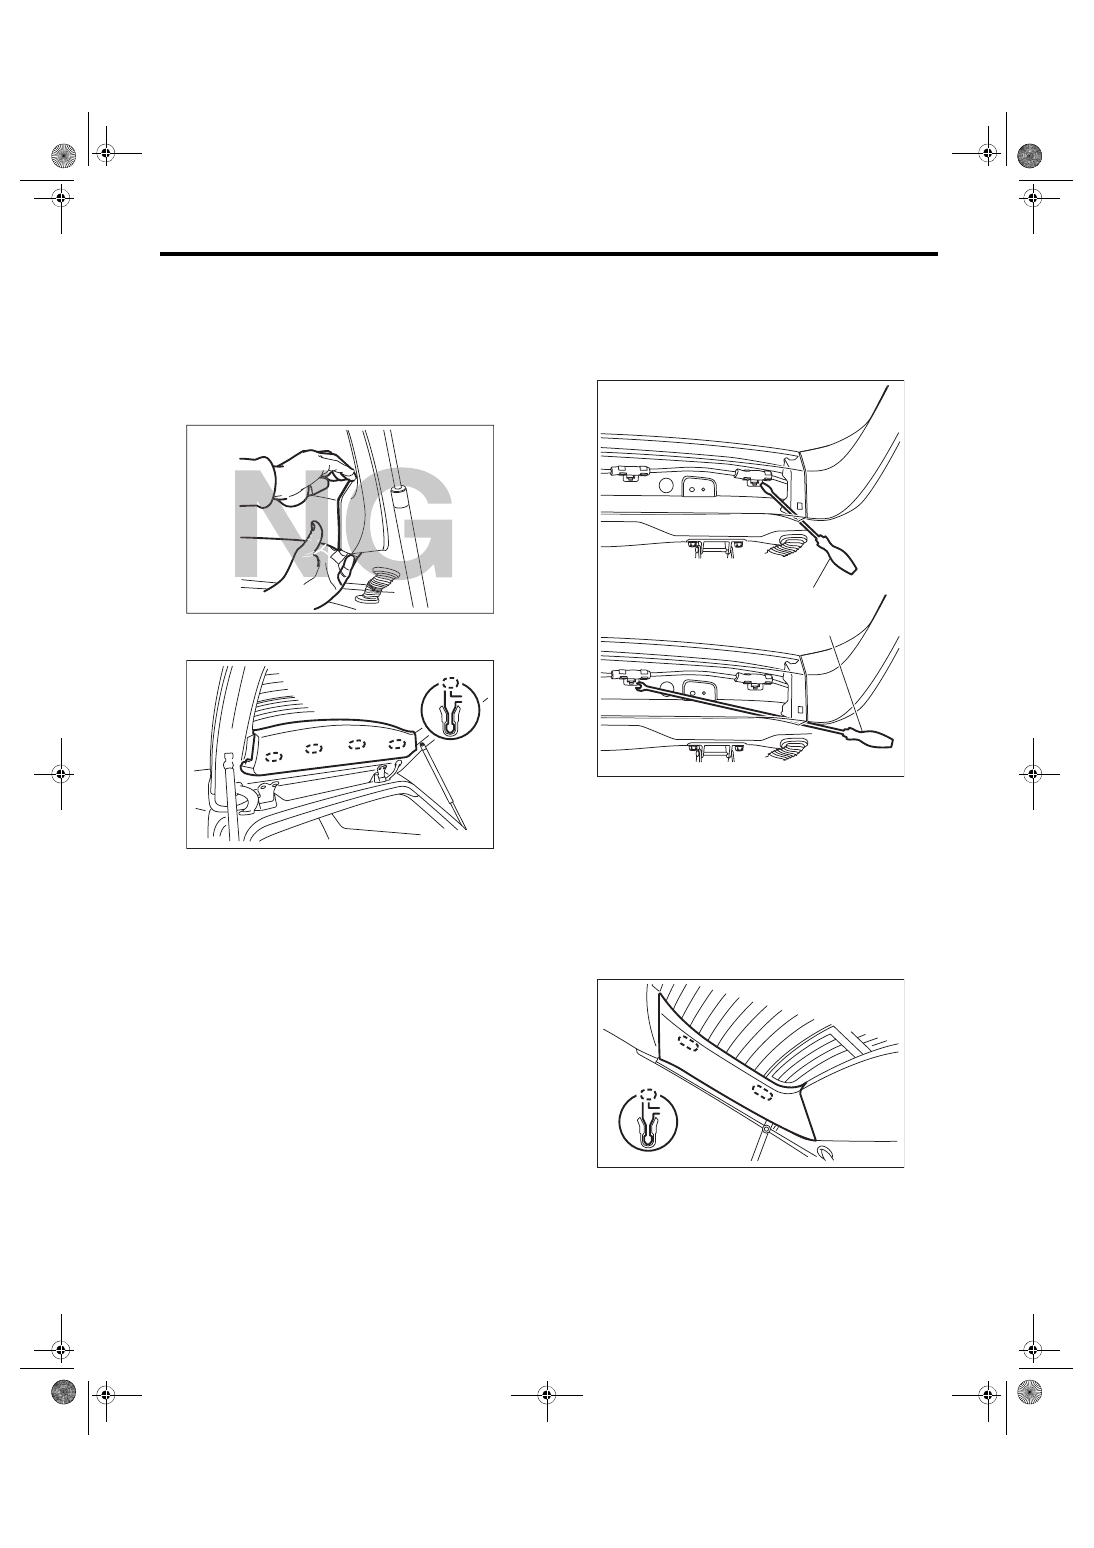
A: REMOVAL
CAUTION:
When detaching the rear gate upper trim and
pillar trim, do not pull these parts with exces-
sive force. Pulling with excessive force may
damage the trim.
1) Remove the clips, and remove the rear gate up-
per trim.
CAUTION:
When removing trim, make sure to follow the
procedures below. Applying excessive force
when removing may damage the trim. Remove
the trim claws using a flat tip screwdriver (1) or
clip remover (2).
1. Remove the trim claws using a flat tip screwdriv-
er (1).
2. Use a clip remover (2) to detach the claws of the
trim.
Tools used
Flat tip screwdriver: Those with a shaft
length of around 100 mm
Clip remover: KTC AP20L-10B
2) Use a flat tip screwdriver to detach the claws of
the trim, and remove the rear gate pillar trim.
CAUTION:
When removing trim, make sure to follow the
procedures below. Applying excessive force
when removing may damage the trim.
EI-01835
EI-01820
EI-01834
(1)
(2)
EI-01819
EI-70
Rear Gate Trim
EXTERIOR/INTERIOR TRIM
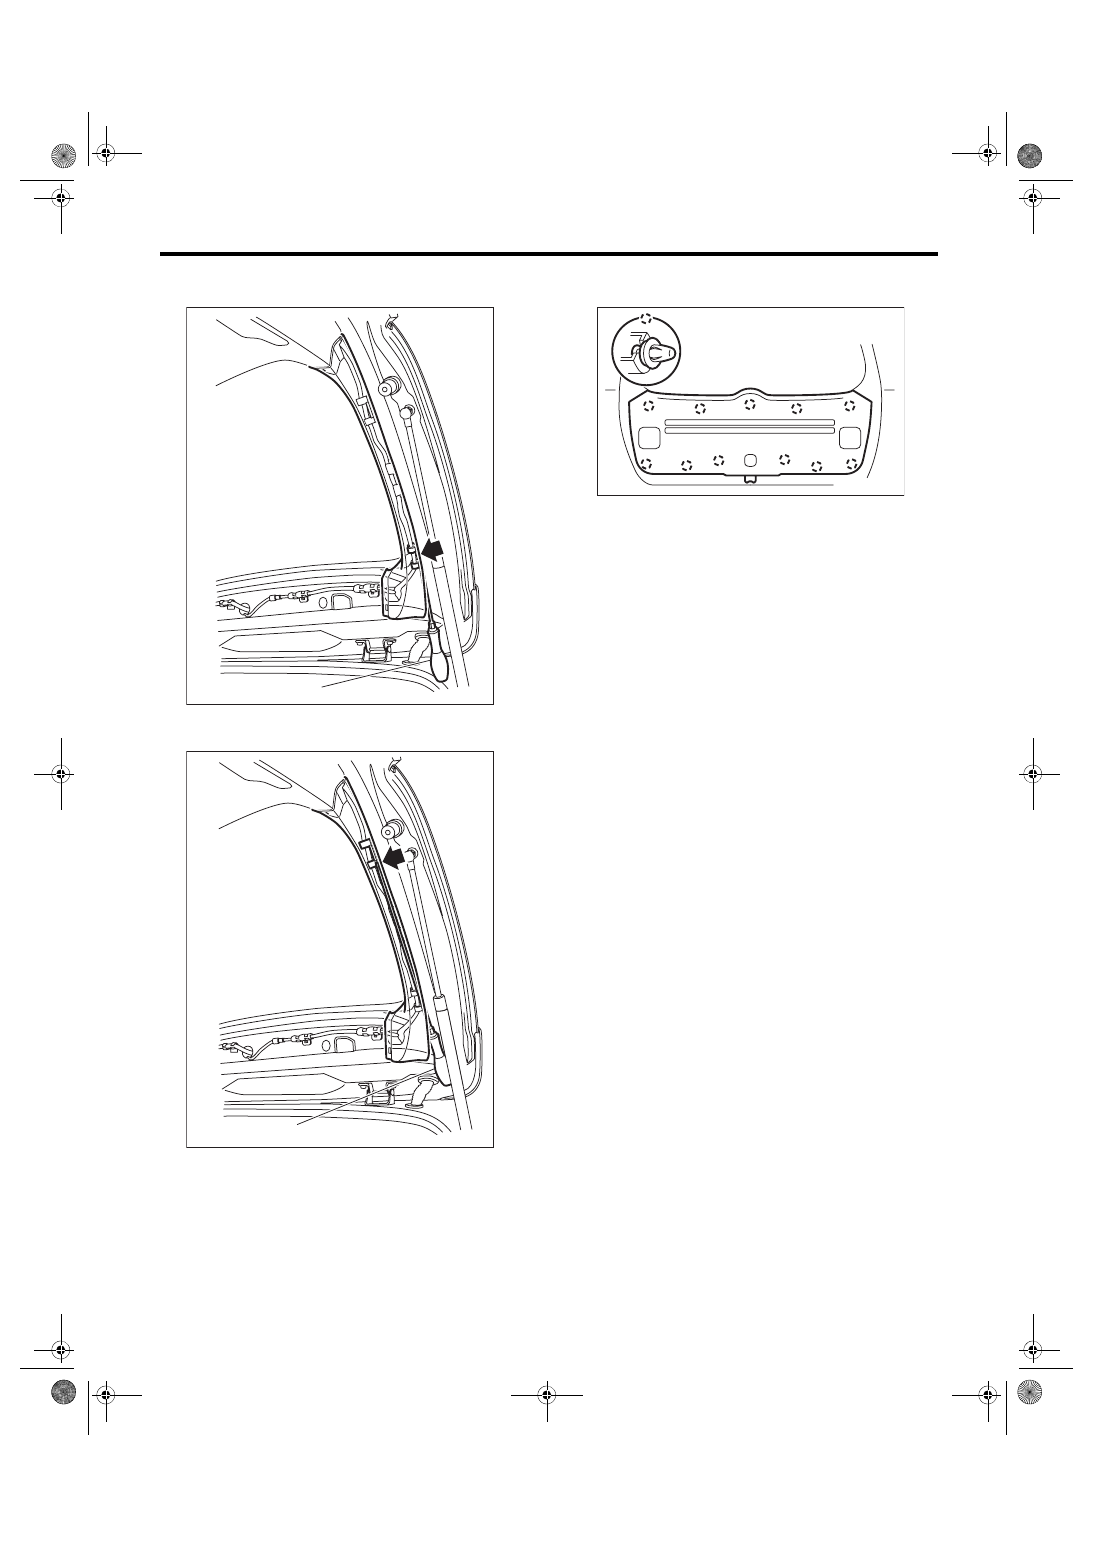
1. Insert a flat tip screwdriver (1) as shown in
the figure, and then remove the trim claws.
2. Insert a flat tip screwdriver (2) as shown in
the figure, to detach the claws of the trim.
Tools used
Flat tip screwdriver (1): Axle length 100 mm
Flat tip screwdriver (2): Axle length 290 mm
3) Remove the clips, and then remove the rear gate
lower trim.
B: INSTALLATION
Install each part in the reverse order of removal.
EI-02331
(1)
EI-02332
(2)
EI-01821
Нет комментариевНе стесняйтесь поделиться с нами вашим ценным мнением.
Текст