Subaru Legacy III (2000-2003 year). Service manual — part 984
EI-38
EXTERIOR/INTERIOR TRIM
UPPER INNER TRIM
17.Upper Inner Trim
A: REMOVAL
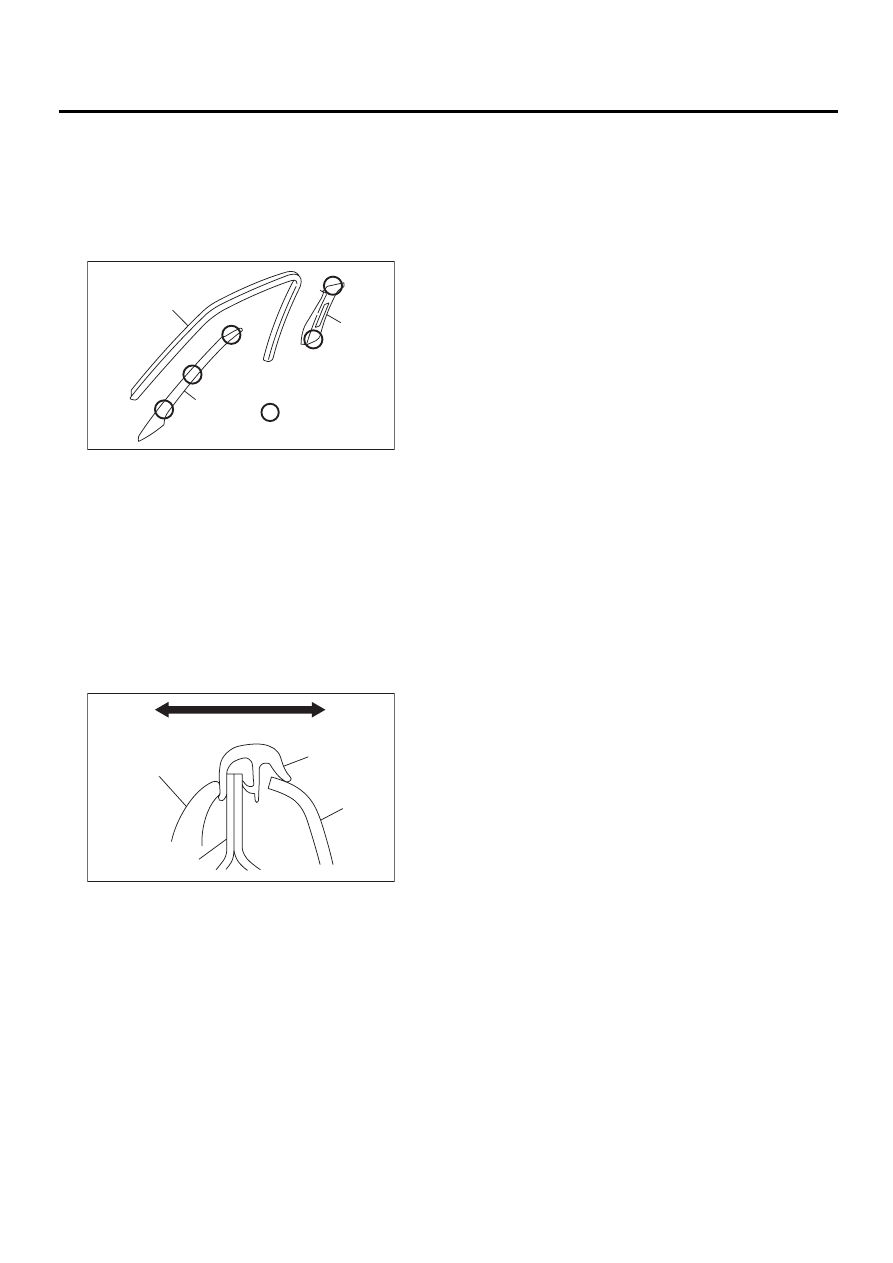
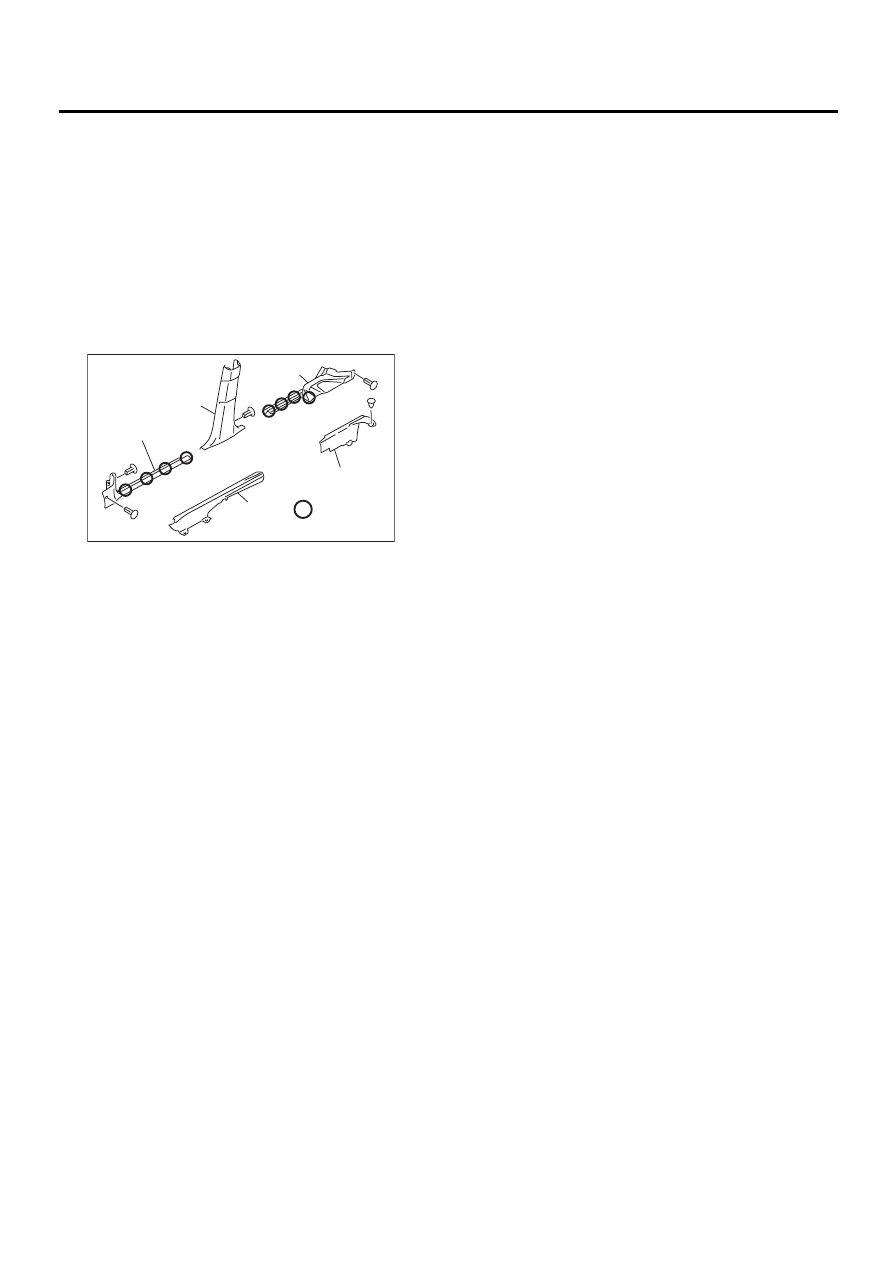
1) Remove front mole (A).
2) Remove front pillar upper trim (B).
3) Detach front seat belt shoulder anchor, then re-
move center pillar upper trim (C).
B: INSTALLATION
Install in the reverse order of removal.
CAUTION:
Be sure to securely hook pawls of inner trim
panel to body flange.
NOTE:
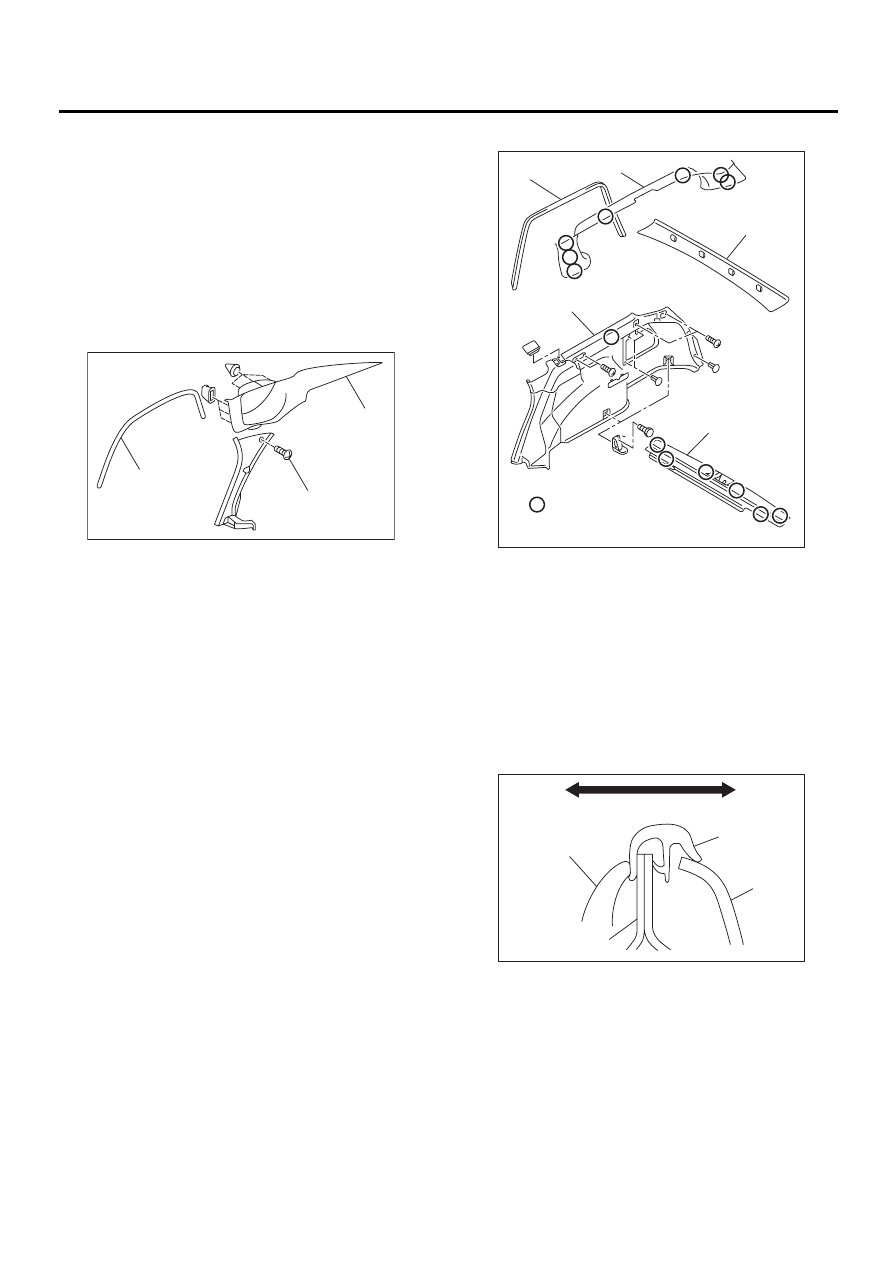
When installing center pillar upper trim and front pil-
lar upper trim, be sure to set front mole as shown in
figure.
(1) Hook pawl
(1) Outside
(2) Inside
(3) Weatherstrip
(4) Molding
(5) Body
(6) Trim
EI-00194
:
( A )
( B )
( C )
( 1 )
EI-00195
( 1 )
( 2 )
( 3 )
( 4 )
( 5 )
( 6 )
EI-39
EXTERIOR/INTERIOR TRIM
LOWER INNER TRIM
18.Lower Inner Trim
A: REMOVAL
1) Remove front pillar lower trim (A).
2) Remove side sill front lower cover (B).
3) For sedan: Remove rear seat cushion <Ref. to
SE-17, REMOVAL, Rear Seat.>, then remove side
sill rear upper cover (C).
For wagon: Rise rear seat cushion, then remove
side sill rear upper cover (C).
4) Remove side sill rear lower cover (D).
5) Remove center pillar lower trim (E).
B: INSTALLATION
Install in the reverse order of removal.
CAUTION:
Be sure to securely hook pawls of inner trim
panel to body flange.
(1) Hook pawl
EI-00196
:
( A )
( B )
( C )
( D )
( E )
( 1 )
EI-40
EXTERIOR/INTERIOR TRIM
REAR QUARTER TRIM
19.Rear Quarter Trim
A: REMOVAL
1. SEDAN
1) Remove rear mole (A).
2) Remove rear shelf trim. <Ref. to EI-45, REMOV-
AL, Rear Shelf Trim.>
3) Remove side sill rear upper cover. <Ref. to EI-
39, REMOVAL, Lower Inner Trim.>
4) Remove rear pillar lower trim (B).
5) Remove rear pillar upper trim (C).
2. WAGON
1) Remove side sill rear upper cover. <Ref. to EI-
39, REMOVAL, Lower Inner Trim.>
2) Remove luggage floor mat. <Ref. to EI-49, RE-
MOVAL, Luggage Floor Mat.>
3) Remove rear skirt trim (A).
4) Remove rear quarter lower trim mounting volts,
screws and clips, then remove the trim (B).
5) Remove rear mole (C).
6) Remove rear quarter upper trim mounting screw,
then remove the trim (D).
7) Remove rear rail trim (E).
B: INSTALLATION
Install in the reverse order of removal.
CAUTION:
Be sure to securely hook pawls of inner trim
panel to body flange.
NOTE:
When installing rear quarter upper trim, be sure to
set rear mole as shown in the figure.
EI-00197
( A )
( B )
( C )
(1) Hook pawl
(1) Outside
(2) Inside
(3) Weatherstrip
(4) Molding
(5) Body
(6) Trim
EI-00198
:
( A )
( B )
( C )
( D )
( E )
( 1 )
EI-00195
( 1 )
( 2 )
( 3 )
( 4 )
( 5 )
( 6 )
EI-41
EXTERIOR/INTERIOR TRIM
SUN VISOR
20.Sun Visor
A: REMOVAL
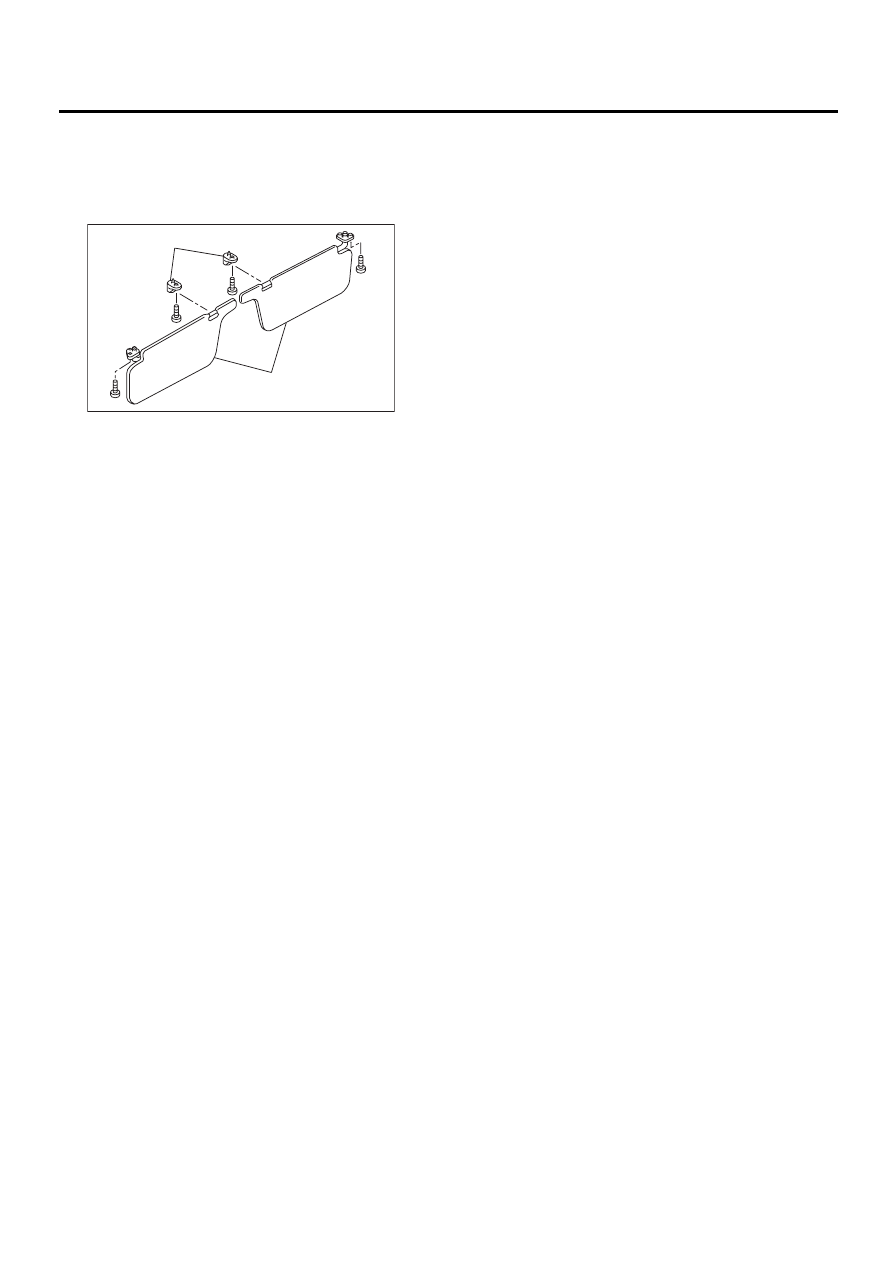
Remove mounting screws then detach sun visor
(A) and hook (B).
B: INSTALLATION
Install in the reverse order of removal.
EI-00200
( A )
( B )
Нет комментариевНе стесняйтесь поделиться с нами вашим ценным мнением.
Текст