Frelander 2. Manual — part 85
Rear Drive Axle/Differential - Differential Case
Removal and Installation
Removal
• NOTE: Removal steps in this procedure may contain installation details.
1.
WARNING: Make sure to support the vehicle with axle
stands.
Raise and support the vehicle.
1.
Remove the LH rear wheel and tire.
Refer to:
Wheel and Tire
(204-04 W heels and Tires, Removal and
Installation).
2.
W ith assistance, remove the rear muffler.
Refer to:
Exhaust System
(309-00A Exhaust System - I6 3.2L Petrol,
Removal and Installation).
3.
4.
WARNING: Do not lever the driveshaft joints to
release from the power transfer unit or the rear
differential flanges.
• CAUTIONS:
Mark the components to aid installation.
Make sure that the driveshaft is supported with
suitable retaining straps.
Discard the bolts.
4.
5.
6.
Remove the LH rear halfshaft.
Refer to:
Rear Halfshaft LH
(205-05 Rear Drive Halfshafts, Removal
and Installation).
7.
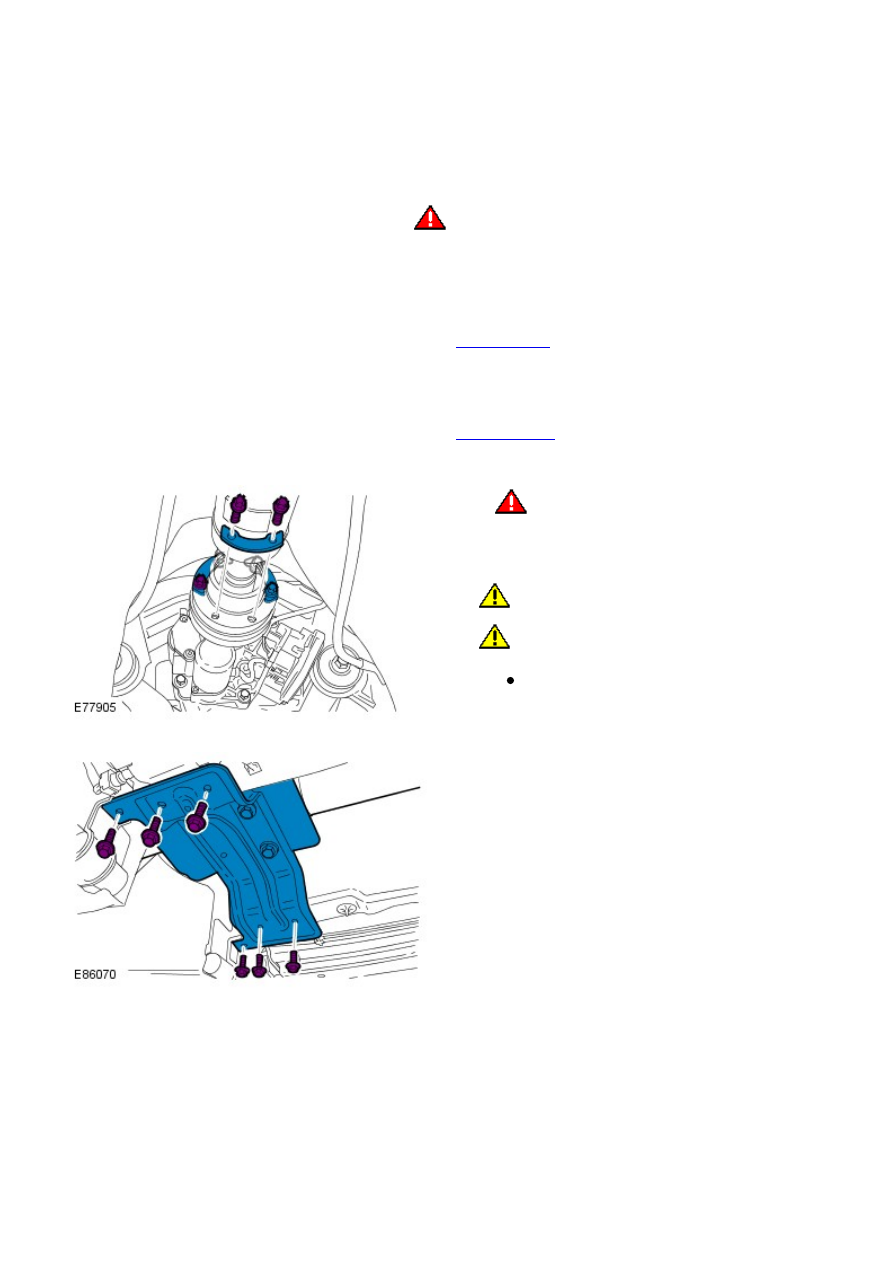
Using a transmission jack, support the differential case.
8.
9.
CAUTION: Mark the components to aid
installation.
Discard the bolts.
9.
10.
CAUTION: Mark the components to aid
installation.
Discard the bolts.
10.
Carefully release the RH inboard halfshaft joint from
the differential and tie aside.
11.
12.
Carefully lower and remove the differential case.
13.
14. NOTE: Do not disassemble further if the component
is removed for access only.
14.
15.
Installation
1.
CAUTION: Make sure that the area around the component is
clean and free of foreign material.
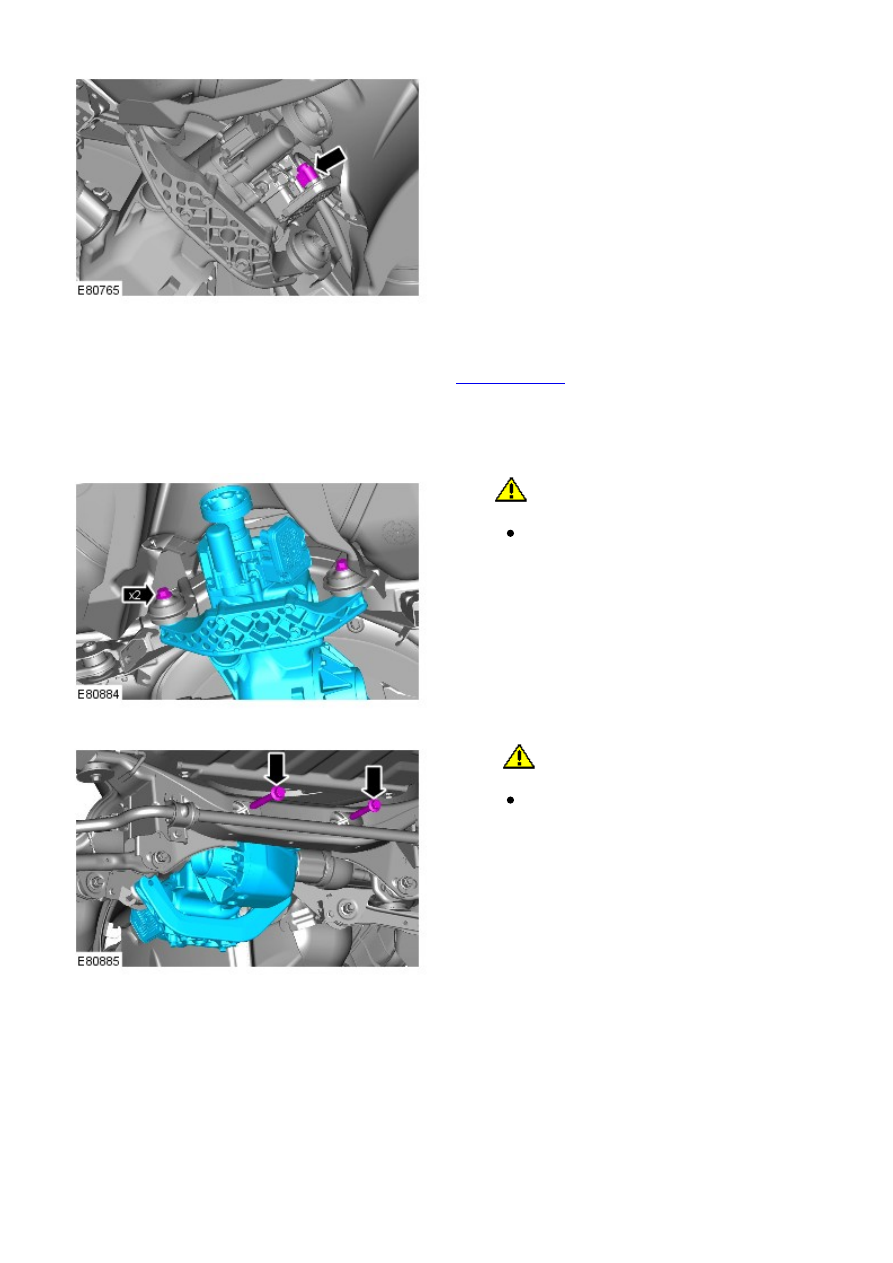
Install a new O-ring seal to the active on-demand coupling.
1.
2. CAUTIONS:
Make sure that the area around the component is clean and
free of foreign material.
Make sure that new bolts are installed.
Align the active on-demand coupling to the differential and tighten
the bolts.
Torque: 24 Nm
2.
Install the rear differential support bracket.
Torque: 35 Nm
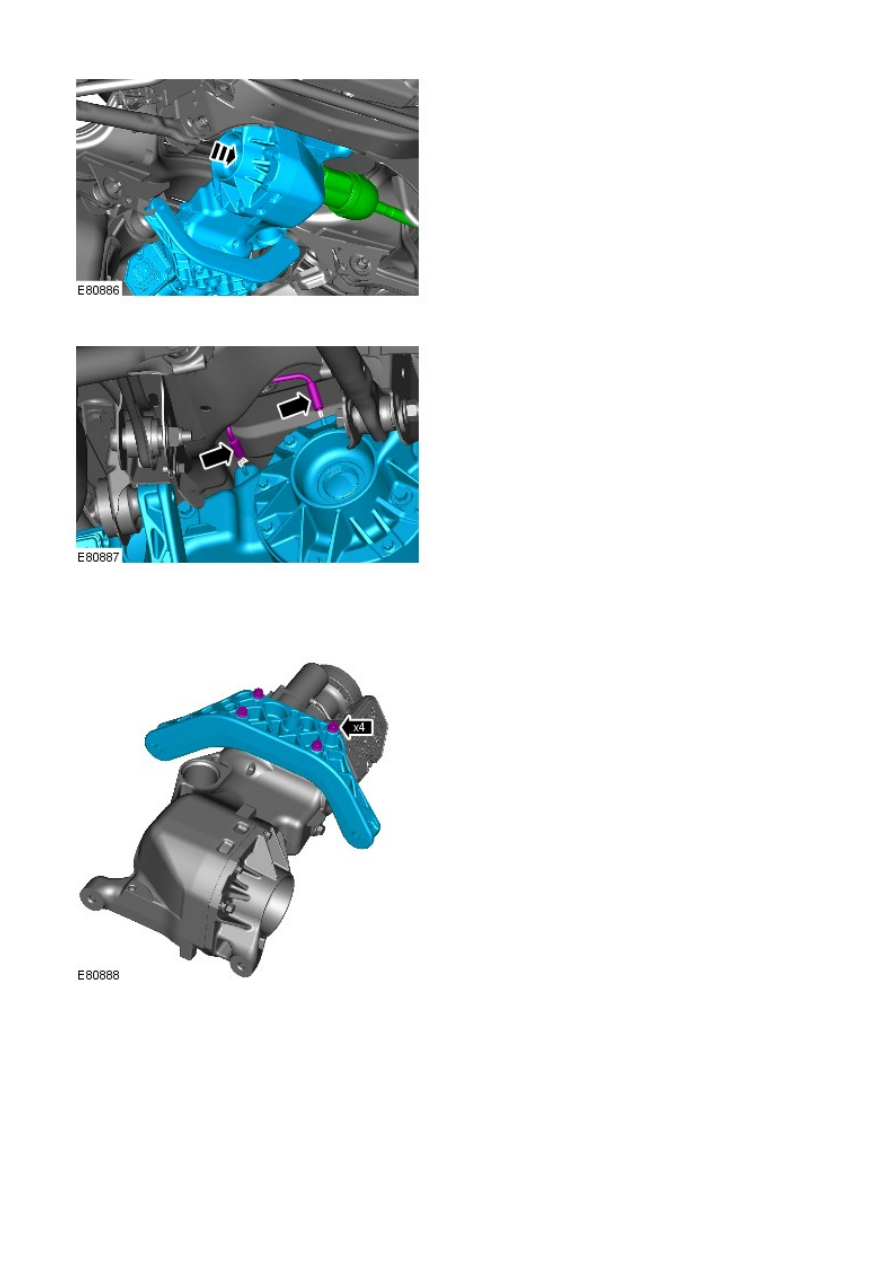
3.
Using a transmission jack, carefully raise the assembly.
4.
Connect the differential breather lines.
5.
Secure the RH inner halfshaft joint to the differential.
6.
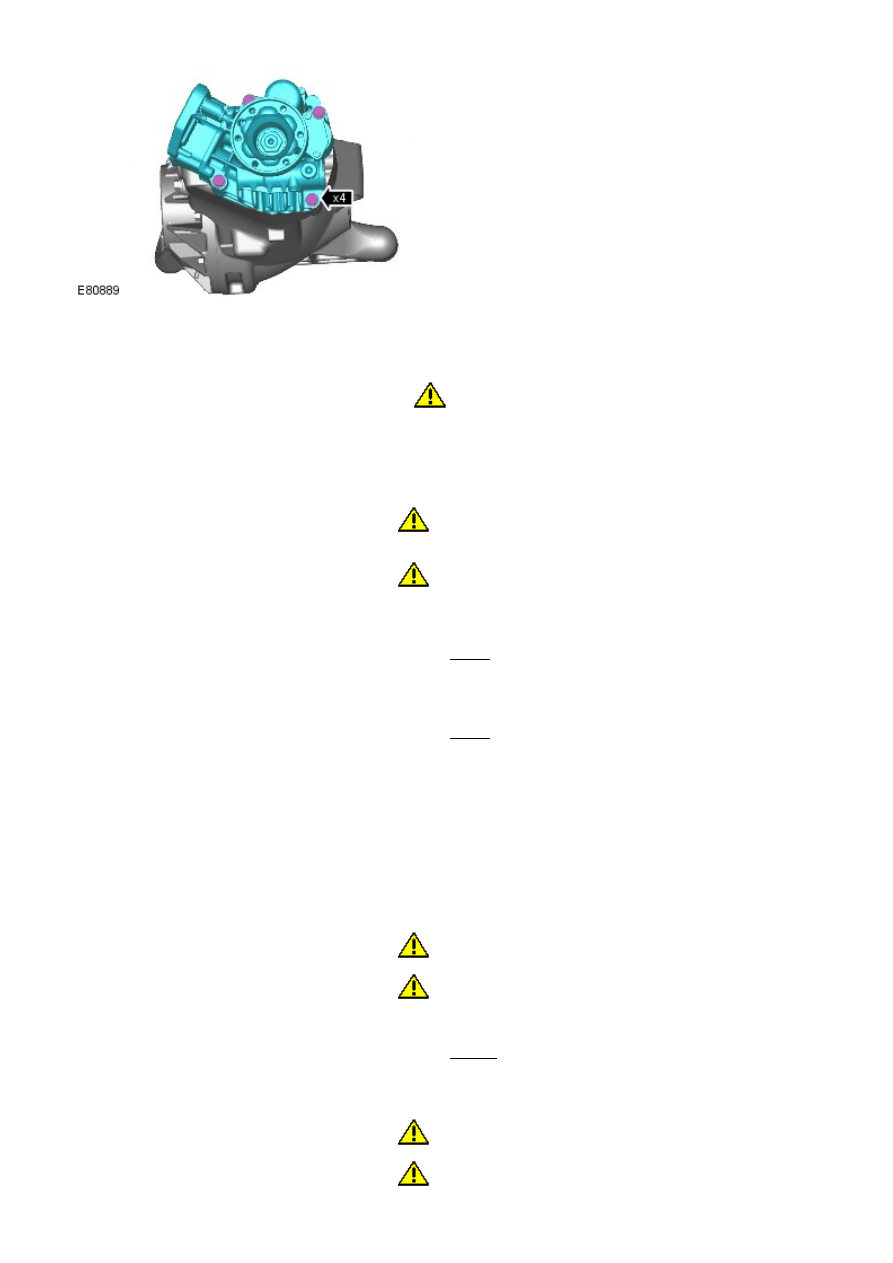
7. CAUTIONS:
Make sure that the installation marks are aligned.
Make sure that new bolts are installed.
Install the rear differential front bush retaining bolts.
Torque: 175 Nm
7.
8. CAUTIONS:
Make sure that the installation marks are aligned.
Make sure that new bolts are installed.
8.
Нет комментариевНе стесняйтесь поделиться с нами вашим ценным мнением.
Текст