Discovery 2. Manual — part 270
PANEL REPAIRS
REPAIRS 77-2-41
Refit
1. Fit side drip rail finisher.
2. Fit wiring to 'B/C' post and sill areas.
3. Fit front and rear door door aperture seal.
4. Position carpet and secure with fixings.
5. Fit tread plates to front and rear door apertures.
6. Fit head lining.
7. Fit rear seat.
8. Fit front seat belt.
9. LH side: Fit CD autochanger.
10. RH side: Fit power amplifier.
11. Fit RH or LH front seat.
12. Fit sill finisher.
13. Fit front door striker to B/C post, fit Torx bolts
and tighten to 26 Nm (19 lbf.ft).
14. Fit rear door.
15. Connect leads/multiplug to alternator.
16. Connect battery leads, negative lead last.
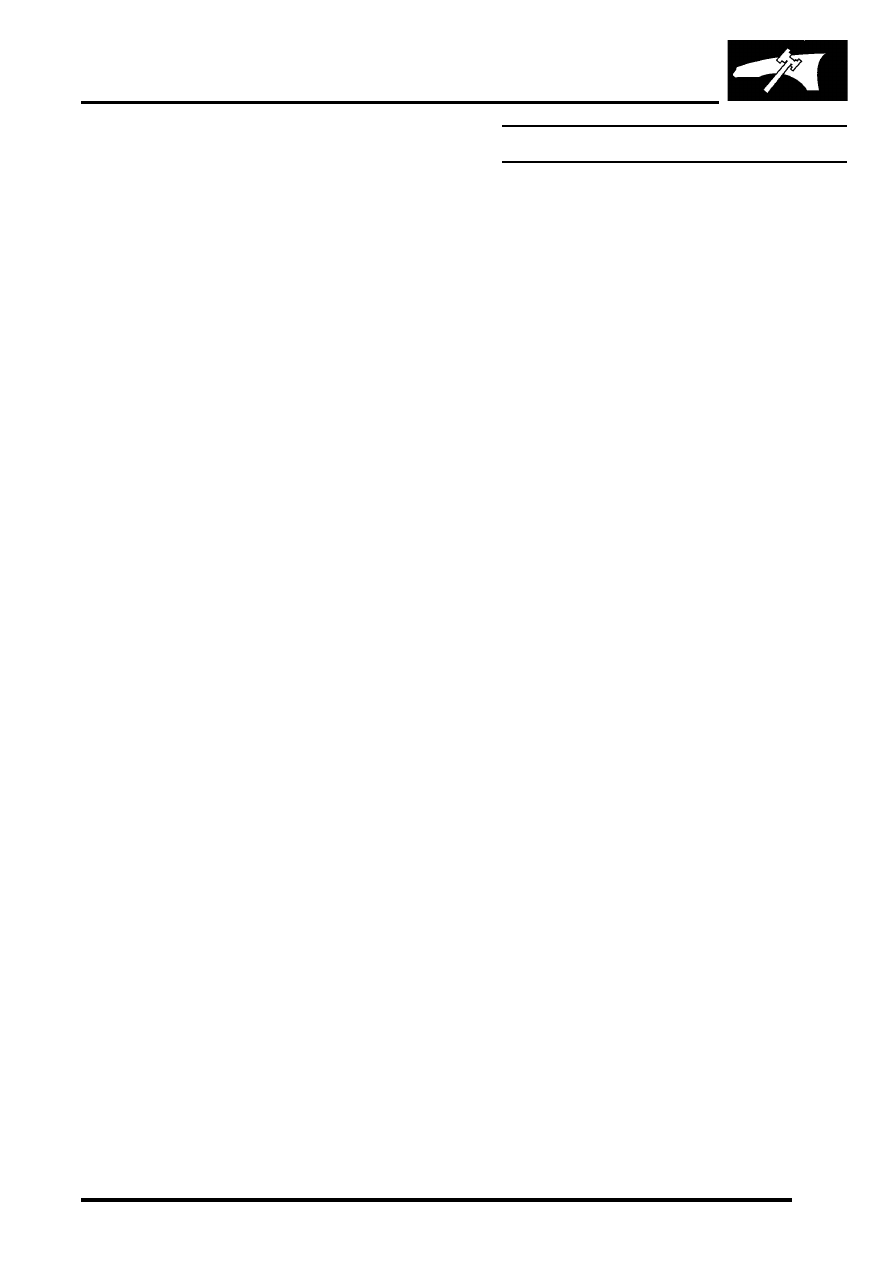
Panel body side assembly
Remove
1. Disconnect both battery leads, negative lead
first.
2. Disconnect leads/multiplug from alternator.
3. Remove loadspace side trim casing.
REPAIRS, Trim casing - side - loadspace.
4. Remove head lining rear trim finisher.
5. Remove rear head rests, if fitted.
6. Remove body side rear glass.
SCREENS, REPAIRS, Glass - body
7. Remove rear bumper assembly.
Bumper assembly - rear - up to 03MY.
8. Remove rear bumper finisher.
9. Remove rear wheel arch liner.
10. Remove mud flap.
11. Remove tread plate from rear door aperture.
12. Remove rear door aperture seal.
13. Remove rear door striker from 'D' post.
14. Remove 'D' post outer trim finisher.
15. Remove wheel arch trim finisher.
16. Remove side drip rail finisher.
17. RH side: Remove tail door.
18. LH side: Remove tail door striker and setting
block from 'E' post.
19. Remove tail door tread plate.
20. Remove loadspace carpet retainer.
21. Remove tail door aperture seal.
22. Remove tail lamp.
LIGHTING, REPAIRS, Lamp - tail.
23. RH side: Remove fuel filler flap.
24. RH side: Remove fuel filler tube.
25. Remove aerial amplifier.
26. Remove relevant wiring from body side area.
PANEL REPAIRS
77-2-42 REPAIRS
Repair
1. Remove existing panel(s), prepare panel joint
faces and install new panel(s) in accordance
with Panel Replacement Procedure. The panel
body side assembly does not require any
welding, as it is bolted into position.
Refit
1. Position and secure wiring.
2. Fit aerial amplifier.
3. RH side: Fit fuel filler tube.
4. RH side: Fit fuel filler flap.
5. Fit tail lamp.
LIGHTING, REPAIRS, Lamp - tail.
6. Fit tail door aperture seal.
7. Fit loadspace carpet retainer.
8. Fit tail door tread plate.
9. LH side: Fit tail door striker and setting block to
'E' post, fit Torx bolts and tighten to 26 Nm (19
lbf.ft).
10. RH side: Fit tail door.
11. Fit side drip rail finisher.
12. Fit wheel arch trim finisher.
13. Fit 'D' post outer trim finisher.
14. Fit rear door striker.
15. Fit rear door aperture seal.
16. Fit tread plate to rear door aperture.
17. Fit mud flap.
18. Fit rear wheel arch liner.
19. Fit rear bumper finisher.
20. Fit rear bumper assembly.
Bumper assembly - rear - up to 03MY.
21. Fit body side rear glass.
SCREENS, REPAIRS, Glass - body
22. Fit rear head rests, if fitted.
23. Fit head lining rear trim finisher.
24. Fit loadspace side trim casing.
REPAIRS, Trim casing - side - loadspace.
25. Connect leads/multiplug to alternator.
26. Connect battery leads, negative lead last.
M77 0000
PANEL REPAIRS
REPAIRS 77-2-43
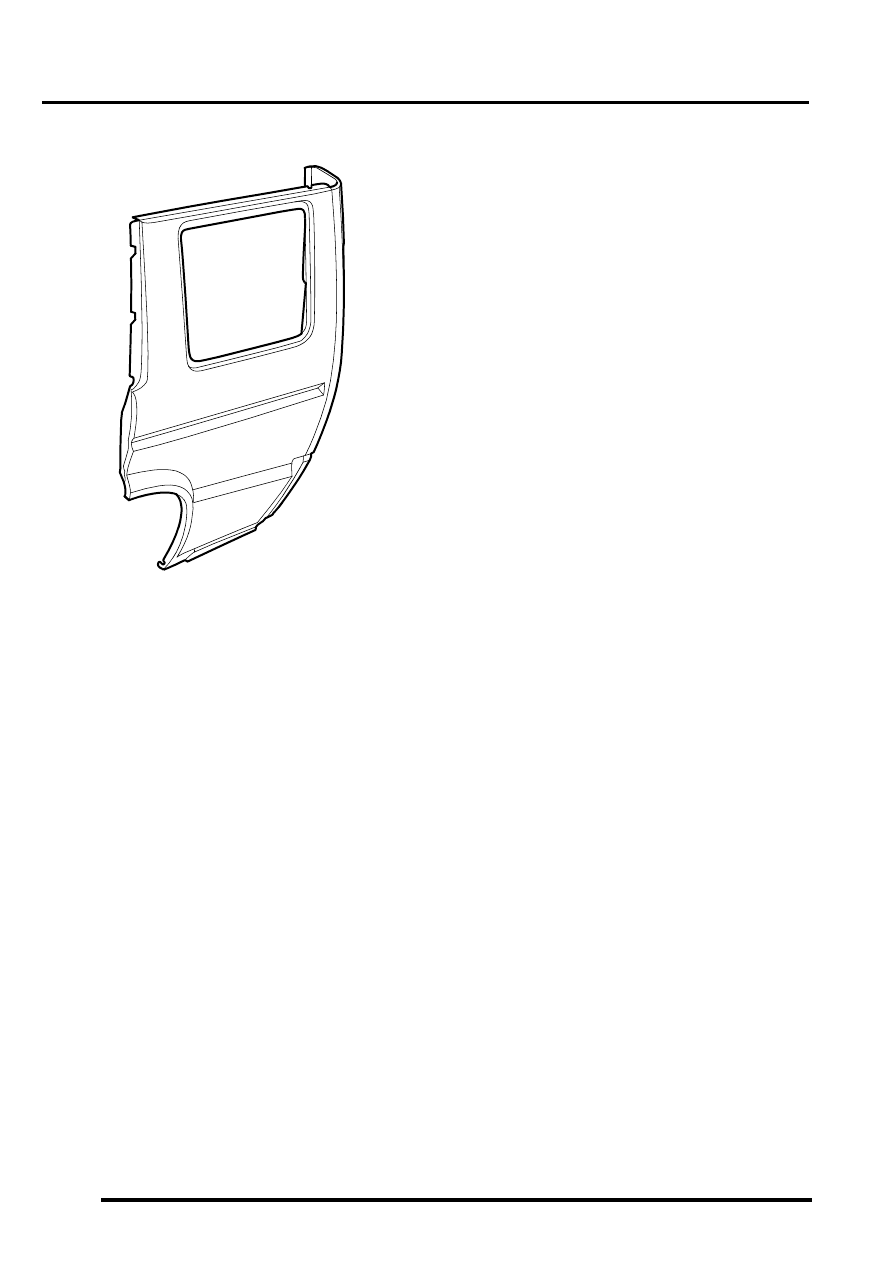
Body side inner rear assembly
In this procedure, the panel body side assembly is
replaced in conjunction with the body side inner rear
assembly.
Remove
1. Disconnect battery eath lead.
2. Disconnect leads/multiplug from alternator.
3. Remove panel body side assembly.
4. Remove RH or LH rear seat.
5. Remove loadspace carpet.
6. Remove rear side seat belt.
7. Remove third row seat belt.
8. Remove fuel tank.
9. Remove fuel filler tube.
10. RH side: Remove fuel flap release solenoid.
REPAIRS, Solenoid - fuel filler flap release.
REPAIRS, Solenoid - fuel filler flap release.
11. RH side: Remove air extractor vent.
12. Remove relevant wiring.
Repair
1. Remove existing panel(s), prepare panel joint
faces and install new panel(s) in accordance
with Panel Replacement Procedure. Punch or
drill holes in new panel for plug welding as
shown.
Refit
1. Fit and secure wiring.
2. RH side: Fit air extractor vent.
3. RH side: Fit fuel flap release solenoid.
REPAIRS, Solenoid - fuel filler flap release.
REPAIRS, Solenoid - fuel filler flap release.
4. Fit fuel filler tube.
5. Fit fuel tank.
6. Fit third row seat belt.
7. Fit rear side seat belt.
8. Fit loadspace carpet.
9. Fit rear seat.
10. Fit panel body side assembly.
11. Connect leads/multiplug to alternator.
12. Connect battery leads, negative lead last.
M77 1698A
PANEL REPAIRS
77-2-44 REPAIRS
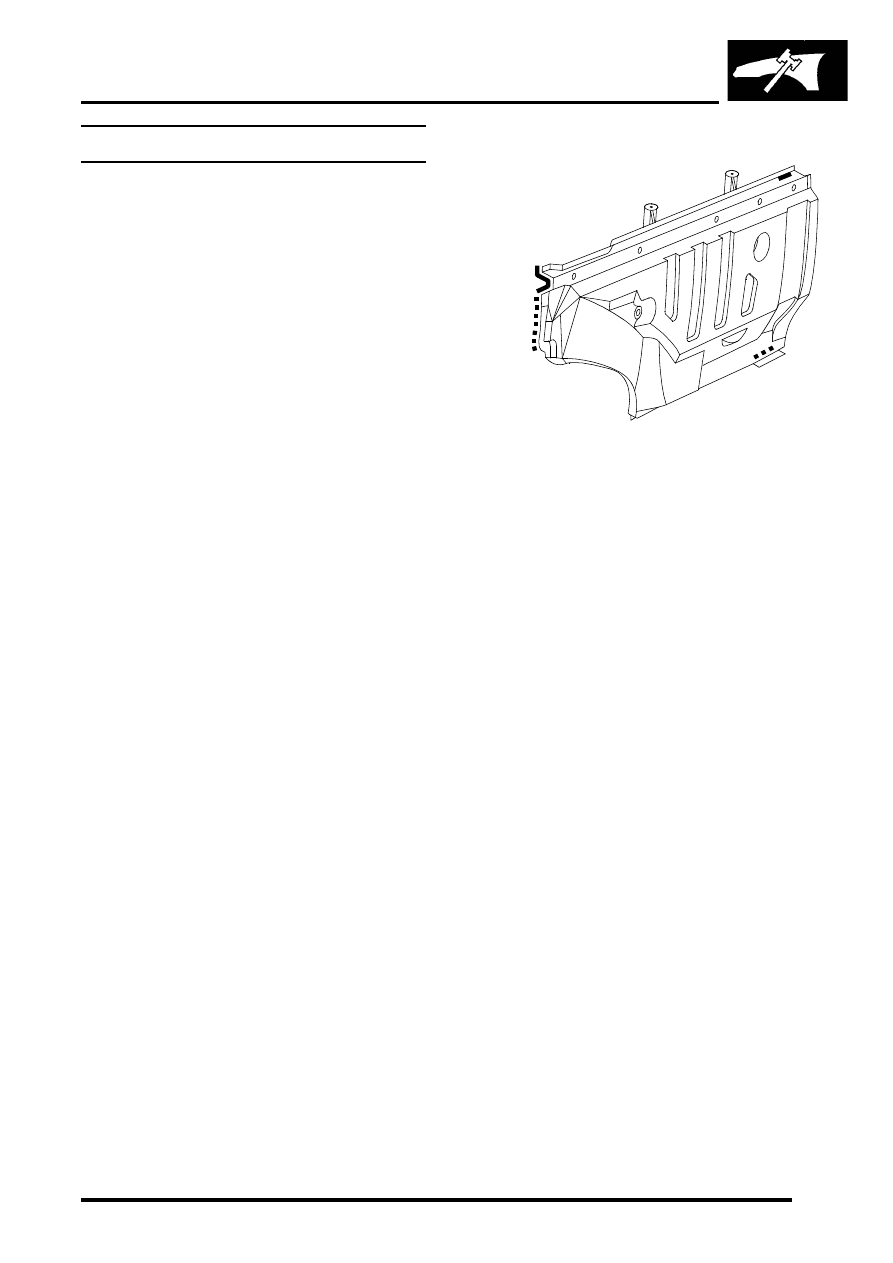
'D' post outer assembly
In this procedure, the panel body side assembly is
also replaced in conjunction with the 'D' post
assembly. The 'D' post inner closing panel can also
be replaced in this procedure, if required.
Remove
1. Disconnect both battery leads, negative lead
first.
2. Disconnect leads/multiplug from alternator.
3. Remove panel body side assembly.
4. Remove RH or LH sill finisher.
5. Remove front seat.
6. RH side: Remove power amplifier.
7. LH side: Remove CD autochanger.
8. Remove 'B/C' post lower trim casing.
REPAIRS, Trim casing - lower - 'B' post.
9. Remove rear seat.
10. Remove loadspace carpet.
11. Release carpet for access to 'D' post assembly
and position aside.
12. Remove relevant wiring.
Repair
1. Remove existing panel(s), prepare panel joint
faces and install new panel(s) in accordance
with Panel Replacement Procedure. Punch or
drill holes in new panel for plug welding as
shown.
Refit
1. Fit and secure wiring.
2. Position and secure carpet into position.
3. Fit loadspace carpet.
4. Fit rear seat.
5. Fit 'B/C' post lower trim casing.
REPAIRS, Trim casing - lower - 'B' post.
6. LH side: Fit CD autochanger.
7. RH side: Fit power amplifier.
8. Fit front seat.
9. Fit RH or LH sill finisher.
10. Fit panel body side assembly.
11. Connect leads/multiplug to alternator.
12. Connect battery leads, negative lead last.
M77 1699B
Нет комментариевНе стесняйтесь поделиться с нами вашим ценным мнением.
Текст