Discovery 2. Manual — part 271
PANEL REPAIRS
REPAIRS 77-2-45
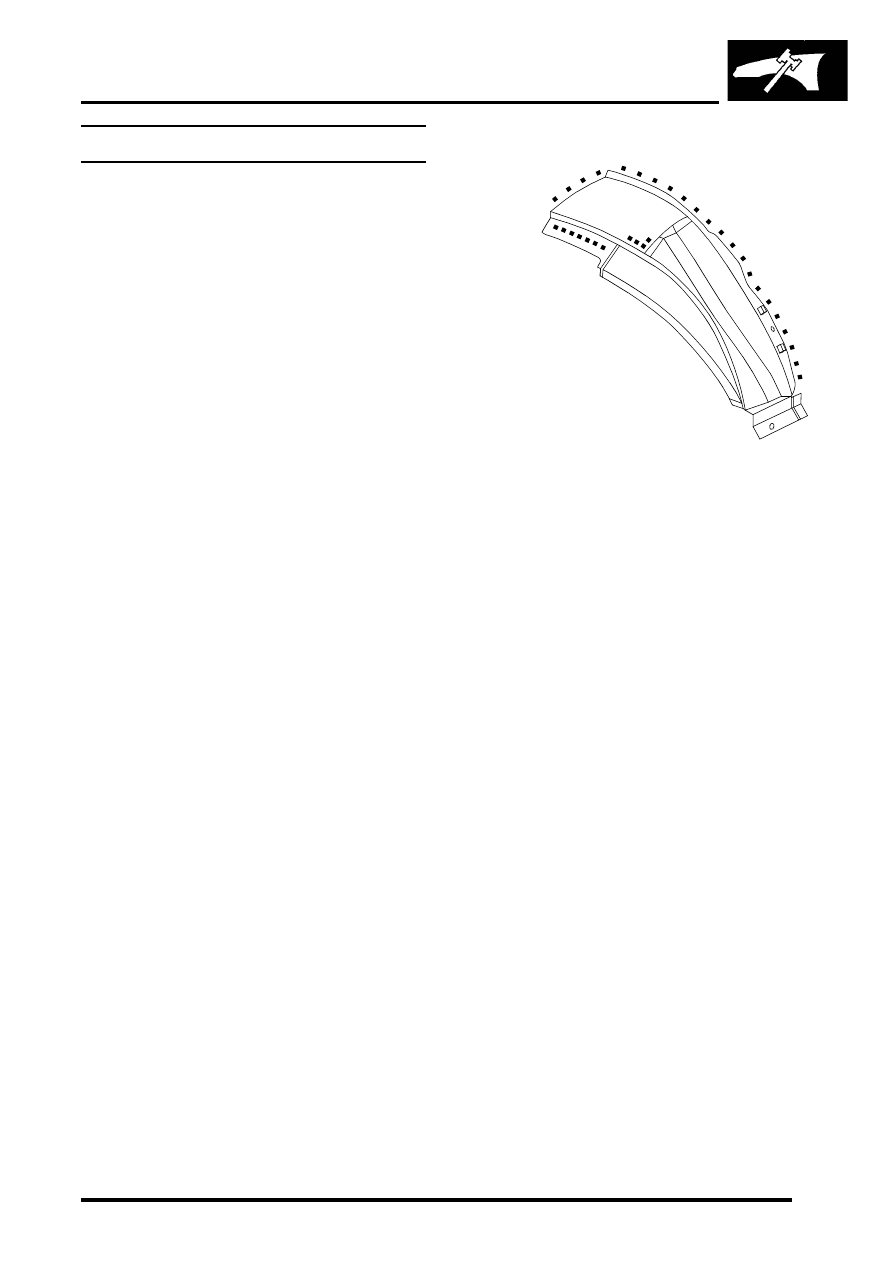
Wheelarch rear outer assembly
In this procedure, the panel body side assembly is
replaced in conjunction with the wheelarch rear outer
assembly.
Remove
1. Disconnect both battery leads, negative lead
first.
2. Disconnect leads/multiplug from alternator.
3. Remove panel body side assembly.
4. Remove front seat.
5. RH side: Remove power amplifier.
6. LH side: Remove CD autochanger.
7. Remove 'B/C' post lower trim casing.
REPAIRS, Trim casing - lower - 'B' post.
8. Remove rear seat.
9. Remove loadspace carpet.
10. Release carpet for access to 'D' post assembly
and position aside.
11. Remove relevant wiring.
Repair
1. Remove existing panel(s), prepare panel joint
faces and install new panel(s) in accordance
with Panel Replacement Procedure. Punch or
drill holes in new panel for plug welding as
shown.
Refit
1. Fit and secure wiring.
2. Position and secure carpet into position.
3. Fit loadspace carpet.
4. Fit rear seat.
5. Fit 'B/C' post lower trim casing.
REPAIRS, Trim casing - lower - 'B' post.
6. LH side: Fit CD autochanger.
7. RH side: Fit power amplifier.
8. Fit front seat.
9. Fit panel body side assembly.
10. Connect leads/multiplug to alternator.
11. Connect battery leads, negative lead last.
M77 1700A
PANEL REPAIRS
77-2-46 REPAIRS
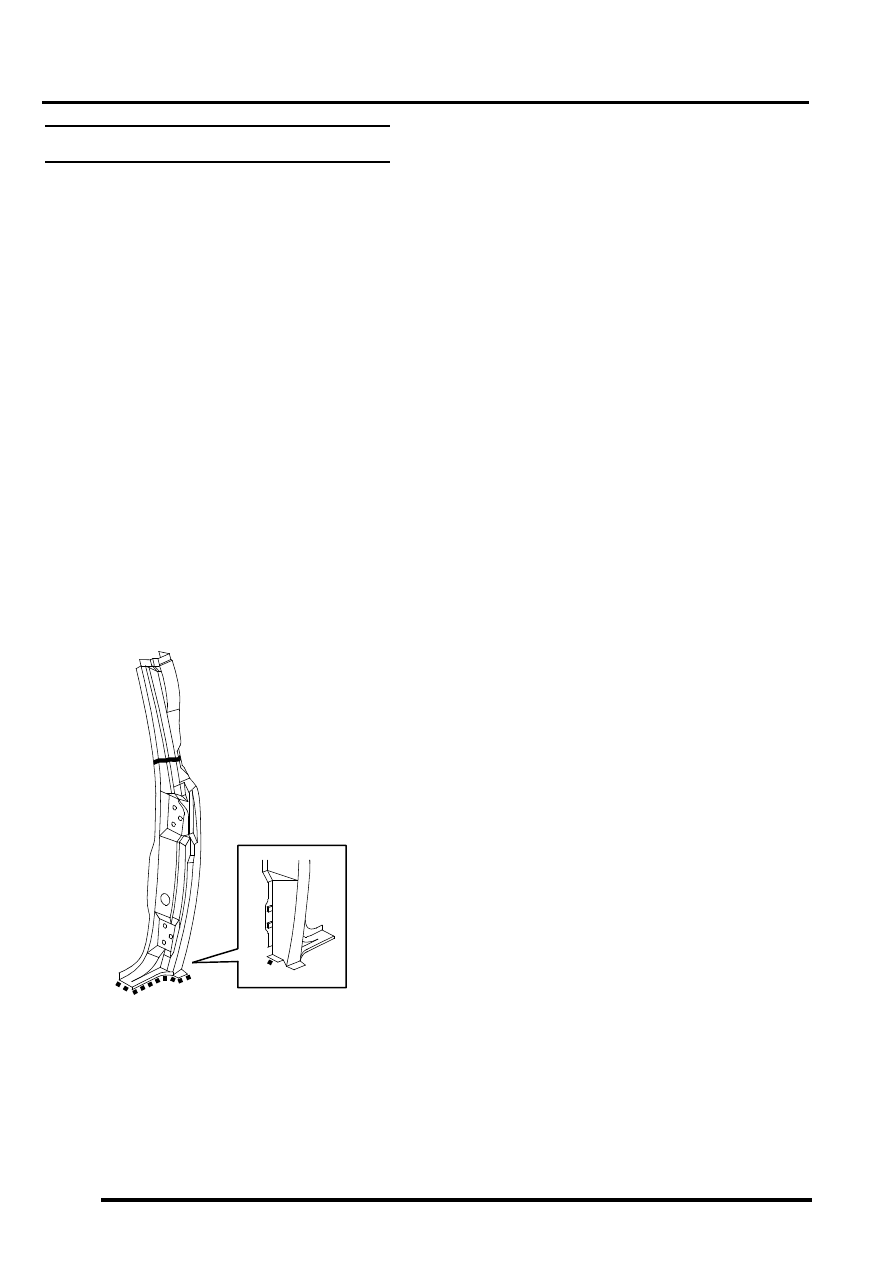
'E' post assembly
In this procedure, the panel body side assembly and
tail door are replaced in conjunction with the 'E' post
assembly. If required the 'E' post closing assembly
can also be replaced.
Remove
1. Disconnect both battery leads, negative lead
first.
2. Disconnect leads/multiplug from alternator.
3. Remove panel body side assembly.
4. Remove rear seats.
5. Remove loadspace carpet.
6. Remove third row seat belts.
7. Remove relevant wiring.
8. Remove rear drip rail finisher.
Repair
1. Remove existing panel(s), prepare panel joint
faces and install new panel(s) in accordance
with Panel Replacement Procedure. Punch or
drill holes in new panel for plug welding as
shown.
Refit
1. Fit rear drip rail finisher.
2. Fit and secure wiring.
3. Fit third row seat belts.
4. Fit loadspace carpet.
5. Fit rear seats.
6. Fit panel body side assembly.
7. Connect leads/multiplug to alternator.
8. Connect battery leads, negative lead last.
M77 1701A
PANEL REPAIRS
REPAIRS 77-2-47
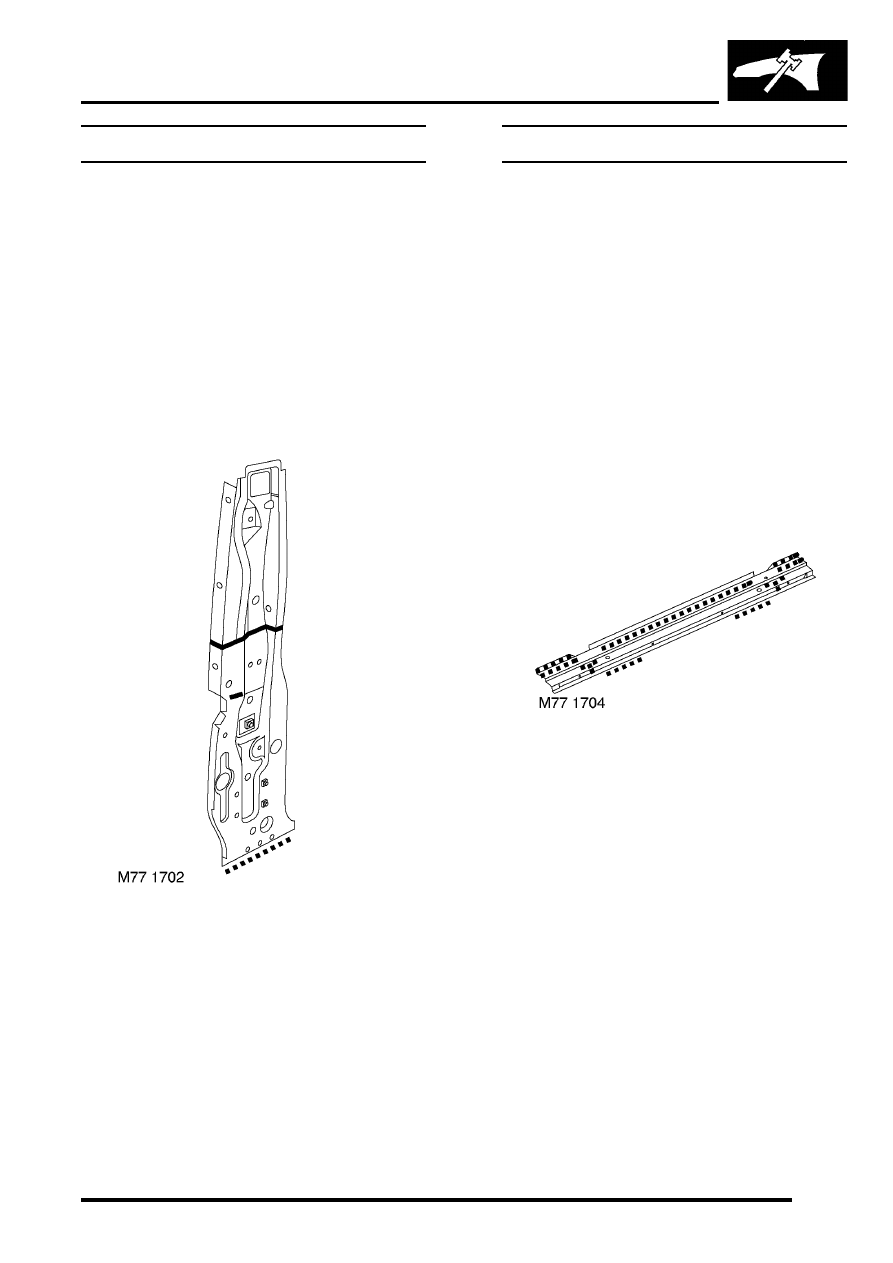
'E' post closing assembly
In this procedure, the panel body side assembly, tail
door and 'E' post assembly are replaced in
conjunction with the 'E' post closing assembly.
Remove
1. Disconnect both battery leads, negative lead
first.
2. Disconnect leads/multiplug from alternator.
3. Remove 'E' post assembly.
PANEL REPAIRS, REPAIRS, 'E' post
Repair
1. Remove existing panel(s), prepare panel joint
faces and install new panel(s) in accordance
with Panel Replacement Procedure. Punch or
drill holes in new panel for plug welding as
shown.
Refit
1. Fit 'E' post assembly.
PANEL REPAIRS, REPAIRS, 'E' post
2. Connect leads/multiplug to alternator.
3. Connect battery leads, negative lead last.
Cross member outer rear panel
In this procedure, the panel body side assembly and
the 'E' post assembly are replaced in conjunction
with the cross member outer rear panel.
Remove
1. Disconnect both battery leads, negative lead
first.
2. Disconnect leads/multiplug from alternator.
3. Remove 'E' post assembly.
PANEL REPAIRS, REPAIRS, 'E' post
4. Remove rear folding step.
5. Remove exhaust tailpipe heatshield.
6. Remove relevant wiring.
Repair
1. Remove existing panel(s), prepare panel joint
faces and install new panel(s) in accordance
with Panel Replacement Procedure. Punch or
drill holes in new panel for plug welding as
shown.
Refit
1. Fit and secure wiring.
2. Fit exhaust tailpipe heatshield.
3. Fit rear folding step.
4. Fit 'E' post assembly.
PANEL REPAIRS, REPAIRS, 'E' post
5. Connect leads/multiplug to alternator.
6. Connect battery leads, negative lead last.
PANEL REPAIRS
77-2-48 REPAIRS
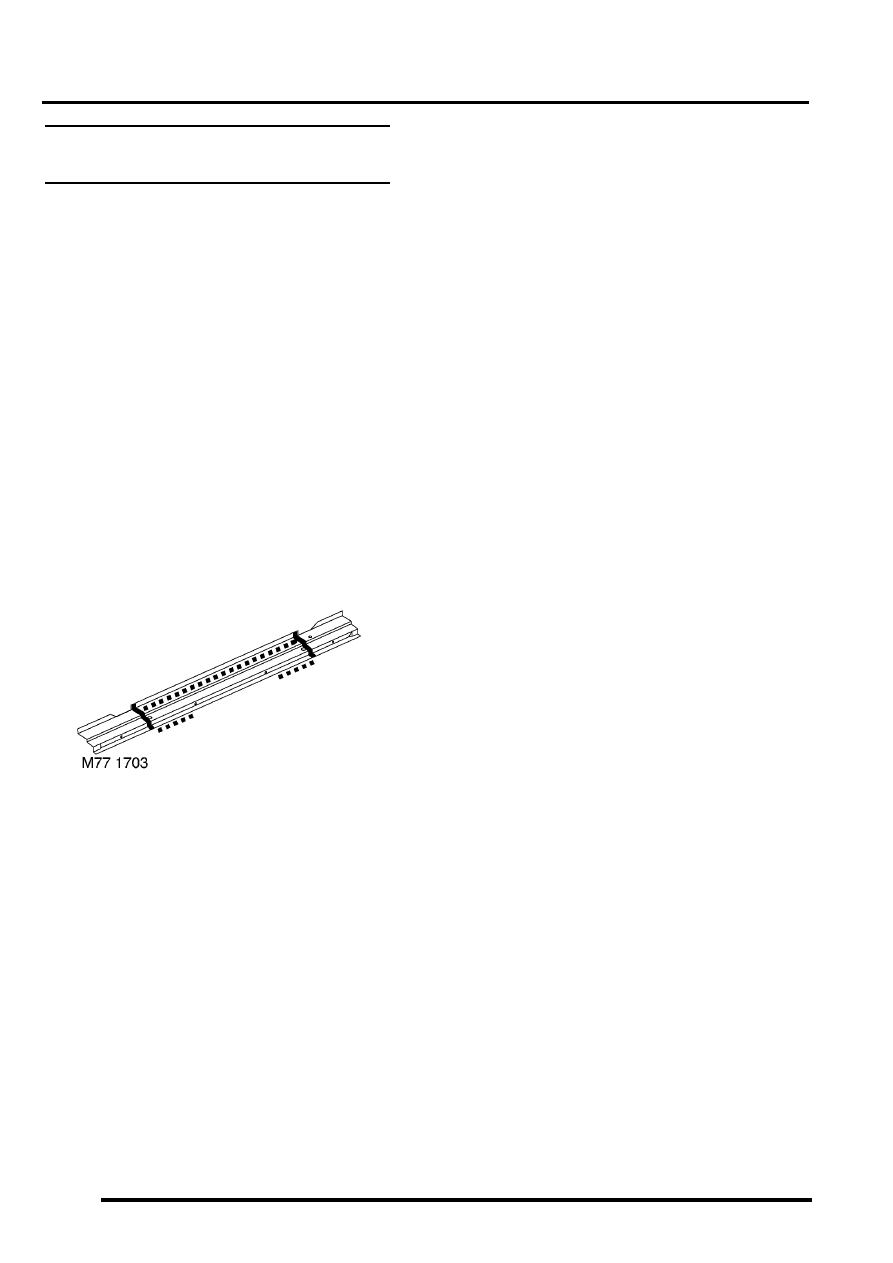
Cross member outer rear panel (centre
section)
Remove
1. Disconnect both battery leads, negative lead
first.
2. Disconnect leads/multiplug from alternator.
3. Remove loadspace carpet.
4. Remove rear bumper assembly.
Bumper assembly - rear - up to 03MY.
5. Remove rear folding step.
6. Remove exhaust tailpipe heatshield.
7. Remove tail door tread plate.
8. Remove head lining rear trim finisher.
9. Remove tail door aperture seal.
10. Remove relevant wiring.
Repair
1. Remove existing panel(s), prepare panel joint
faces and install new panel(s) in accordance
with Panel Replacement Procedure. Punch or
drill holes in new panel for plug welding as
shown.
Refit
1. Fit and secure wiring.
2. Fit tail door aperture seal.
3. Fit head lining rear trim finisher.
4. Fit tail door tread plate.
5. Fit exhaust tailpipe heatshield.
6. Fit rear folding step.
7. Fit rear bumper assembly.
Bumper assembly - rear - up to 03MY.
8. Fit loadspace carpet.
9. Connect leads/multiplug to alternator.
10. Connect battery leads, negative lead last.
Нет комментариевНе стесняйтесь поделиться с нами вашим ценным мнением.
Текст