Discovery 2. Manual — part 237
INTERIOR TRIM COMPONENTS
REPAIRS 76-3-11
13. Remove fascia access panel.
REPAIRS, Panel - fascia access - driver's
side.
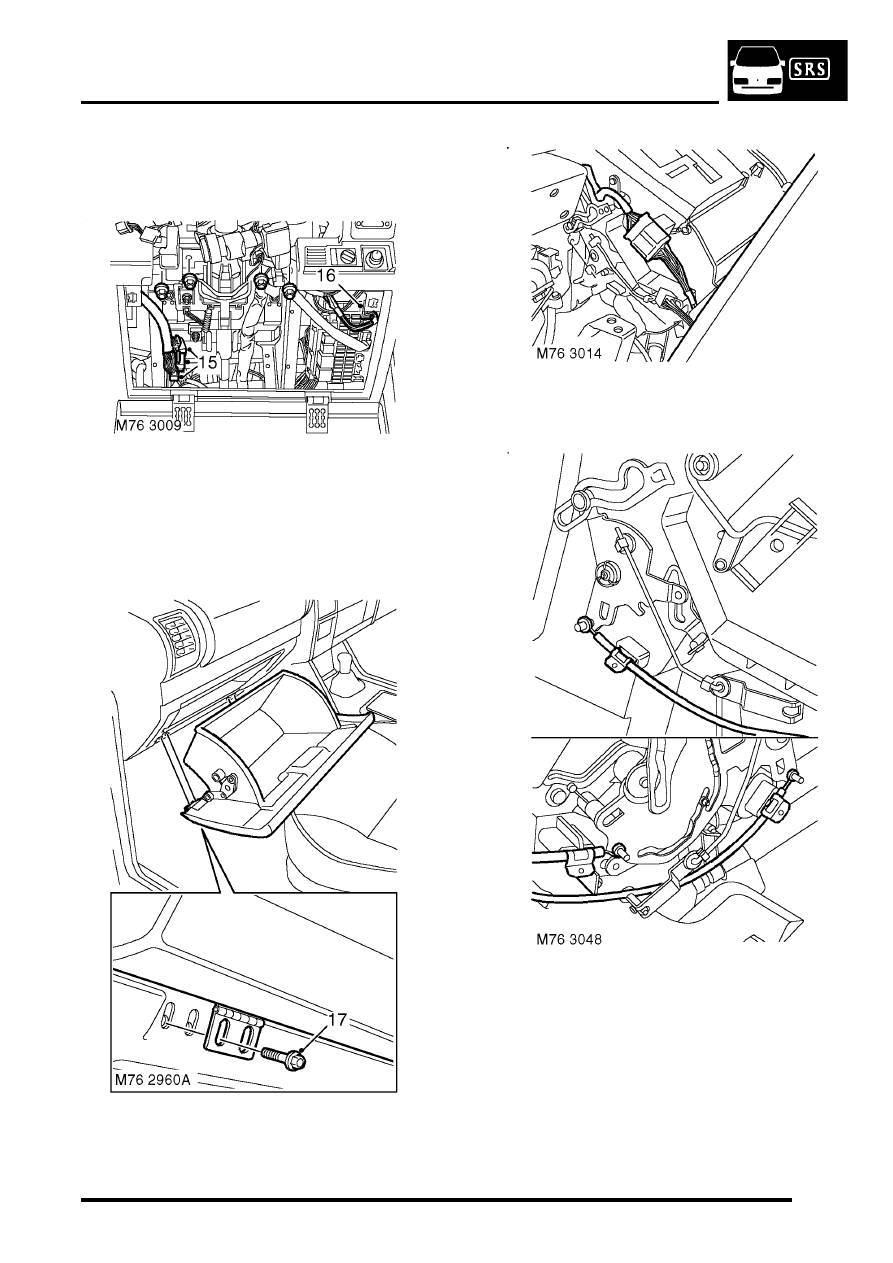
14. Remove 4 nuts securing fascia to steering
column bracket.
15. Disconnect 3 multiplugs connecting main body
harness to fascia harness.
16. Disconnect fascia harness multiplug from fuse
box.
17. Remove 4 bolts securing glove box and remove
glove box.
18. Models with A/C: Disconnect multiplug from
heater controls.
19. Models without A/C: Release temperature
and air distribution control outer cables from
clips on heater casing and disconnect inner
cables from levers.
INTERIOR TRIM COMPONENTS
76-3-12 REPAIRS
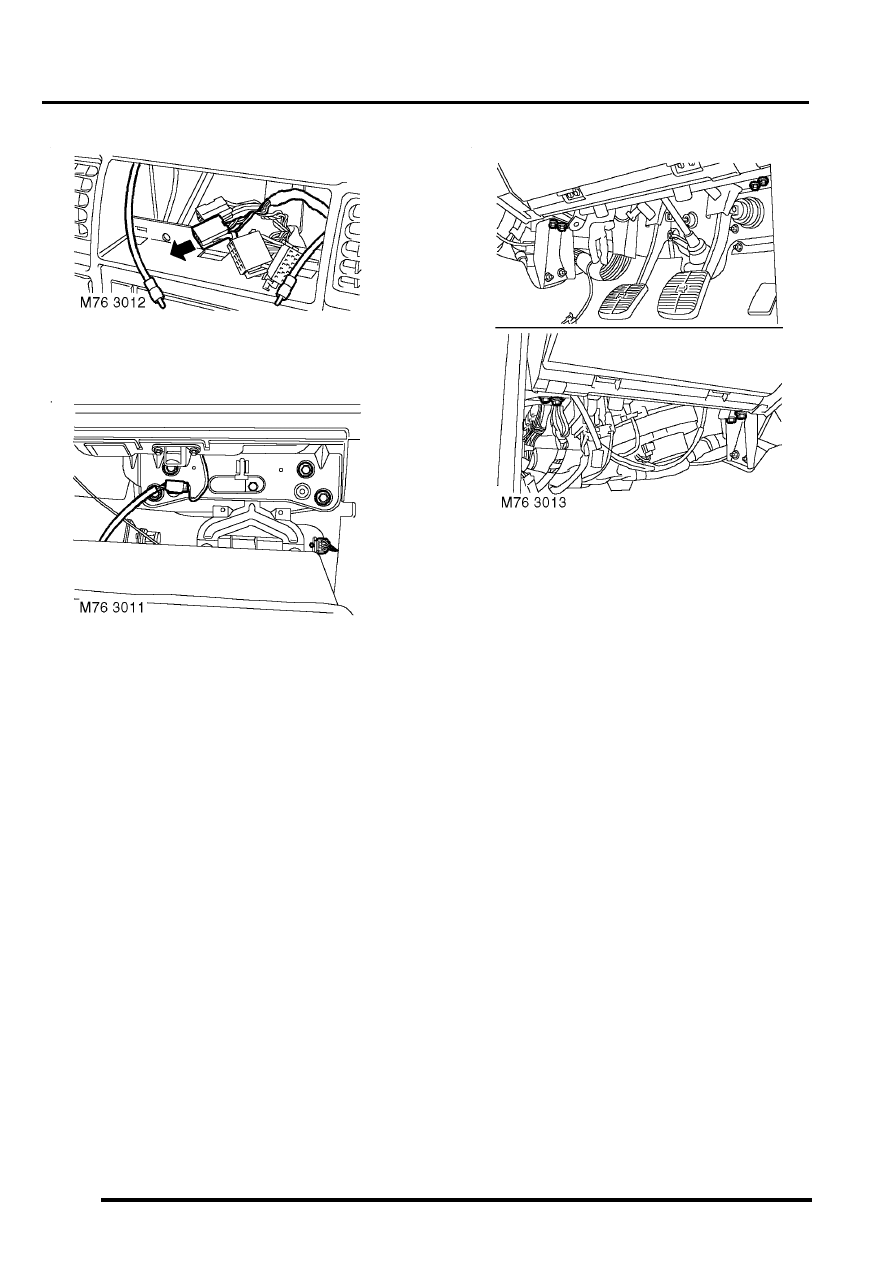
20. Separate blue section from ICE multiplug.
21. Release coaxial cables from fascia panel.
22. Disconnect multiplug from passenger air bag.
23. Disconnect multiplug from blower motor.
24. Working through glove box aperture remove 2
bolts, or 4 bolts if passenger airbag module is
fitted, securing fascia to body.
25. Remove 4 bolts securing lower edge of fascia
to mounting brackets on transmission tunnel.
26. Remove 4 bolts securing lower edge of fascia
to brackets on 'A' post.
27. With assistance carefully remove fascia from
vehicle.
28. If renewing fascia, transfer components to new
fascia as necessary.
Refit
1. With assistance carefully fit fascia and tighten
bolts securing lower edge of fascia to 26 Nm
(19 lbf.ft).
2. Tighten bolts securing fascia to body to 26 Nm
(19 lbf.ft).
3. Fit nuts securingfascia to steering column
bracket to 11 Nm (8 lbf.ft).
4. Secure coaxial cables to fascia and secure blue
multiplug to main ICE multiplug.
5. Models with A/C: Connect heater control
multiplug.
6. Models without A/C: Connect temperature
and air distribution inner cables to heater
control levers. Set temperature control knobs to
fully hot, distribution knob to demist position
and, with flap levers fully closed, secure outer
cables to clips on heater casing.
7. Connect multiplugs to blower motor and
passenger air bag (where fitted).
8. Fit glove box and secure with bolts.
9. Connect fascia harness multiplugs to main
harness and fuse box.
10. Position instrument pack and connect
multiplugs.

INTERIOR TRIM COMPONENTS
REPAIRS 76-3-13
11. Fit instrument pack to fascia and secure with
screws.
12. Position instrument cowl and connect
multiplugs to switches.
13. Fit cowl to clips on fascia and secure with
screws.
14. Fit fascia access panel.
REPAIRS, Panel - fascia access - driver's
side.
15. Fit fascia lower closing panels and secure with
clips.
16. Fit fascia mats.
17. Fit 'A' post trim panels.
18. Fit centre console
l
For models with automatic gearbox:
REPAIRS, Console - centre - automatic
models.
l
For models with manual gearbox:
REPAIRS, Console - centre - manual
models.
19. Fit steering column nacelle.
20. Fit steering wheel.
21. Fit radio cassette player.
22. Connect battery.
INTERIOR TRIM COMPONENTS
76-3-14 REPAIRS
Panel - auxiliary switch
$% 76.46.38
Remove
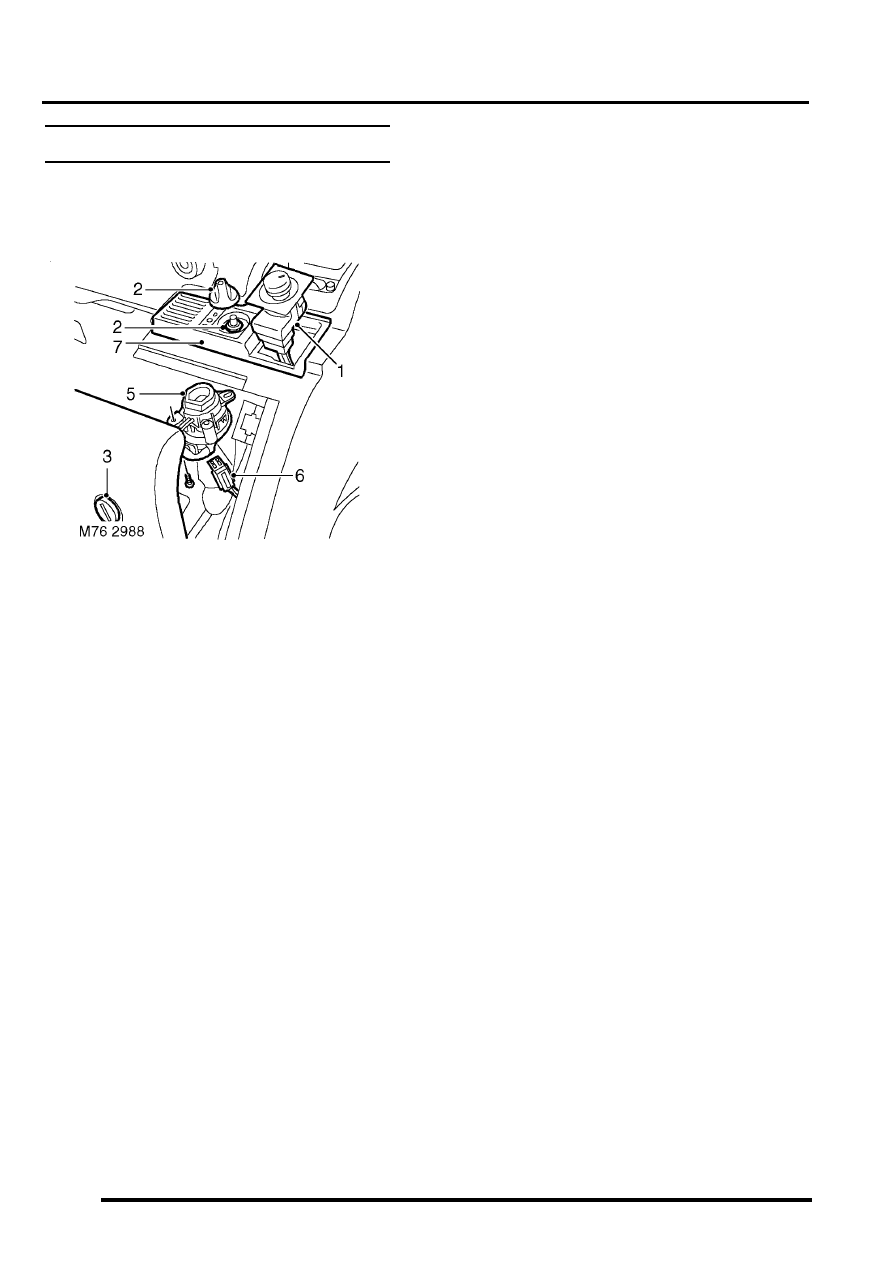
1. Carefully remove electric exterior mirror switch
from auxiliary switch panel and disconnect
multiplug.
2. Models with headlamp levelling: Release
knob and remove nut securing headlamp
levelling switch to auxiliary switch panel.
3. Release 2 fasteners and open fascia access
panel.
4. Models with headlamp levelling: Remove
headlamp levelling switch from auxiliary switch
panel and disconnect multiplug.
5. Models with A/C: Remove 2 screws securing
in-car temperature sensor to auxiliary switch
panel.
6. Models with A/C: Disconnect multiplug from
in-car temperature sensor and remove from
auxiliary switch panel.
7. Release 2 clips securing auxiliary switch panel
to fascia and remove panel.
Refit
1. Position auxiliary switch panel to fascia and clip
into position.
2. Models with A/C: Connect multiplug to in-car
temperature sensor.
3. Models with A/C: Position in-car temperature
sensor to auxiliary switch panel and secure with
screws.
4. Models with headlamp levelling: Position
headlamp levelling switch to auxiliary switch
panel and secure with nut.
5. Models with headlamp levelling: Replace
cap and connect multiplug to headlamp
levelling switch.
6. Connect multiplug to exterior mirror switch and
fit switch to auxiliary switch panel.
Нет комментариевНе стесняйтесь поделиться с нами вашим ценным мнением.
Текст