Subaru Impreza 3 / Impreza WRX / Impreza WRX STI. Service manual — part 711

SE-13
Rear Seat
SEATS
3. Rear Seat
A: REMOVAL
CAUTION:
• Airbag system satellite safing sensor is lo-
cated in the lower of the rear seat cushion cen-
ter. Read the cautions and warnings described
in “AIRBAG SYSTEM” section before removing
the rear seat. <Ref. to AB-5, CAUTION, General
• The airbag system is fitted with a backup
power supply. After disconnecting the battery
ground cable, the airbag may operate if you do
not wait for 60 seconds before starting the ser-
vice of airbag system.
1) Disconnect the ground cable from battery, and
wait for 60 seconds or more before starting work.
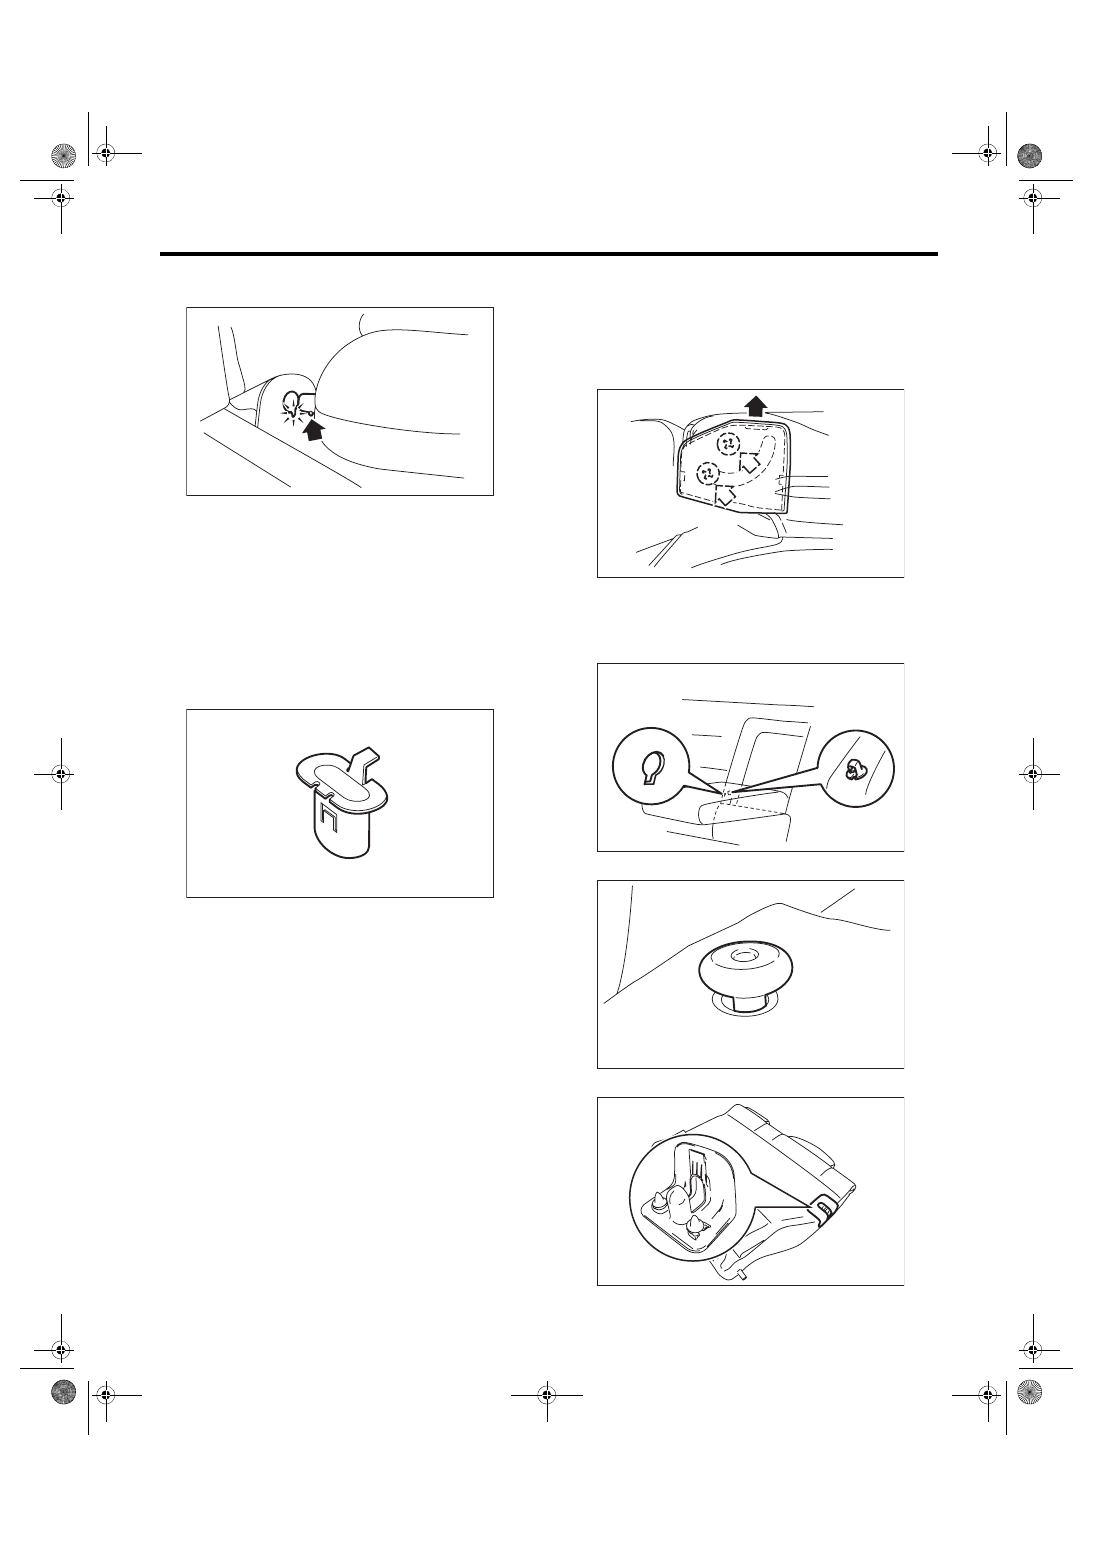
2) Remove the rear seat cushion.
(1) Push the corners of the seat cushion from
above.
(2) While pushing the corners of the seat cush-
ion from above, pull the knob of the seat cush-
ion hook towards yourself.
(3) While pulling the knob towards yourself, dis-
connect the hooks by lifting up the seat cushion.
(4) Pull up the front center part of the seat cush-
ion and disconnect the center hook.
CAUTION:
If the center hook is disconnected from the ve-
hicle body, replace the hook with the new part
to prevent the decline of the fixed force of the
seat.
(5) Remove the hook (A) by pushing it back
while lifting the front side of the seat cushion,
and remove the seat cushion.
3) Remove the headrest, and then tilt the backrest
forward.
4) Remove the luggage floor mat. (5 door model)
5) Turn over the mat to remove the bolt.
SE-01644
(1)
(1)
(3)
(4)
(3)
(2)
(2)
SE-00937
SE-00826
(A)
SE-00488
SE-14
Rear Seat
SEATS
6) Remove the backrest from the hinge assembly
LH (hinge assembly RH). (5 door model)
NOTE:
The backrests cannot be detached while pin posi-
tions of the hinge assembly and backrests are not
aligned.
B: INSTALLATION
CAUTION:
If the center hook is disconnected from the ve-
hicle body, replace the hook with the new part
to prevent the decline of the fixed force of the
seat.
Install each part in the reverse order of removal.
Tightening torque:
Refer to “COMPONENT” of “General Descrip-
tion”. <Ref. to SE-4, REAR SEAT, COMPO-
C: DISASSEMBLY
1) Remove the rear seat. <Ref. to SE-13, REMOV-
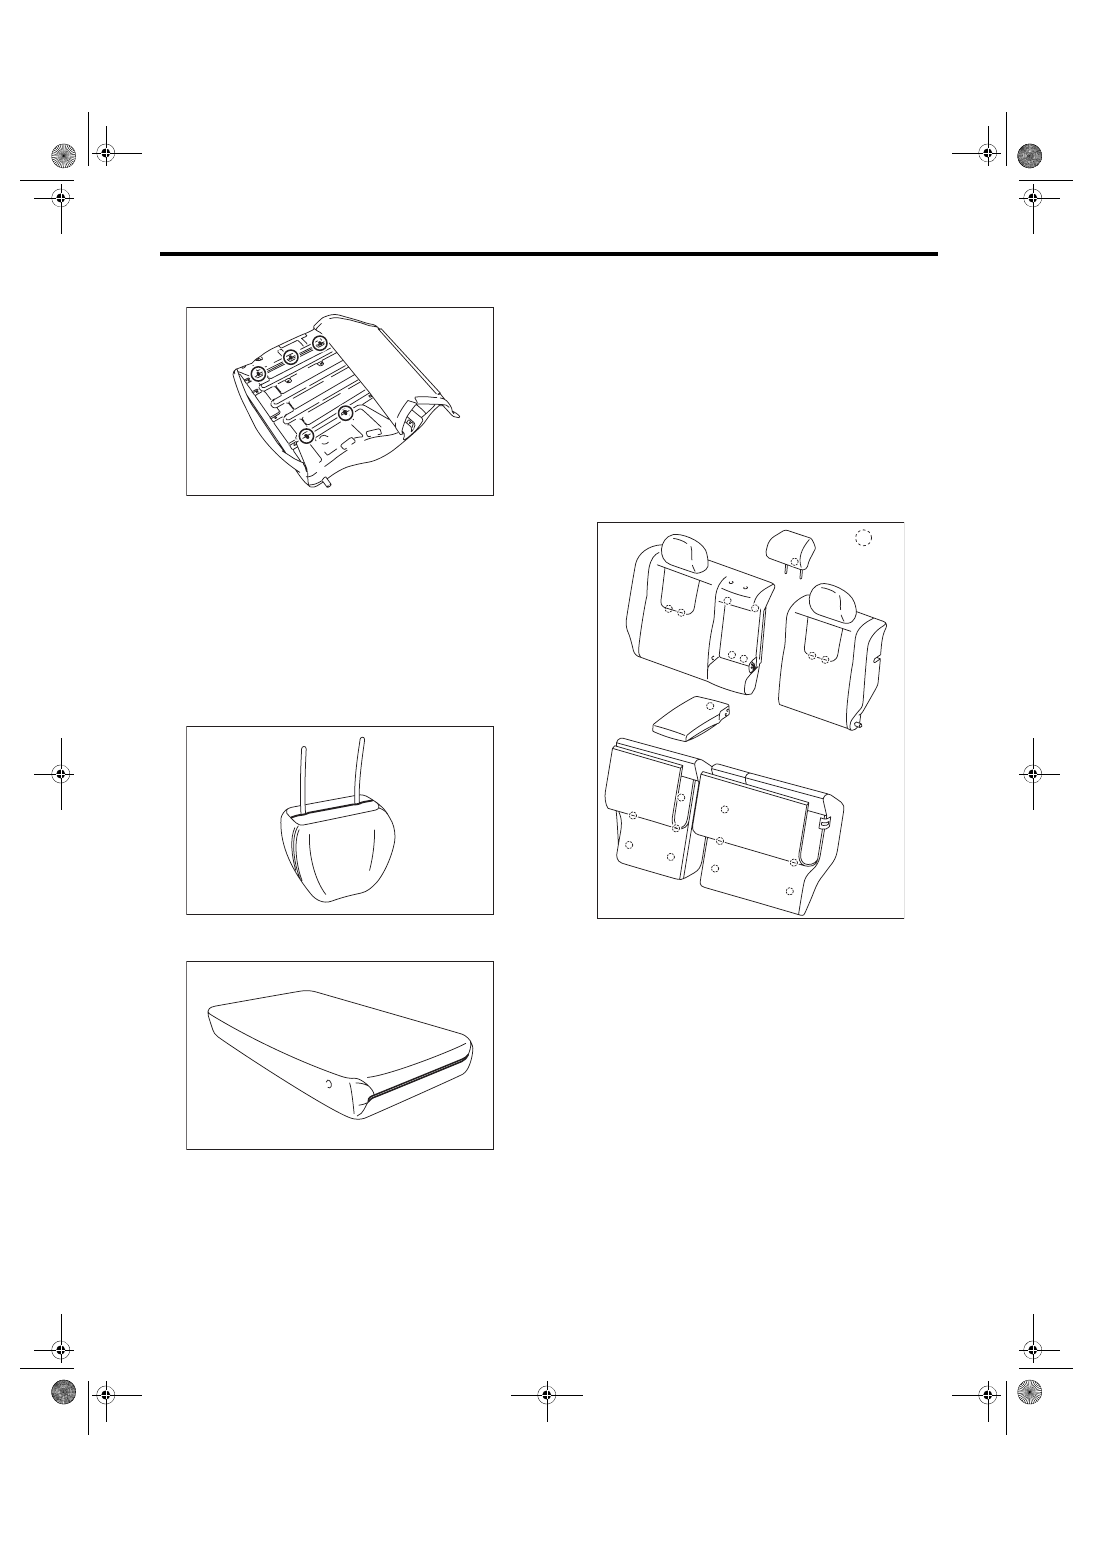
2) Remove the armrest hinge cover in the direction
of arrow (black), and loosen the screws to remove
the armrest. (4 door model)
NOTE:
The armrests cannot be detached while the back-
rest assembly RH and armrest side pin positions
are not aligned.
3) Remove the backrest knob. (Screw-in type)
4) Remove the seat back latch cover.
SE-00827
SE-00937
SE-00776
SE-00777
SE-00778
SE-00775
SE-15
Rear Seat
SEATS
5) Turn over the backrest cover, and remove the
hog rings.
6) Remove all the hog rings which fix the backrest
frame and backrest pad.
7) Remove the headrest bushing.
8) Remove the backrest pad and backrest cover
from the backrest frame.
9) Disassemble the backrest assembly LH follow-
ing the procedures described above.
10) Remove all the hog rings of the seat cushion,
and separate the seat cushion cover and seat
cushion pad.
11) Open the plastic fastener, and then remove the
headrest cover from the headrest.
12) Remove the plastic fastener and hog rings, and
then remove the armrest cover. (4 door model)
D: ASSEMBLY
CAUTION:
• Do not reuse hog rings.
• Secure the hog ring using hog ring pliers.
• Install the hog rings to the specified points
securely and make sure that there is no wrinkle
or twisting on backrest cover.
1) Assemble the seat cover in the same manner as
the front seat. <Ref. to SE-9, ASSEMBLY, Front
2) Make sure that all hog rings (A) are attached se-
curely.
• Backrest (4 door model)
SE-00774
SE-00342
SE-00356
SE-01355
: A

SE-16
Rear Seat
SEATS
• Backrest (5 door model)
• Seat cushion (fabric seat)
• Seat cushion (leather seat)
3) Assemble each part in the reverse order of dis-
assembly.
NOTE:
• Do not contaminate or damage the cover.
• While installing the hog rings, prevent the seat
from getting wrinkled.
SE-01354
: A
SE-01356
: A
SE-01357
: A
Нет комментариевНе стесняйтесь поделиться с нами вашим ценным мнением.
Текст