Subaru Legacy (2005 year). Service manual — part 939
WW-13
WIPER AND WASHER SYSTEMS
Wiper Blade
4. Wiper Blade
A: REMOVAL
CAUTION:
When replacing the wiper blade, if standing up
the wiper arm, be sure to stand up the driver’s
side wiper arm first, and then passenger’s side
wiper arm next. Also, when putting the wiper
arms back, be sure to start with passenger’s
side first, then driver’s side next. Doing this in
the reverse order may result in damage of pas-
senger’s side wiper arm by hitting with driver’s
side wiper blade.
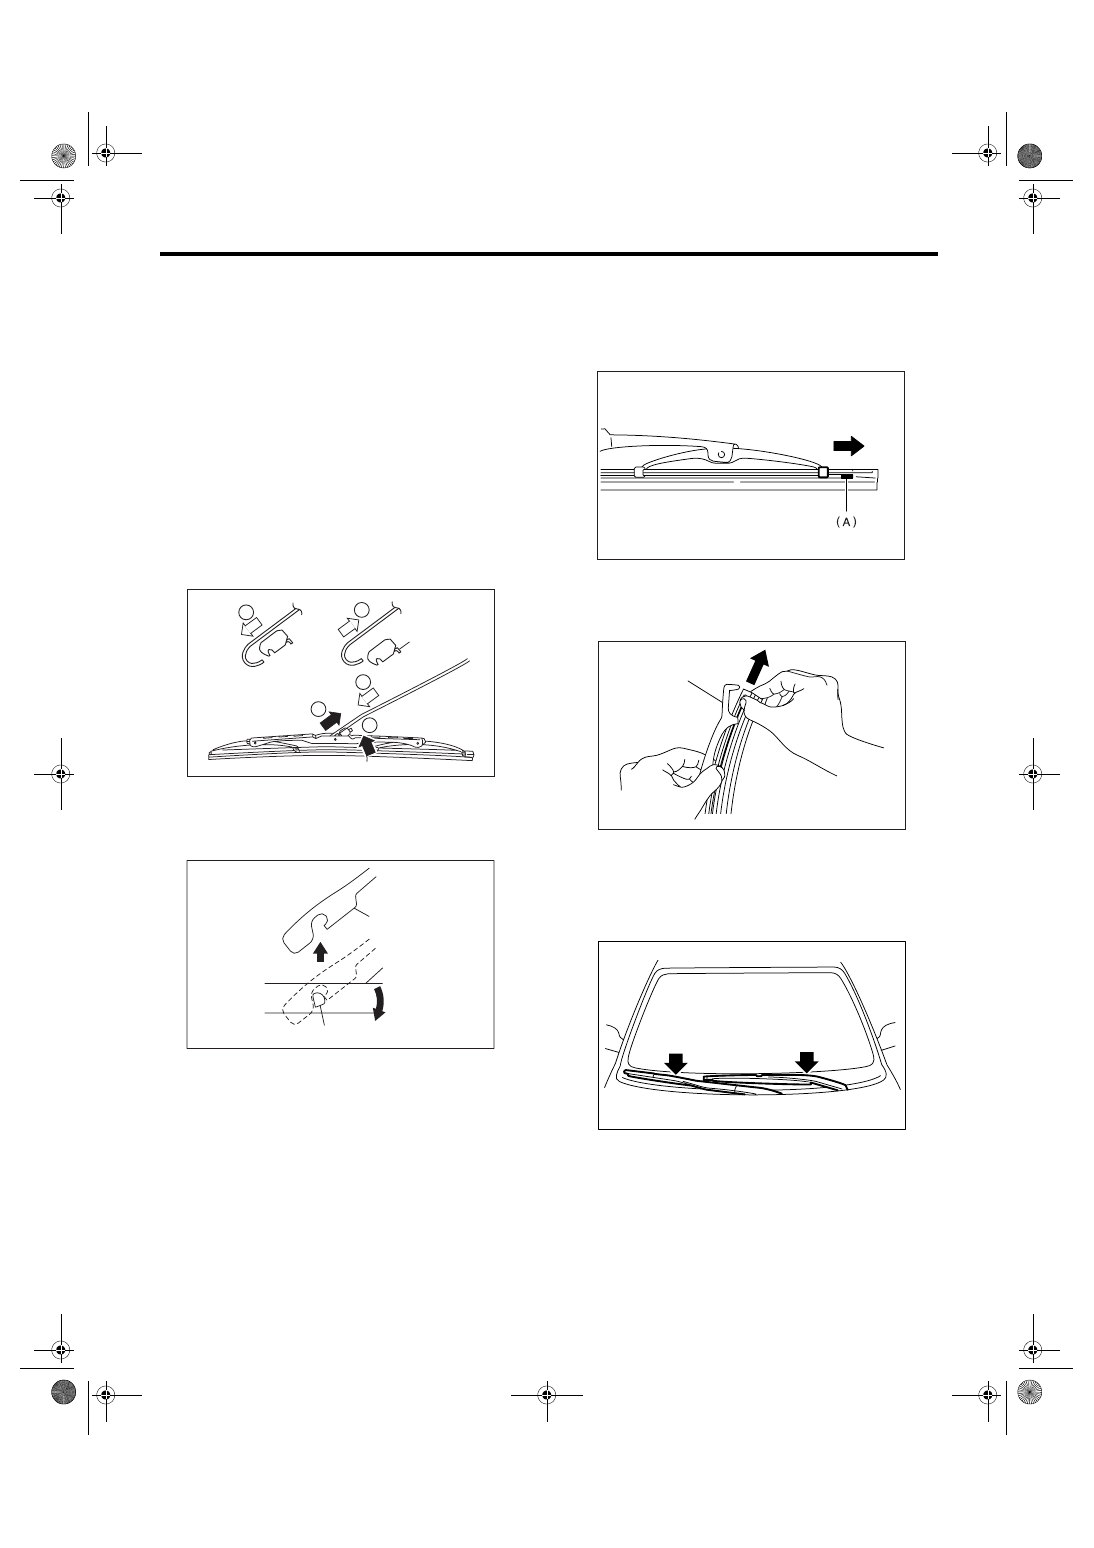
1. FRONT
While pushing the locking clip (A) up, pull out the
blade from arm to arrow direction.
2. REAR
Turn the blade in the direction of the arrow (A) and
remove it from arm.
B: INSTALLATION
1) Install in the reverse order of removal.
2) Confirm that the clip is locked securely.
C: DISASSEMBLY
1. METAL TYPE
Pull side (A) of the wiper rubber stopper and re-
move the rubber from blade assembly.
2. RESIN TYPE
Pull the wiper rubber top slightly from stopper (A)
and pull out fully.
D: ASSEMBLY
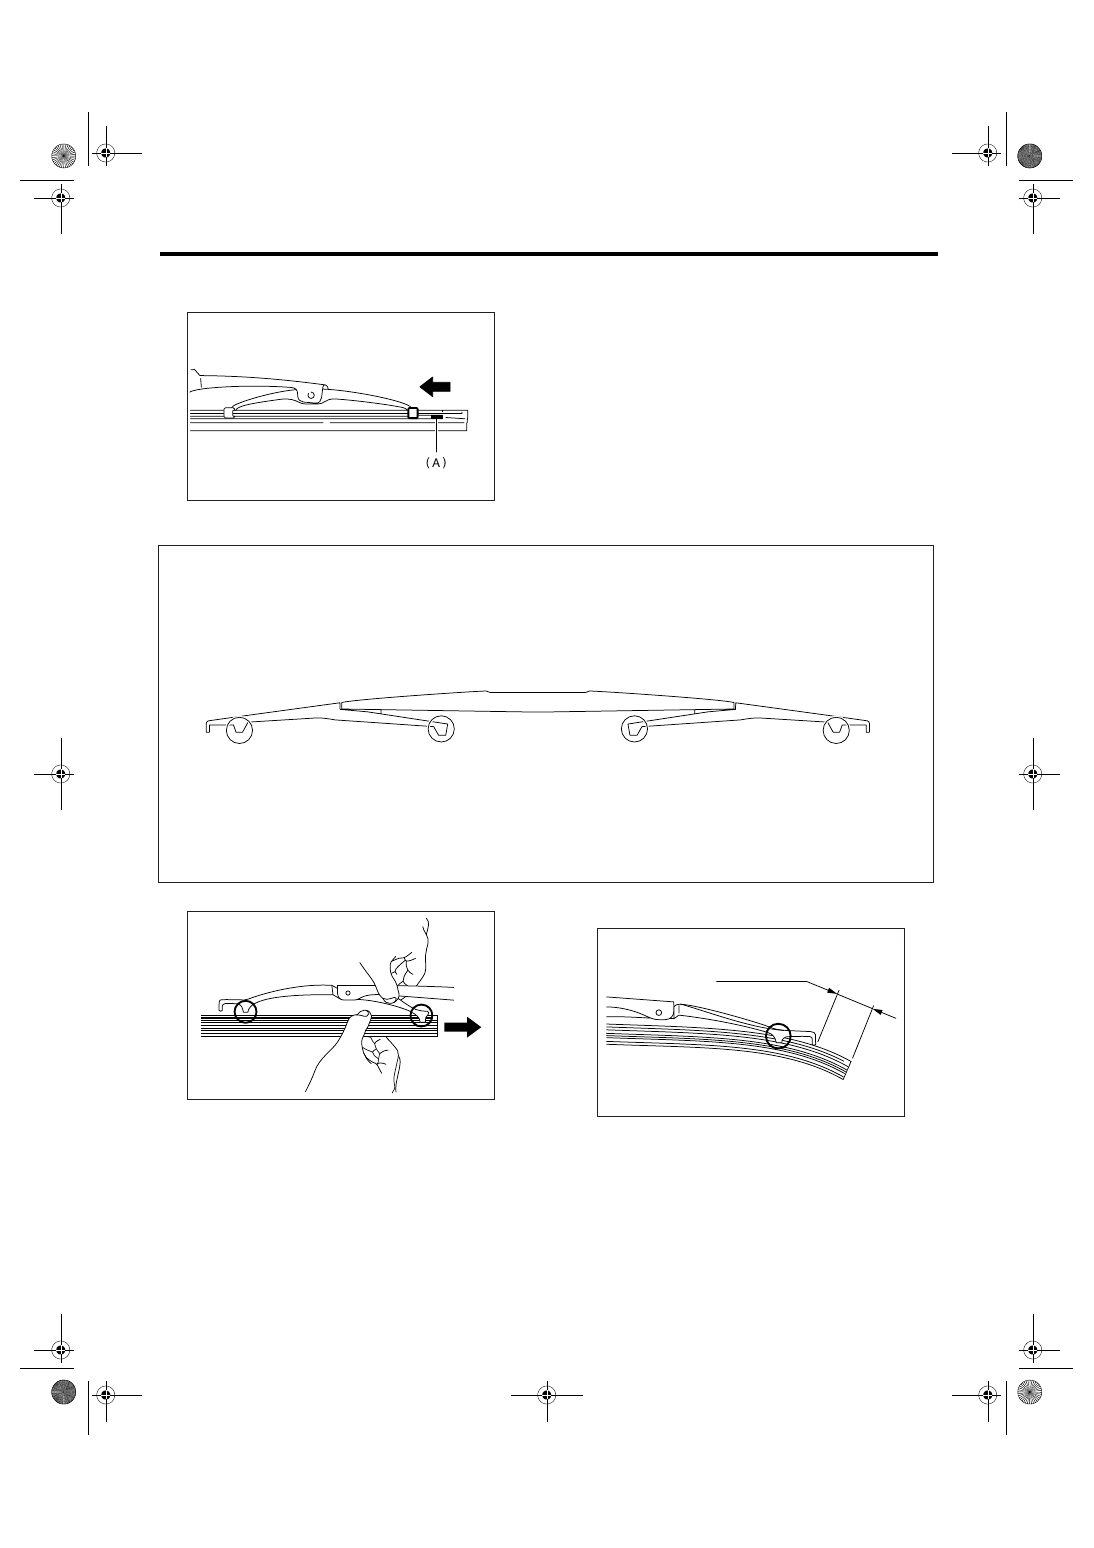
1. METAL TYPE
1) Insert the wiper rubber onto blade so that the
stopper is in the position shown in the figure.
(A) Turn the wiper blade.
(1) Wiper arm
(2) Wiper Blade
(3) Installing part of wiper blade
WW-00064
1
2
2
3
3
(A)
(1)
(2)
(3)
(A)
WW-00207
WW-00009
WW-00143
(A)
WW-00230
WW-14
WIPER AND WASHER SYSTEMS
Wiper Blade
2) Make sure the wiper rubber is securely fastened
to the pull stopper (A).
2. RESIN TYPE
1) Insert the wiper rubber through the claw (B).
2) Insert the wiper rubber until its top end protrudes
approx. 20 mm (0.79 in) from stopper (D).
WW-00037
WW-00193
A
B
C
D
WW-00145
A
B
WW-00146
D
20 mm ( 0.79 in. )
WW-15
WIPER AND WASHER SYSTEMS
Wiper Blade
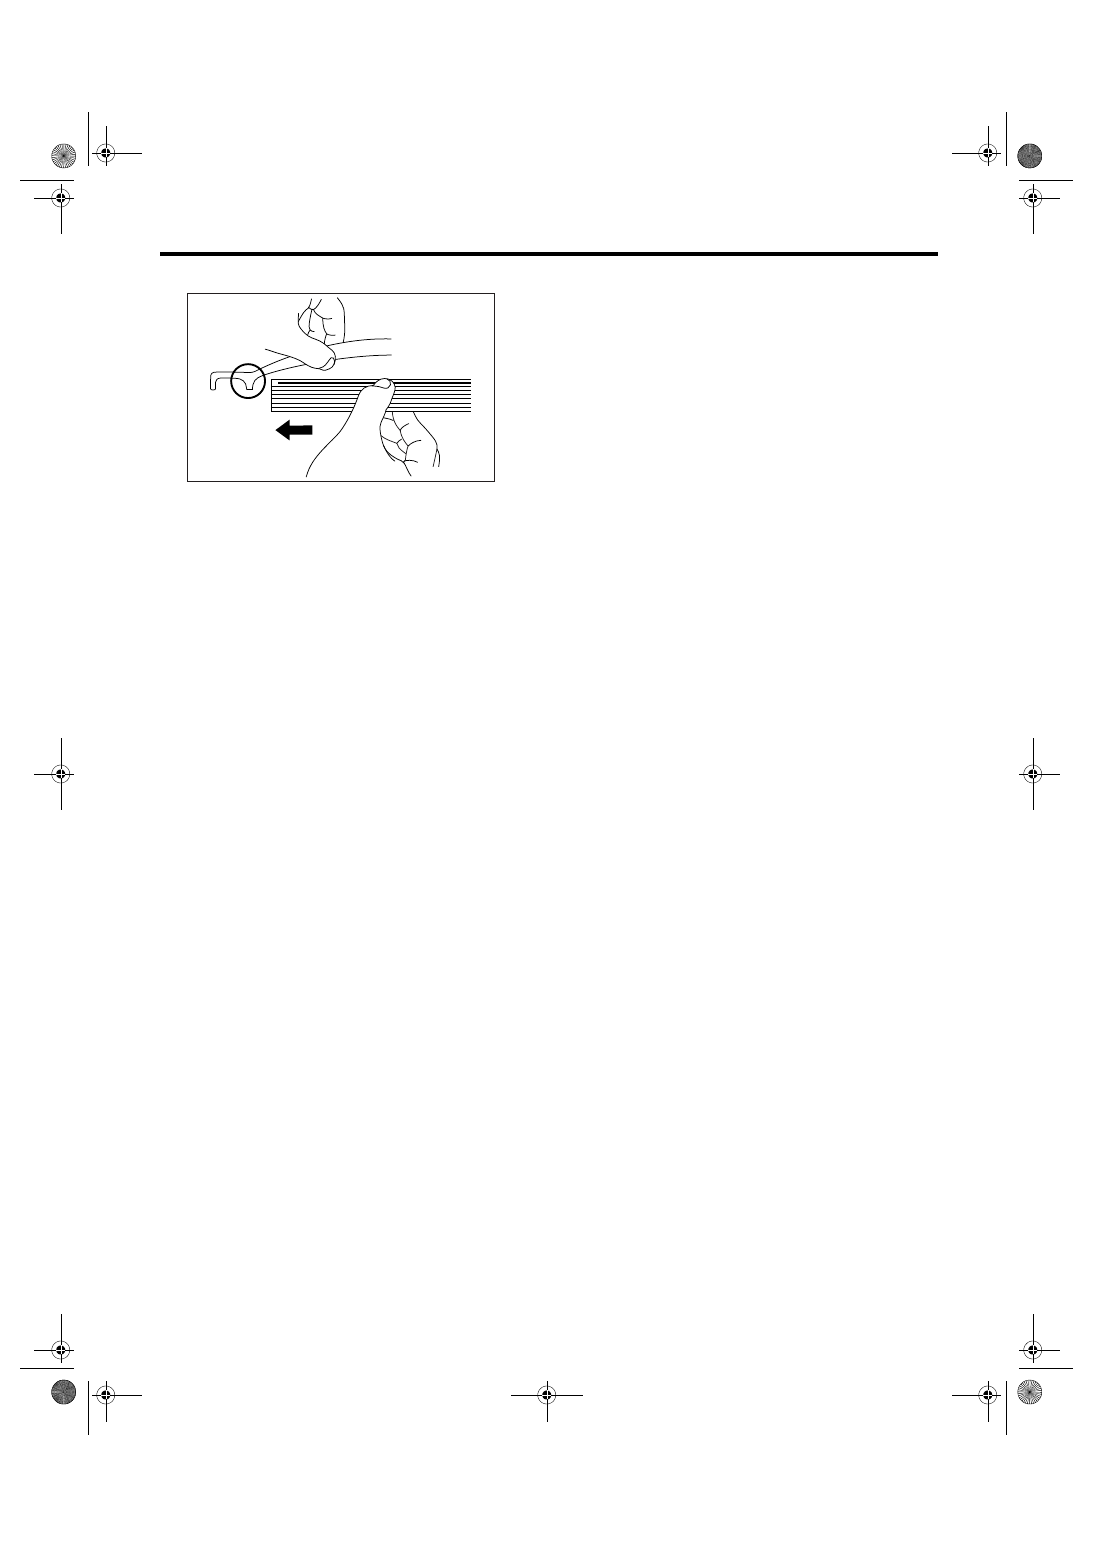
3) Insert the wiper rubber into the claw (A).
E: INSPECTION
1) When the wiper does not perform well, inspect
the followings:
• Make sure the movable part of the wiper blade
assembly moves smoothly.
• Make sure the wiper rubber is not deformed or
damaged.
2) If damaged, replace with new one.
A
WW-00147
WW-16
WIPER AND WASHER SYSTEMS
Washer Tank and Motor
5. Washer Tank and Motor
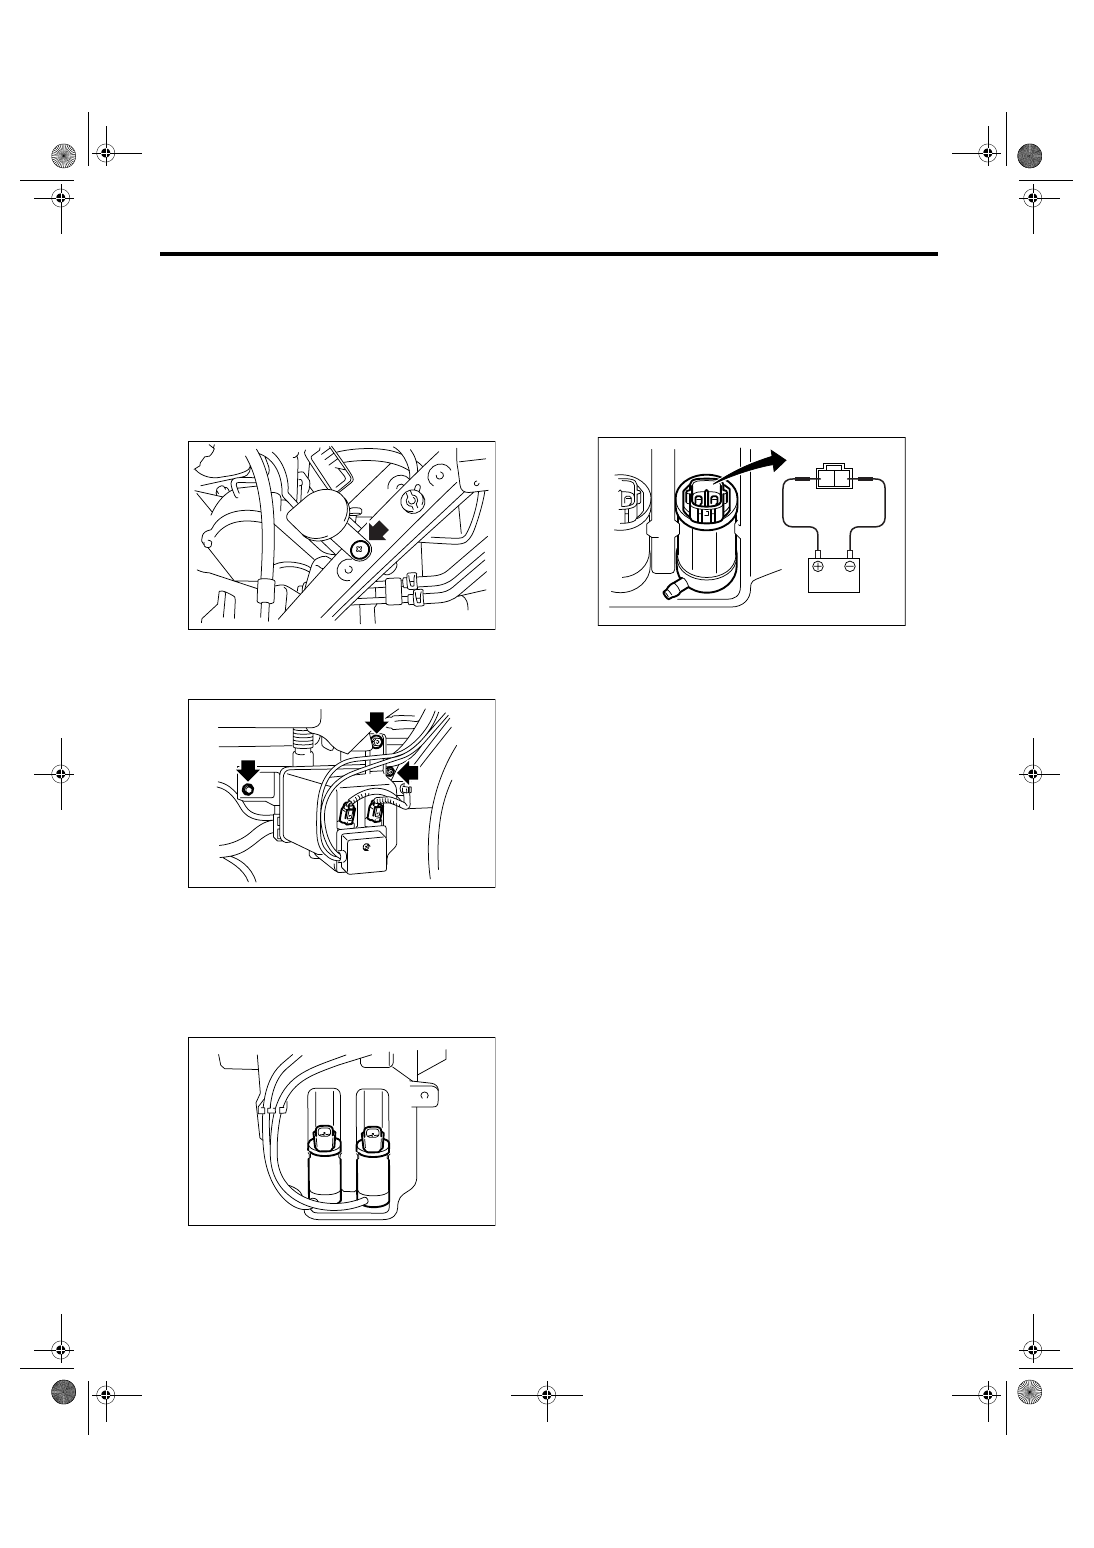
A: REMOVAL
1) Open the front hood.
2) Disconnect the ground cable from battery.
3) Remove the front bumper. <Ref. to EI-30, RE-
MOVAL, Front Bumper.>
4) Remove the clip holding washer water supply
tap.
5) Remove the two bolts and one nut, hose, con-
nector and washer motor cover, and then remove
the washer tank.
B: INSTALLATION
Install in the reverse order of removal.
Tightening torque:
6.0 N
⋅
m (0.61 kgf-m, 4.3 ft-lb)
C: DISASSEMBLY
Pull out the washer motor from tank.
D: ASSEMBLY
1) Assemble in the reverse order of disassembly.
2) Confirm that water does not leak from installa-
tion area of motor.
E: INSPECTION
Apply battery voltage to the connector terminal of
the washer motor and make sure the motor oper-
ates.
WW-00170
WW-00171
WW-00172
WW-00173
1
2
Нет комментариевНе стесняйтесь поделиться с нами вашим ценным мнением.
Текст