Subaru Legacy III (2000-2003 year). Service manual — part 548
AT-86
AUTOMATIC TRANSMISSION
EXTENSION CASE
25.Extension Case
A: REMOVAL
1) Remove the transmission assembly. <Ref. to
AT-39, REMOVAL, Automatic Transmission As-
sembly.>
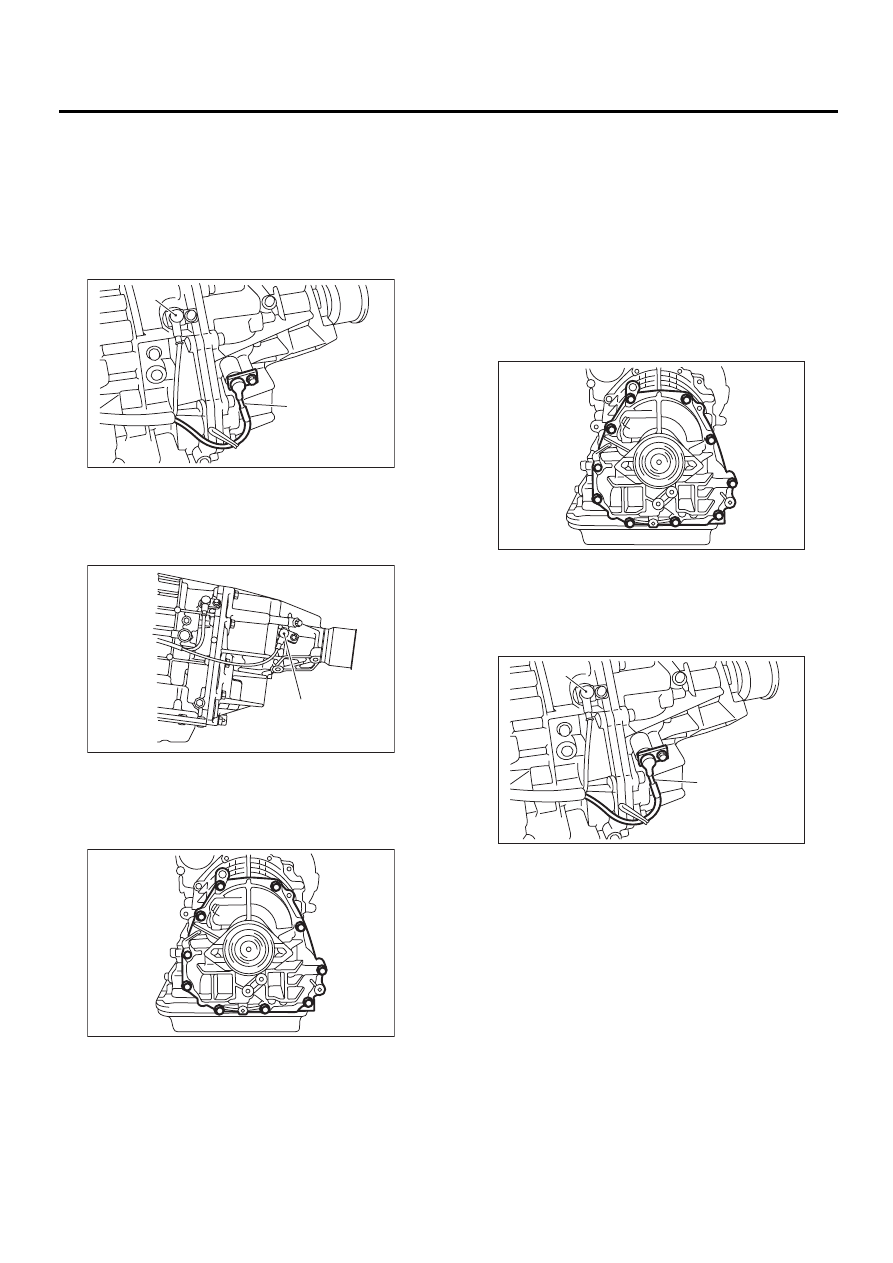
2) Remove rear vehicle speed sensor.
• MPT model
• VTD model
3) Separate transmission case and extension case
sections.
B: INSTALLATION
1) Attach the selected thrust needle bearing to the
end surface of reduction drive gear with vaseline.
NOTE:
Install thrust needle bearing in the correct direction.
2) Install new gasket.
3) Install the extension case to the transmission
case.
4) Tighten bolts to secure the case.
Tightening torque:
25 N·m (2.5 kgf-m, 18.1 ft-lb)
5) Install the rear vehicle speed sensor.
Tightening torque:
7 N·m (0.7 kgf-m, 5.1 ft-lb)
• MPT model
(A) Rear vehicle speed sensor
(B) Front vehicle speed sensor
(A) Rear vehicle speed sensor
AT-00116
( A )
( B )
AT-00710
( A )
AT-00118
(A) Rear vehicle speed sensor
(B) Front vehicle speed sensor
AT-00118
AT-00116
( A )
( B )
AT-87
AUTOMATIC TRANSMISSION
EXTENSION CASE
• VTD model
6) Install the transmission assembly. <Ref. to AT-
42, INSTALLATION, Automatic Transmission As-
sembly.>
C: DISASSEMBLY
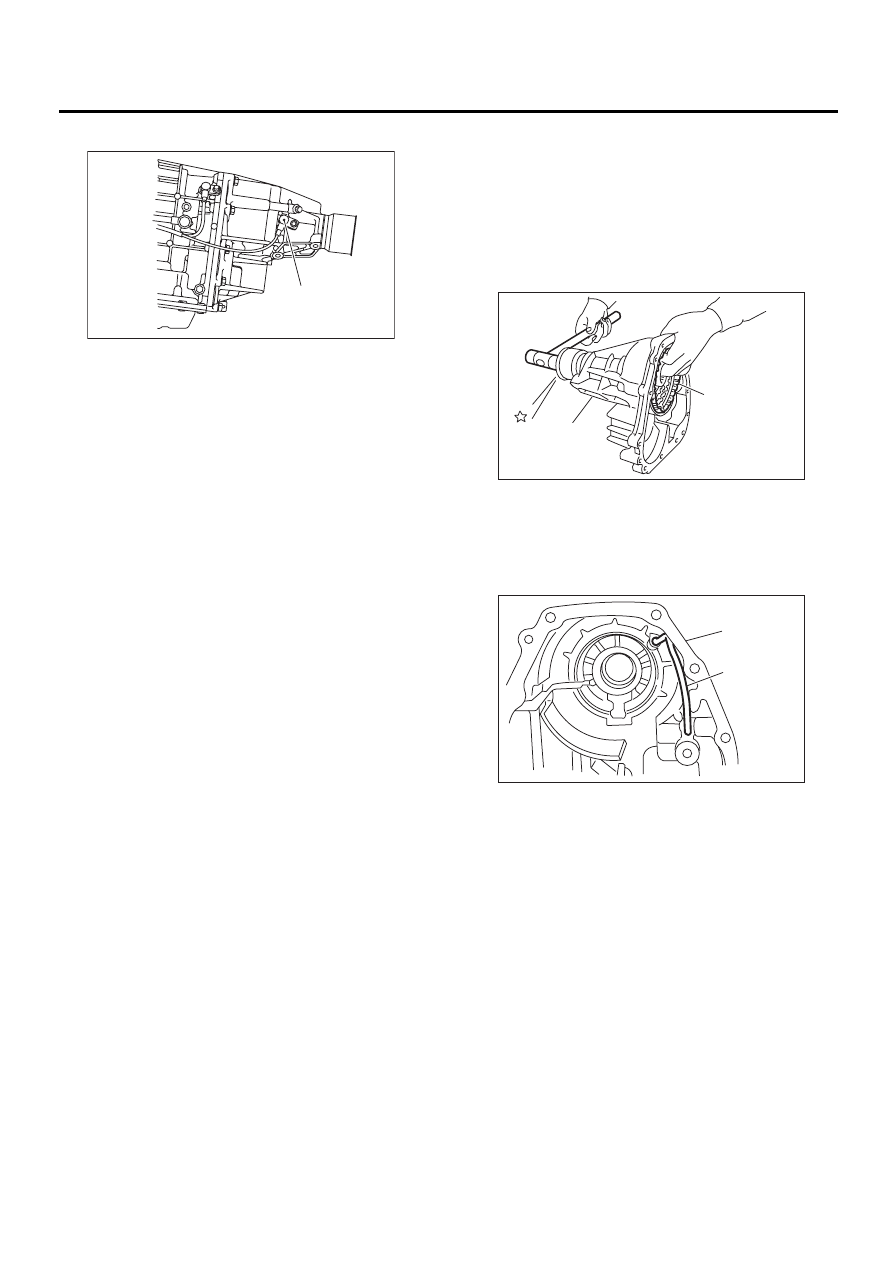
1. MPT MODEL
1) Take out the transfer clutch by lightly tapping the
end of the rear drive shaft.
NOTE:
Be careful not to damage the oil seal in the exten-
sion.
2) Remove the transmission clutch pipe without
bending pipe.
2. VTD MODEL
1) Remove snap ring using ST1, ST2, ST3 and a
press.
ST1
398673600
COMPRESSOR
ST2
498627100
SHEAT
(A) Rear vehicle speed sensor
AT-00710
( A )
(A) Extension case
(B) Transfer clutch
(A) Extension case
(B) Transfer clutch pipe
AT-00119
( A )
( B )
AT-00120
( A )
( B )
AT-88
AUTOMATIC TRANSMISSION
EXTENSION CASE
ST3
398663600
PLYER
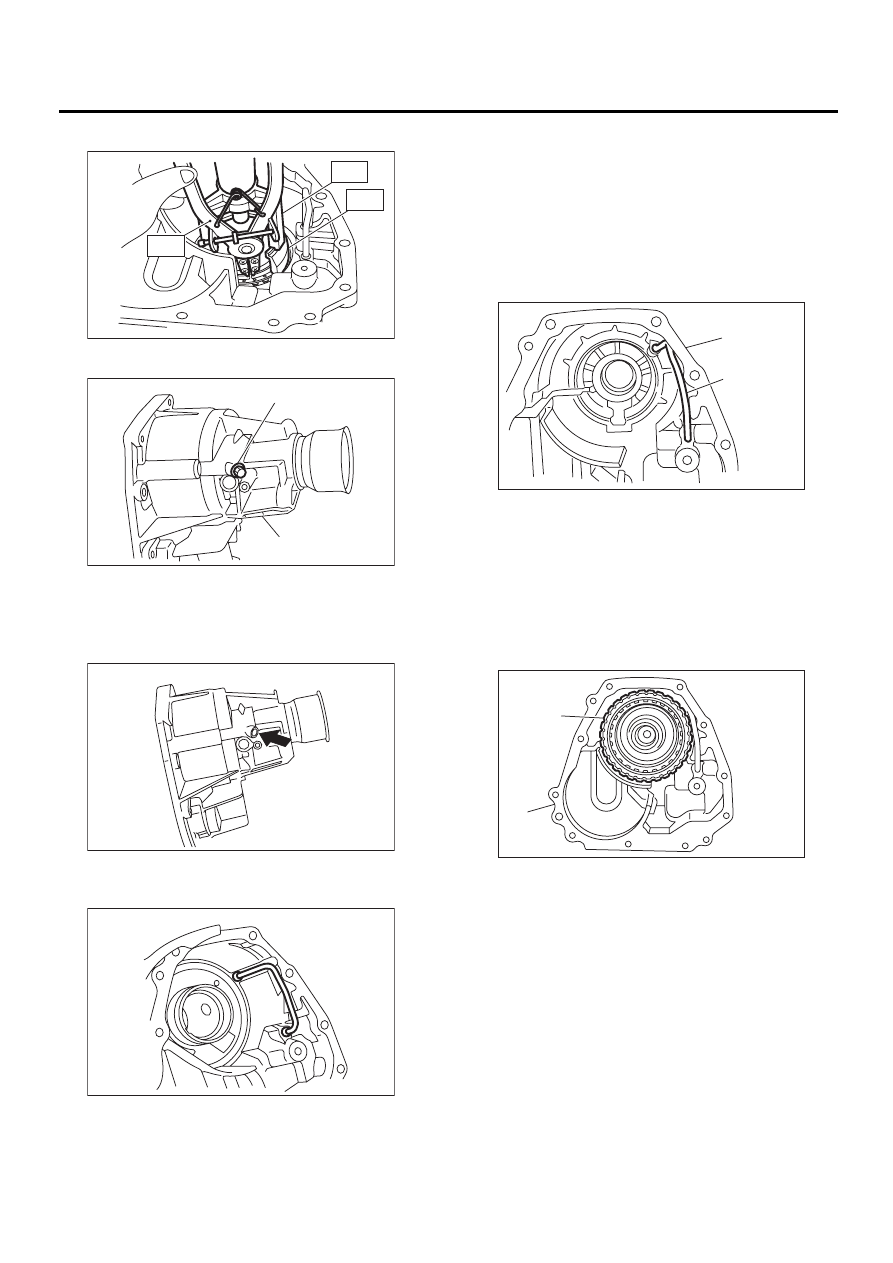
2) Remove test pulg.
3) Remove clutch piston using compressed air.
4) Pay attention, not to bend pipe, and remove
transfer clutch pipe.
5) Remove the dust cover from the extension case.
6) Remove the oil seal from the extension case.
D: ASSEMBLY
1. MPT MODEL
1) Using the ST and a press, press in a new oil
seal.
ST
498057300
INSTALLER
2) Press in the dust cover.
3) Install the transfer clutch pipe to extension case
without bending pipe.
4) Install the transfer clutch assembly to the case.
NOTE:
• Be careful not to damage the seal rings.
• Insert the clutch assembly fully into position until
the bearing shoulder bottoms.
2. VTD MODEL
1) Press new oil seal using ST and a press.
ST
498057300
INSTALLER
2) Press dust cover.
(A) Extension case
(B) Test plug
AT-00121
ST3
ST1
ST2
AT-00122
( A )
( B )
AT-00123
AT-00124
(A) Extension case
(B) Transfer clutch pipe
(A) Transfer clutch
(B) Extension case
AT-00120
( A )
( B )
AT-00125
( A )
( B )
AT-89
AUTOMATIC TRANSMISSION
EXTENSION CASE
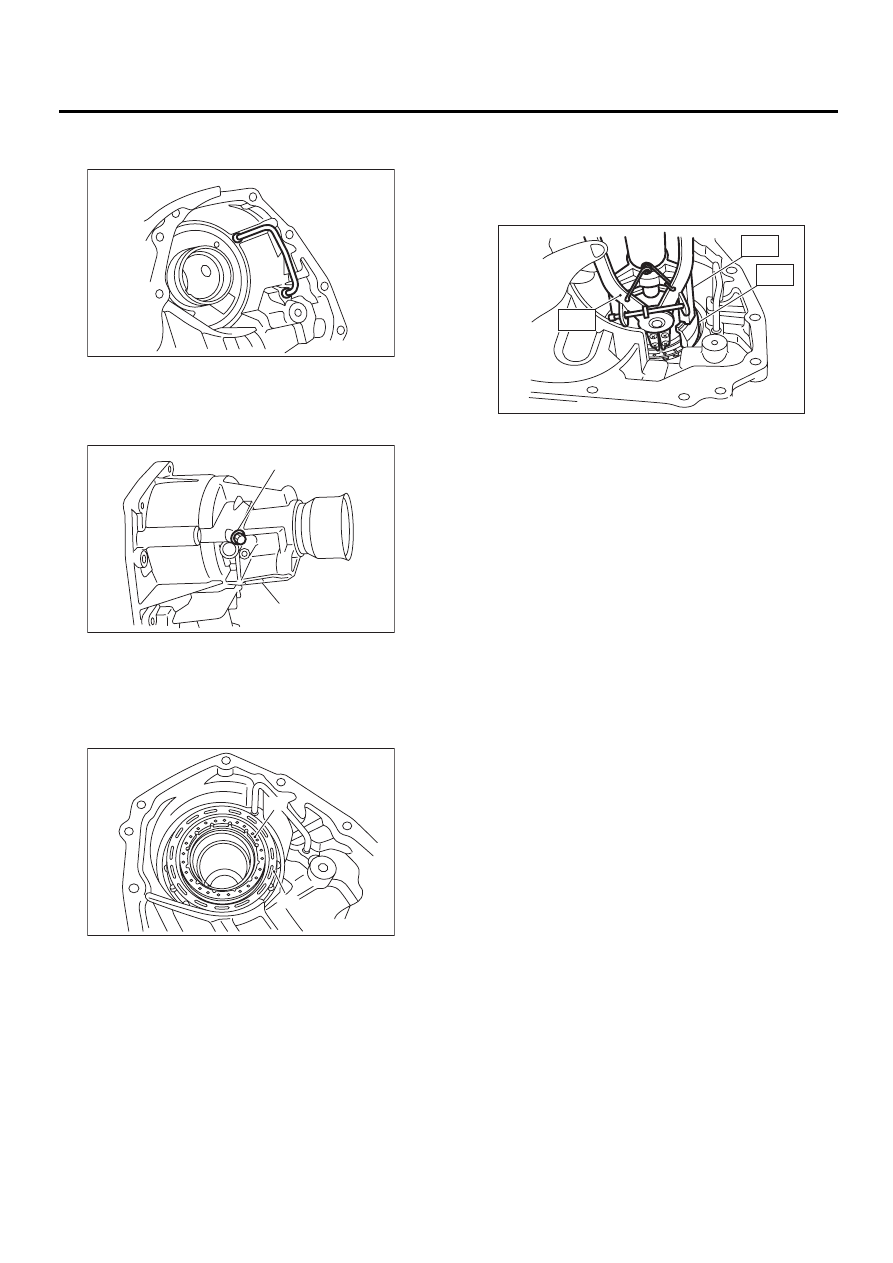
3) Install the transfer clutch pipe onto the extension
case, taking care not to bend the pipe.
4) Install the test plug.
Tightening torque:
13 N·m (1.3 kgf-m, 9.4 ft-lb)
5) Insert the multi-plate clutch, drive plates, driven
plates, and spring retainer.
6) Install the snap ring using special tools 1, 2, and
3.
ST1
398673600
COMPRESSOR
ST2
498627100
SEAT
ST3
398663600
PLIERS
E: INSPECTION
• Use forced air to make sure the transfer pipe and
extension case routes are not clogged and do not
leak.
• Measure the extension end play and adjust it to
within specifications.
MPT model
<Ref. to AT-94, MPT MODEL, ADJUSTMENT,
Transfer Clutch.>
VTD model
<Ref. to AT-95, VTD MODEL, ADJUSTMENT,
Transfer Clutch.>
(A) Test plug
(B) Extension case
(A) Spring retainer
(B) Multi-plate clutch (LSD) piston assembly
AT-00124
AT-00122
( A )
( B )
( A )
( B )
AT-00126
AT-00121
ST3
ST1
ST2
Нет комментариевНе стесняйтесь поделиться с нами вашим ценным мнением.
Текст