Subaru Legacy III (2000-2003 year). Service manual — part 968

SL-28
SECURITY AND LOCKS
REAR GATE LATCH ASSEMBLY
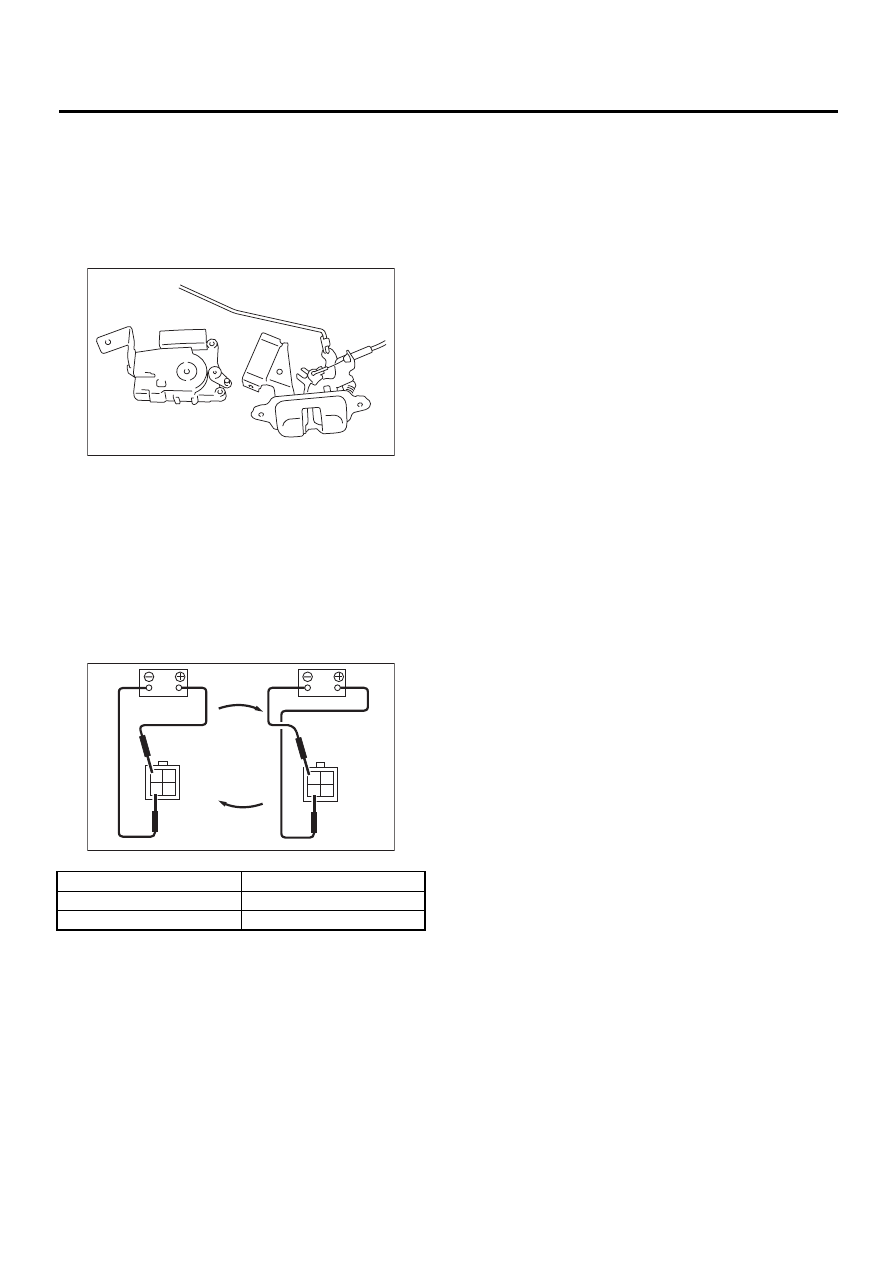
13.Rear Gate Latch Assembly
A: REMOVAL
1) Disconnect ground cable from battery.
2) Remove the rear gate lower trim. <Ref. to EI-44,
REMOVAL, Rear Gate Trim.>
3) Remove the rear gate key cylinder rod.
4) Remove the rear gate outer handle. <Ref. to SL-
27, REMOVAL, Rear Gate Outer Handle.>
5) Remove the three bolts.
6) Remove the two connectors and pull out the
latch.
B: INSTALLATION
Install in the reverse order of removal.
NOTE:
Make sure the lock works properly after installation.
C: INSPECTION
1) Make sure the rod is not deformed.
2) Make sure the lever and rod work smoothly.
SL-00082
SL-29
SECURITY AND LOCKS
REAR GATE LATCH LOCK ACTUATOR
14.Rear Gate Latch Lock Actua-
tor
A: REMOVAL
1) Remove the rear gate latch assembly. <Ref. to
SL-28, REMOVAL, Rear Gate Latch Assembly.>
2) Remove the rear gate lock actuator.
B: INSTALLATION
Install in the reverse order of removal.
NOTE:
Make sure the lock works properly after installation.
C: INSPECTION
1) Disconnect the door lock actuator harness con-
nector.
2) Connect the battery to the door lock actuator ter-
minals.
If NG, replace the rear gate latch lock actuator.
Terminal No.
Actuator operation
No. 2 (+) and No. 4 (–)
Unlocked
→
Locked
No. 4 (+) and No. 2 (–)
Locked
→
Unlocked
SL-00083
SL-00076
2 1
4 3
2 1
4 3
SL-30
SECURITY AND LOCKS
TRUNK LID LOCK ASSEMBLY
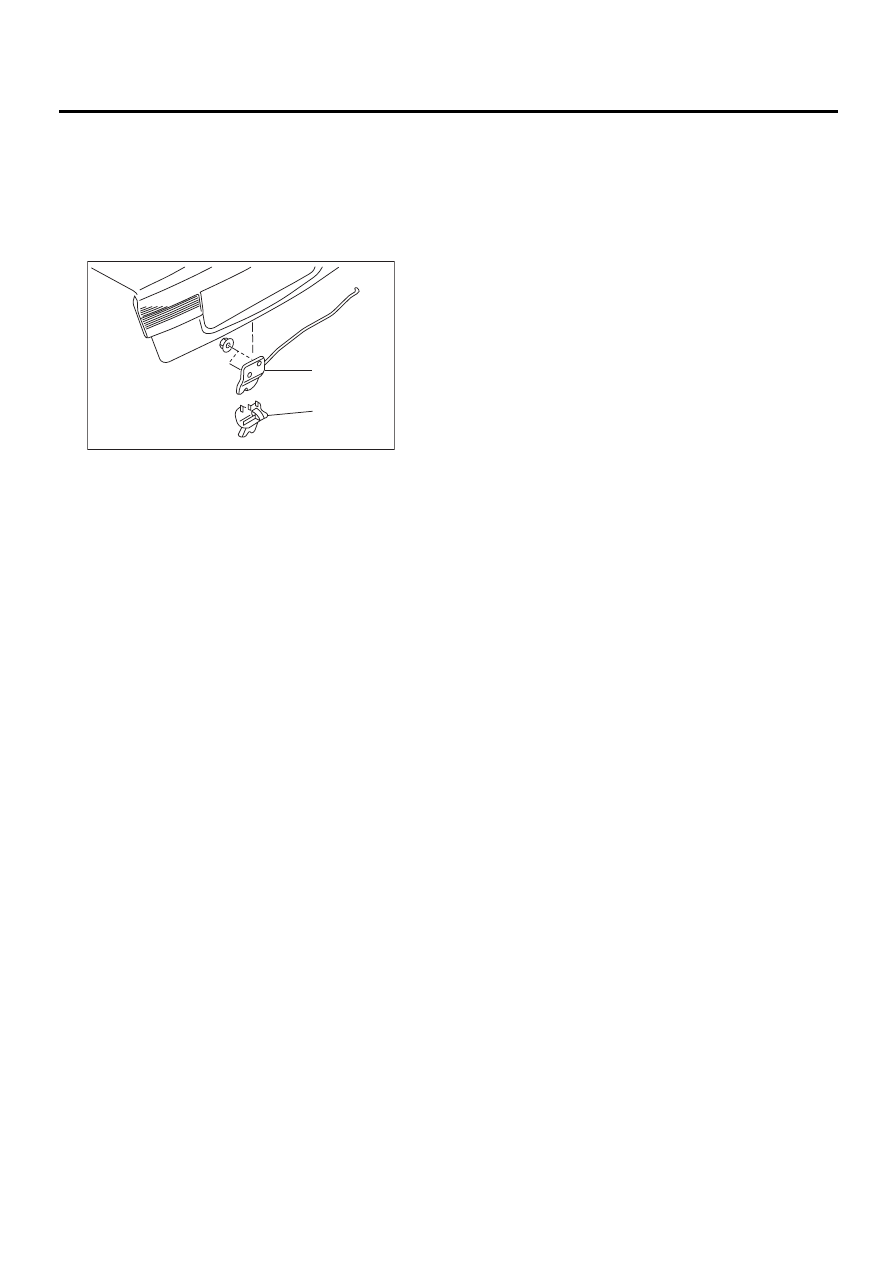
15.Trunk Lid Lock Assembly
A: REMOVAL
1) Remove the trunk lid key cylinder rod.
2) Remove the lock assembly cover (A).
3) Remove the nut while holding the lock assembly.
Remove the lock assembly (B).
B: INSTALLATION
Install in the reverse order of removal.
NOTE:
• Apply grease to parts that rub.
• Make sure the lock works properly after installa-
tion.
C: INSPECTION
1) Check the striker for bending or abnormal wear.
2) Check the safety lever for improper movement.
3) Check other levers and the spring for rust forma-
tion and unsmooth movement.
SL-00084
( A )
( B )
SL-31
SECURITY AND LOCKS
FRONT HOOD LOCK ASSEMBLY
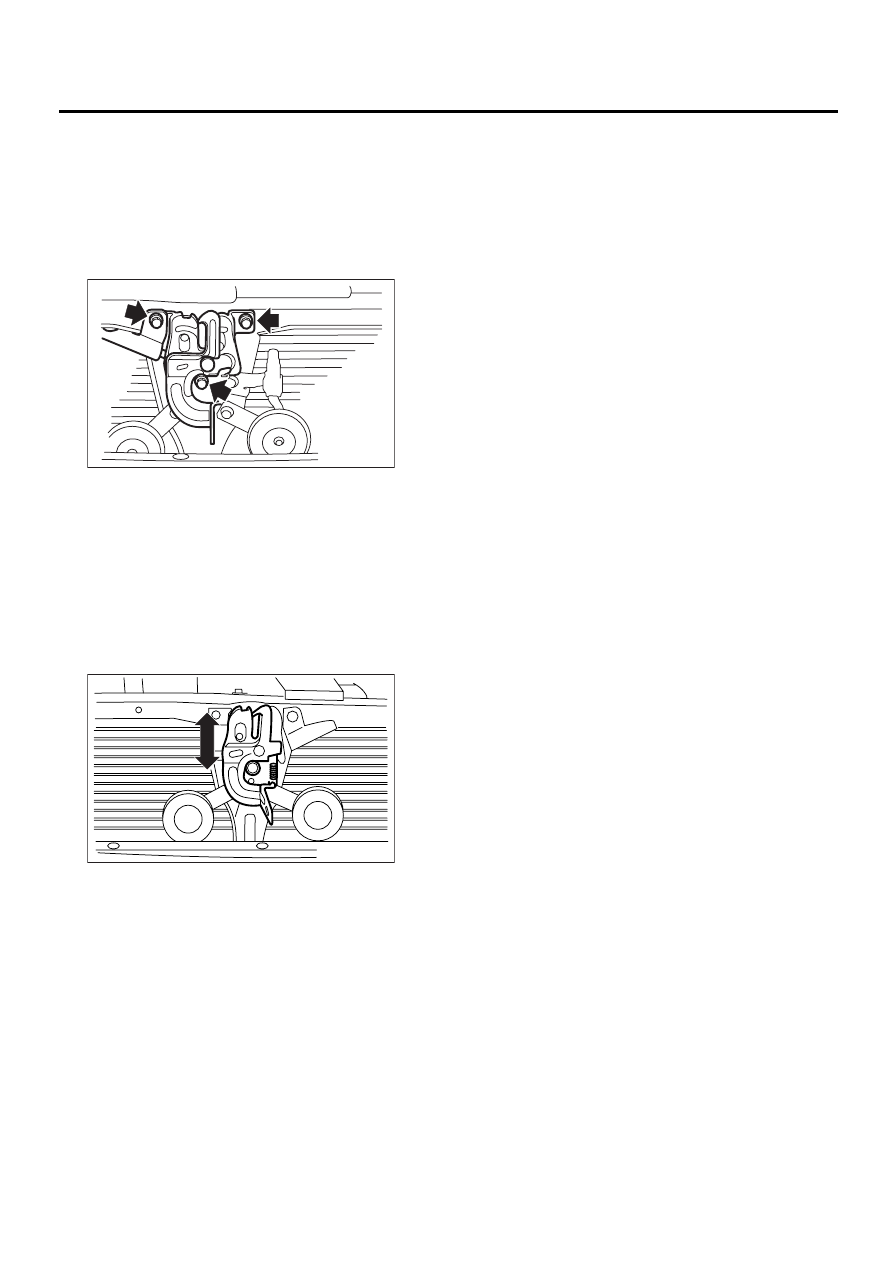
16.Front Hood Lock Assembly
A: REMOVAL
1) Open the hood.
2) Remove the bolt. Remove the hood lock assem-
bly.
3) Remove the release cable from the lock assem-
bly.
B: INSTALLATION
Install in the reverse order of removal.
NOTE:
• Apply grease to parts that rub.
• Make sure the release cable works properly after
installation.
C: ADJUSTMENT
Loosen the bolt. Adjust the lock assembly while
moving it up and down.
D: INSPECTION
1) Check the striker for bending or abnormal wear.
2) Check the safety lever for improper movement.
3) Check other levers and the spring for rust forma-
tion and unsmooth movement.
SL-00087
SL-00088
Нет комментариевНе стесняйтесь поделиться с нами вашим ценным мнением.
Текст