Infiniti I35 (A33). Manual — part 565
SMA182B
SMA412B
3.
Fill radiator and reservoir tank to specified level.
I
Use Genuine Nissan Long Life Antifreeze/Coolant or
equivalent mixed with water (distilled or demineralized).
Refer to “RECOMMENDED FLUIDS AND LUBRICANTS”,
MA-11.
Engine coolant capacity (With reservoir tank):
7.7
(8-1/8 US qt, 6-3/4 Imp qt)
Reservoir tank capacity:
0.8
(7/8 US qt, 3/4 Imp qt)
I
Pour coolant through coolant filler neck slowly to allow air
in system to escape.
4.
Warm up engine to normal operating temperature with radia-
tor cap installed.
5.
Run engine at 2,500 rpm for 10 seconds and return to idle
speed.
I
Repeat two or three times.
Watch coolant temperature gauge so as not to overheat the
engine.
6.
Stop engine and cool it down.
I
Cool down using a fan to reduce the time.
I
If necessary, refill radiator up to filler neck with coolant.
7.
Refill reservoir tank to MAX level line with coolant.
8.
Repeat steps 4 through 7 two or more times with radiator cap
installed until coolant level no longer drops.
9.
Check cooling system for leaks with engine running.
10. Warm up engine, and check for sound of coolant flow while
running engine from idle up to 3,000 rpm with heater tempera-
ture controller set at several positions between COOL and
WARM.
I
Sound may be noticeable at heater water cock.
11. If sound is heard, bleed air from cooling system by repeating
steps 4 through 7 until coolant level no longer drops.
I
Clean excess coolant from engine.
— FLUSHING COOLING SYSTEM —
NHMA0008S03
1.
Fill radiator and reservoir tank with water and reinstall radiator
cap.
2.
Run engine and warm it up to normal operating temperature.
3.
Rev engine two or three times under no-load.
4.
Stop engine and wait until it cools down.
5.
Drain water.
6.
Repeat steps 1 through 5 until clear water begins to drain from
radiator.
SMA803A
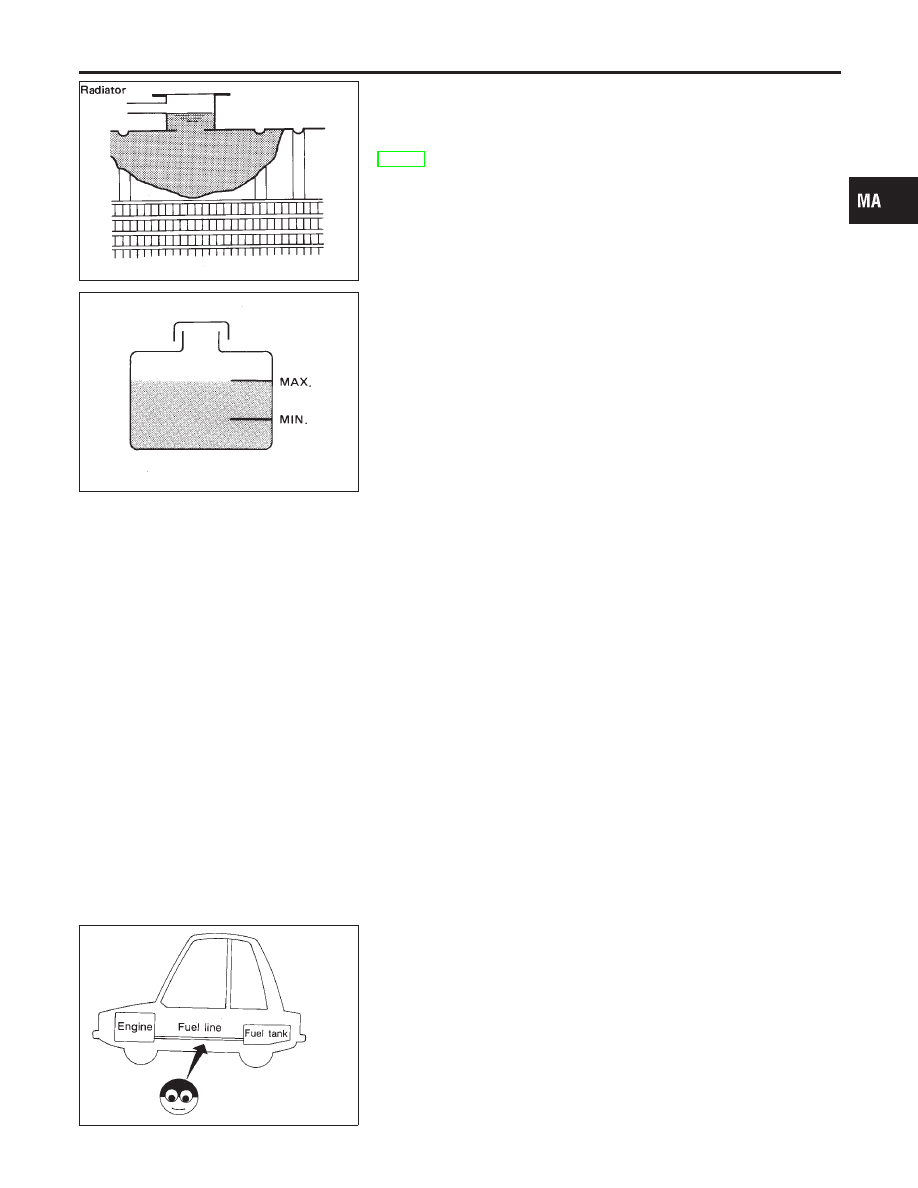
Checking Fuel Lines
NHMA0009
Inspect fuel lines and tank for improper attachment, leaks, cracks,
damage, loose connections, chafing or deterioration. If necessary,
repair or replace malfunctioning parts.
GI
EM
LC
EC
FE
AT
AX
SU
BR
ST
RS
BT
HA
SC
EL
IDX
ENGINE MAINTENANCE
Changing Engine Coolant (Cont’d)
MA-15

MMA104A
CAUTION:
Tighten high-pressure rubber hose clamp so that clamp end is
3 mm (0.12 in) from hose end.
Tightening torque specifications are the same for all rubber
hose clamps.
Ensure that screw does not contact adjacent parts.
SMA037D
Changing Air Cleaner Filter
NHMA0011
VISCOUS PAPER TYPE
NHMA0011S01
The viscous paper type filter does not need cleaning.
SMA038D
Changing Engine Oil
NHMA0012
WARNING:
I
Be careful not to burn yourself, as the engine oil is hot.
I
Prolonged and repeated contact with used engine oil may
cause skin cancer; try to avoid direct skin contact with
used oil. If skin contact is made, wash thoroughly with
soap or hand cleaner as soon as possible.
1.
Warm up engine, put vehicle horizontally and check for oil
leakage from engine components.
2.
Stop engine and wait more than 10 minutes.
3.
Remove drain plug and oil filler cap.
4.
Drain oil and refill with new engine oil.
Oil specification and viscosity:
I
API Certification Mark
I
API grade SG/SH, Energy Conserving I & II or API grade SJ
or SL, Energy Conserving
I
ILSAC grade GF-I, GF-II & GF-III
I
Refer to “RECOMMENDED FLUIDS AND LUBRICANTS”,
MA-11.
Oil capacity (Approximate):
Unit: liter (US qt, Imp qt)
Drain and refill
With oil filter change
4.0 (4-1/4, 3-1/2)
Without oil filter
change
3.7 (3-7/8, 3-1/4)
Dry engine (engine overhaul)
5.0 (5-1/4, 4-3/8)
CAUTION:
I
Be sure to clean drain plug and install with new washer.
Oil pan drain plug:
: 29 - 39 N·m (3.0 - 4.0 kg-m, 22 - 29 ft-lb)
ENGINE MAINTENANCE
Checking Fuel Lines (Cont’d)
MA-16
SMA954C
I
The refill capacity depends on the oil temperature and
drain time. Use these specifications for reference only.
Always use the dipstick to determine when the proper
amount of oil is in the engine.
I
Never pull out level gauge while filling engine oil.
5.
Warm up engine and check area around drain plug and oil fil-
ter for oil leakage.
6.
Stop engine and wait more than 10 minutes.
7.
Check oil level.
SMA039D
Changing Oil Filter
NHMA0013
1.
The oil filter is a small full-flow cartridge type and is provided
with a relief valve.
Refer to LC-8, “Oil Filter”.
2.
Remove oil filter with Tool or suitable tool.
WARNING:
Be careful not to burn yourself, as the engine and the engine
oil are hot.
SMA010
3.
Clean oil filter mounting surface on oil cooler. Coat rubber seal
of new oil filter with engine oil.
SMA229B
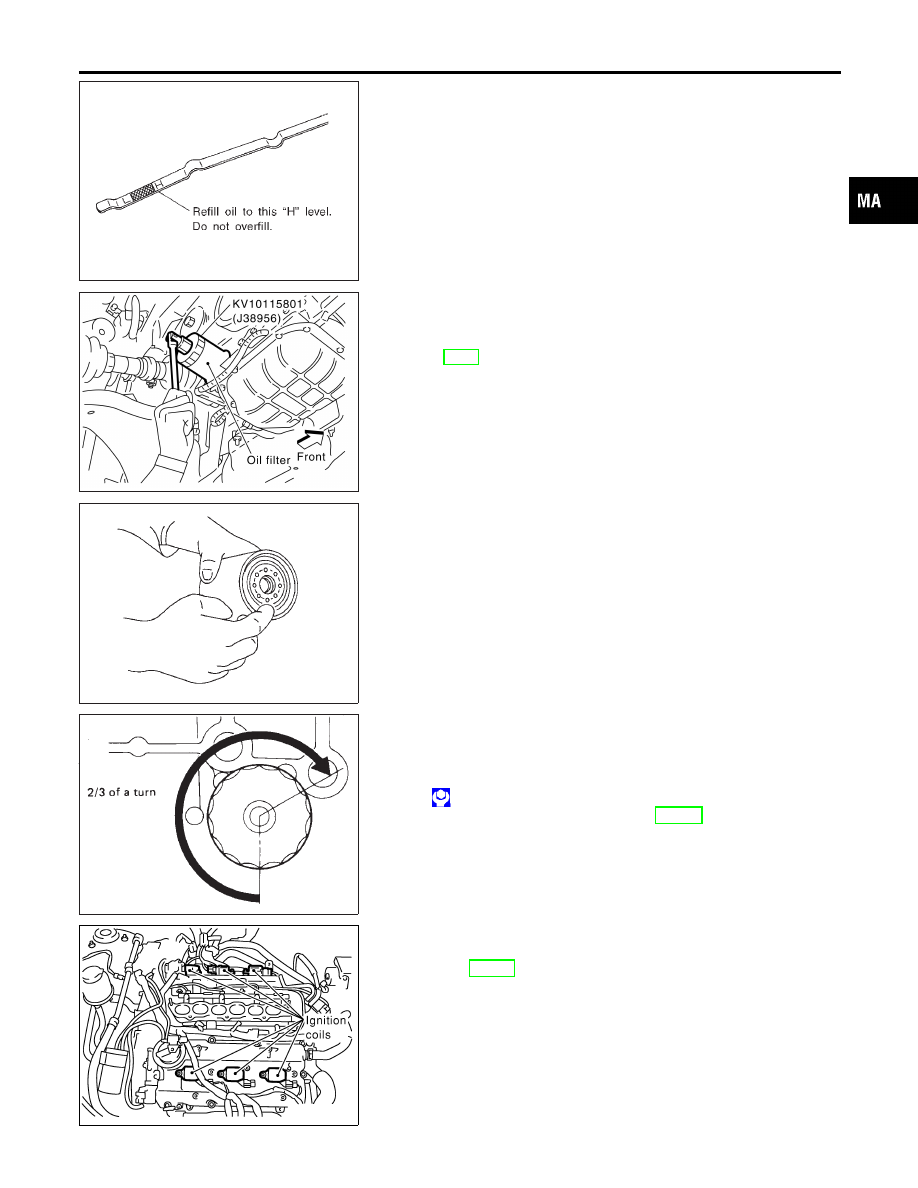
4.
Screw in the oil filter until a slight resistance is felt, then tighten
additionally 2/3 turn.
5.
Add engine oil.
Oil filter:
: 14.7 - 20.5 N·m (1.5 - 2.1 kg-m, 11 - 15 ft-lb)
Refer to “Changing Engine Oil”, MA-16.
SMA153D
Changing Spark Plugs
NHMA0014
1.
Remove intake manifold upper and lower, collectors.
Refer to EM-11, “TIGHTENING PROCEDURES”.
2.
Disconnect ignition coil harness connectors.
3.
Loosen ignition coil fixing bolts and pull out coil from rocker
cover.
GI
EM
LC
EC
FE
AT
AX
SU
BR
ST
RS
BT
HA
SC
EL
IDX
ENGINE MAINTENANCE
Changing Engine Oil (Cont’d)
MA-17

SEM294A
4.
Remove spark plugs with suitable spark plug wrench.
Spark plug (Platinum-tipped type):
Make
NGK
Standard type
PLFR5A-11
Hot type
PLFR4A-11
Cold type
PLFR6A-11
Use standard type spark plug for normal condition.
The hot type spark plug is suitable when fouling may occur with the
standard type spark plug such as:
I
frequent engine starts
I
low ambient temperatures
The cold type spark plug is suitable when spark knock may occur
with the standard type spark plug such as:
I
extended highway driving
I
frequent high engine revolution
Gap (Nominal): 1.1 mm (0.043 in)
: 20 - 29 N·m (2.0 - 3.0 kg-m, 14 - 22 ft-lb)
SMA773C
I
Do not use a wire brush for cleaning.
I
If plug tip is covered with carbon, spark plug cleaner may
be used.
Cleaner air pressure:
Less than 588 kPa (6 kg/cm
2
, 85 psi)
Cleaning time:
Less than 20 seconds
SMA806CA
I
Checking and adjusting plug gap is not required.
ENGINE MAINTENANCE
Changing Spark Plugs (Cont’d)
MA-18
Нет комментариевНе стесняйтесь поделиться с нами вашим ценным мнением.
Текст