Infiniti M35/M45 Y50. Manual — part 280
DOOR
BL-189
C
D
E
F
G
H
J
K
L
M
A
B
BL
2.
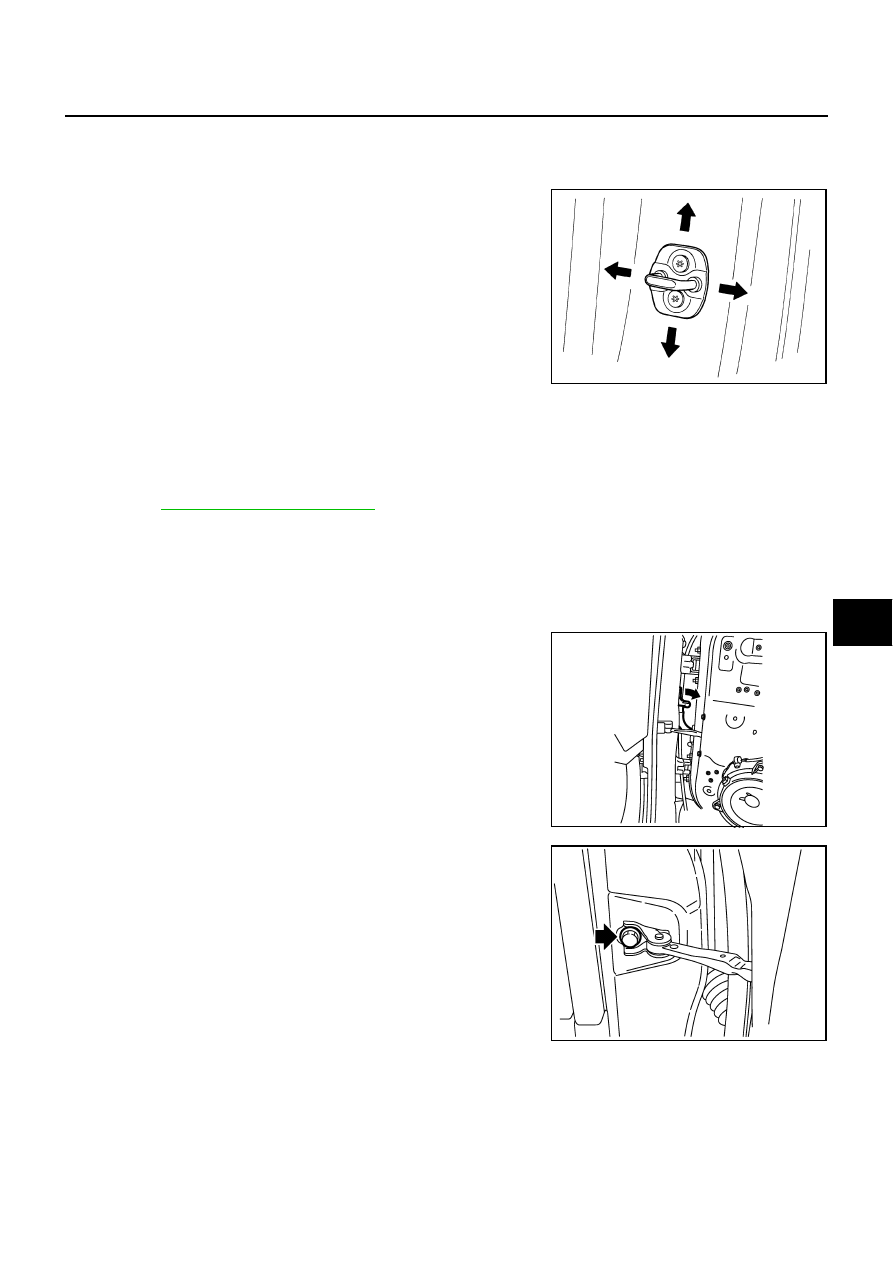
Accessing from inside the vehicle, loosen the mounting nuts. Open the rear door, and raise the rear door
at rear end to adjust.
STRIKER ADJUSTMENT
Adjust the striker so that it becomes parallel with the lock insertion
direction.
Removal and Installation of Front Door
NIS001ZA
CAUTION:
●
When removing and installing the front door assembly, support the door with a jack and cloth to
protect the door and body.
●
When removing and installing front door assembly, be sure to carry out the fitting adjustment.
Refer to
.
●
After installing, apply touch-up paint (the body color) onto the head of the hinge mounting nuts.
●
Check the hinge rotating part for poor lubrication. If necessary, apply “body grease”.
●
Operate with two workers, because of its heavy weight.
●
Check rear door open/close operation after installation.
REMOVAL
1.
Pull the lever and disconnect the door harness connector while
removing tabs of door harness connector.
2.
Remove the mounting bolts of the check link on the vehicle.
PIIB2804J
PIIB3884J
PIIB2865J
BL-190
DOOR
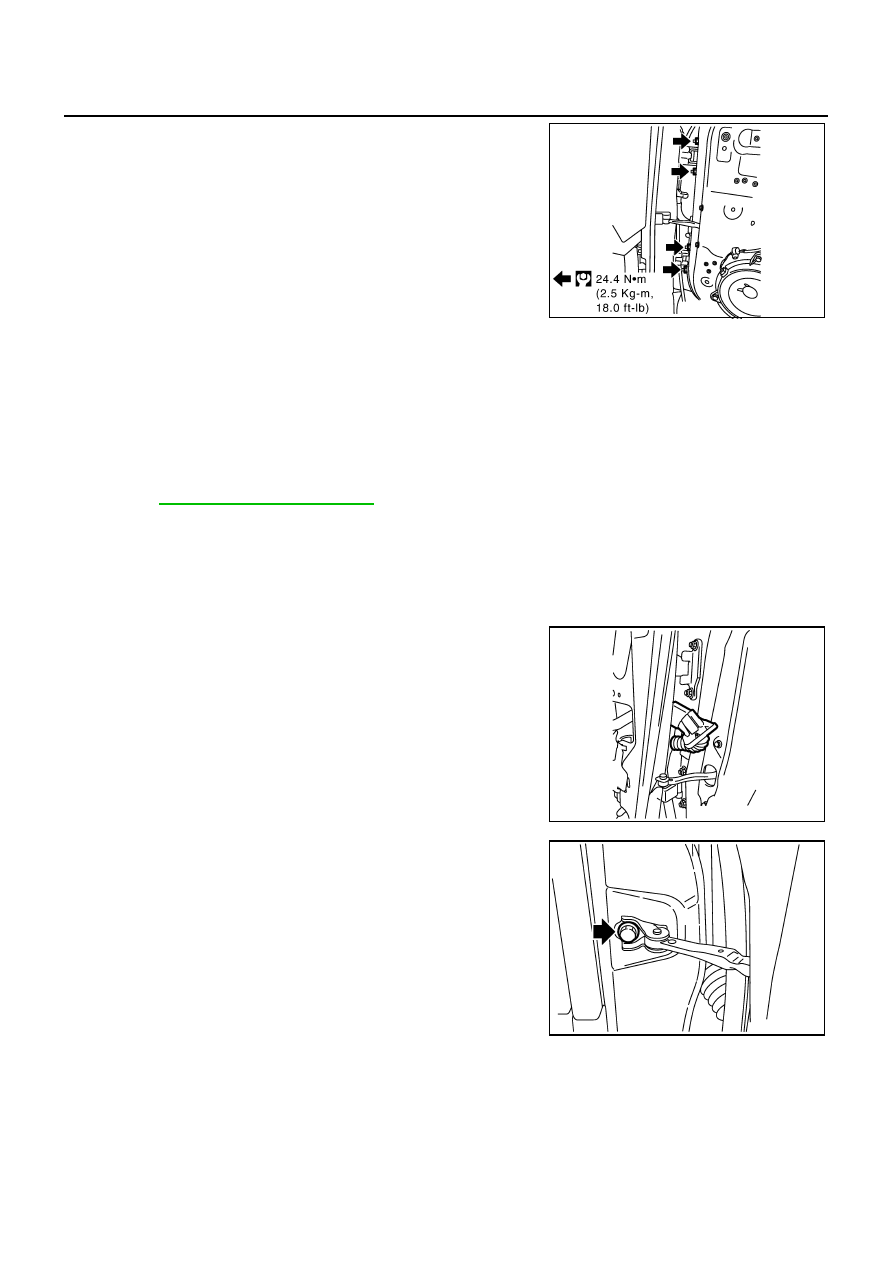
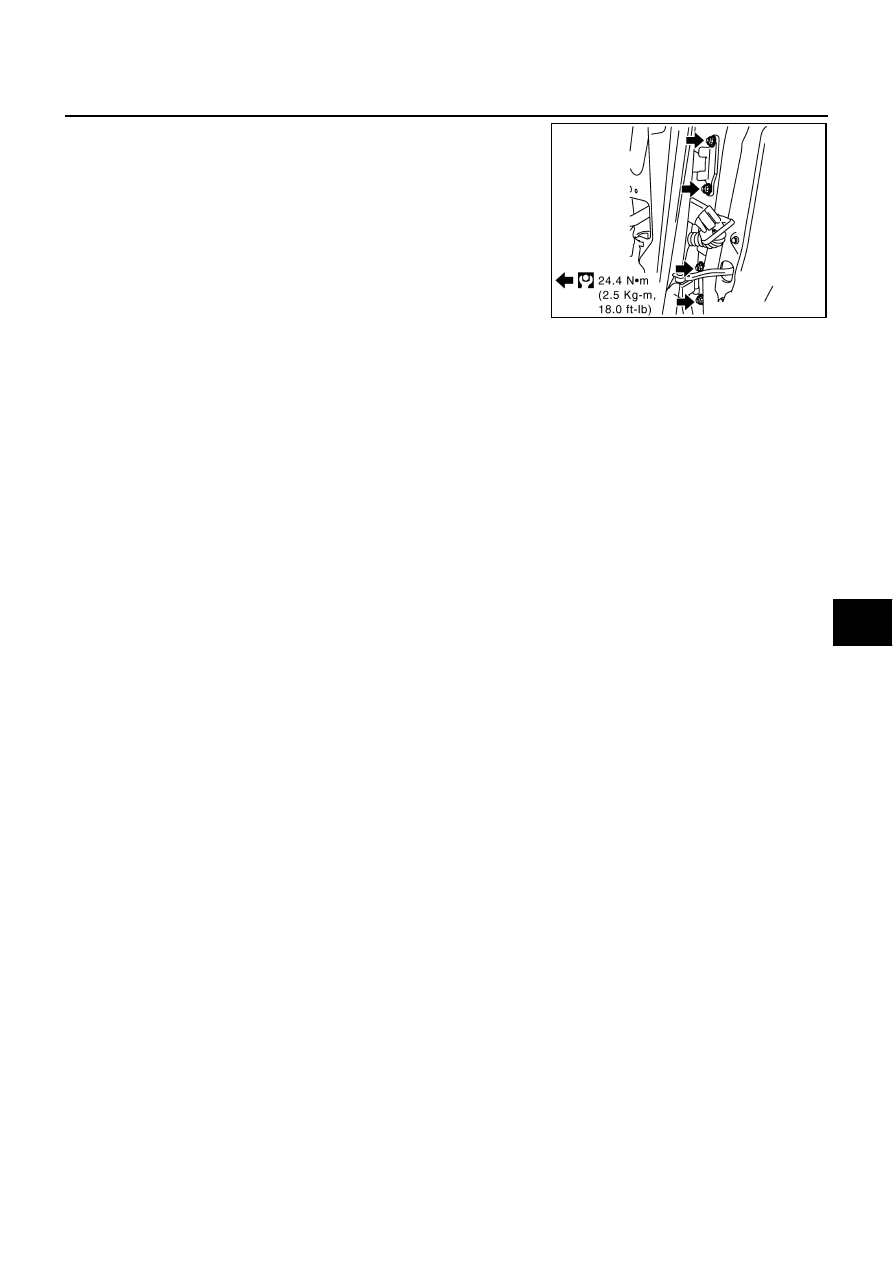
3.
Remove the door-side hinge mounting nuts, then remove the
door assembly.
INSTALLATION
Install in the reverse order of removal.
Removal and Installation of Rear Door
NIS001ZB
CAUTION:
●
When removing and installing the rear door assembly, support the door with a jack and cloth to
protect the door and body.
●
When removing and installing rear door assembly, be sure to carry out the fitting adjustment.
Refer to
●
Check the hinge rotating part for poor lubrication. If necessary, apply “body grease”.
●
After installing, apply touch-up paint (the body color) onto the head of the hinge mounting nuts.
●
Operate with two workers, because of its heavy weight.
●
Check rear door open/close operation after installation.
REMOVAL
1.
Pull out grommet and disconnect rear door harness connector.
2.
Remove the mounting bolts of the check link on the vehicle.
PIIB3912J
PIIB3913J
PIIB2865J
DOOR
BL-191
C
D
E
F
G
H
J
K
L
M
A
B
BL
3.
Remove the door-side hinge mounting nuts, and remove the
door assembly.
INSTALLATION
Install in the reverse order of removal.
PIIB3883J
BL-192
DOOR
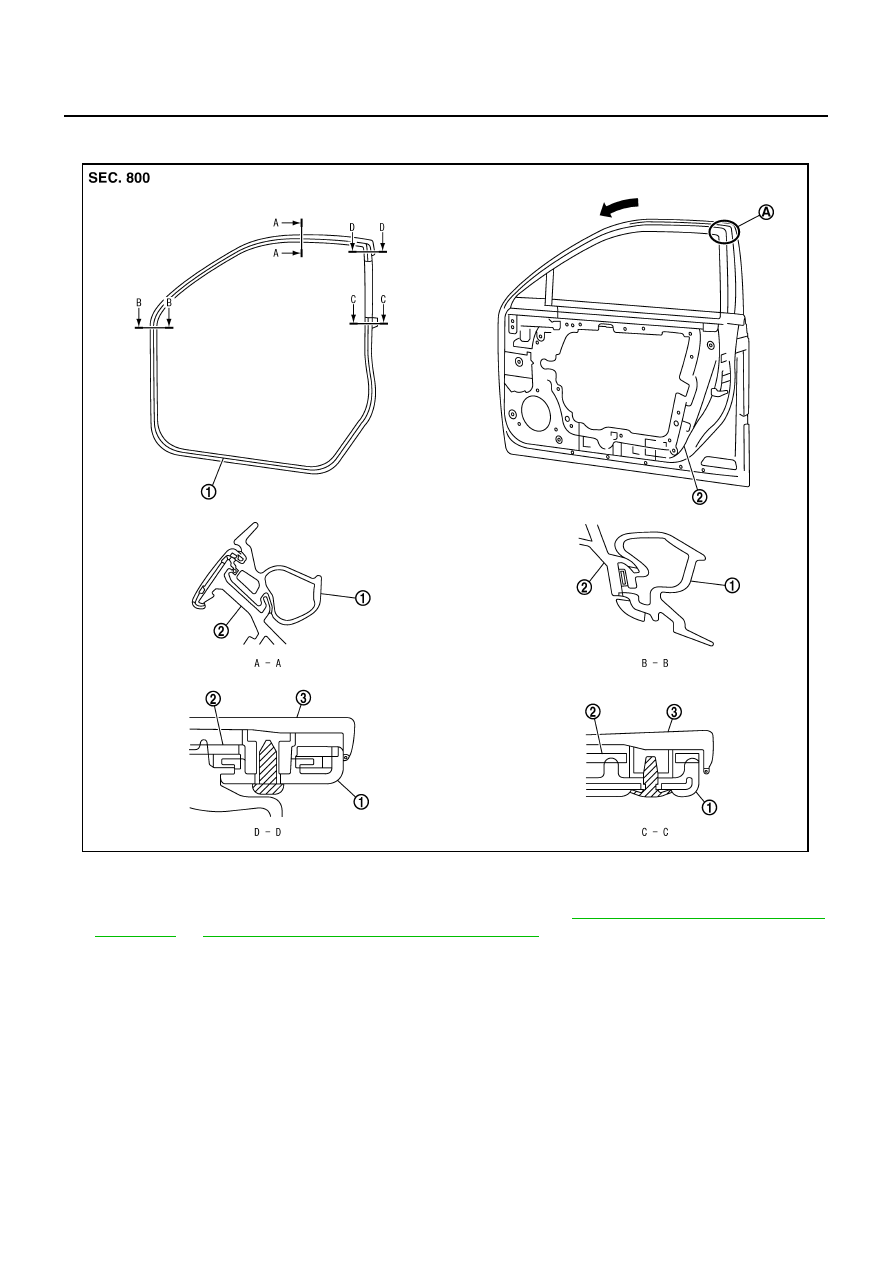
Door Weatherstrip
NIS001ZC
FRONT DOOR
REMOVAL
1.
Remove the mounting bolts of the check link on the vehicle. Refer to
BL-189, "Removal and Installation of
or
BL-190, "Removal and Installation of Rear Door"
2.
Remove the weatherstrip clips and remove weatherstrip.
CAUTION:
After removal, do not pull strongly on the weatherstrip.
INSTALLATION
Install in the reverse order of removal.
Install the door weatherstrip (A) and along the arrow direction.
1.
Door weatherstrip
2.
Front door
3.
Door sash molding
PIIB3878J
Нет комментариевНе стесняйтесь поделиться с нами вашим ценным мнением.
Текст