Infiniti M35/M45 Y50. Manual — part 189
REMOVAL AND INSTALLATION
AV-133
[WITHOUT MOBILE ENTERTAINMENT SYSTEM]
C
D
E
F
G
H
I
J
L
M
A
B
AV
INSTALLATION
Installation is the reverse order of removal.
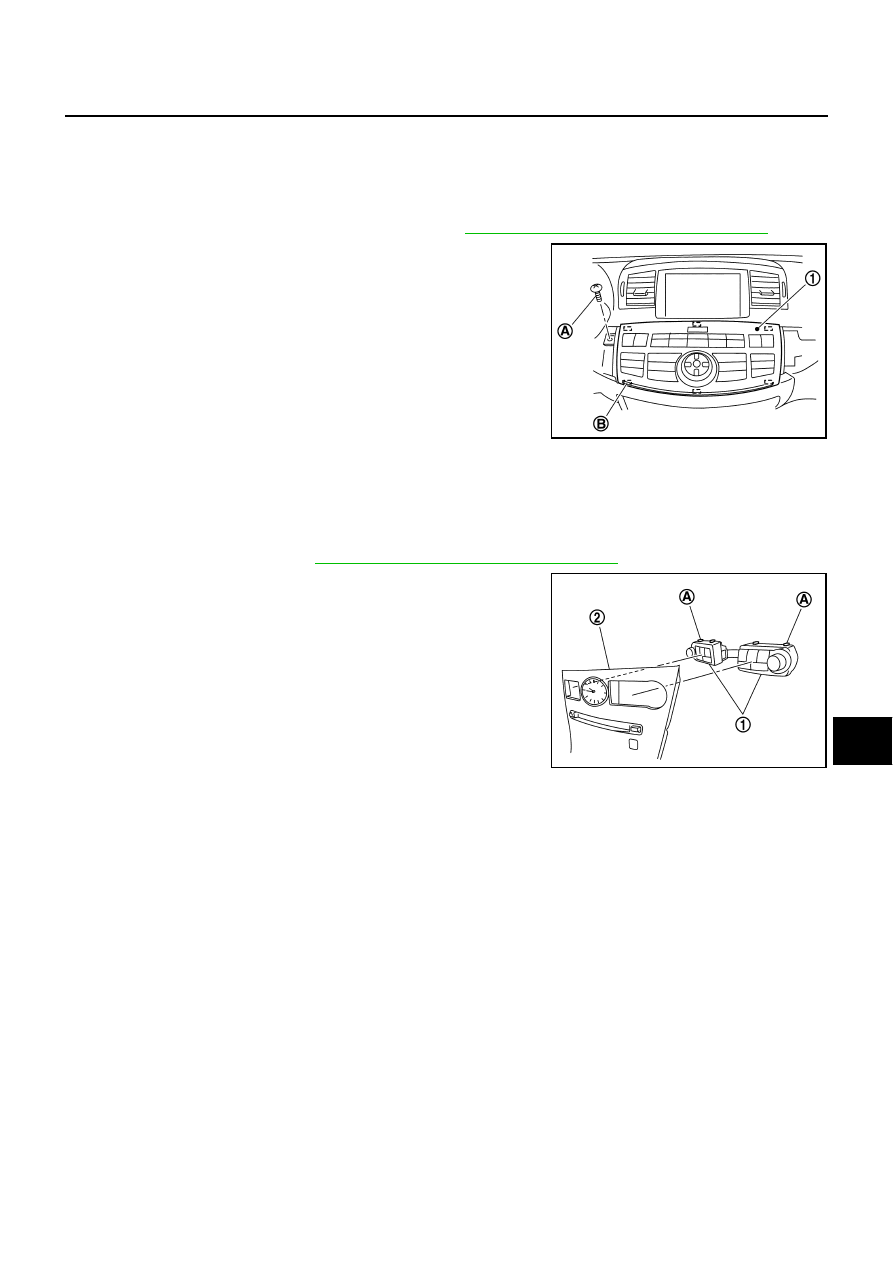
Multifunction Switch
NKS0049X
REMOVAL
1.
Remove instrument panel finisher B and C. Refer to
IP-10, "INSTRUMENT PANEL ASSEMBLY"
.
2.
Remove screw (A).
3.
Disengage tabs (B) and connector to separate multifunction
switch (1) from instrument panel.
INSTALLATION
Installation is the reverse order of removal.
Preset Switch
NKS0049Y
REMOVAL
1.
Remove cluster lid C. Refer to
IP-10, "INSTRUMENT PANEL ASSEMBLY"
.
2.
Disengage tabs (A) to separate preset switch (1) from cluster lid
C (2).
INSTALLATION
Installation is the reverse order of removal.
SKIB4276E
SKIB4277E
AV-134
[WITHOUT MOBILE ENTERTAINMENT SYSTEM]
REMOVAL AND INSTALLATION
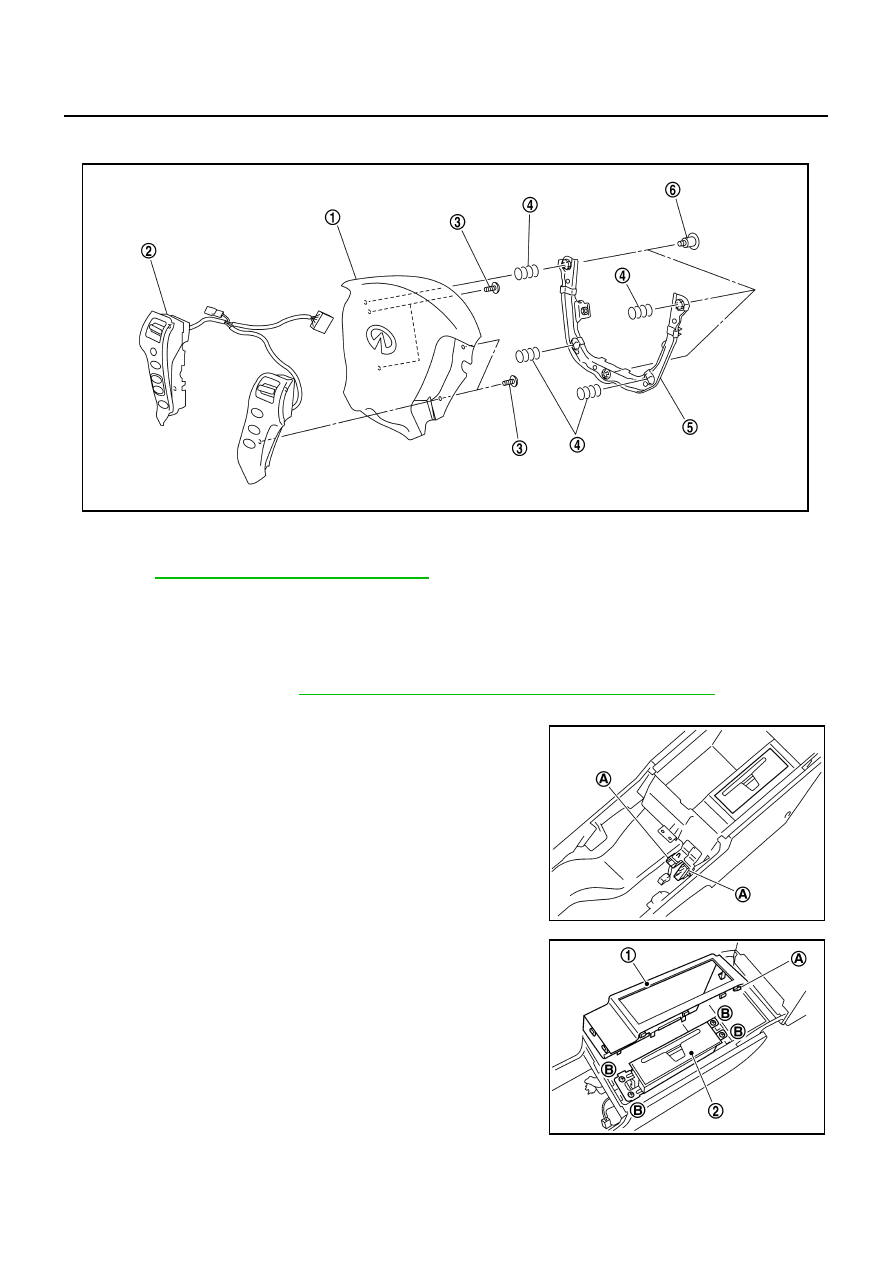
Steering Switch
NKS0049Z
REMOVAL
1.
Refer to
SRS-42, "DRIVER AIR BAG MODULE"
.
INSTALLATION
Installation is the reverse order of removal.
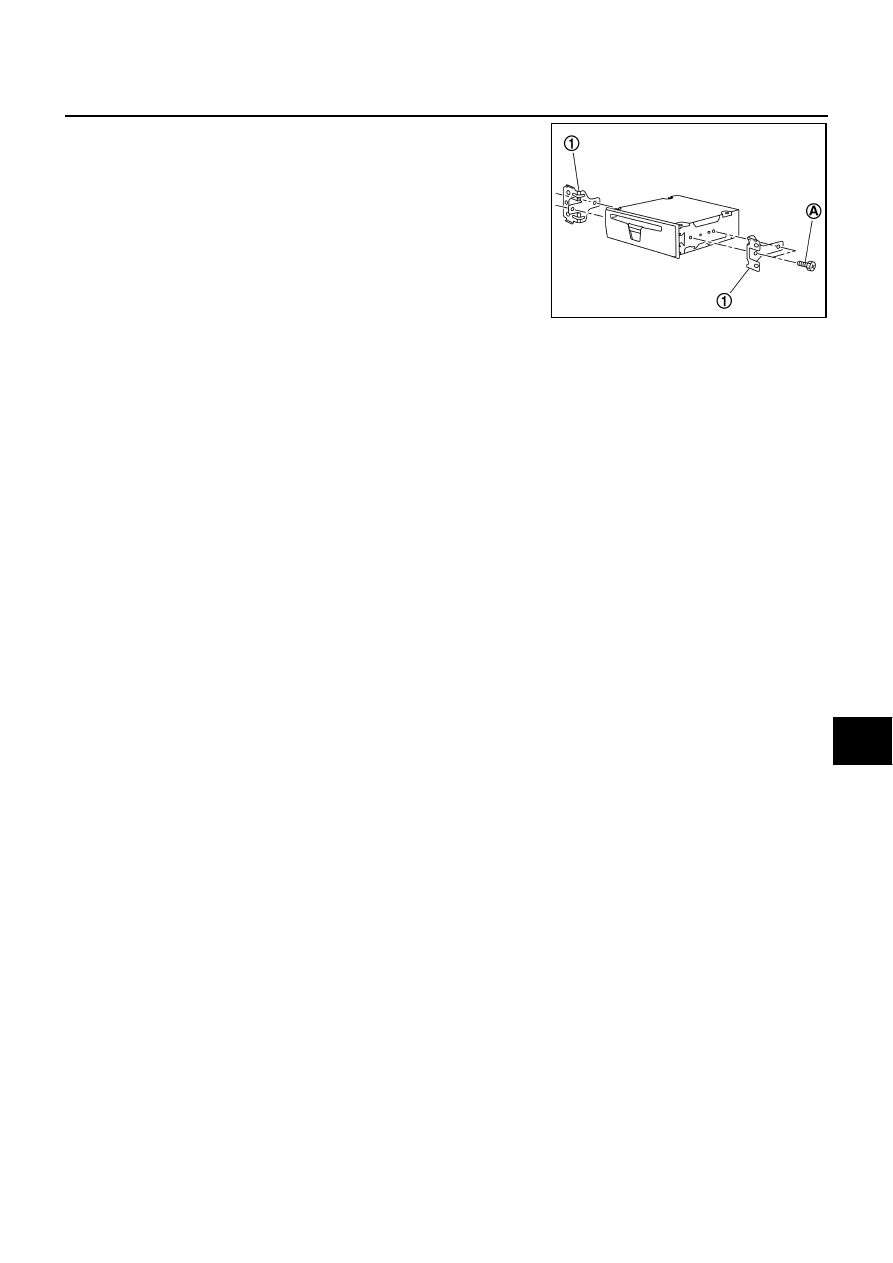
DVD Player
NKS004A0
REMOVAL
1.
Remove cup holder. Refer to
IP-11, "Removal and Installation of Instrument Panel & Pad"
2.
Disconnect sub harness connector.
3.
Remove sub harness connectors (A) from bracket.
4.
Remove metal clips (A) and 8 pawls. Then remove DVD player
cover (1).
5.
Remove screws (B) and remove DVD player (2).
1.
Air bag
2.
Steering switch
3.
Screw
4.
Spring
5.
Bracket
6.
Screw
SKIB4278E
PKIC0931E
PKIC0932E
REMOVAL AND INSTALLATION
AV-135
[WITHOUT MOBILE ENTERTAINMENT SYSTEM]
C
D
E
F
G
H
I
J
L
M
A
B
AV
6.
Remove screws (A) and remove brackets (1).
INSTALLATION
Installation is the reverse order of removal.
SKIB4358E
AV-136
[WITHOUT MOBILE ENTERTAINMENT SYSTEM]
REMOVAL AND INSTALLATION
Auxiliary Input Jacks
NKS004A1
REMOVAL
1.
Remove center console rear finisher. Refer to
IP-10, "INSTRUMENT PANEL ASSEMBLY"
2.
Remove screws (A) and disconnect connector. Remove auxil-
iary input jacks (1) from center console rear finisher.
INSTALLATION
Installation is the reverse order of removal.
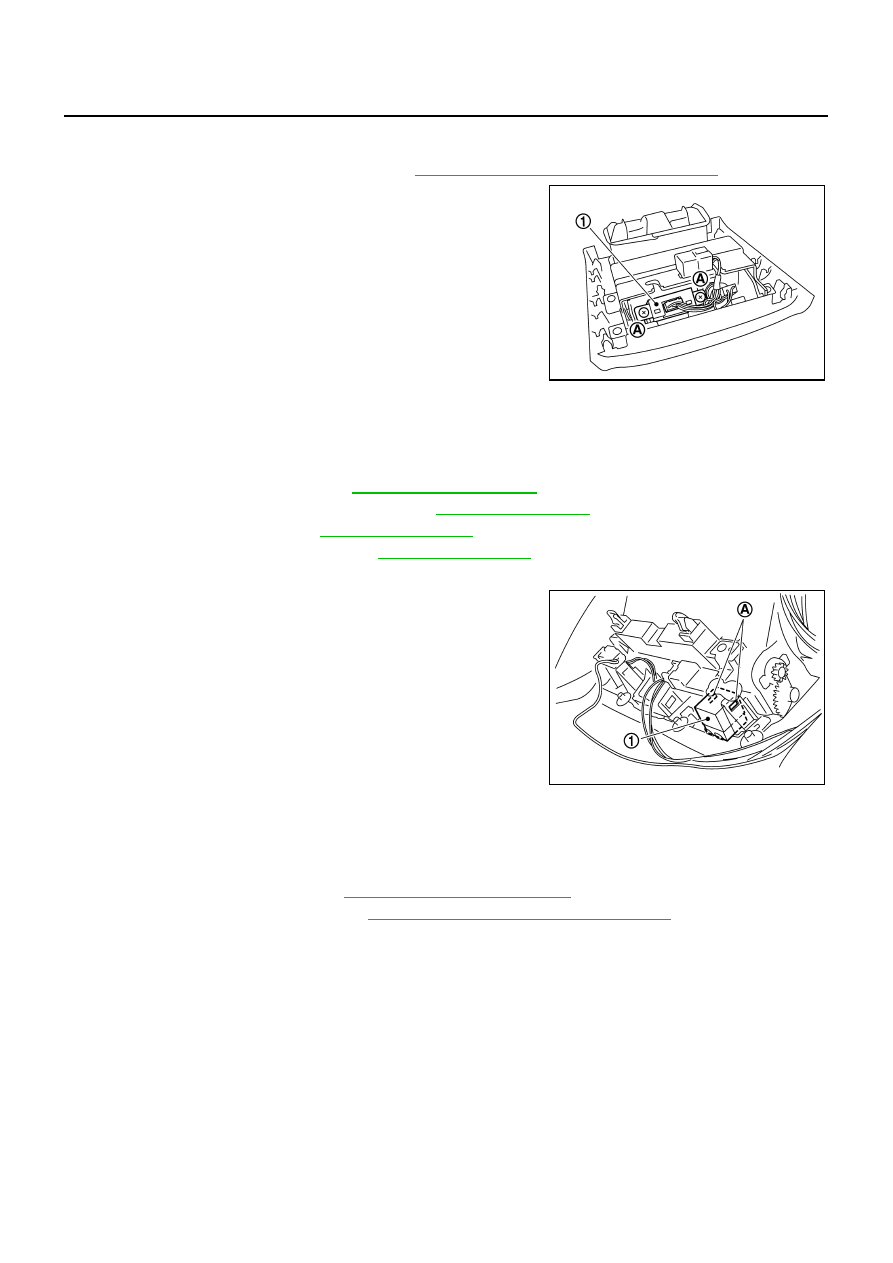
Microphone
NKS004A2
REMOVAL
1.
Remove front pillar garnish. Refer to
.
2.
Remove sun-visor and sun-visor holder. Refer to
3.
Remove dual-sunvisor. Refer to
4.
Remove assistance grip (front). Refer to
.
5.
Bear down headlining assembly (front) to obtain work space between headlining assembly and vehicle.
6.
Disengage tabs (A) and connector to separate microphone unit
(1).
INSTALLATION
Installation is the reverse order of removal.
GPS Antenna
NKS004A3
REMOVAL
1.
Remove NAVI control unit. Refer to
AV-131, "AV (NAVI) Control Unit"
2.
Remove upper ventilator grille. Refer to
IP-10, "INSTRUMENT PANEL ASSEMBLY"
.
SKIB4351E
SKIB4302E
Нет комментариевНе стесняйтесь поделиться с нами вашим ценным мнением.
Текст