Mitsubishi Eclipse / Eclipse Spyder (2000-2002). Service and repair manual — part 639
KEYLESS ENTRY SYSTEM
TSB Revision
BODY
42-103
SECRET CODE REGISTRATION METHOD
M1428001000054
Each individual secret code is registered inside the transmitter,
and so it is necessary to resister these codes with the
EEPROM inside the receiver in the following cases.
•
When the transmitter or ETACS-ECU is replaced
•
If more transmitters are to be used
•
If it appears that a problem is occurring because of faulty
registration of a code.
A maximum of four different codes can be stored in the
EEPROM memory (four different transmitters can be used).
When the code for the first transmitter is registered, the
previously registered codes for all transmitters are cleared.
Therefore, if you are using four transmitters or are adding more
transmitters, the codes for all transmitters must be registered at
the same time.
1. Check that the doors lock normally when the key is used.
2. Insert the ignition key.
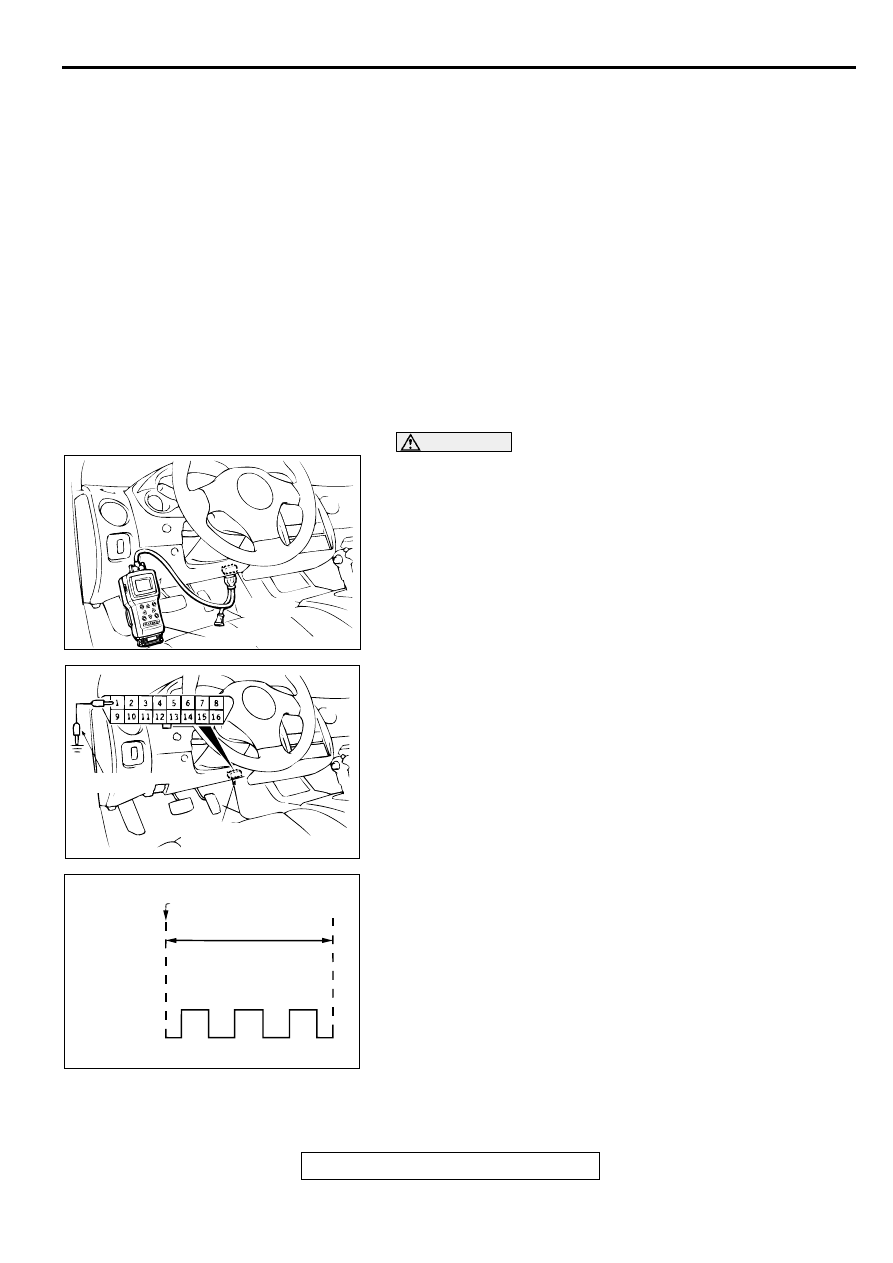
CAUTION
To prevent damage to scan tool MB991502, always turn the
ignition switch to "LOCK" (OFF) position before
connecting or disconnecting scan tool MB991502.
3. Connect the scan tool to the data link connector. If the scan
tool is not used, ground terminal (1) of the data link
connector.
NOTE: This will connect terminal (1) of the data link
connector to ground, and the system will be in secret code
registration standby mode.
4. Press the hazard switch six times within 10 seconds.
NOTE: At this time the code registration monitor request is
output (all doors locked and unlocked) and becomes
registration mode.
NOTE: The hazard warning light switch is turned on and off
alternately whenever it is pushed.
5. Press the transmitter switch, and then press it two times
within 10 seconds of the first press. This will register the
code.
6. When registration is completed, the code registration
monitor request is output (all doors locked and unlocked).
AC000510AB
16 PIN
MB991502
AC000511
GROUND
DATALINK
CONNECTOR
AB
ACX00571
MUT-II CONNECTED
WITHIN 10 SECONDS
HAZARD
SWITCH
ON
OFF
1
2
3
4
5
6
AB
SUNROOF ASSEMBLY
TSB Revision
BODY
42-104
7. If you are using two or more transmitters or have added a
second transmitter, the same registration procedure should
be carried out within one minute after registering the code
for the first transmitter. After the second registration is
completed, the code registration monitor request is output
(all doors locked and unlocked).
8. Registration mode will be canceled under the following
conditions:
•
When the secret code for four transmitters has been
registered;
•
When one minute has been passed after registration mode
started;
•
When scan tool MB991502 is disconnected (the ground
connection is broken);
•
When the key is removed from the key cylinder;
9. After the registration is completed, carry out the following
work, and then check that the keyless entry system operates
normally.
•
Remove the ignition key.
•
Close all of the doors.
SU NR O O F A SSEM BLY
GENERAL DESCRIPTION
M1426000100063
A motor-driven outer slide-type glass sunroof with a
tilt-up mechanism is adopted in some models as
optional equipment.Even when the sunroof is
fully closed, a sufficient amount of light and a feeling
of openness can still be obtained by opening the
sunroof sunshade.
SUNROOF DIAGNOSIS
M1426000700043
The sunroof system is controlled by the Simplified
Wiring System (SWS). For troubleshooting,
refer to GROUP 54B, Diagnosis
SPECIAL TOOLS
M1426000600057
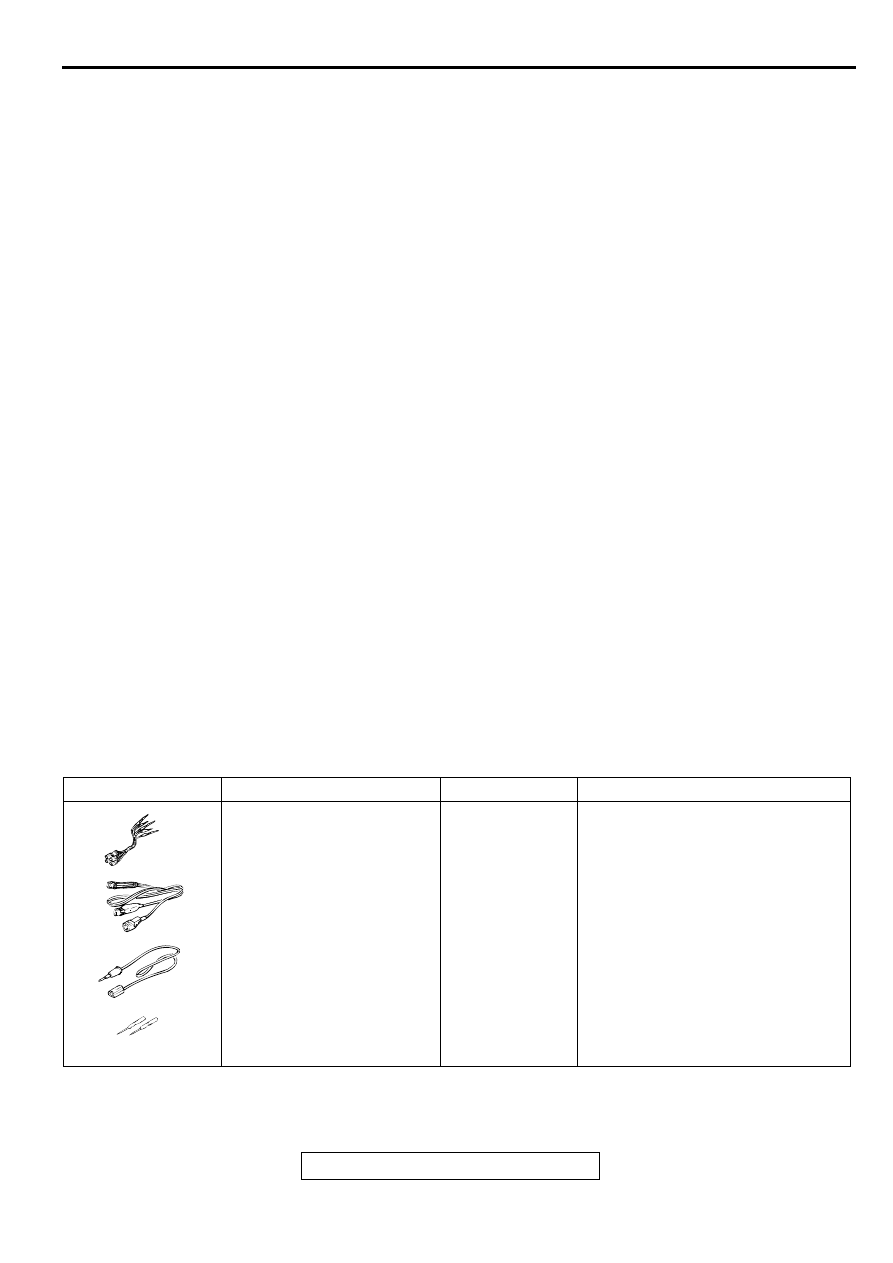
TOOL
TOOL NUMBER AND NAME
SUPERSESSION
APPLICATION
MB991223
Harness set
A: MB991219
Test harness
B: MB991220
LED harness
C: MB991221
LED harness adapter
D: MB991222
Probe
MB991223Measurement of terminal voltage
A: Connector pin contact pressure
inspection
B: Power circuit inspection
C: Power circuit inspection
D: Commercial tester connection
MB991223
A
D
C
B
AD
SUNROOF ASSEMBLY
TSB Revision
BODY
42-105
ON-VEHICLE SERVICE
WATER TEST
M1426000900069
Check if there are any leaks in the sunroof by the following
procedure.
1. Fully close the roof lid glass.
2. Adjust the water pressure so that water comes out of the
hose to a height of approximately 50 cm (19.7 inches) when
the hose is held vertically facing upwards.
3. Hold the end of the hose approximately 30 cm (11.8 inches)
above the roof and let the water run onto the weatherstrip for
5 minutes or more.
4. Check if any water leaks can be found in the room while
watering. Even though there are any water leaks around the
roof lid glass, it can be acceptable as long as water is caught
in the drip area.
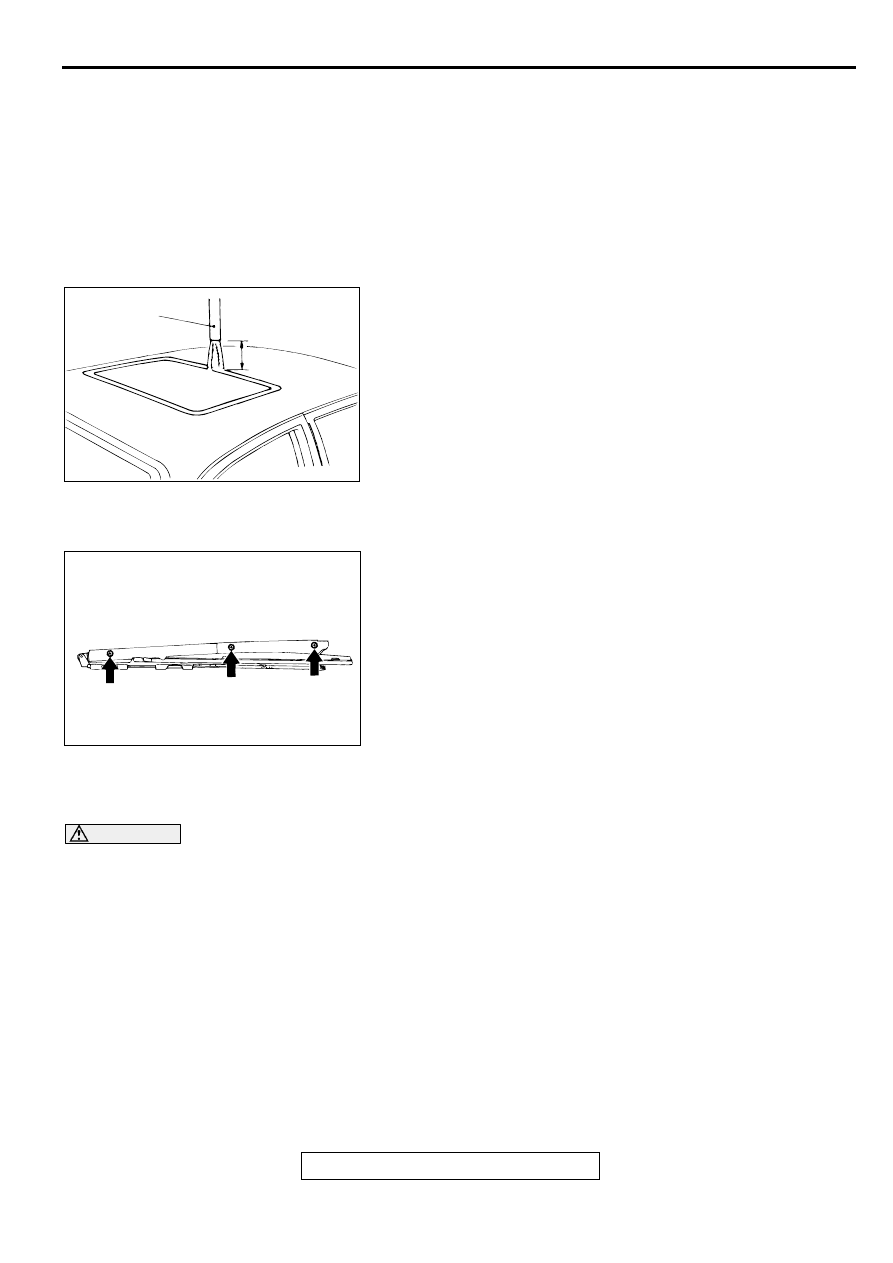
SUNROOF FIT ADJUSTMENT
M1426001000069
1. Fully close the roof lid glass.
2. Fully open the sunshade.
3. Loosen the roof lid glass assembly mounting screws (four),
and then slide the roof lid glass assembly along the slot in
the roof lid glass assembly to adjust the height of the roof lid
glass. Ensure that uniform space between the roof lid glass
and the body is secured in circumference.
4. After adjustment, check to be sure that the sunroof operates
smoothly.
OPERATION CHECK
M1426002600075
Check that the following items. If faulty, replace the sunroof-ECU (sunroof motor assembly).
CAUTION
Check that the following items are normal before carrying out this operation check.
1. Installation condition of the sunroof assembly
2. Installation condition, deforms and foreign material of the sunroof drive cable
3. Unfitted sunroof lid glass
4. Sunroof switch and sunroof motor assembly
ACX00572AB
HOSE
APPROX
30 cm (11.8 in)
ACX00573AB
SUNROOF ASSEMBLY
TSB Revision
BODY
42-106
NO.
SUNROOF INITIAL
POSITION
SWITCH OPERATION
JUDGMENT
(NORMAL)
01
Fully closed
Ignition switch: ON
•
Sunroof switch: OPEN
The sunroof automatically
opens.
02
Fully open
Ignition switch: ON
•
Sunroof switch: CLOSE
The sunroof closes while
the sunroof switch is
pushed to the CLOSE
position.
03Fully closed (tilt
down)
Ignition switch: ON
•
Sunroof switch: TILT UP
The sunroof will
automatically tilt up.
04
Tilt up
Ignition switch: ON
•
Sunroof switch: CLOSE
The sunroof closes while
the sunroof switch is
pushed to the CLOSE
position.
05
Fully closed, tilt up or
fully tilted
Ignition switch: ON
1. Sunroof switch: OPEN
2. Sunroof switch: CLOSE (The sunroof switch is
pushed to the CLOSE position while the sunroof
is automatically opening. The time of pushing:
Within 2 seconds)
The sunroof stops the
automatic open
operation.
06
Fully tilted
Ignition switch: ON
•
Sunroof switch: TILT UP
The sunroof dose not
move.
07
Fully closed, tilt up or
fully tilted
Ignition switch: ON
1. Sunroof switch: OPEN
2. Sunroof switch: CLOSE (The sunroof switch is
pushed to the CLOSE position while the sunroof
is automatically opening. The time of pushing:
More than 2 seconds)
The sunroof stops the
automatic open
operation, and the
sunroof closes while the
sunroof switch is pushed
to the CLOSE position.
08
Fully closed (tilt
down)
Ignition switch: ON
1. Sunroof switch: TILT UP
2. Sunroof switch: OPEN, CLOSE (Each direction
switch of the sunroof switch is pushed while the
sunroof is conducting the automatic tilt up
operation.)
The sunroof will continue
automatic operation until
tilted up.
09
Fully closed or while
opening
Ignition switch: ON
•
Sunroof switch: OPEN.
Block the sunroof before the sunroof is fully
open.
The sunroof stop.
10
Fully opened or
while closing
Ignition switch: ON
•
Sunroof switch: CLOSE
Block the sunroof before the sunroof is fully
closed.
The sunroof moves back
toward open and stops.
11
Fully opened or
while opening
Ignition switch: ON
1. Sunroof switch: CLOSE
Block the sunroof before the sunroof is fully
closed.
2. Sunroof switch: TILT UP, OPEN or CLOSE
The sunroof moves back
toward open and stops
when any switch is
pushed.
Нет комментариевНе стесняйтесь поделиться с нами вашим ценным мнением.
Текст