Acura RL (1996-2004 year). Manual — part 345
4. Install the remaining snap ring.
CONNECTING
ROD
Installation
1. Install a piston pin snap ring.
SNAP RING
3. Coat the piston pin bore in the piston, the bore in the
connecting rod, and the piston pin with engine oil.
Install the piston pin.
NOTE: Install the piston with its offset mark and the
oil hole in the connecting rod on the same side.
OFFSET
MARK
OIL HOLE
The arrow must face the
timing belt side of the
engine and the connecting
rod oil hole must face the
right side of the engine.
Assemble the rod and the
piston with the off-set
mark and oil hole on the
same side.
PISTON
PISTON PIN
2. Heat the piston to approximately 158°F (70°C).
Work carefully to prevent getting
burned.
Main Menu
Table of Contents
*1: RIKEN manufactured piston ring.
*2: TEIKOKU PISTON RING manufactured piston ring.
PISTON RING
END GAP
(0.6-0.8 in)
Piston Rings
End Gap
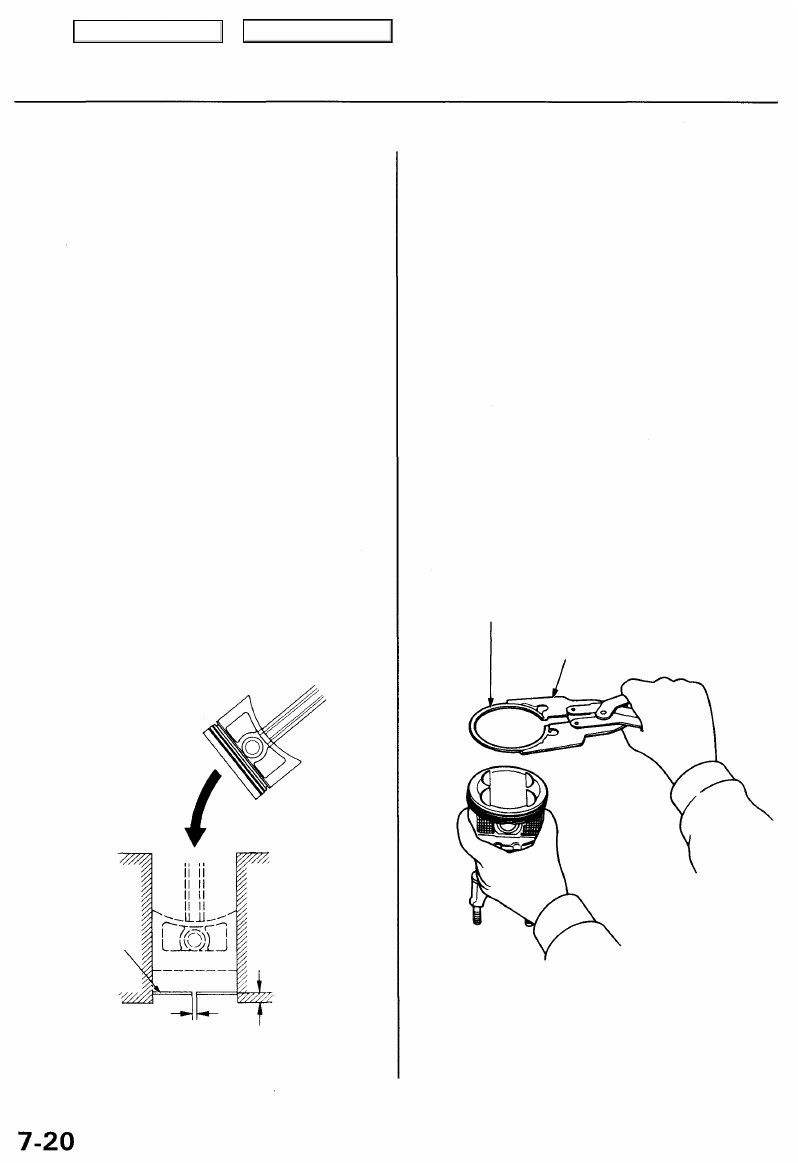
1. Using a piston, push a new ring into the cylinder
bore 15-20 mm (0.6 - 0.8 in) from the bottom.
2. Measure the piston ring end-gap with a feeler
gauge:
• If the gap is too small, check to see if you have the
proper rings for your engine.
• If the gap is too large, recheck the cylinder bore
diameter against the wear limits on page
If the bore is over the service limit, the cylinder
block must be rebored.
Piston Ring End-Gap:
Top Ring
Standard (New): 0.25 - 0.40 mm
(0.010 - 0.016 in)
Service Limit: 0.70 mm (0.028 in)
Second Ring
Standard (New): 0.40 - 0.55 mm
(0.016 - 0.022 in)
Service Limit: 0.85 mm (0.033 in)
Oil Ring
Standard (New): 0.20 - 0.70 mm
(0.008 - 0.028 in) *1
0.20 - 0.50 mm
(0.008 - 0.020 in) *2
Service Limit: 0.80 mm (0.031 in)
Replacement
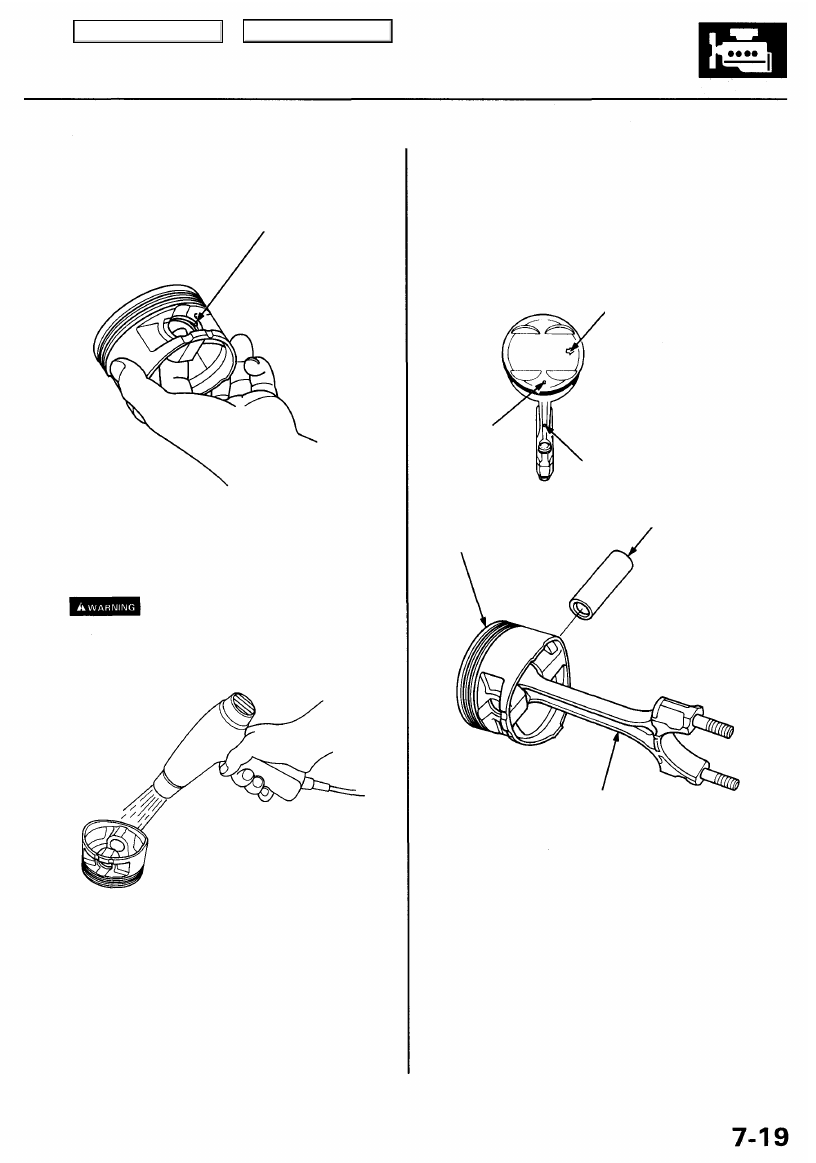
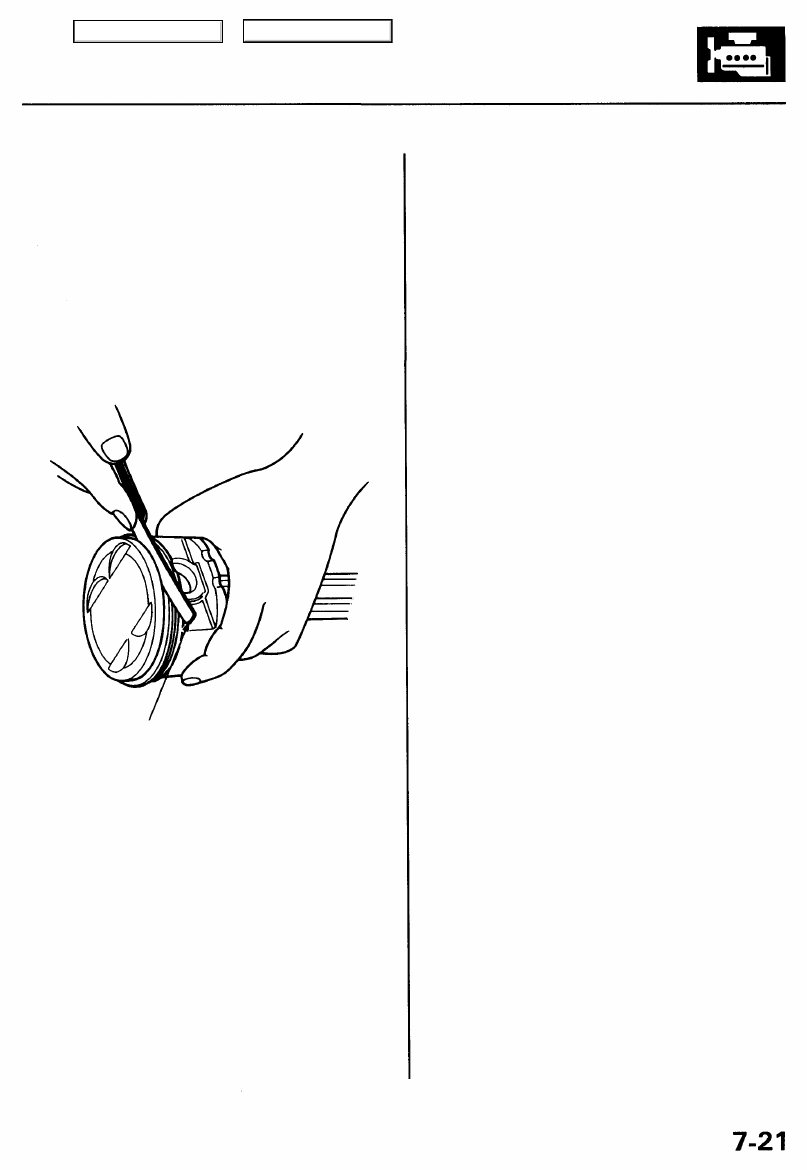
1. Using a ring expander, remove the old piston rings.
2. Clean all the ring grooves thoroughly.
NOTE:
• Use a squared-off broken ring or ring groove
cleaner with a blade to fit the piston grooves. File
down the blade if necessary.
• Top ring groove is 1.5 mm (0.06 in) wide, the
second ring groove is 1.2 mm (0.05 in) wide, and
the oil ring groove is 2.8 mm (0.11 in) wide.
CAUTION: Do not use a wire brush to clean the ring
grooves, or cut ring grooves deeper with the clean-
ing tool.
NOTE: If the piston is to be separated from the con-
necting rod, do not install new rings yet.
3. Install new rings in the proper sequence and posi-
tion (see pages
NOTE: Do not reuse old piston rings.
PISTON RING
RING EXPANDER
(Commercially available)
Main Menu
Table of Contents
Ring-to-Groove Clearance
After installing a new set of rings, measure the ring-to-
groove clearance:
Top Ring Clearance
Standard (New): 0.055 - 0.080 mm
(0.0022 - 0.0031 in)
Service Limit: 0.13 mm (0.005 in)
Second Ring Clearance
Standard (New): 0.030 - 0.055 mm
(0.0012 - 0.0022 in)
Service Limit: 0.13 mm (0.005 in)
FEELER GAUGE
Main Menu
Table of Contents
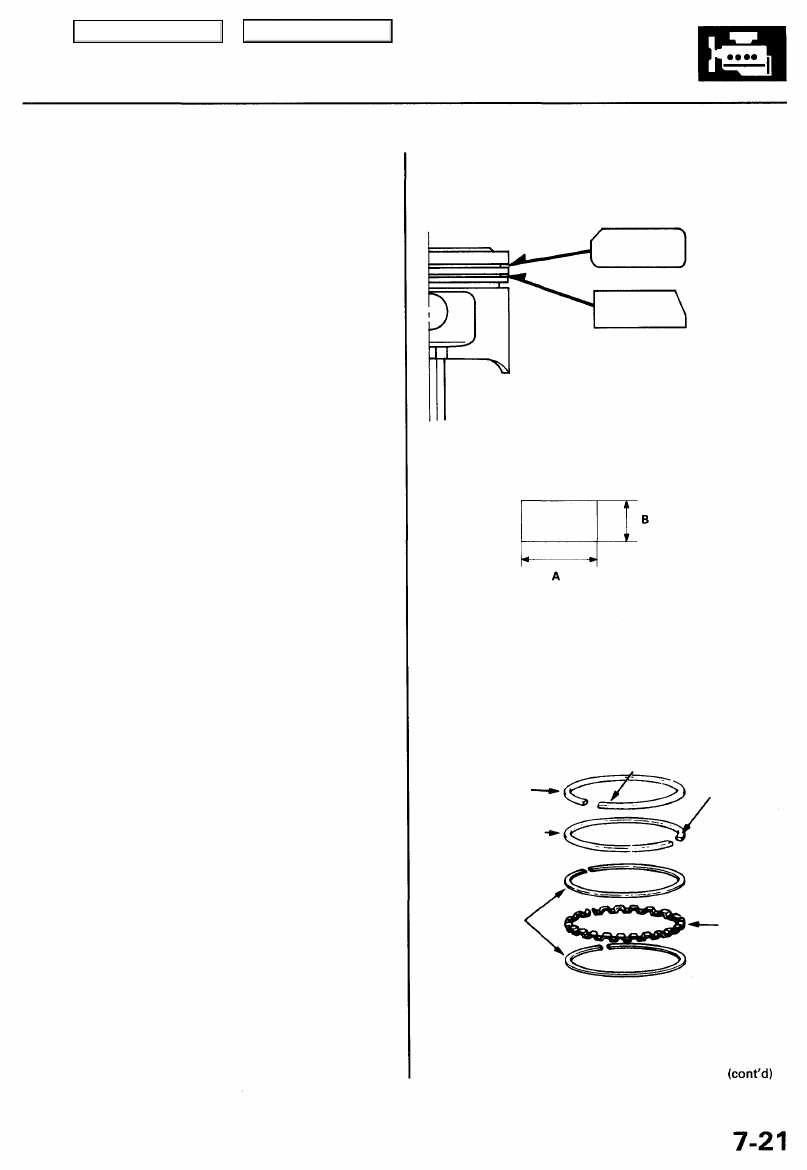
Alignment
1. Install the rings as shown.
TOP RING (Chrome)
SECOND RING (Dark)
Piston Ring Dimensions:
Top Ring (Standard)
A: 3.3 mm (0.13 in)
B: 1.5 mm (0.06 in)
Second Ring (Standard)
A: 3.5 mm (0.14 in)
B: 1.2 mm (0.05 in)
NOTE: The manufacturing marks must be facing
upward.
OIL RING
MARK
- SPACER
TOP RING
SECOND RING
MARK
Main Menu
Table of Contents
Нет комментариевНе стесняйтесь поделиться с нами вашим ценным мнением.
Текст