Great Wall Hover. Manual — part 12
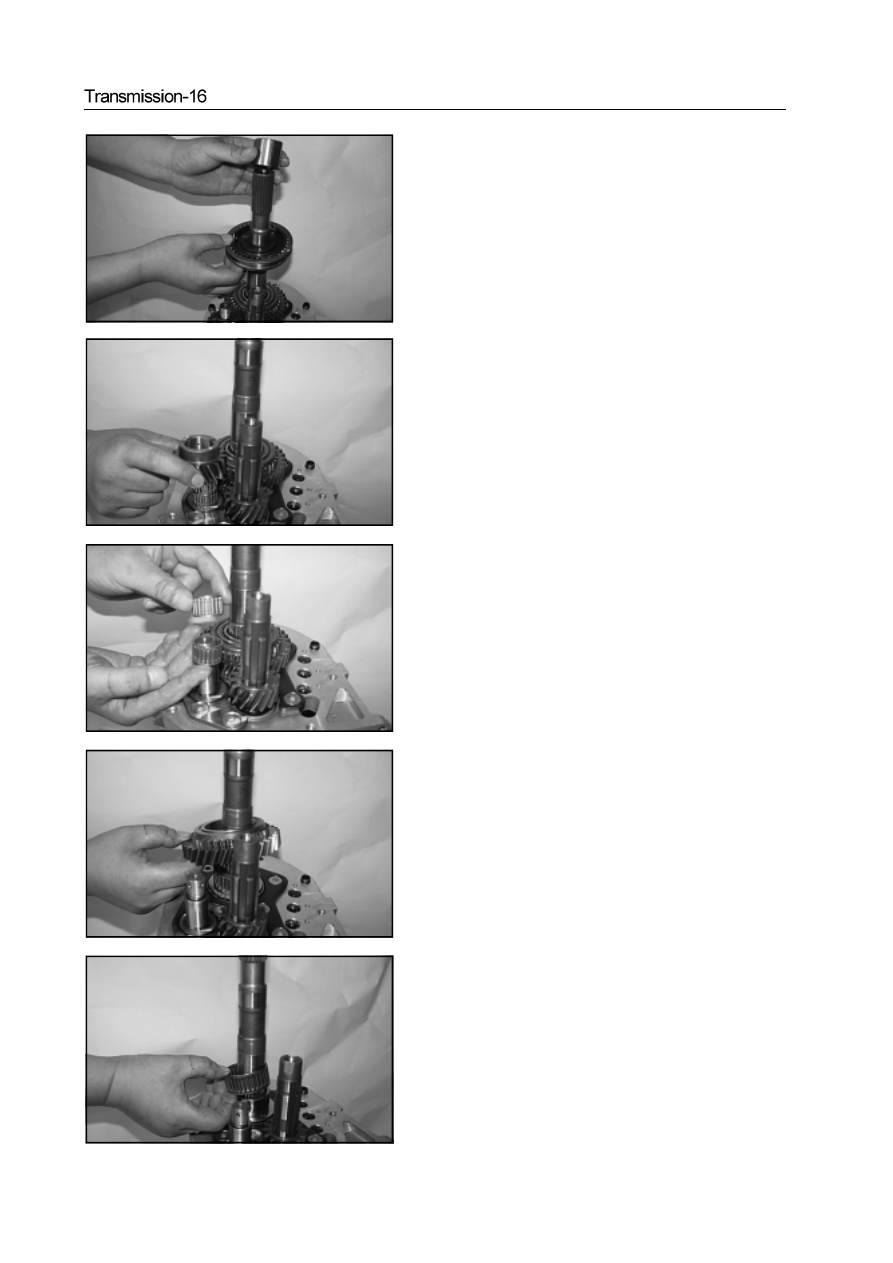
31. Remove the reverse gear
32. Remove 2 needle bearings of reverse gear
33. Remove the reverse driven gear
34. Remove the needle bearing of reverse driven gear
b. Remove the sleeve and 5th/reverse -Gear synchronizer assembly
35. Remove the reverse drive gear
36. Remove the intermediate shaft spacing ring
37. Remove 8 countersunk screws
Caution: when install the countersunk screw, the tightening torque
is within 15-22N·m
38. Remove the support axial lock plate
39. Remove the air duct grease baffle

Disassembly of clutch housing assembly /bearing
housing assembly
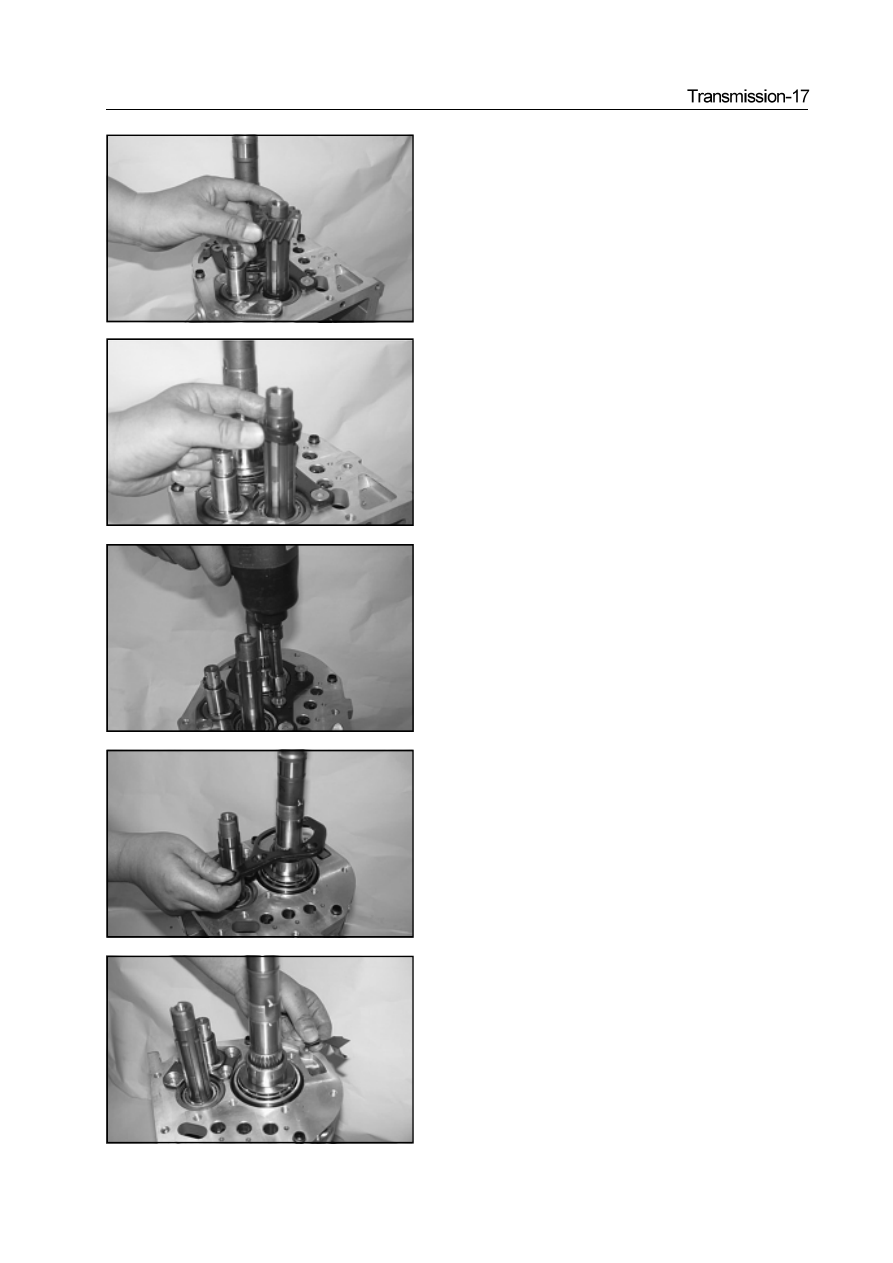
40. Use the special tools to remove the reverse shaft
Use the magnetic rod to take out 2 interlocking pins
Remove the first bearing block assembly
a. Use the special tools to install 6 M8 bolts.
Caution: When install 6 M8 bolts, the tightening torque is 10-
13N·m
Clutch housing assembly / Bearing housing assembly
bush
oil seal
Used component which can not be used any more.
throwout bearing
assembly
washer 8
¦ non-standard spring
first bearing
first shaft assembly
needle bearing
second shaft assembly
¦circles for shaft
¦adjusting shim
leather cup
separation rocker arm assembly
separation rocker arm ball support
clutch cylinder assembly
front space ring of intermediate shaft
intermediate shaft assembly
aluminum waher
Specified torque
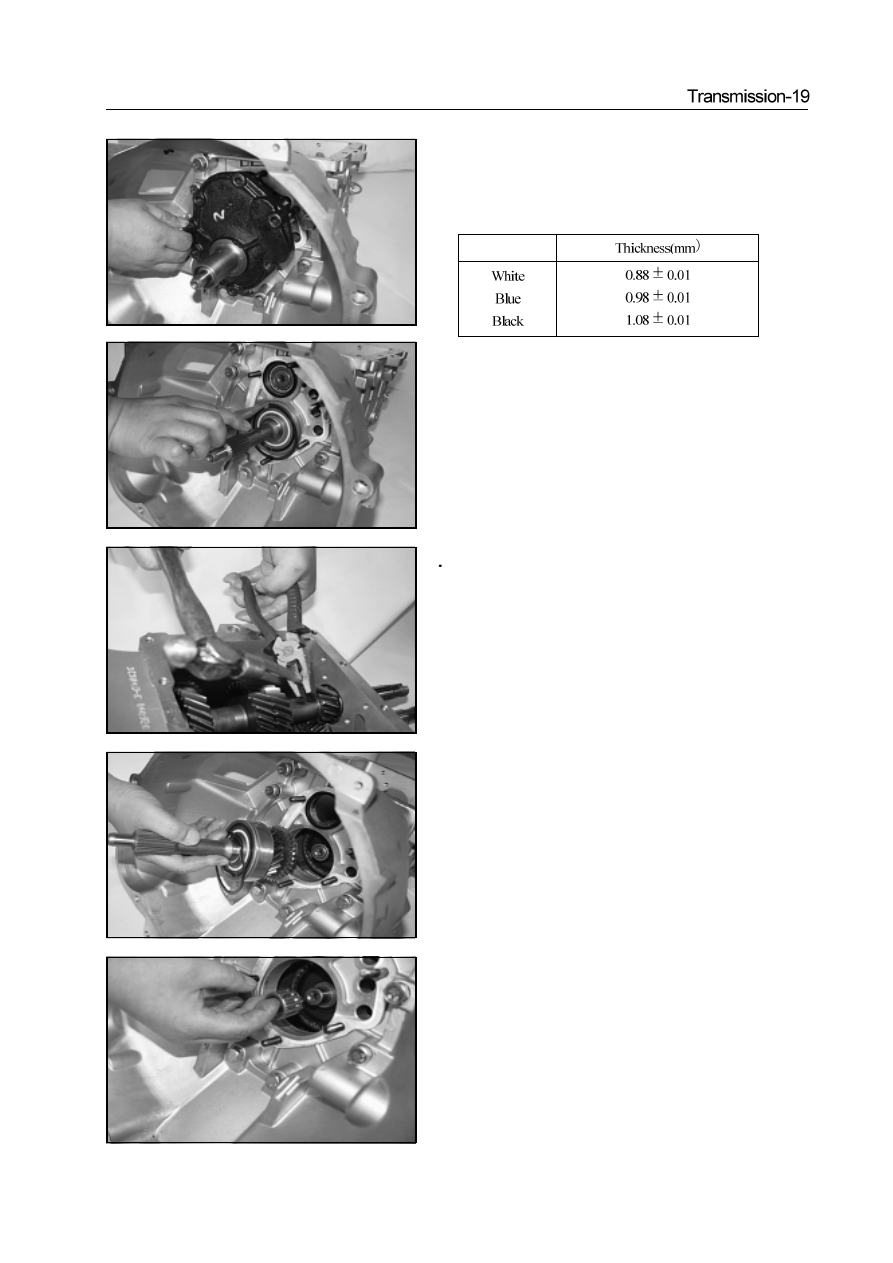
b. Remove the first bearing blocks assembly ; take out the adjusting
shim
Caution: It should select the adjusting shim when install the
adjusting shim
43. Remove the bearing snap ring
44 Remove the intermediate shaft assembly
45. Remove the first shaft assembly
46. Remove the needle bearing
Mark
Нет комментариевНе стесняйтесь поделиться с нами вашим ценным мнением.
Текст