Defender. Manual — part 214

Air Conditioning - 2.4L Duratorq-TDCi HPCR (103kW/140PS) - Puma -
Receiver Drier
Removal and Installation
Removal
1. Recover the air conditioning (A/C) refrigerant.
For additional information, refer to:
Air Conditioning (A/C)
System Recovery, Evacuation and Charging
(412-00 Climate
Control System - General Information, General Procedures).
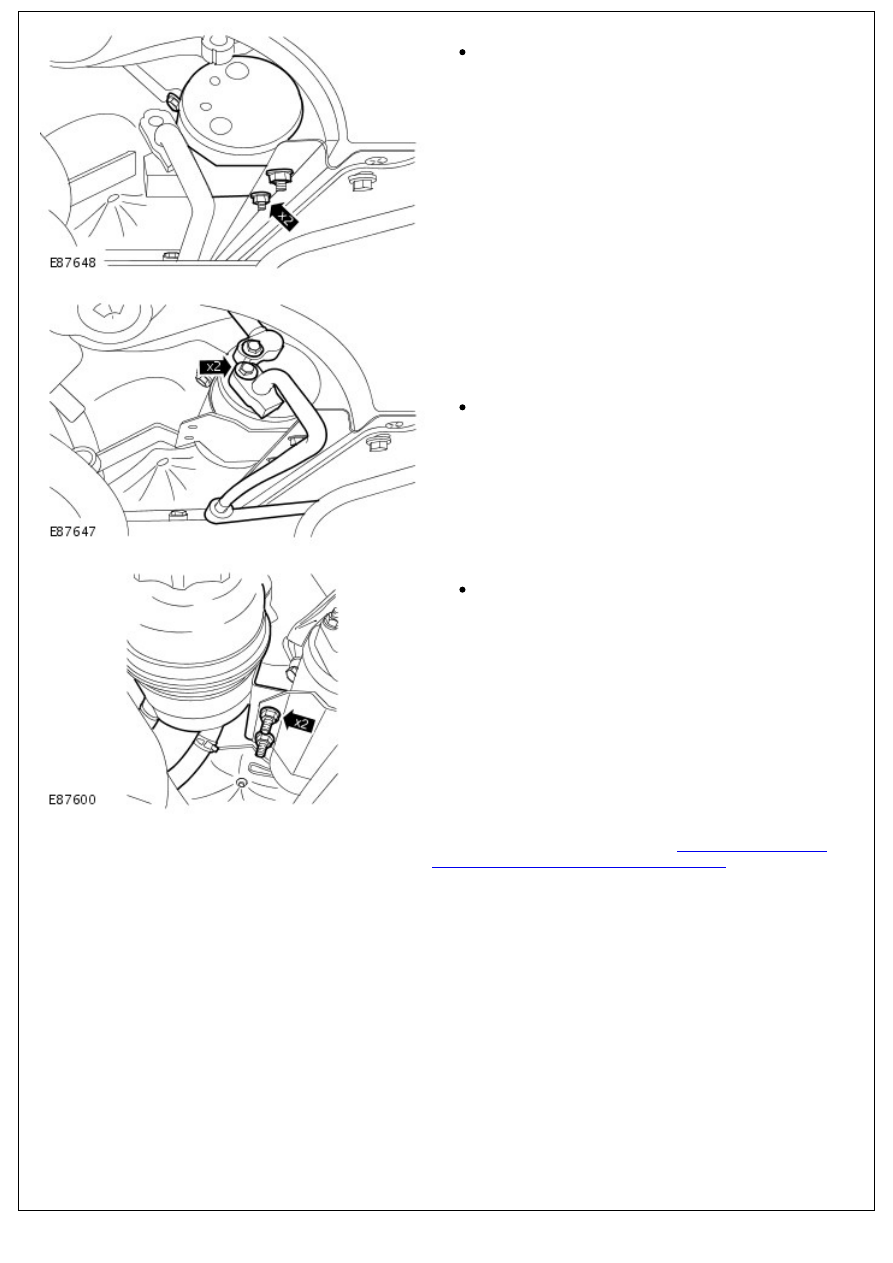
2. Release the power steering fluid reservoir.
Remove the 2 nuts.
3.
CAUTION: Make sure that all openings are sealed. Use
new blanking caps.
Disconnect the A/C receiver drier low-pressure and high-
pressure refrigerant lines.
Remove the 2 bolts.
Remove and discard the O-ring seals.
4. Remove the A/C receiver drier.
Remove the 2 nuts.
Installation
1. Install the A/C receiver drier.
1. Install the A/C receiver drier.
Tighten to 8 Nm (6 lb.ft).
2. NOTE: Coat the receiver drier O-ring seals in clean
refrigerant oil prior to installation.
• NOTE: Remove and discard the blanking caps.
Connect the A/C receiver drier low-pressure and high-
pressure refrigerant lines.
Tighten to 8 Nm (6 lb.ft).
3. Secure the power steering fluid reservoir.
Tighten to 4 Nm (3 lb.ft).
4. Refill the air conditioning (A/C) refrigerant.
For additional information, refer to:
Air Conditioning (A/C)
System Recovery, Evacuation and Charging
(412-00 Climate
Control System - General Information, General Procedures).

Control Components - Climate Control Assembly
Removal and Installation
Removal
1. Remove the instrument panel console.
For additional information, refer to:
Instrument Panel Console
(501-12 Instrument Panel and Console, Removal and
Installation).
2. Release the climate control assembly.
Remove the 4 screws.
3. Disconnect the blower motor speed control switch electrical
connector.
4. Disconnect the recirculation blend door control cable.
Release the clip.
5. Disconnect the heater control valve control cable.
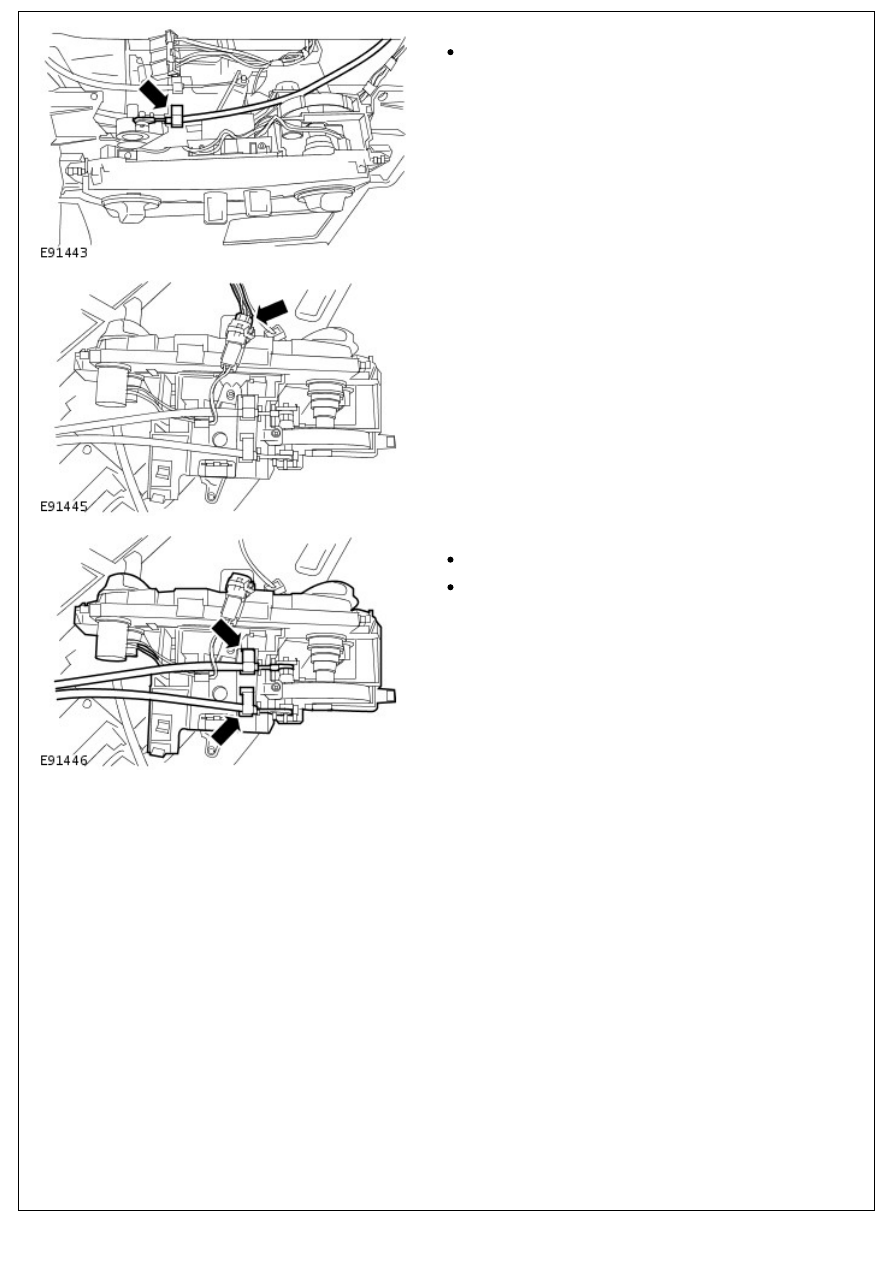
5. Disconnect the heater control valve control cable.
Release the clip.
6. Disconnect the climate control assembly illumination
electrical connector.
7. Remove the climate control assembly.
Release the clips.
Disconnect the 2 blend door control cables.
Installation
1. To install, reverse the removal procedure.
Нет комментариевНе стесняйтесь поделиться с нами вашим ценным мнением.
Текст