Discovery 2. Manual — part 192
FRONT SUSPENSION
REPAIRS
60-51
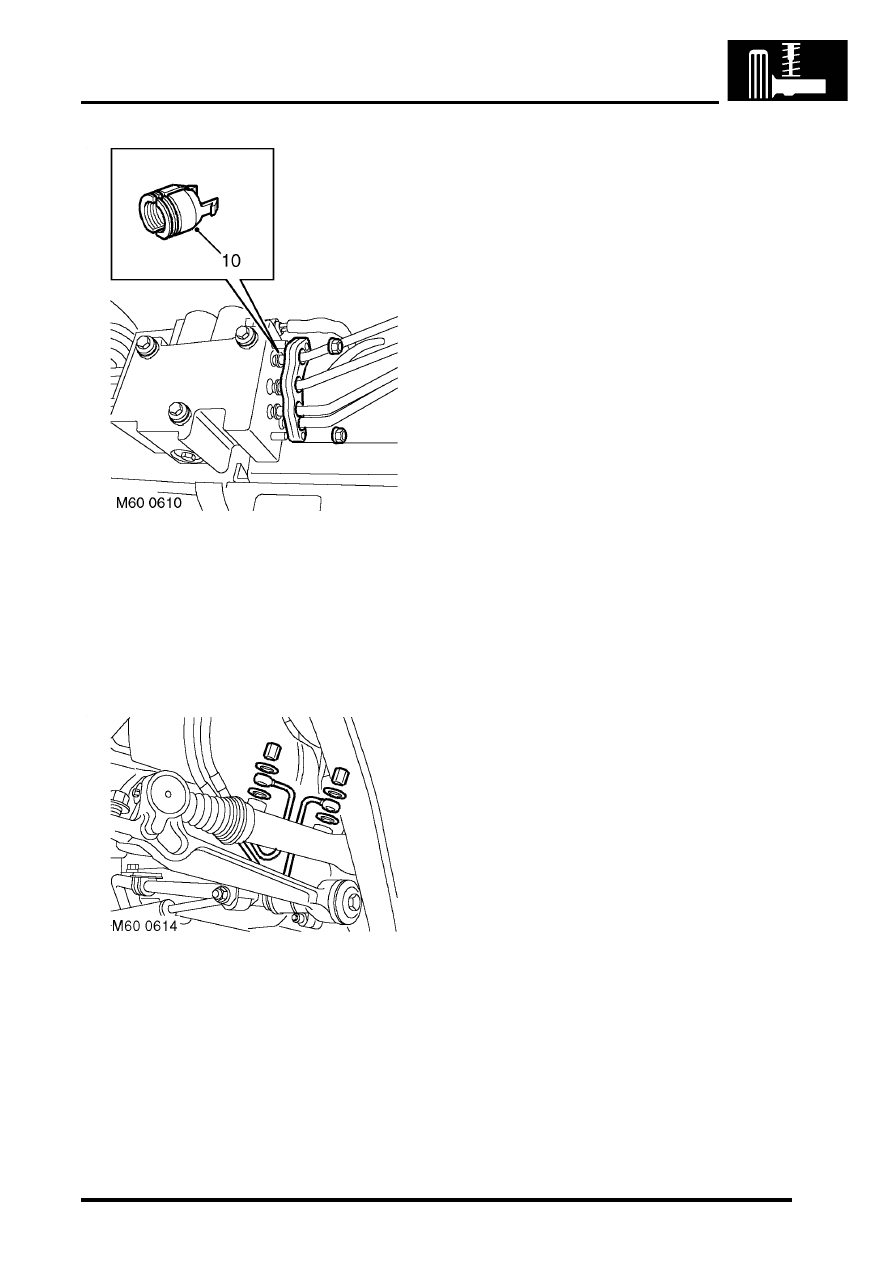
9. Remove 2 nuts securing pipe clamping plate to
valve block.
10. Release clamping plate and pipes from valve
block. Remove collets and release pipes from
clamping plate.
CAUTION: Always fit plugs to open
connections to prevent contamination.
11. Remove 2 cap nuts securing pipes to ACE
actuator. Disconnect pipes and discard sealing
washers.
CAUTION: Always fit plugs to open
connections to prevent contamination.
12. Release pipes from isolator above chassis RH
front outrigger.
13. Remove pipe assembly.
Refit
1. Position pipe assembly.
2. Locate pipes in isolator above chassis RH front
outrigger. Fit cable tie around isolator to secure
pipes.
3. Ensure valve block and pipe connections are
clean.
4. Fit collets and pipes to clamping plate.
5. Connect pipes to valve block. To avoid seal
damage, keep pipes square to valve block.
Fit and tighten nuts securing clamping plate to
valve block to 21 Nm (15 lbf.ft).
CAUTION: Ensure pipes are installed in
their correct ports or serious system
damage will occur.
6. Fit pipe clamps. Secure to chassis with bolt and
to bracket on suspension turret with nut.
7. Connect pipes to ACE actuator with cap nuts
and new sealing washers Tighten cap nuts to
29 Nm (21 lbf.ft). Ensure pipes are not under
tension or kinked.
8. Secure harness to suspension turret.
9. Fit splash shield and secure with screws.
10. Fit RH wheel arch liner extension and secure
with screws.
11. Renew ACE high pressure filter.
12. Fit road wheel(s) and tighten nuts to 140 Nm
(103 lbf.ft).
13. Refill and bleed ARC system.
ADJUSTMENTS, ACE hydraulic system
bleeding.
14. Lower vehicle.
FRONT SUSPENSION
60-52
REPAIRS
Pipe assembly - pump or reservoir to
valve block - ACE - V8
$% 60.60.32
Introduction
CAUTION: The ACE hydraulic system is
extremely sensitive to the ingress of dirt or
debris. The smallest amount could render the
system unserviceable. It is imperative that the
following precautions are taken.
l
ACE components are thoroughly cleaned
externally before work commences;
l
all opened pipe and module ports are
capped immediately;
l
all fluid is stored in and administered
through clean containers.
Remove
1. To avoid any possibility of swarf ingress,
2. Raise front of vehicle.
WARNING: Do not work on or under a
vehicle supported only by a jack. Always
support the vehicle on safety stands.
3. Remove RH front road wheel.
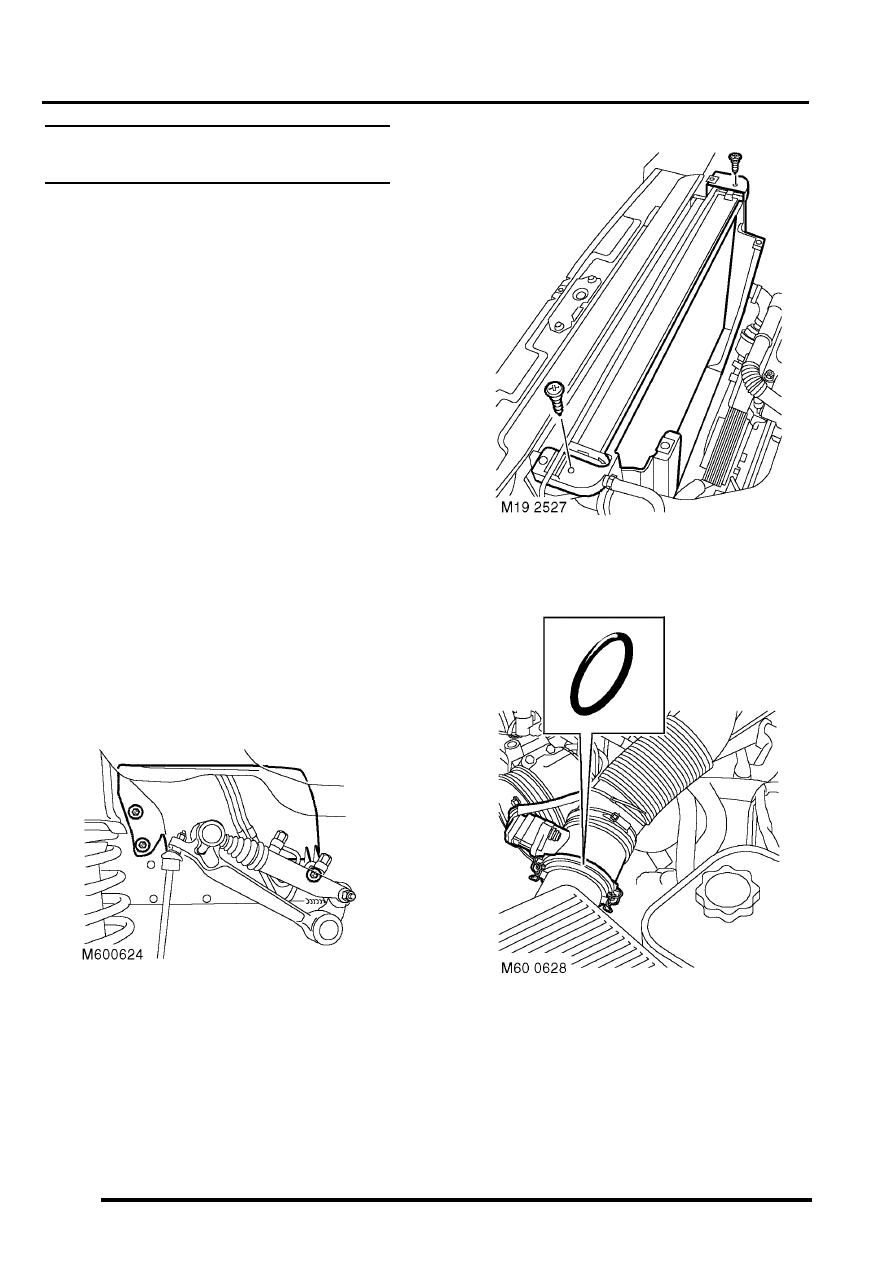
4. Remove 3 screws and remove splash shield.
5. Remove viscous fan.
6. Remove 2 screws securing lower fan cowl and
remove cowl.
7. Disconnect multiplug from MAF sensor.
Note: Pre 03 MY air intake hose illustrated.
8. Release clips and remove air flow meter from
air cleaner.
9. Collect 'O' ring.
FRONT SUSPENSION
REPAIRS
60-53
10. Loosen clip and disconnect air hose from
throttle body.
Note: Pre 03 MY air intake hose illustrated.
11. Position container to collect fluid loss.
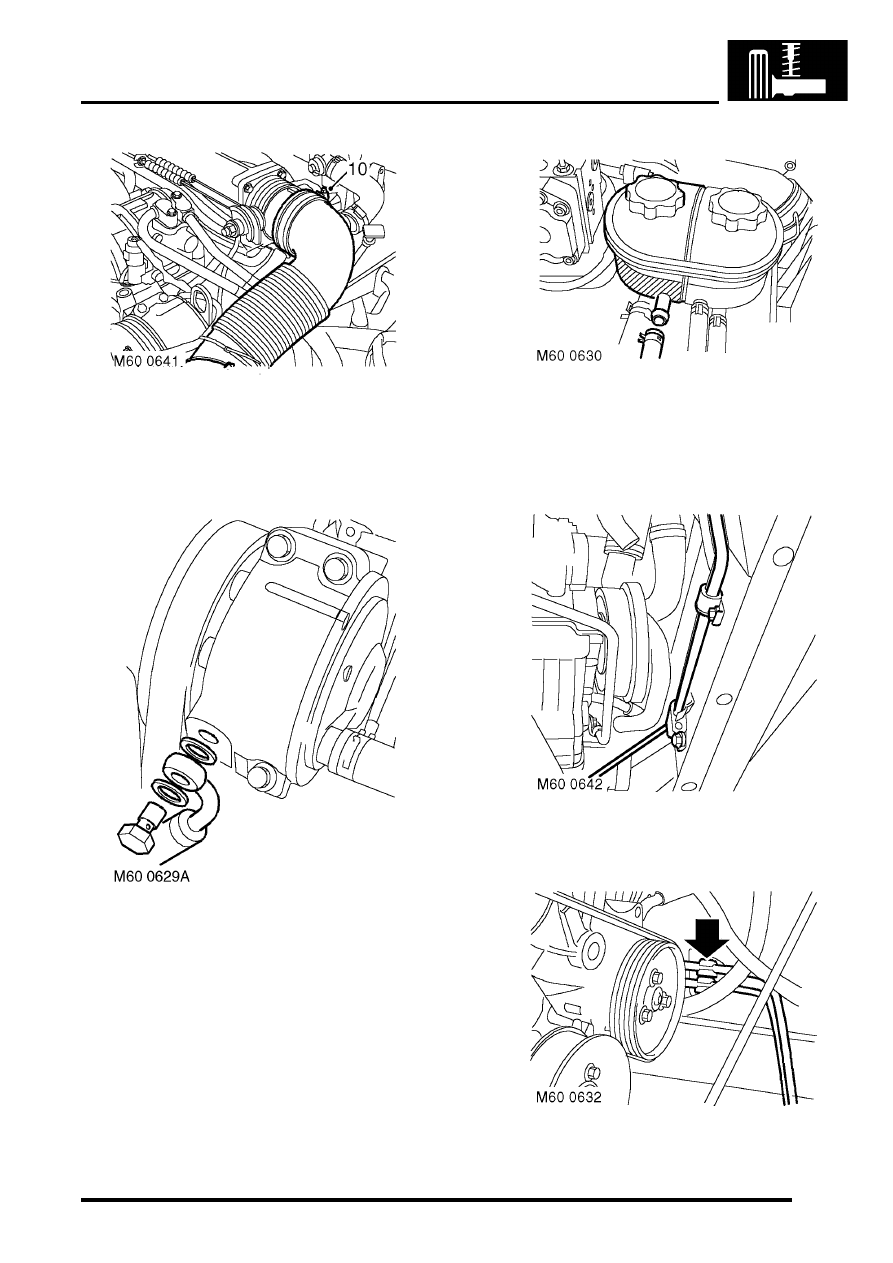
12. Pump to valve block pipe:Remove banjo bolt
securing fluid hose to ACE pump and discard
sealing washers.
CAUTION: Always fit plugs to open
connections to prevent contamination.
13. Valve block to reservoir pipe: Release clip,
disconnect hose from ACE fluid reservoir and
remove clip from hose.
CAUTION: Always fit plugs to open
connections to prevent contamination.
14. Remove bolts securing 2 pipe clamps to front
cross member and remove clamps.
15. Valve block to reservoir pipe: Release pipe
from clip on LH chassis member.
FRONT SUSPENSION
60-54
REPAIRS
16. Remove bolt securing pipe clamp to RH
chassis member and remove clamp.
17. Release harness clip from RH suspension
turret.
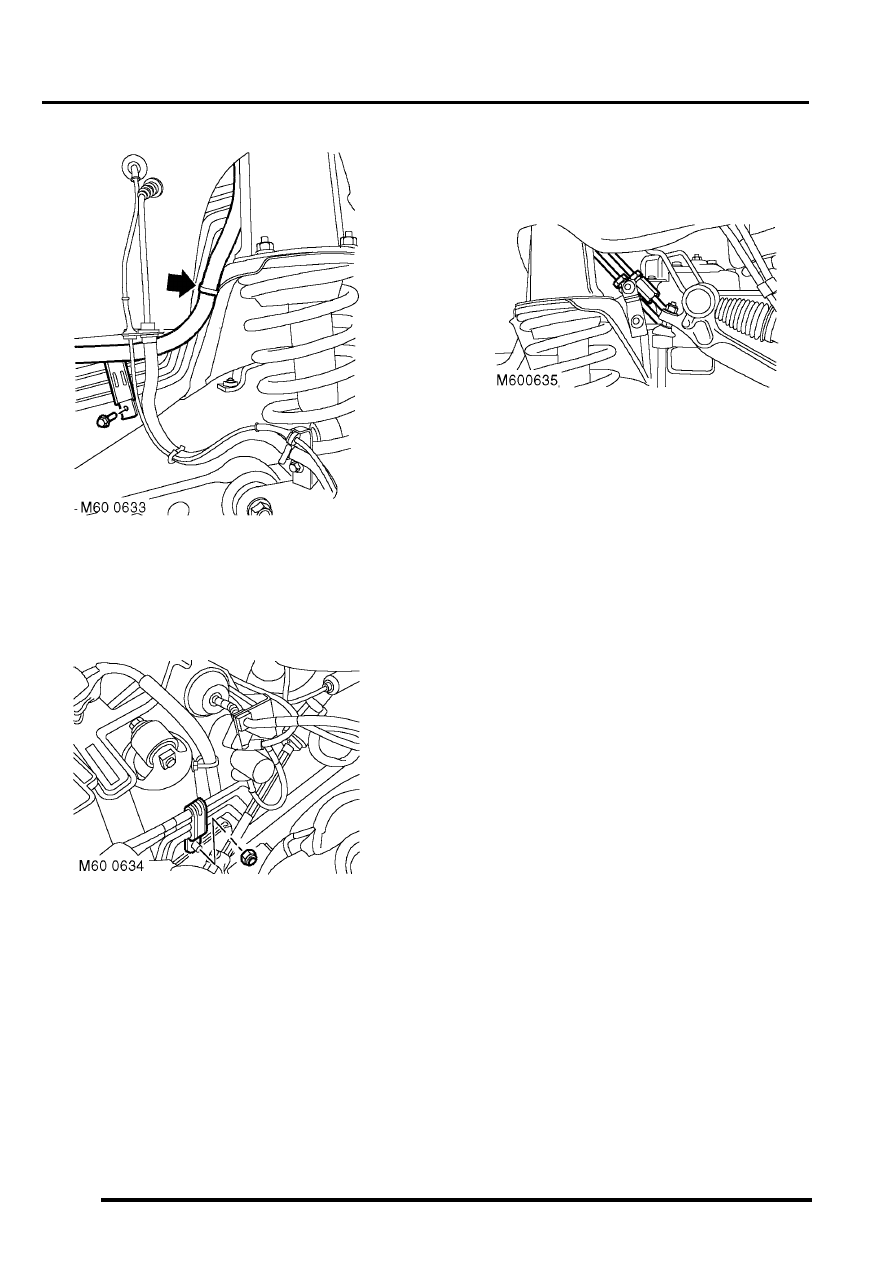
18. Remove nut securing pipe clamp to bracket on
RH suspension turret and remove clamp.
19. Release pipe from isolator above chassis RH
front outrigger.
20. Cut pipe at suitable point near suspension
turret.
21. Remove and discard front and rear sections of
pipe.
Refit
1. Fit both sections of new pipe to vehicle.
2. Ensure 'O' ring is fitted to union on front section
of pipe.
3. Push both sections ofpipe together squarely
and tighten union nut to 16 Nm (12 lbf.ft).
4. Locate pipe in isolator above chassis RH front
outrigger. Fit cable tie around isolator to secure
pipe.
5. Valve block to reservoir pipe:Fit clip to
reservoir hose, connect hose to reservoir and
secure with clip.
6. Pump to valve block pipe: Ensure pipe banjo
and ACE pump connections are clean, fit new
sealing washers, align banjo to pump and
tighten bolt to 29 Nm (21 lbf.ft).
7. Fit pipe clamps to pipe, align clamps to front
cross member and fit bolts.
8. Valve block to reservoir pipe: Fit pipe to clip
on LH chassis member.
9. Fit pipe clamp to pipes, align clamp to
suspension turret and secure with nut.
10. Fit pipe clamp to pipes, align clamp to RH
chassis member and secure with bolt.
11. Align and secure harness to suspension turret.
12. Fit 'O' ring to air cleaner.
13. Fit air hose to throttle body and secure with clip.
14. Fit air flow meter and secure with clips.
15. Connect multiplug to MAF sensor.
16. Fit lower fan cowl and secure with screws.
17. Fit viscous fan.
18. Fit RH splash shield and secure with screws.
19. Fit road wheel(s).
20. Fit valve block.
21. Renew ACE high pressure filter.
22. Lower vehicle.
Нет комментариевНе стесняйтесь поделиться с нами вашим ценным мнением.
Текст