Discovery 2. Manual — part 656
INTERIOR TRIM COMPONENTS
REPAIRS
76-3-7
Console - centre - manual models
$% 76.25.01
Remove
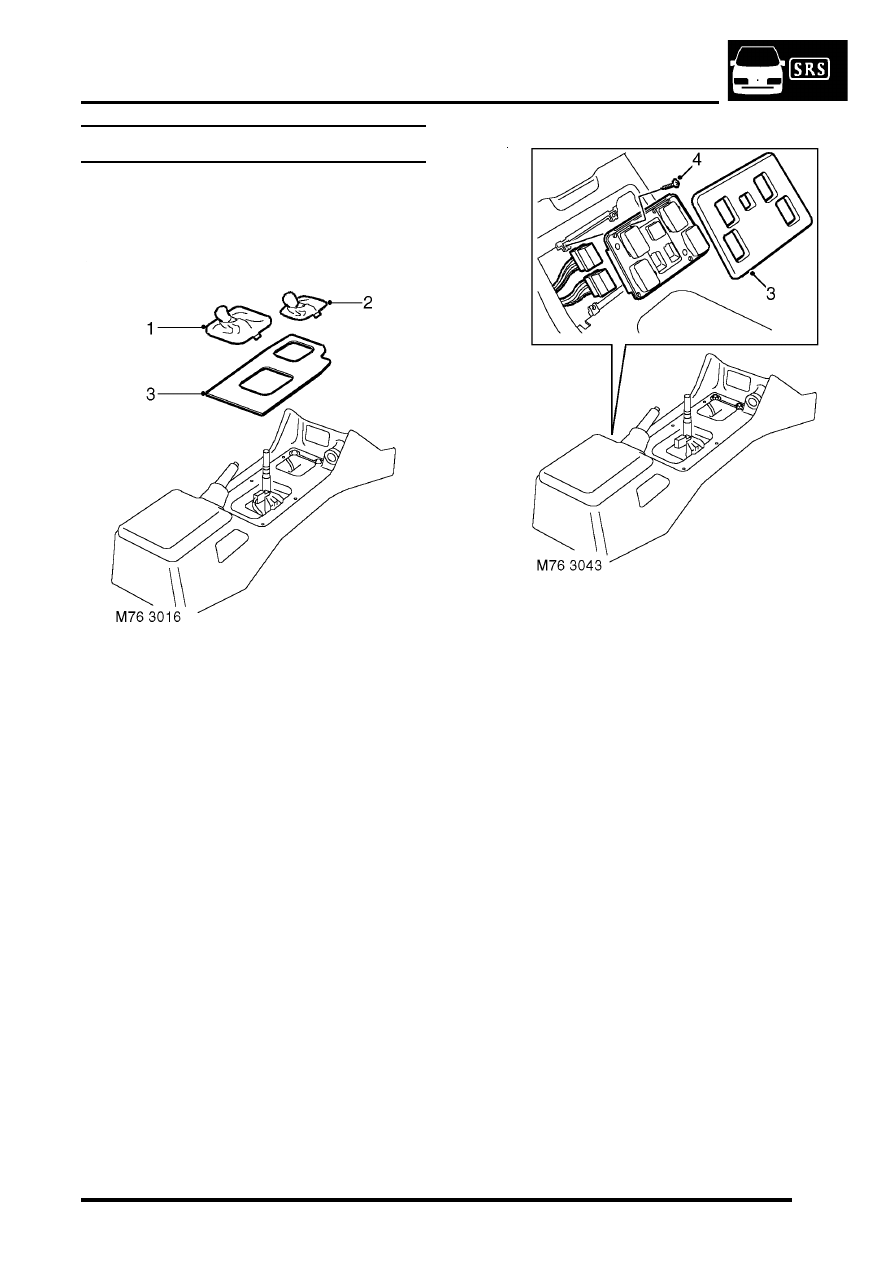
1. Release clips securing gear lever gaiter to
centre console and remove knob and gaiter.
2. Models from 03MY:Remove both centre
console cup holders.
3. Release clips securing transfer box lever gaiter
to centre console and remove knob and gaiter.
4. Models with base trim: Remove rubber mat
from console and remove cover plate from
switch pack.
5. Models with base trim: Remove 4 screws
securing switch pack to centre console,
disconnect multiplugs and remove switch pack.
INTERIOR TRIM COMPONENTS
76-3-8
REPAIRS
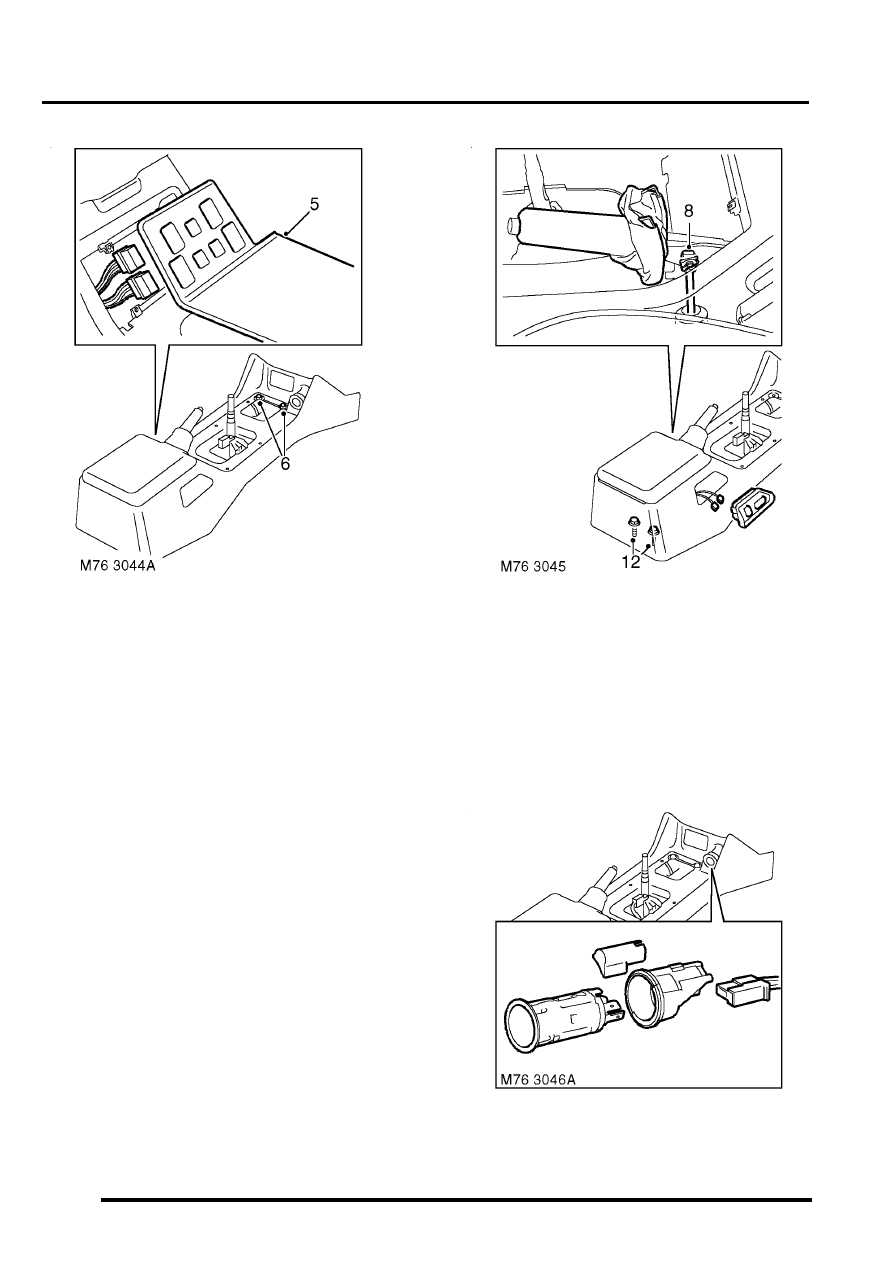
6. Models with veneer trim: Release veneered
console cover from console and remove cigar
lighter element. Disconnect multiplugs from
switch pack and remove veneered console
cover.
7. Remove 2 bolts securing forward edge of
console to transmission tunnel.
8. Release handbrake gaiter from console.
9. Remove clip and clevis pin securing cable to
handbrake.
10. Move handbrake to fully upward position.
11. Release electric seat switches from console.
12. Disconnect multiplugs from switches and
remove.
13. Remove 2 bolts securing rear of console to
transmission tunnel.
14. Release centre console from fascia.
15. Disconnect multiplug and bulb from cigar
lighter.
INTERIOR TRIM COMPONENTS
REPAIRS
76-3-9
16. Remove console.
NOTE: Do not carry out further dismantling if
component is removed for access only.
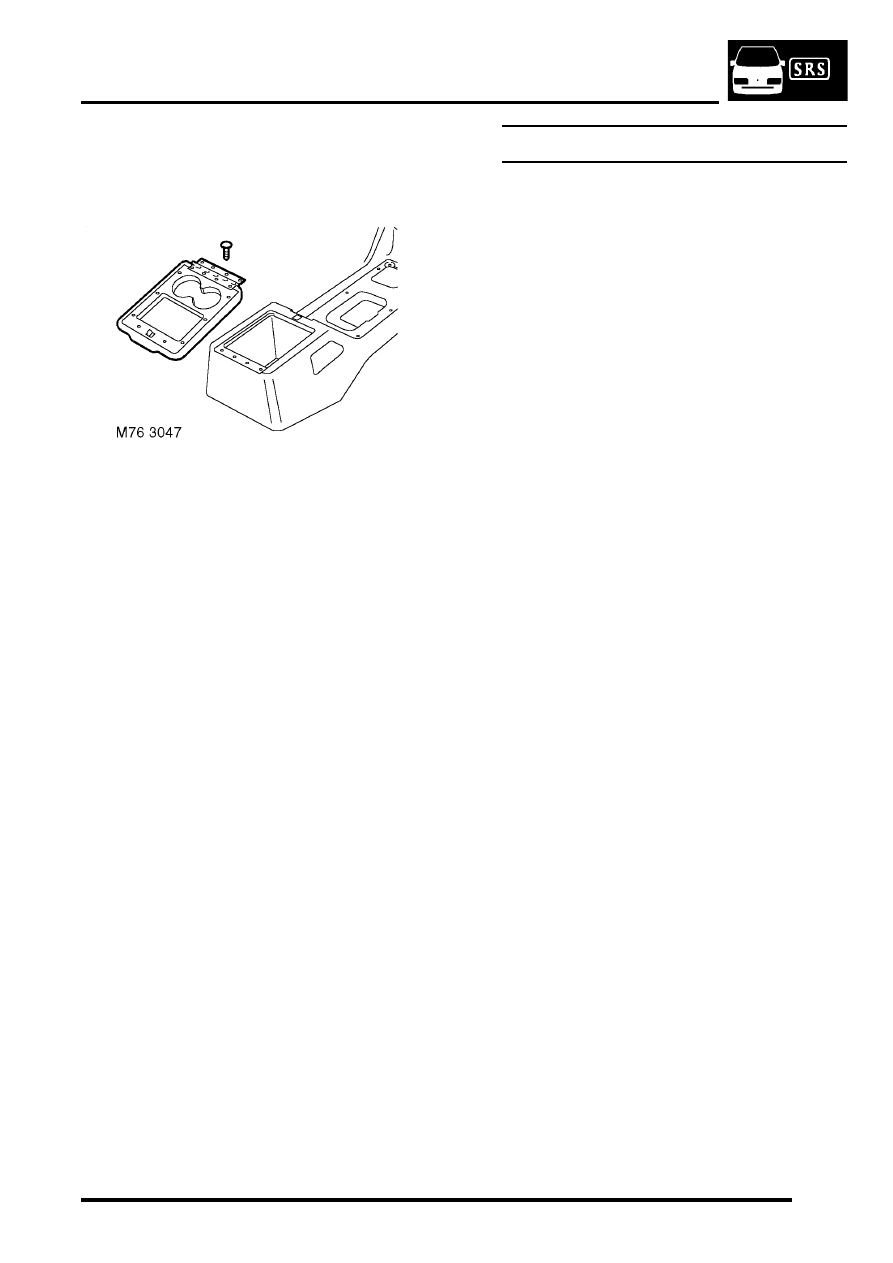
17. Remove 4 screws securing storage bin lid to
console and remove lid.
18. Release cigar lighter body from console and
remove.
Refit
1. Fit and secure cigar lighter body to console.
2. Fit lid to console and secure with screws.
3. Fit console.
4. Connect multiplug and bulb to cigar lighter.
5. Fit centre console to fascia.
6. Fit 2 bolts securing rear of console to
transmission tunnel.
7. Connect multiplugs to seat switches.
8. Fit switches to console.
9. Move handbrake to lowered position.
10. Fit cable to handbrake and secure with clevis
pin and clip.
11. Fit handbrake gaiter to console.
12. Fit bolts securing forward edge of console to
transmission tunnel.
13. Models with veneer trim: Position veneered
console cover and connect multiplugs to switch
pack. Fit cigar lighter element and secure
veneered console cover to console.
14. Models with base trim: Connect multiplugs to
switch pack, fit switch pack to console and
secure with screws.
15. Models with base trim: Fit cover plate to
switch pack, and rubber mat to console.
16. Fit transfer gearbox gaiter and knob to lever.
17. Secure gaiter to console.
18. Fit knob and gaiter to gear lever and secure
gear lever gaiter to console with clips.
19. Models from 03MY:Fit both centre console
cup holders.
Fascia
$% 76.46.23/99
Remove
1. Remove the key from the starter switch.
Disconnect both battery leads, negative lead
first. Wait ten minutes before starting work.
2. Remove radio cassette player.
REPAIRS, Radio cassette player.
3. Remove steering wheel.
4. Remove steering column nacelle.
5. Remove centre console.
l
For models with automatic gearbox:
REPAIRS, Console - centre - automatic
models.
l
For models with manual gearbox:
REPAIRS, Console - centre - manual
models.
6. Remove 'A' post trim panels.

INTERIOR TRIM COMPONENTS
76-3-10 REPAIRS
7. Remove 6 clips securing both lower closing
panels to fascia and remove closing panels.
8. Remove mats from fascia.
9. Remove 2 screws and release instrument cowl
from 2 clips on fascia.
10. Disconnect multiplugs from switches in
instrument cowl and remove cowl.
11. Remove 4 screws securing instrument pack to
fascia.
12. Disconnect 2 multiplugs from instrument pack
and remove pack.
13. Remove fascia access panel.
REPAIRS, Panel - fascia access - driver's
side.
14. Remove 4 nuts securing fascia to steering
column bracket.
15. Disconnect 3 multiplugs connecting main body
harness to fascia harness.
16. Disconnect fascia harness multiplug from fuse
box.
17. Remove 4 bolts securing glove box and remove
glove box.
Нет комментариевНе стесняйтесь поделиться с нами вашим ценным мнением.
Текст