Discovery 2. Manual — part 654
EXTERIOR FITTINGS
REPAIRS 76-2-15
5. Remove centres of 19 trim clips securing
bumper armature to bumper valance.
6. Remove outers of trim clips.
7. Remove bumper armature from bumper
valance.
8. Release clips and remove rear lamps from
bumper valance.
Refit
1. Fit rear lamps to bumper valance.
2. Fit armature to bumper valance and secure
with trim clip outers.
3. Fit centres to trim clips.
4. With assistance, fit bumper assembly to body.
5. Position plates to rear bumper.
6. Fit and tighten bolts securing rear bumper to
chassis to 45 Nm (33 lbf.ft).
7. Fit 2 clips securing rear lamp harnesses to rear
bumper.
8. Connect multiplugs to rear lamps.
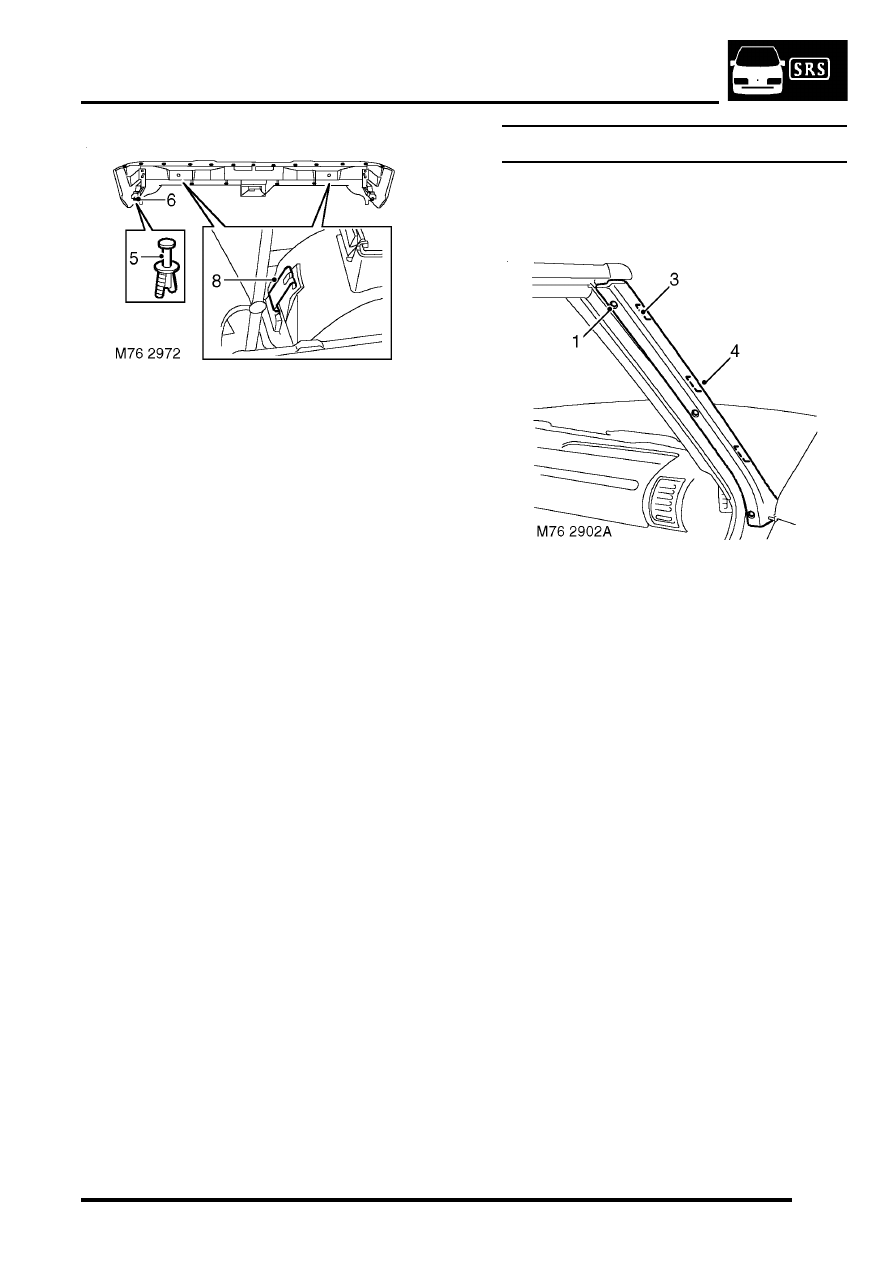
Side finisher - windscreen
$% 76.43.39
Remove
1. Push centres from 3 trim clips securing finisher
to 'A' post.
2. Remove trim clip outers from finisher.
3. Release finisher from 3 spring clips.
4. Remove finisher.
Refit
1. Fit finisher to 'A' post and secure with spring
clips.
2. Fit trim clip outers to finisher.
3. Fit centres to trim clips.
EXTERIOR FITTINGS
76-2-16 REPAIRS
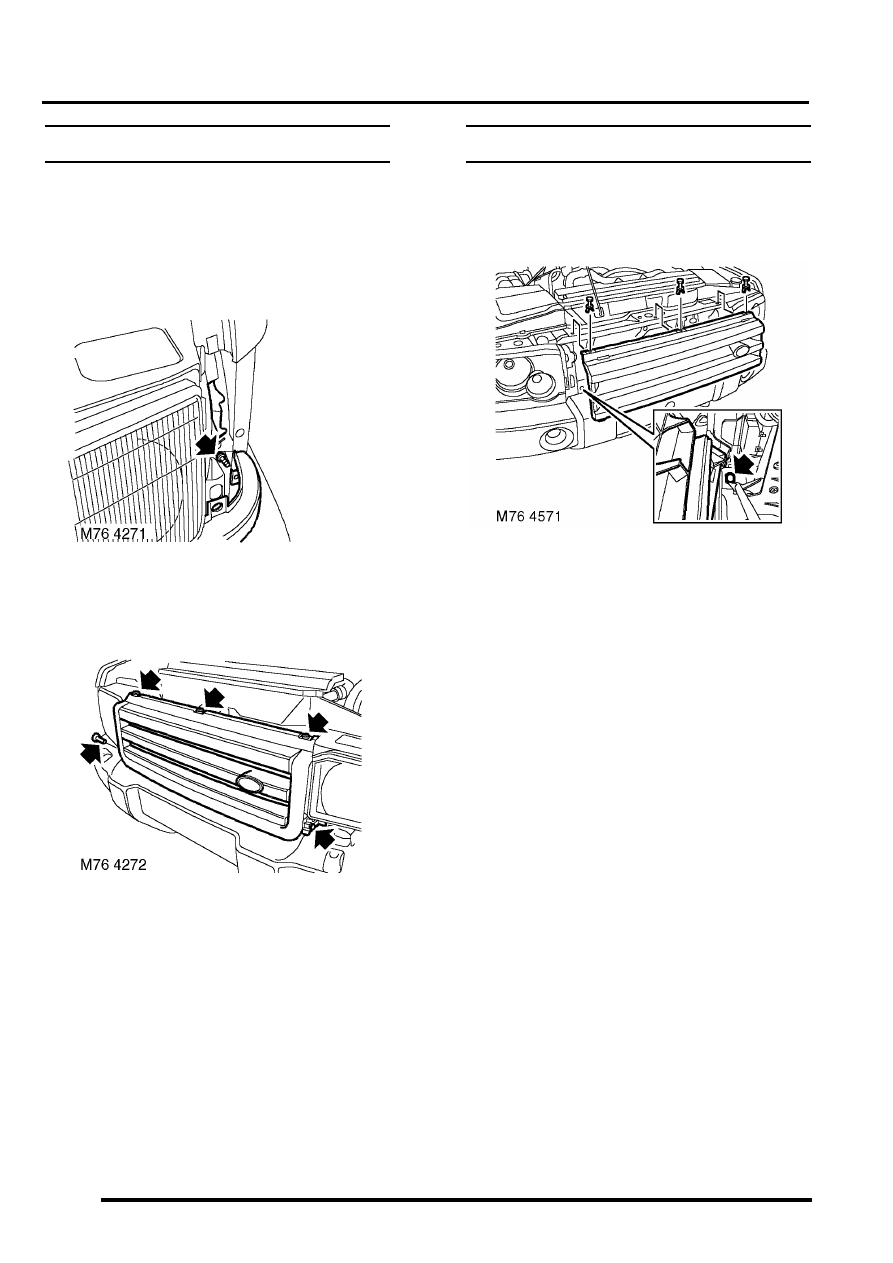
Grille - front - up to 03MY
$% 76.55.03
Remove
1. Remove repeater lamps.
LIGHTING, REPAIRS, Lamp - front
2. Via access hole in wheel arch liners, remove
screws securing headlamp finishers.
3. Remove headlamp finishers from grille.
4. Remove 2 screws securing lower corners of
grille.
5. Remove 3 scrivets and remove grille.
Refit
1. Fit grille and secure with scrivets and screws.
2. Fit headlamp finishers and secure with screws.
3. Fit repeater lamps.
LIGHTING, REPAIRS, Lamp - front
Grille - front - from 03MY
$% 76.55.03
Remove
1. Remove 3 scrivets securing front grille to
bonnet locking platform.
2. Remove front grille.
NOTE: Do not carry out further dismantling if
component is removed for access only.
3. Remove motif from front grille.
Refit
1. Clean front grille to motif mating face.
2. Fit and secure motif to front grille.
3. Fit front grille and secure with scrivets.
INTERIOR TRIM COMPONENTS
REPAIRS
76-3-1
INTERIOR TRIM COMPONENTS
REPAIRS
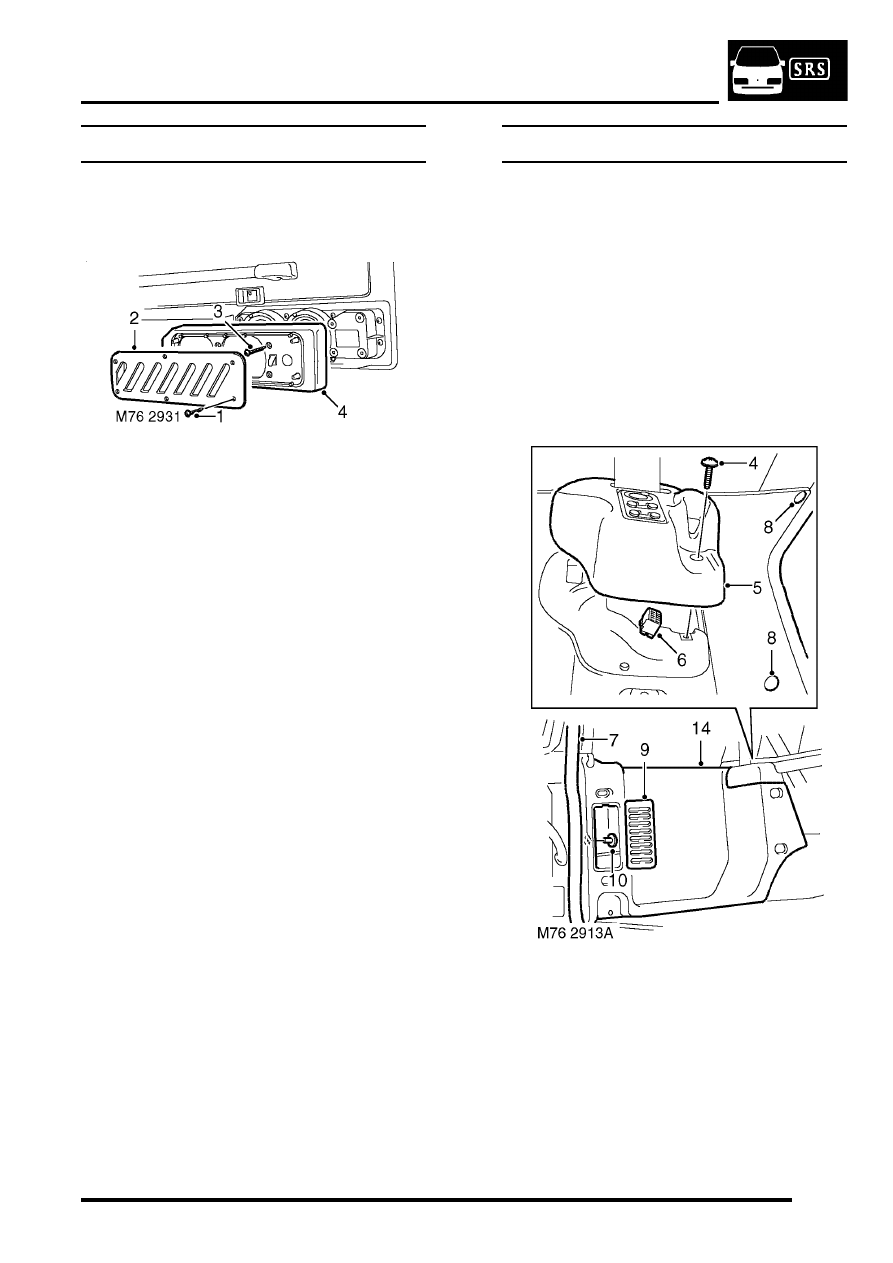
Trim casing - tail door speaker
$% 76.13.11
Remove
1. Remove 6 screws securing grille to speaker
trim casing.
2. Remove grille.
3. Remove 4 screws securing trim casing to
speaker assembly.
4. Remove trim casing.
Refit
1. Fit trim casing to speaker assembly and secure
with screws.
2. Fit grille to trim casing and secure with screws.
Trim casing - side - loadspace
$% 76.13.12
Remove
1. Models with third row seats: Remove third
SEATS, REPAIRS, Seat - third row.
2. For LH trim casing: Remove accessory
socket.
3. Remove 'D' post trim casing.
REPAIRS, Trim casing - 'D' post.
4. Remove screw securing trim cap to trim casing.
5. Release trim cap from trim casing.
6. Models with ICE headphone control panels:
Disconnect multiplug from headphone control
panel and remove trim cap.
7. Partially remove rear door aperture seal.
8. Remove 2 trim clips securing trim casing to
body.
9. Remove access panel.
10. Remove trim clip securing trim casing to lower
'D' post.
INTERIOR TRIM COMPONENTS
76-3-2
REPAIRS
11. Models without third row seats: Remove trim
clip from bottom rear corner of trim casing.
12. Release trim casing to gain access to rear seat
belt reel.
13. Remove bolt securing rear seat belt reel to
body.
14. Remove trim casing.
Refit
1. Position trim casing.
2. Fit rear seat belt reel to body and tighten bolt to
50 Nm (37 lbf.ft).
3. Models without third row seats: Fit trim clip
securing bottom rear corner of trim casing.
4. Fit trim clip securing trim casing to lower 'D'
post.
5. Fit access panel to trim casing.
6. Fit trim clips securing trim casing to body.
7. Fit rear door aperture seal.
8. Models with ICE headphone control panels:
Position trim cap and connect multiplug to
headphone control panel.
9. Fit trim cap to trim casing and secure with
screw.
10. Fit 'D' post trim casing.
REPAIRS, Trim casing - 'D' post.
11. Fit accessory socket.
12. Models with third row seats: Fit third row
seat.
SEATS, REPAIRS, Seat - third row.
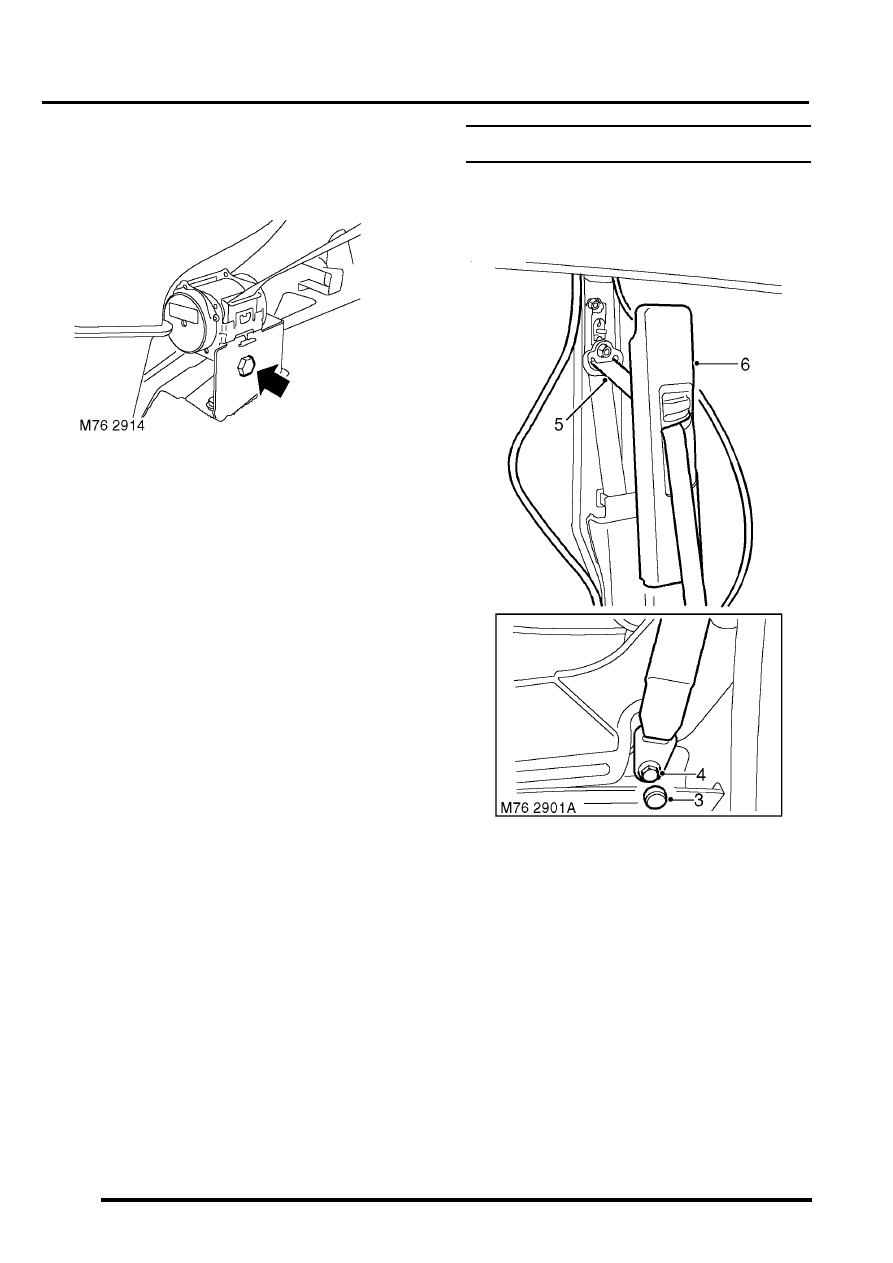
Trim casing - upper - 'B' post
$% 76.13.28
Remove
1. Release front door aperture seal from 'B' post.
2. Release rear door aperture seal from 'B' post.
3. Remove cap from front seat belt lower
anchorage bolt.
4. Remove front seat belt lower anchorage bolt.
5. Feed seat belt through trim casing.
6. Remove trim casing.
7. Remove sound insulation from trim casing.
Refit
1. Fit sound insulation to trim casing.
2. Feed front seat belt through trim casing.
3. Fit front seat belt lower anchorage and tighten
bolt to 32 Nm (24 lbf.ft).
4. Fit cap to front seat belt lower anchorage bolt.
5. Fit trim casing to 'B' post.
6. Fit front door aperture seal to 'B' post.
7. Fit rear door aperture seal to 'B' post.
Нет комментариевНе стесняйтесь поделиться с нами вашим ценным мнением.
Текст