Defender (1993+). Manual — part 89
CHASSIS
AND
BODY
REMOVING
THE
DOOR
LATCH ASSEMBLY
DEFENDER 110 - Front doors
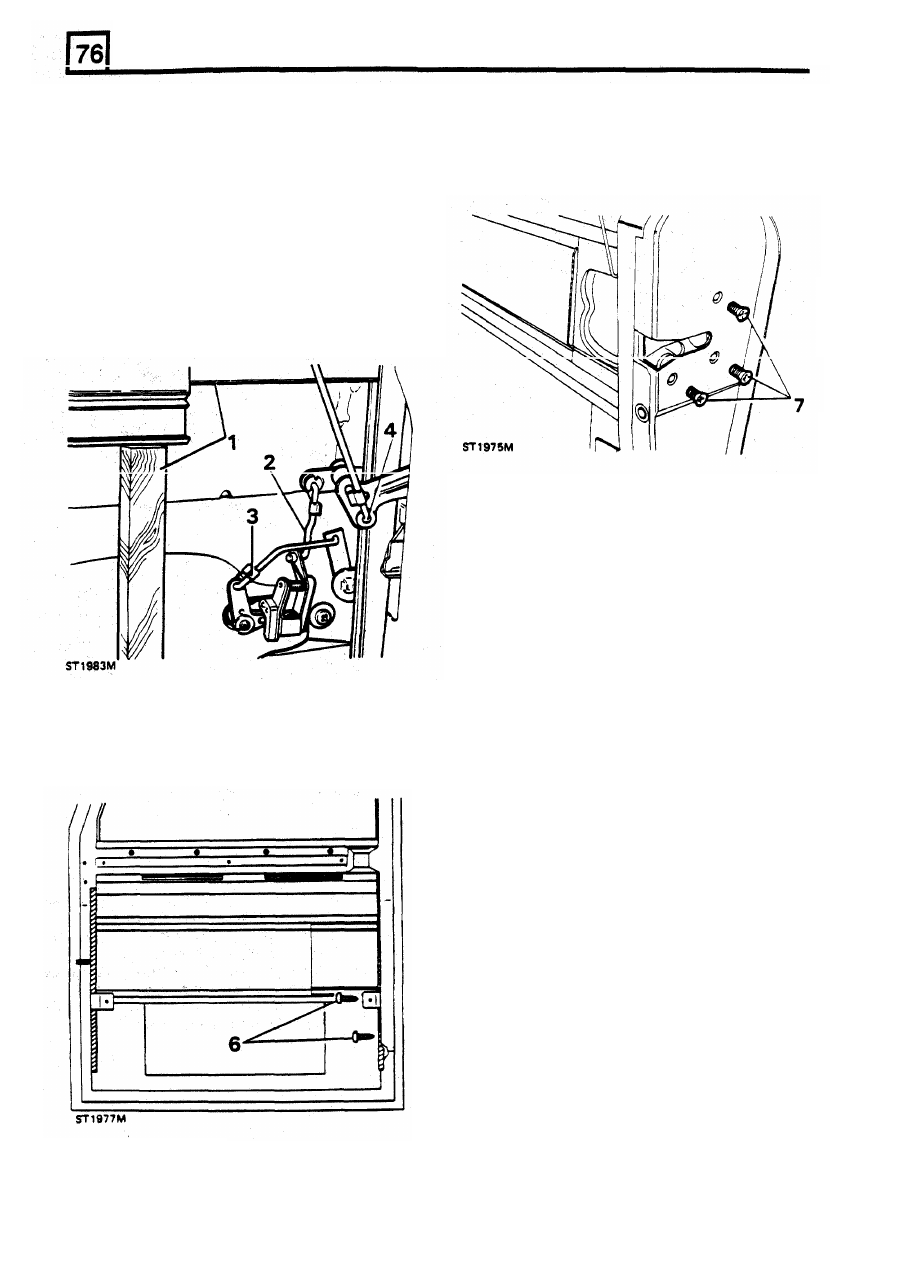
Remove
7. Remove the three screws securing the latch
8.
Whilst taking care
not
to damage the runner,
ease
it
away from the latch and manoeuvre
the
latch assembly from the
door
assembly to the door.
1
Carry out the instructions to remove the
mounting panel and support the glass with
timber.
2. Disconnect the control rod from the handle
operating lever.
3 . Disconnect the control
rod from the locking
lever
on
the handle.
4.
Disconnect the locking button control rod from
the latch mechanism.
Fitting latch
assembly
9. Carefully ease the window runner away,
sufficiently
to
enable the latch to be located
into position.
10.
Secure the latch to the door with the three
screws.
11.
Secure the window runner with the two
screws ensuring that the packing strip is in
position and that the screw heads are below
the bottom
of
the runner to prevent damage to
the glass.
12.
Fit
the
handle with the
two
screws, ensuring
that the bezels are in position.
6.
Remove the
two
self-tapping Screws retaining
13. Connect the
control rod to the handle
operating
lever and secure with the spring
clip.
14.
Connect the control rod to the locking lever
and retain with the spring clip.
15
Connect
the locking button control
rod to the
latch lever and secure with the spring clip
16
Carry-out the instructions
to
fit the mounting
Panel.
17
Fit the door trim. regulator handle, door
pull.
and bezels.
5.
Remove the
two
screws and remove
the
handle assembly from the door. See Exterior
door handle.
the
lower
end
of
the window glass runner.
16
REVISED: OCT
1993
CHASSIS AND BODY
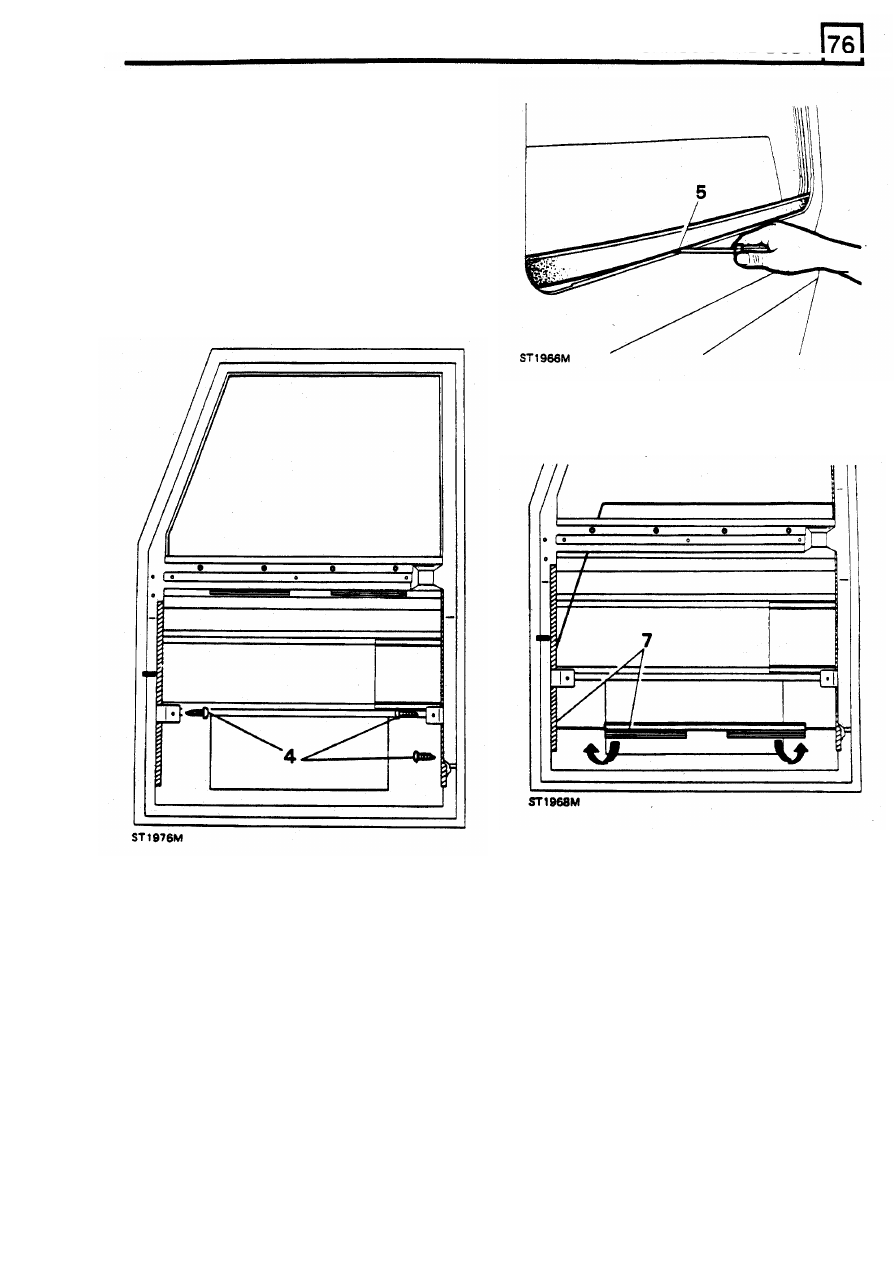
REMOVING GLASS DEFENDER
110
- Front doors
Remove
1
Carry-out the instructions
to
remove the
mounting panel.
2.
Remove the window regulator.
3.
Push the glass up to the top of
its
travel and
support with a suitable length of timber.
4.
Remove the two self tapping screws securing
the window glass runner
on
the latch side
of
the door and the single screw from the hinge
side.
7. Ease the runner from the glass
at
the hinge
side
of
the door, lift the glass over the bottom
edge
of
the door and withdraw.
Fitting
glass
5 Taking care not to damage the paint work.
prise the exterior waist weather strip from the
door
as illustrated.
6.
Remove the timber support and lower the
glass to the bottom
of
the door.
8.
lnsert the glass into the runners
at an angle
9. Whilst lifting me glass, position
it
squarely in
the runners and raise
it to
the top
of
its travel
and insert the timber support.
10.
Secure the hinge side runner with the single
screw ensuring that the packing strip is in
position.
17
REVISED:
OCT
1993
CHASSIS AND
BODY
6.
Withdraw the
lock
barrel from the exterior
door handle complete with the locking sleeve
11.
Locate the packing strip and secure the
opposite runner with the
two
screws. Ensure
that all three screw heads are well below the
bottom
of
the runners
to
prevent damage
to
the glass.
12.
Locate the regulator
in
the window lift
channels.
13.
Carry-out the instructions to fit the mounting
panel.
14.
Fit the door trim, window regulator, door pull
and bezels.
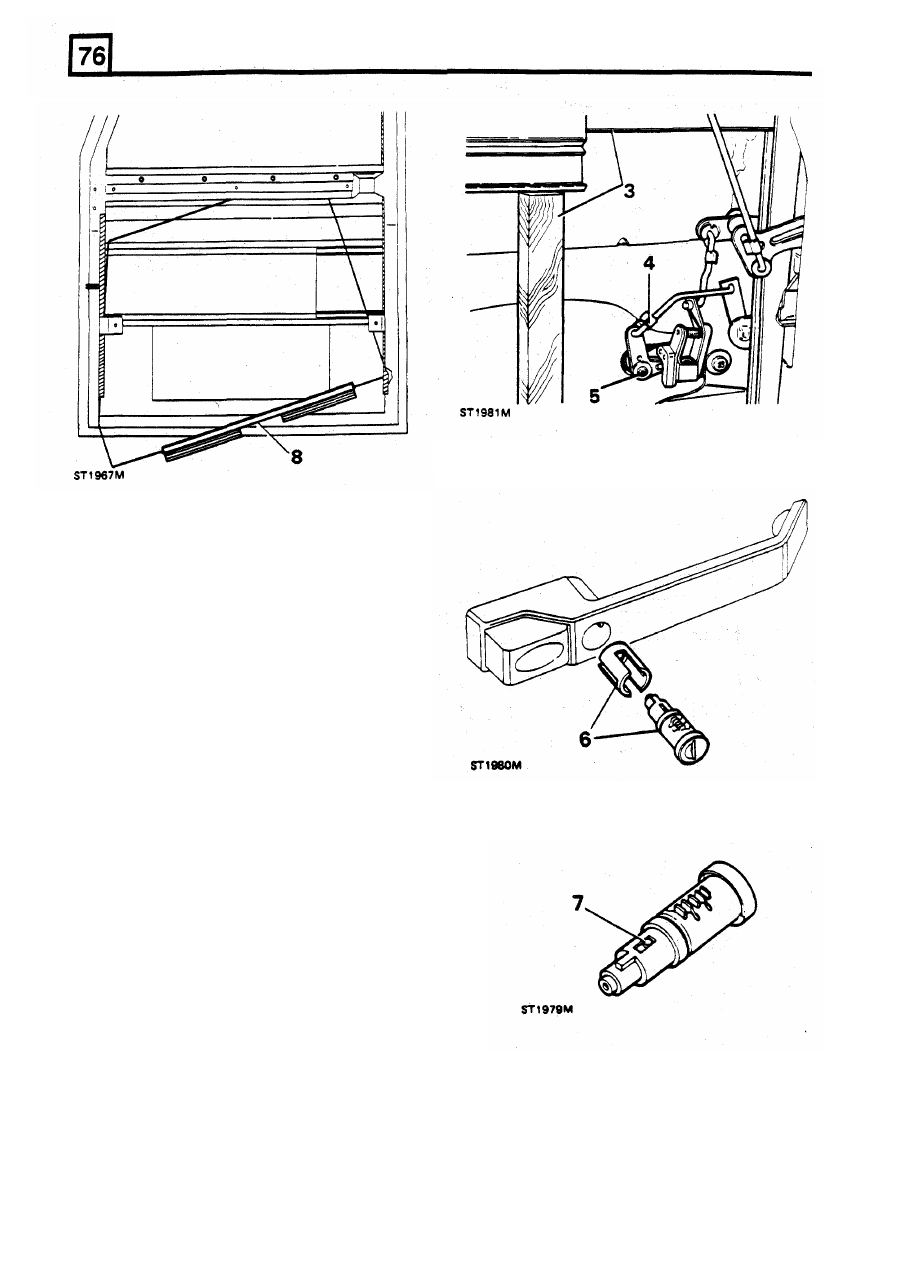
REMOVING LOCKING BARREL
DEFENDER
110
- Front doors
Remove
7. To remove the barrel from the plastic retaining
sleeve, depress the spring loaded button and
1 .
Remove me regulator handle, door pull,
withdraw the sleeve.
bezels, door trim and weather protection sheet.
2.
Carry-out the instructions
to
remove the
mounting panel.
3.
Raise and support
the
glass to gain access to
me latch mechanism
4
Release the spring clip and disconnect the rod
from the
lock
operating lever.
5.
Remove the single screw and withdraw the
lock lever assembly.
18
REVISED:
OCT
1993
CHASSIS AND
BODY
Refit the lock barrel
NOTE: If
a
new barrel is being fitted, check that
the number
on the barrel coincides with the
Remove
number on the accompanying key.
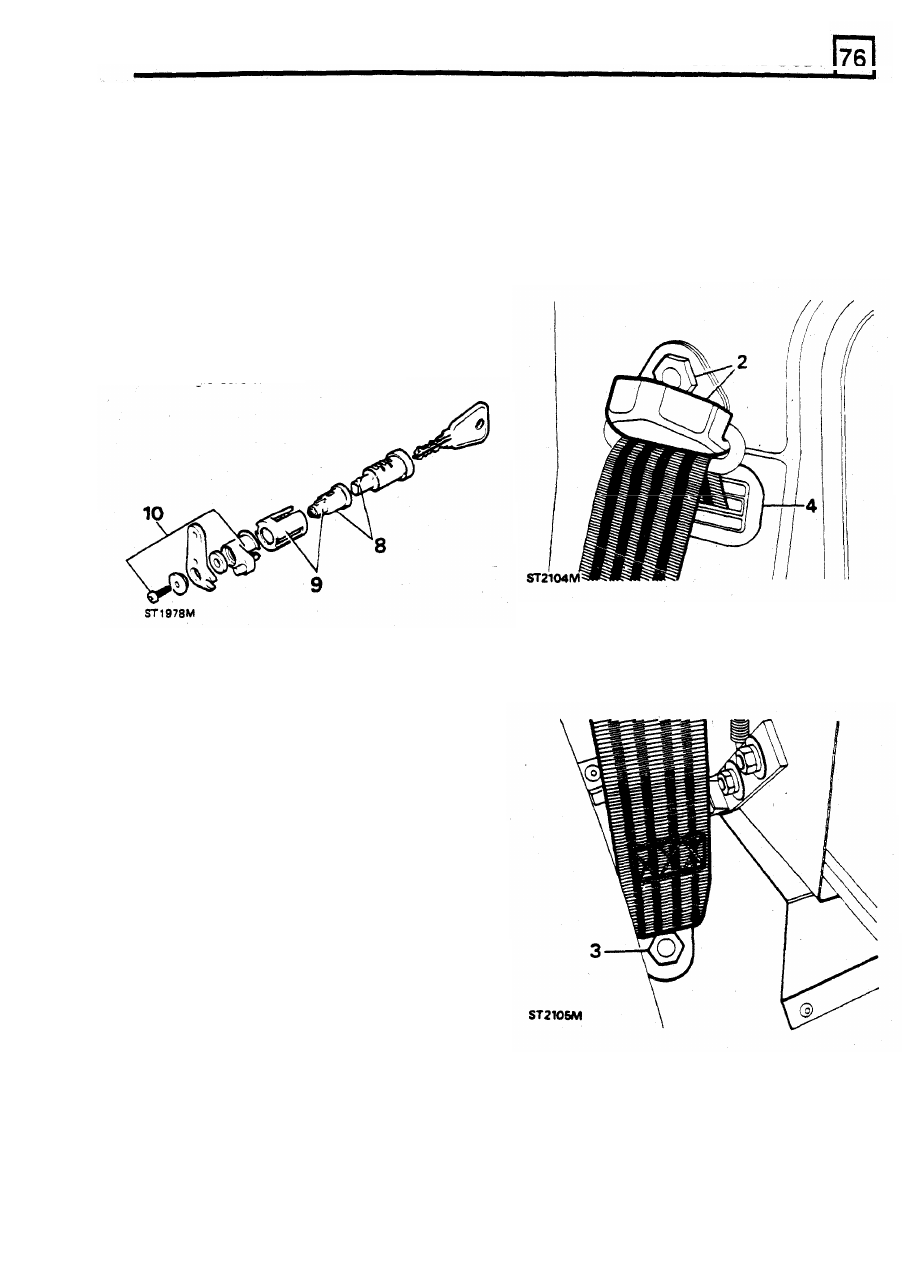
REMOVING REAR SIDE WINDOW TRIM
DEFENDER
110
1 .
To gain access to the trim lower fixings
8.
Push the plastic retaining sleeve over the
remove the rear seat and
squab
frame
complete.
2.
Remove the plastic cover and
the
seat belt
anchorage bolt from the 'C' post.
barrel until the spring loaded peg locks
it
into
position.
Fit the barrel and plastic sleeve assembly
to
the lock
i
ng sleeve and insert into the exterior
handle reversing instruction 6.
10.
Assemble the lock lever components as
illustrated and from the inside of the door
panel,
fit
them to the barrel assembly with the
single screw.
9
3 . Remove the lower anchorage bolt for the
same seat belt.
4.
Remove the seat belt aperture finisher from
the trim panel and remove the rear quarter
light trim
from
the side concerned.
11. Connect the operating
rod
to
the lock lever
and
secure with the spring clip, reversing
instruction
4.
12. Fit
the mounting panel
and
weather protection
sheet. Fit the door
trim,
regulator handle, door
pull and bezels.
19
REVISED: OCT 1993
Нет комментариевНе стесняйтесь поделиться с нами вашим ценным мнением.
Текст