Chery Tiggo 5 (T21). Service manual — part 160
13–
11
13
ON-VEHICLE SERVICE
Engine Oil Replacement
Engine Oil Draining
1. Turn off all the electrical equipment and ignition switch.
2. Disconnect the negative battery cable.
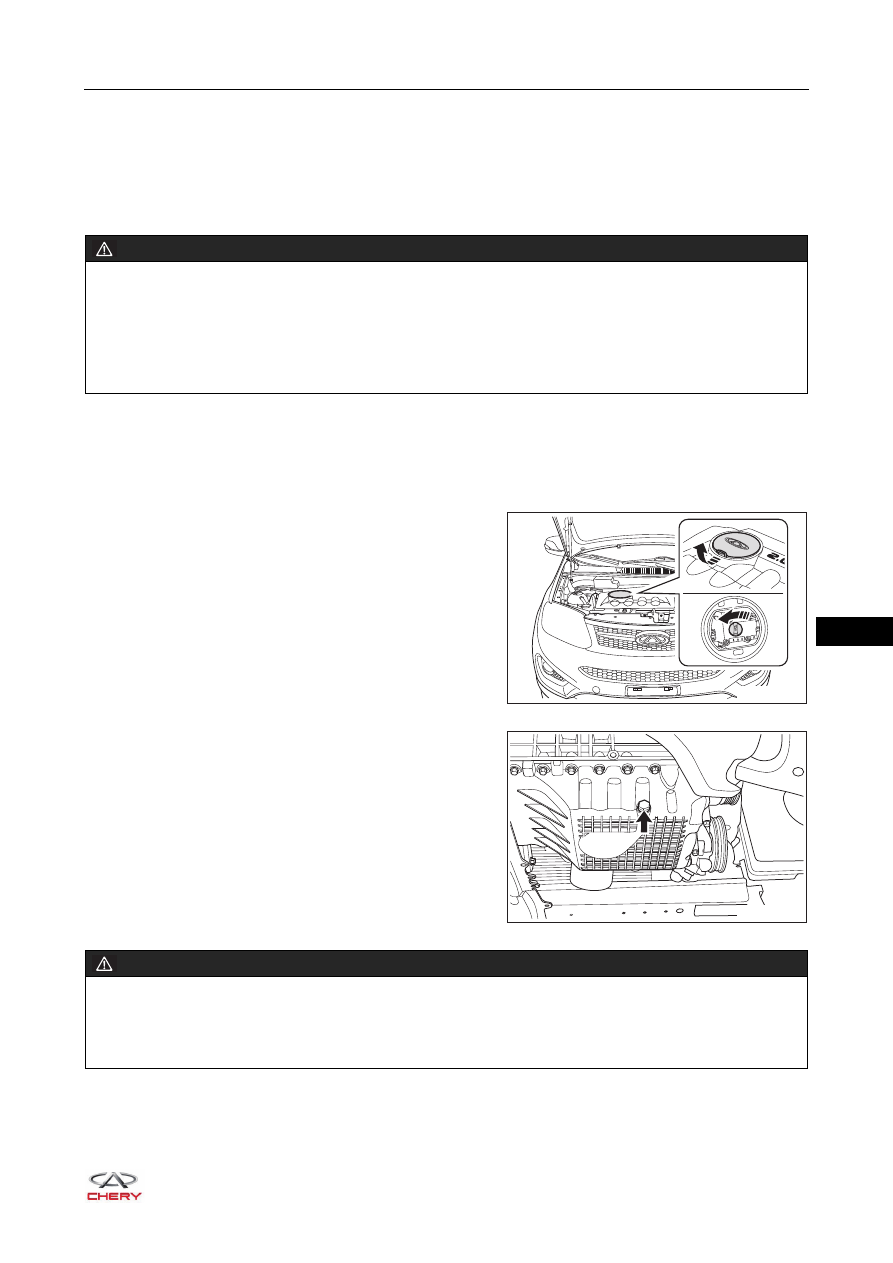
3. Open the oil filler cap.
a. Open the oil filler cap protector.
b. Rotate the oil filler cap counterclockwise to open it.
4. Unscrew the drain plug (arrow), and drain the oil into a
container.
WARNING
DO NOT drain engine oil until engine cools down.
Prolonged and repeated contact with engine oil will be harmful to your skin. If engine oil spills on your
skin, wash it off immediately with water. In addition, the used engine oil contains potentially harmful
contaminants, which may cause skin cancer. Therefore, always take proper skin protection measures
when performing vehicle service.
RT21130070
RT21130080
WARNING
Apply a certain pushing force to drain plug while loosening the plug by hand, and have the drain plug
attached to the thread tightly to prevent oil from overflowing in advance. Move away the hand quickly to
prevent burn by the oil with a certain temperature.
13–
12
13
5. Wipe off the drain plug and tighten it.
(Tightening torque: 35 ± 3 N·m)
Engine Oil Adding
Only use engine oil that meets Chery specifications
1. Add a proper amount of oil, and check that the oil level is
between "MIN" mark and "MAX" mark with oil dipstick.
2. Turn off the engine after running for 1 to 2 minutes, park vehicle on a level surface and wait for
approximately 5 minutes. Check if oil level is between "MIN" mark and "MAX" mark. Refill oil if necessary.
3. Check the vehicle for leakage after replacing oil.
ENVIRONMENTAL PROTECTION
Wasted engine oil should be handled by specialized department according to local laws and regulations.
Never discard it at will.
Engine Type
SQR484F
Oil Capacity (L)
4 ± 0.5
Oil Specifications
Summer: SAE 10W - 40 (SM grade or higher)
Winter: SAE 5W - 40 (SM grade or higher)
CAUTION
DO NOT use inferior engine oil.
DO NOT mix different types of engine oil.
Be careful not to spill engine oil on any part of the engine when adding the engine oil.
RT21130040
13–
13
13
Oil Filter
Removal
1. Turn off all the electrical equipment and ignition switch.
2. Disconnect the negative battery cable.
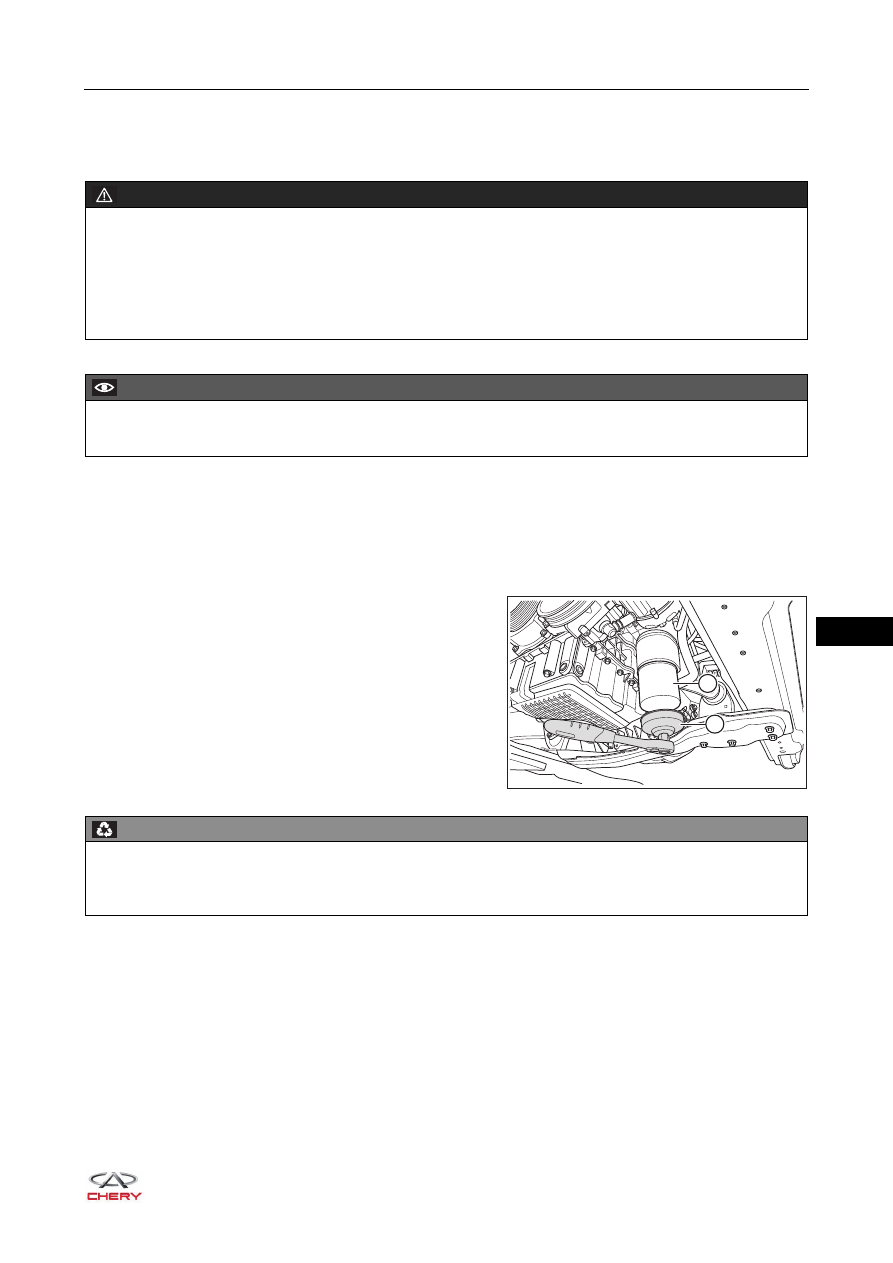
3. Remove the engine lower right protector assembly (
).
4. Drain the engine oil (
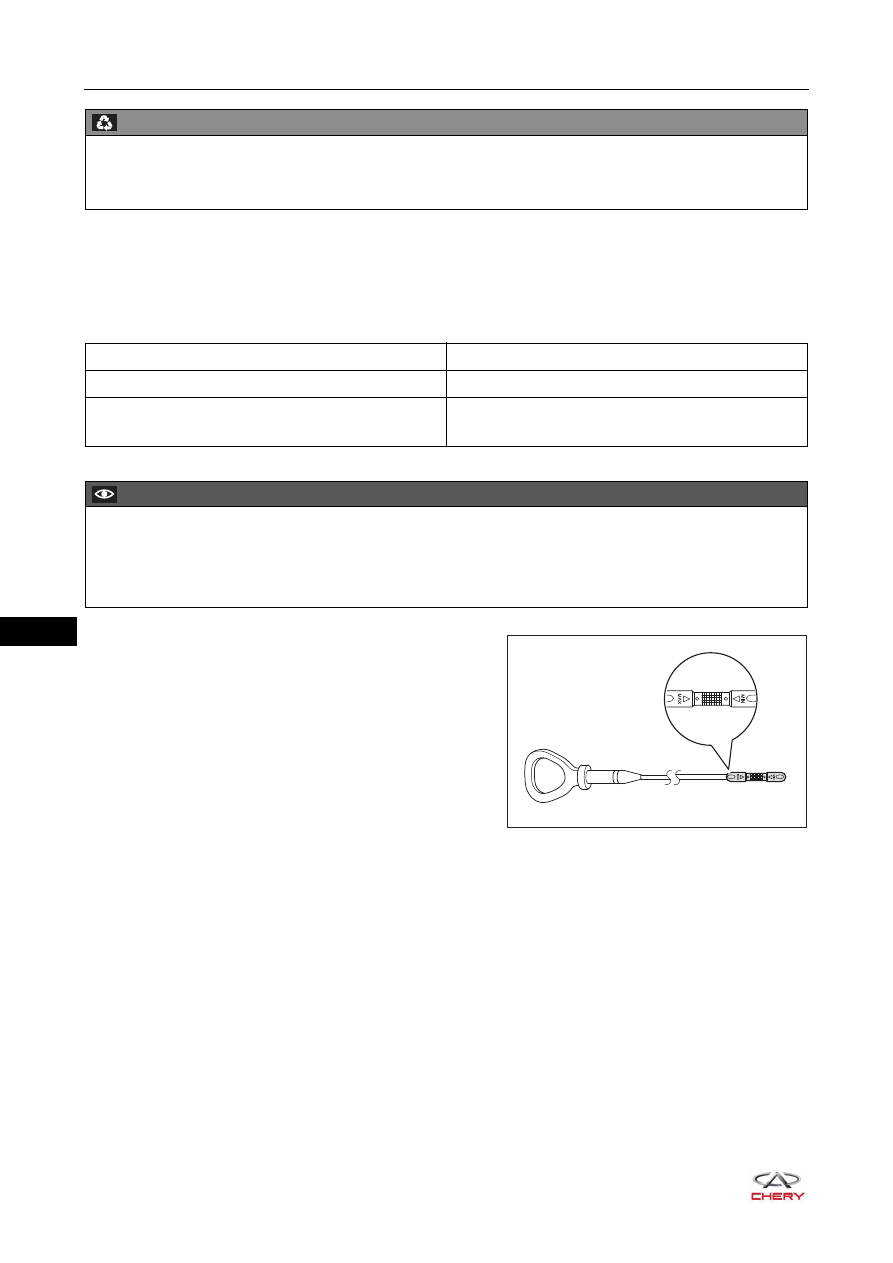
5. Remove the oil filter.
a. Using the oil filter remover (1), remove the oil filter (2).
(Tightening torque: 25 ± 3 N·m)
WARNING
DO NOT remove oil filter until engine cools down.
Prolonged and repeated contact with engine oil will be harmful to your skin. If engine oil spills on your
skin, wash it off immediately with water. In addition, the used engine oil contains potentially harmful
contaminants, which may cause skin cancer. Therefore, always take proper skin protection measures
when performing vehicle service.
CAUTION
When repairing oil filter, use special oil filter installer to prevent oil filter from deforming.
RT21130090
2
1
ENVIRONMENTAL PROTECTION
The removed oil filter should be handled by specialized department according to local laws and
regulations. Never discard it at will.

13–
14
13
Installation
Installation is in the reverse order of removal.
CAUTION
Check oil filter bracket grommet for damages and cracks. If there are damages or cracks, replace the
grommet.
Check and clean the installation surface of oil filter and oil filter bracket.
Apply a layer of clean engine oil to new oil filter grommet.
Slightly rotate oil filter in place by hand, and tighten oil filter until grommet contacts with oil filter bracket
base.
Using a special tool to tighten oil filter.
(Tightening torque: 25 ± 3 N·m)
Нет комментариевНе стесняйтесь поделиться с нами вашим ценным мнением.
Текст