Subaru Impreza 3 / Impreza WRX / Impreza WRX STI. Service manual — part 209
EN(H4DOTC)(diag)-60
Drive Cycle
ENGINE (DIAGNOSTICS)
9. DRIVE CYCLE I
CAUTION:
Be careful of the state of the battery when performing the DRIVE CYCLE I consecutively. Performing
the DRIVE CYCLE I consecutively without the engine running may cause a low battery voltage and
battery discharge.
NOTE:
• If it is necessary to perform DRIVE CYCLE I consecutively, drive the vehicle under the following conditions
to release accumulated evaporating gas. Performing the DRIVE CYCLE I consecutively without starting the
engine causes a large amount of evaporating gas to accumulate in the canister, which hinders an accurate
diagnosis.
• After engine is warmed up
• Drive for 10 minutes or more at a speed of 48 km/h (30 MPH) or more (duration of drive can be an ac-
cumulation)
• To obtain an accurate diagnostic result, perform the procedures according to the following points.
• Do not refuel gas immediately before performing DRIVE CYCLE I. There will be a large amount of evap-
orating gas immediately after refuel, which may cause a less accurate diagnostic performance.
• Do not shake the vehicle while performing DRIVE CYCLE I. Shaking the vehicle causes evaporating gas
to increase inside the fuel tank, which may cause a less accurate diagnostic performance.
• Do not perform any service operation including installation or removal of parts or connectors while per-
forming DRIVE CYCLE I. Performing service operation could affect on the functions of related parts, which
may cause a less accurate diagnostic performance.
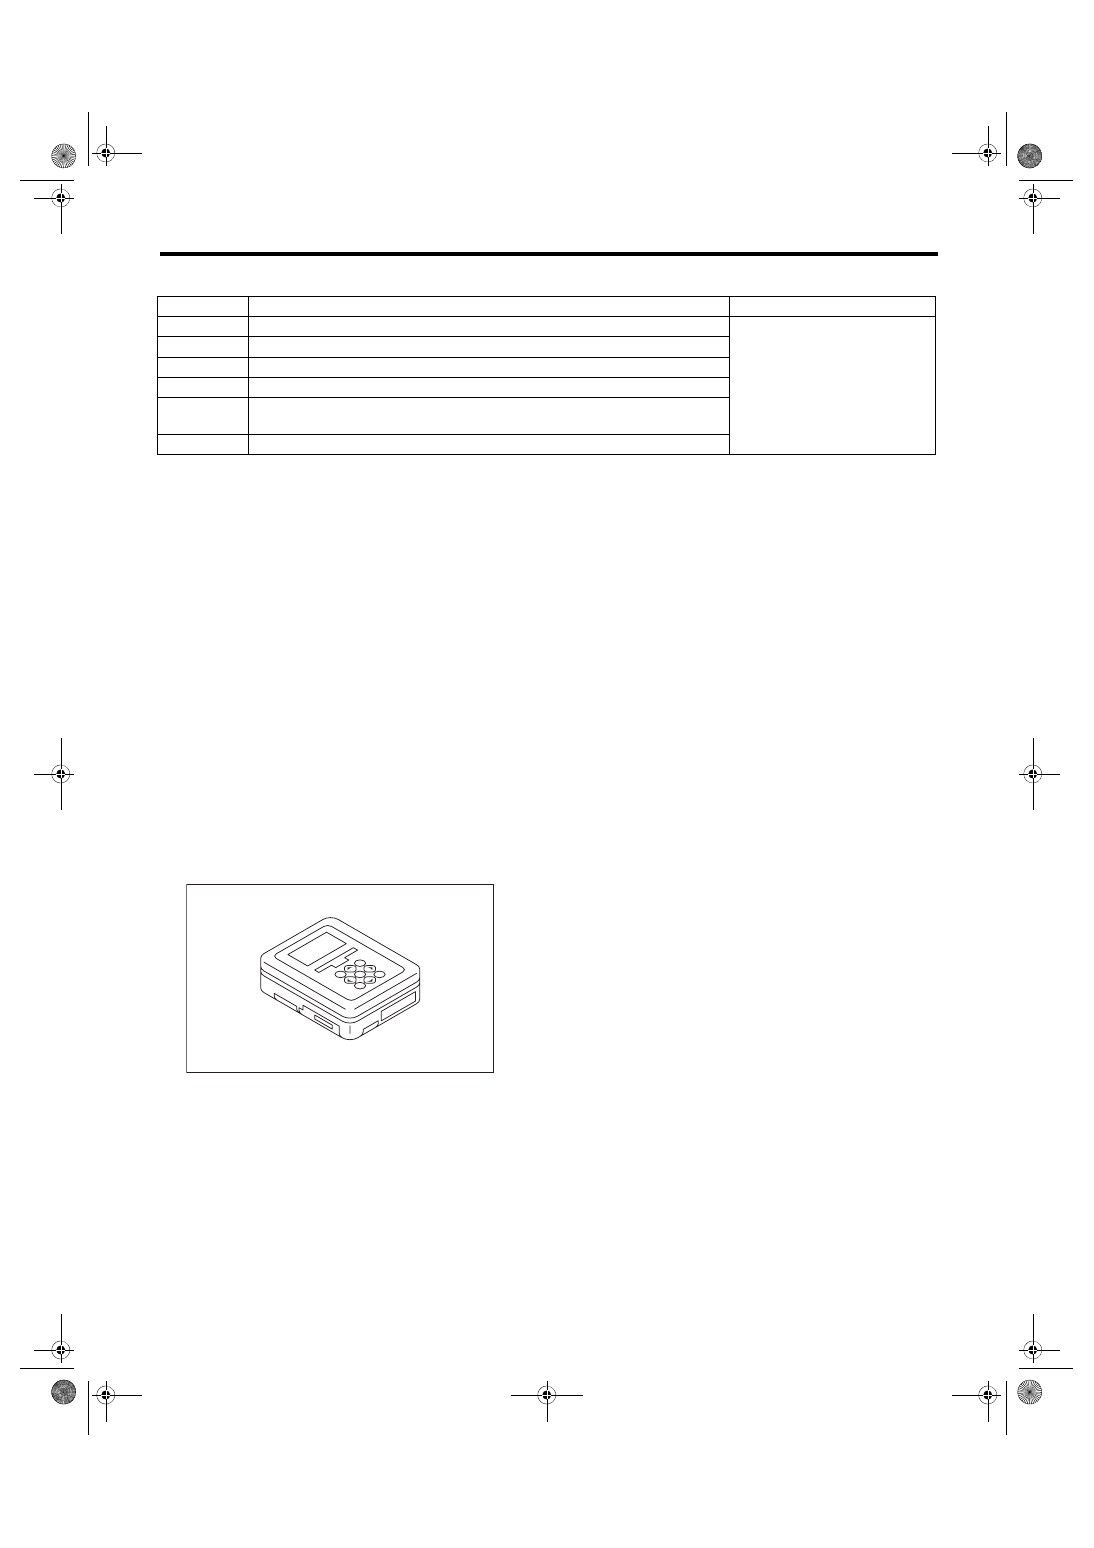
1) Prepare the Subaru Select Monitor kit. <Ref. to EN(H4DOTC)(diag)-8, PREPARATION TOOL, General
2) Prepare PC with Subaru Select Monitor installed.
3) Connect the USB cable to SDI (Subaru Diagnosis Interface) and USB port on the personal computer (ded-
icated port for the Subaru Select Monitor).
NOTE:
The dedicated port for the Subaru Select Monitor means the USB port which was used to install the Subaru
Select Monitor.
4) Connect the diagnosis cable to SDI.
DTC
Item
Condition
*
P0455
Evaporative Emission System Leak Detected (Large Leak)
«Coolant Temp.»: 5 — 45°C (41
— 113°F)
«Intake Air Temp.»: 5 — 50°C
(41 — 122°F)
*
P0456
Evaporative Emission Control System Leak Detected (Very Small Leak)
*
P1451
Evaporative Emission Cont. Sys.
*
P2402
Evaporative Emission System Leak Detection Pump Control Circuit High
*
P2404
Evaporative Emission System Leak Detection Pump Sense Circuit Range/Per-
formance
*
P2420
Evaporative Emission System Switching Valve Control Circuit High
EN-05692
EN(H4DOTC)(diag)-61
Drive Cycle
ENGINE (DIAGNOSTICS)
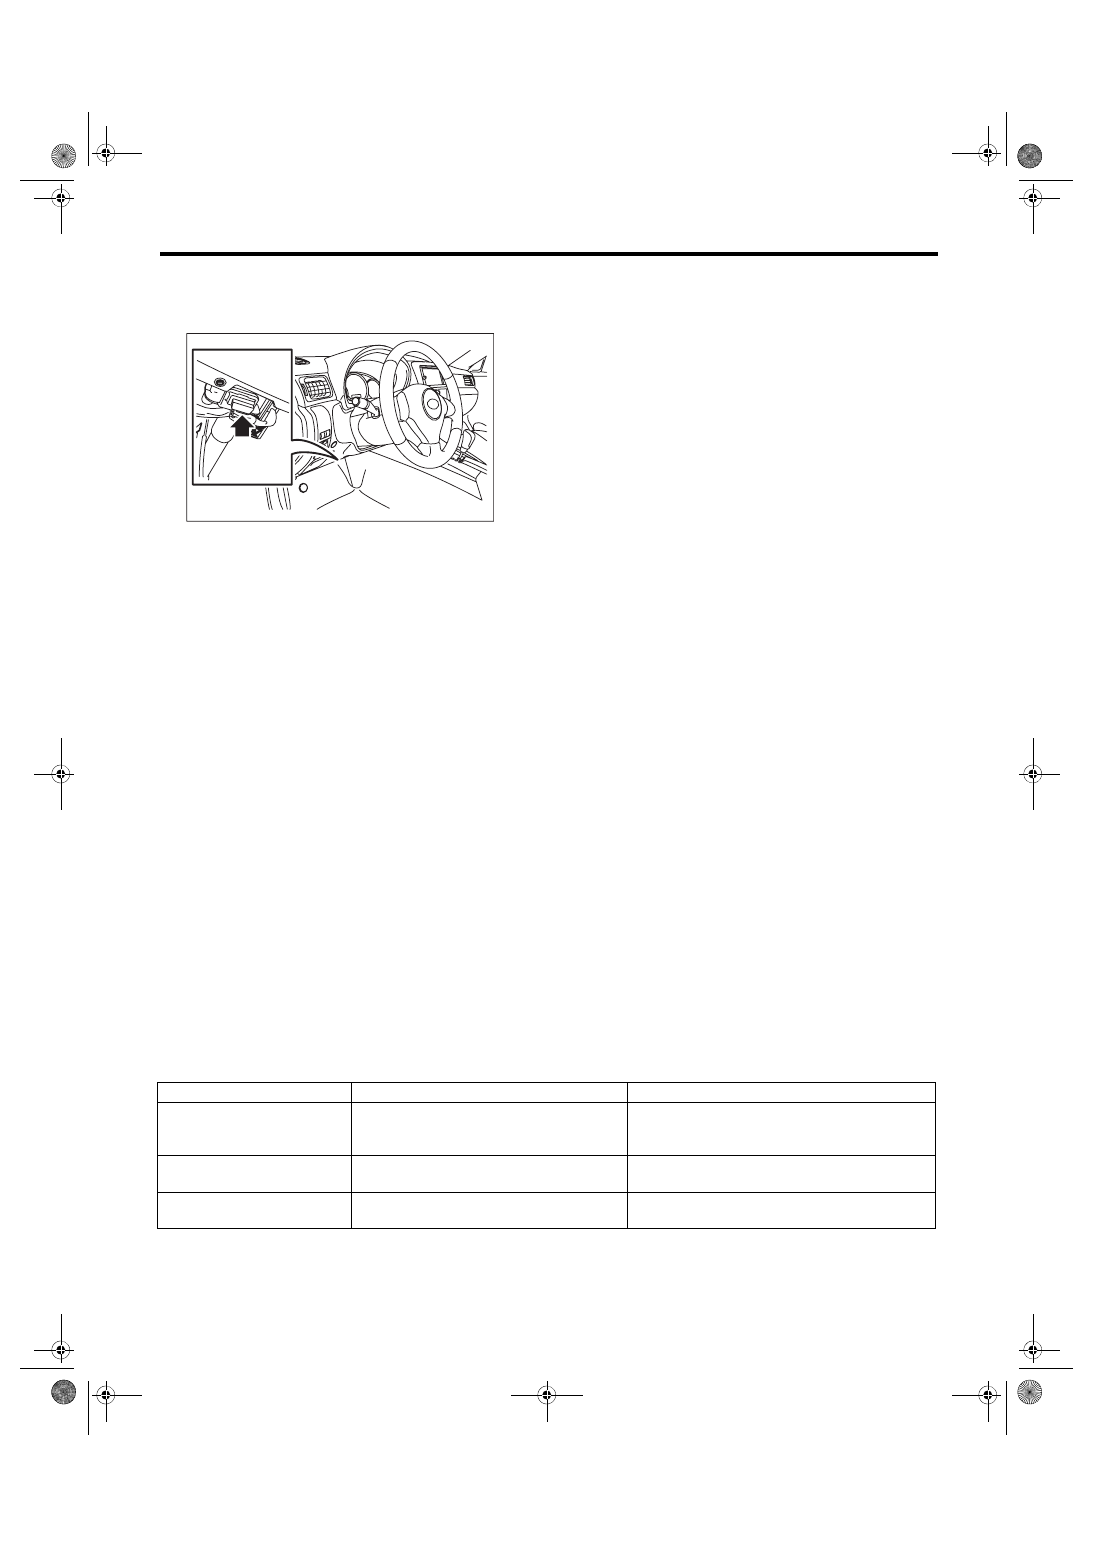
5) Connect SDI to data link connector located in the lower portion of the instrument panel (on the driver’s side).
CAUTION:
Do not connect the scan tools except for Subaru Select Monitor and general scan tool.
6) Start the PC.
7) Turn the ignition switch to ON (engine OFF) and run the “PC application for Subaru Select Monitor”.
8) On «Main Menu» display, select {Each System Check}.
9) On «System Selection Menu» display, select {Engine Control System}.
10) Click the [OK] button after the information of engine type has been displayed.
11) On «Engine Diagnosis» display, select {OBD System}.
12) On «OBD Menu» display, select {Evaporative System Leak Test}.
13) On «Evaporative System Leak Test» display, select {Evaporative System Leak Test}.
14) On «Evaporative System Leak Test is running. Press Cancel to exit this function.» display, click the [OK]
button to perform evaporative system leak test.
15) When «Conditions have been enabled to control this function. Turn the ignition switch off to terminate the
test.» display appears, wait for 30 minutes without clicking the [OK] button.
CAUTION:
Do not leave the vehicle for an extended period of time after the test is complete. This may cause ear-
ly deterioration of the battery or discharged battery.
NOTE:
• Clicking the [OK] button bring the «Evaporative System Leak Test» display back, although the test is con-
tinuing.
• The Subaru Select Monitor screen does not change after the evaporative system leak test is complete or
when the test is aborted by turning off the ignition switch.
the necessary preparation for the drive cycle again. <Ref. to EN(H4DOTC)(diag)-55, PREPARATION FOR
DRIVE CYCLE, PROCEDURE, Drive Cycle.>
16) After 30 minutes passed from the start of step 14), click the [OK] button to return to the «Evaporative Sys-
tem Leak Test» display.
17) Click buttons until the «OBD Menu» display appears, then select {Result of on-board monitor test}.
18) In the {Result of on-board monitor test}, check TID $C1 — $CA of MID $3C.
EN-06148
Result of on-board monitor test
Display
Details
Remarks
$0000 is stored in all Val.
During the evaporative system leak test, the
test conditions were not met and the test
was canceled.
Once the test conditions are met, perform the test
again.
All Val. are stored with values
and OK is set to all the results.
Evaporative system leak test is completed
correctly.
While the ignition switch is ON, read temporary
codes using the Subaru Select Monitor.
Some results were no good.
The evaporative system leak test completed
successfully but the results were faulty.
While the ignition switch is ON, read temporary
codes using the Subaru Select Monitor.
EN(H4DOTC)(diag)-62
Drive Cycle
ENGINE (DIAGNOSTICS)
ag)-48, OPERATION, Read Diagnostic Trouble Code (DTC).>
NOTE:
The temporary code will be cleared by turning ignition switch to OFF.
10.DRIVE CYCLE J
1) Idle the engine for 15 minutes or more.
2) Turn the ignition switch to OFF.
<Ref. to EN(H4DOTC)(diag)-48, OPERATION, Read Diagnostic Trouble Code (DTC).>
DTC
Item
Condition
P2610
ECM/PCM Internal Engine Off Timer Performance
—
EN(H4DOTC)(diag)-63
Clear Memory Mode
ENGINE (DIAGNOSTICS)
13.Clear Memory Mode
A: OPERATION
1. SUBARU SELECT MONITOR (NORMAL
MODE)
1) On «Main Menu» display, select {Each System
Check}.
2) On «System Selection Menu» display, select
{Engine Control System}.
3) Click the [OK] button after the information of en-
gine type has been displayed.
4) On «Engine Diagnosis» display, select {Clear
Memory}.
5) When the “Clear Memory?” is shown on the
screen, click the [YES] button.
6) When “Done” and “Turn off the ignition switch.”
are shown on the display screen, turn the ignition
switch to OFF.
NOTE:
• Initial diagnosis of electronic throttle control is
performed after memory clearance. Wait for 10
seconds or more after turning the ignition switch to
ON, and then start the engine.
• For detailed operation procedures, refer to “PC
application help for Subaru Select Monitor”.
2. SUBARU SELECT MONITOR (OBD
MODE)
1) On «Main Menu» display, select {Each System
Check}.
2) On «System Selection Menu» display, select
{Engine Control System}.
3) Click the [OK] button after the information of en-
gine type has been displayed.
4) On «Engine Diagnosis» display, select {OBD
System}.
5) On «OBD Menu» display, select {Clear Diagnos-
tic Code(s)}.
6) When the “Clear Diagnostic Code?” is shown on
the screen, click the [Yes] button.
7) When “Done” and “Turn off the ignition switch.”
are shown on the display screen, turn the ignition
switch to OFF.
NOTE:
• Initial diagnosis of electronic throttle control is
performed after memory clearance. Wait for 10
seconds or more after turning the ignition switch to
ON, and then start the engine.
• For detailed operation procedures, refer to “PC
application help for Subaru Select Monitor”.
3. GENERAL SCAN TOOL
For procedures clearing memory using the general
scan tool, refer to the general scan tool operation
manual.
NOTE:
Initial diagnosis of electronic throttle control is per-
formed after memory clearance. Wait for 10 sec-
onds or more after turning the ignition switch to ON,
and then start the engine.
Нет комментариевНе стесняйтесь поделиться с нами вашим ценным мнением.
Текст