Subaru Legacy (2005 year). Service manual — part 25
PM-7
PERIODIC MAINTENANCE SERVICES
Engine Oil
3. Engine Oil
A: REPLACEMENT
CAUTION:
If the engine oil gets on the under cover, wipe it
off with cloth.
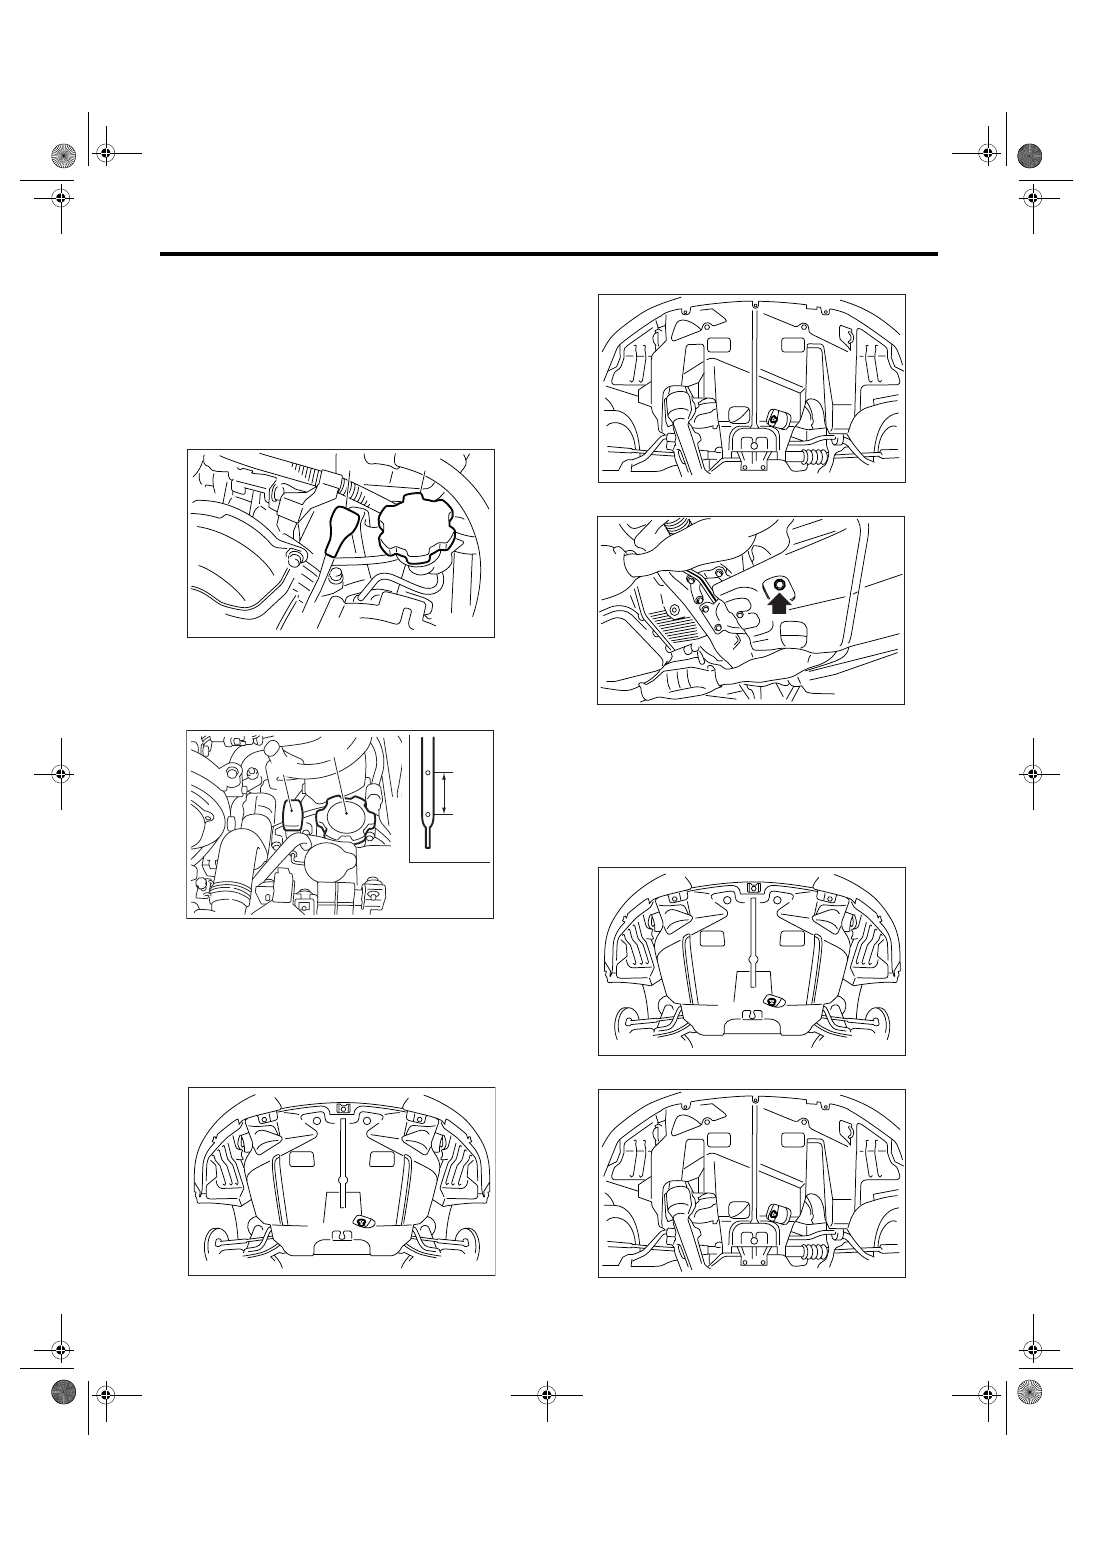
1) Open the engine oil filter cap for quick draining of
engine oil.
• Except for 3.0 L model
• 3.0 L model
2) Drain the engine oil by removing engine oil drain
plug.
• DOHC turbo model
• 2.0 L non-turbo and 2.5 L model
• 3.0 L model
3) Tighten the engine oil drain plug after draining
engine oil.
NOTE:
Use a new drain plug gasket.
Tightening torque:
44 N
⋅
m (4.5 kgf-m, 32.5 ft-lb)
• DOHC turbo model
• 2.0 L non-turbo and 2.5 L model
(A) Oil level gauge
(B) Oil filler cap
(A) Oil level gauge
(B) Oil filler cap
(C) Upper level
(D) Lower level
PM-00161
(A)
(B)
L
F
(A)
(B)
(C)
(D)
LU-00111
LU-00219
LU-00218
LU-02011
LU-00219
LU-00218
PM-8
PERIODIC MAINTENANCE SERVICES
Engine Oil
• 3.0 L model
4) Fill engine oil through level gauge up to the cen-
ter between upper level and lower level. Place the
vehicle on a level surface when checking oil level.
Use engine oil of proper quality and viscosity, se-
lected in accordance with following.
Recommended oil:
Refer to “RM” section. <Ref. to RM-3, LUBRI-
CANTS, RECOMMENDED MATERIALS, Rec-
ommended Materials.>
Engine oil capacity:
Except for 3.0 L model
Upper level
Approx. 4.0
2 (4.2 US qt, 3.5 Imp qt)
Lower level
Approx. 3.0
2 (3.2 US qt, 2.6 Imp qt)
3.0 L model
Upper level
Approx. 5.5
2 (5.8 US qt, 4.8 Imp qt)
Lower level
Approx. 4.5
2 (4.8 US qt, 4.0 Imp qt)
The proper viscosity oil make the engine ideal tem-
perature, and cranking speed increased by reduc-
ing viscaus friction in hot condition.
CAUTION:
When replenishing oil, it does not matter if the
oil to be added is a different brand from that in
the engine; however, use oil having the API
standard and SAE viscosity No. designated by
SUBARU.
NOTE:
If the vehicle is used in areas with very high temper-
atures or for other heavy duty applications, the fol-
lowing viscosity oils must be used: API standard:
SL or SJ
SAE Viscosity No.: 30, 40, 10W-50, 20W-40, 20W-
50.
5) Close the engine oil filler cap.
6) Start the engine and warm it up for a time.
7) After the engine stops, recheck the oil level.
<Ref. to PM-8, INSPECTION, Engine Oil.>
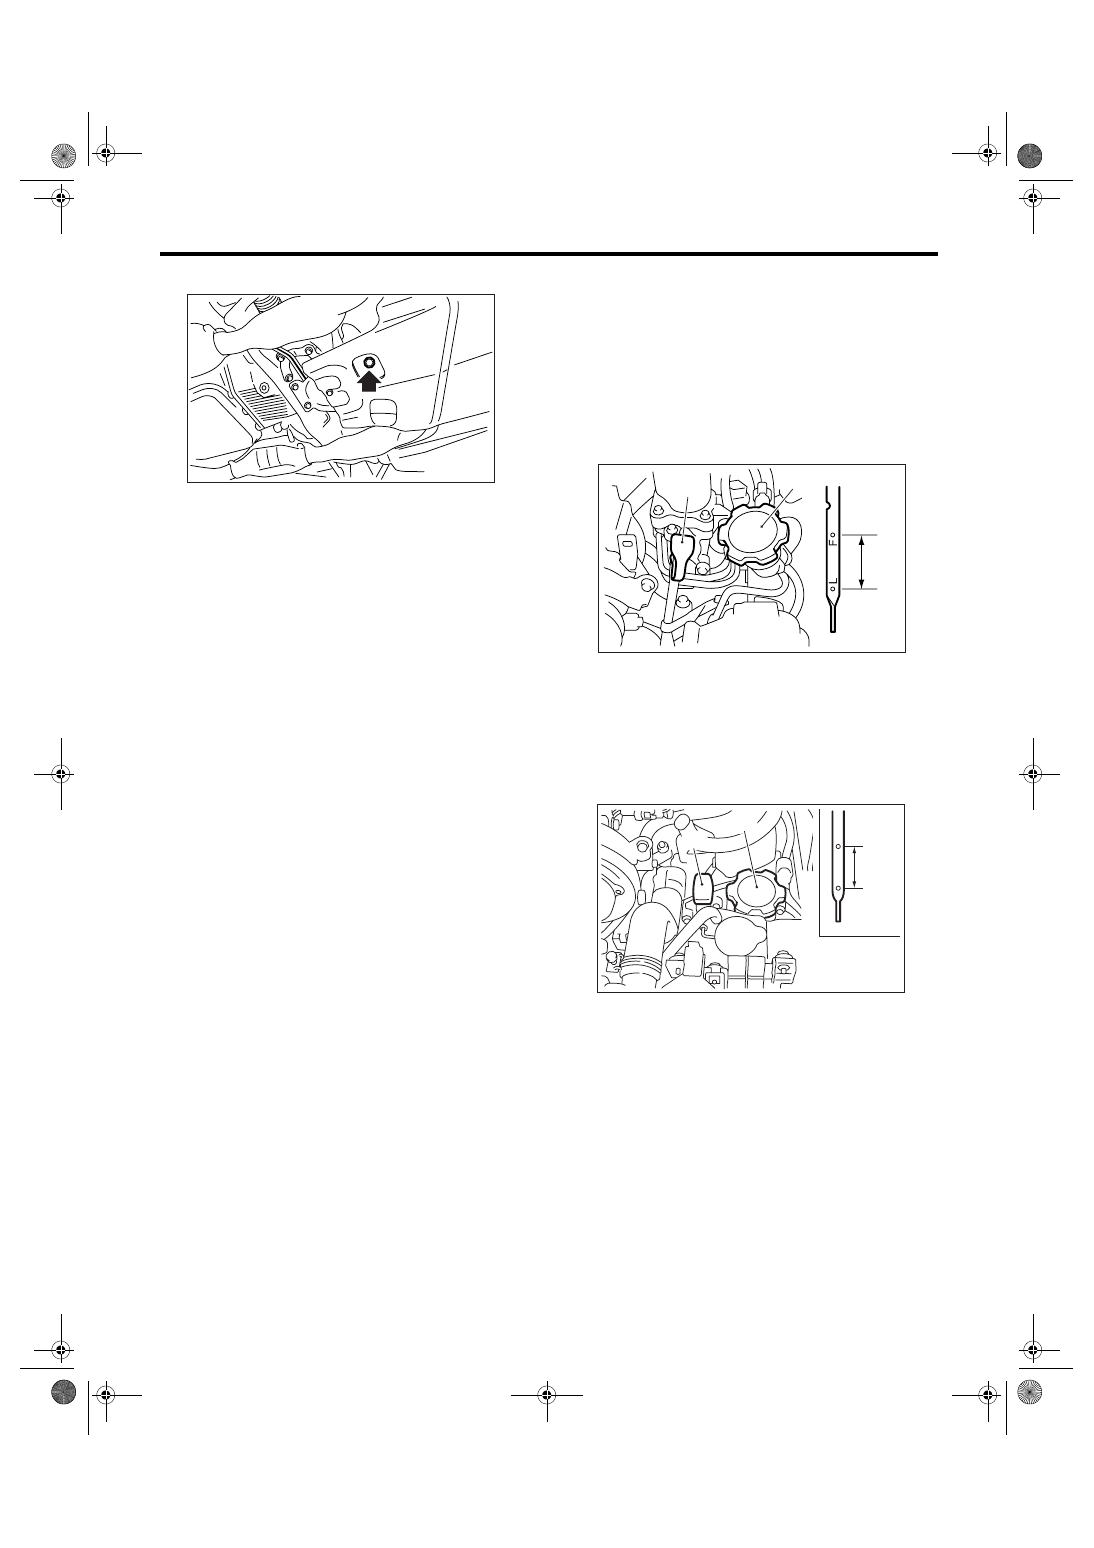
B: INSPECTION
1) Park the vehicle on a level surface.
2) Remove the oil level gauge and wipe it clean.
3) Reinsert the level gauge all the way. Be sure that
the level gauge is correctly inserted and in the
proper orientation.
4) Remove it again and checking. If the engine oil
level is below the “L” line, add oil to bring the level
up to the “F” line.
• Except for 3.0 L model
• 3.0 L model
5) After turning off the engine, wait a few minutes
for the oil to drain back into the oil pan before
checking the level.
6) Just after driving or while the engine is warm, en-
gine oil level may show in the range between the
“F” line and the notch mark. This is caused by ther-
mal expansion of engine oil.
7) To prevent overfilling the engine oil, do not add
oil above the “F” line when the engine is cold.
LU-02011
(A) Oil level gauge
(B) Oil filler cap
(C) Upper level
(D) Lower level
(E) Approx. 1
2 (1.1 US qt, 0.9 Imp qt)
(A) Oil level gauge
(B) Oil filler cap
(C) Upper level
(D) Lower level
LU-00213
(C)
(B)
(A)
(E)
(D)
L
F
(A)
(B)
(C)
(D)
LU-00111
PM-9
PERIODIC MAINTENANCE SERVICES
Engine Oil Filter
4. Engine Oil Filter
A: REPLACEMENT
CAUTION:
If the engine oil gets on the exhaust pipe, wipe
it off with cloth.
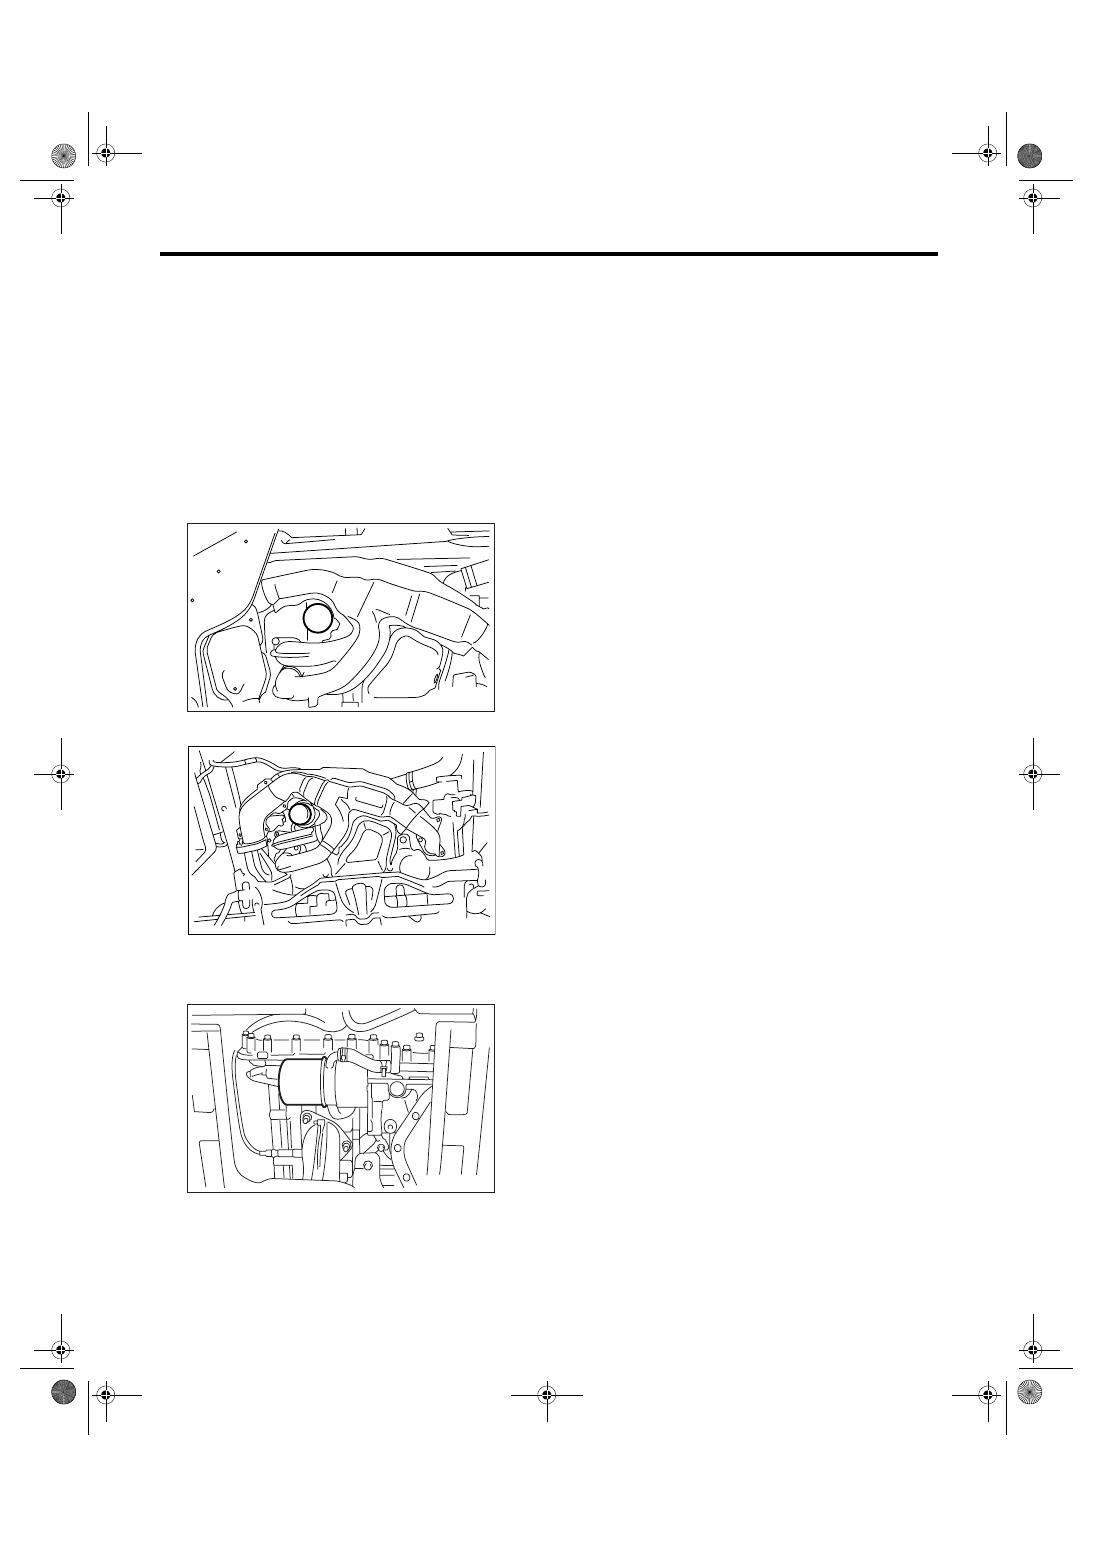
1) Remove the under cover.
2) Remove the oil filter using ST.
ST
18332AA000
OIL FILTER WRENCH (Outer
diameter: 68 mm (2.68 in))
ST
18332AA010
OIL FILTER WRENCH (Outer
diameter: 65 mm (2.56 in))
• 2.0 L non-turbo and 2.5 L model
• Turbo model
ST
498547000
OIL FILTER WRENCH (Outer
diameter: 80 mm (3.15 in))
• 3.0 L model
3) Obtain a new oil filter and apply a thin coat of en-
gine oil to the seal rubber.
4) Install the oil filter by turning it by hand, being
careful not to damage seal rubber.
5) Tighten more (approx. 1 turn for oil filter 68 mm
(2.68 in) in outer diameter, approx. 2/3 — 3/4 turn
for oil filter 65 mm (2.56 in) in outer diameter, ap-
prox. 3/4 turn for oil filter 80 mm (3.15 in) in outer di-
ameter) after the seal rubber contacts the cylinder
block. Do not tighten excessively, or oil may leak.
6) After installing the oil filter, run the engine and
make sure that no oil is leaking around seal rubber.
NOTE:
The filter element and filter case are permanently
jointed; therefore, interior cleaning is not neces-
sary.
7) Check the engine oil level. <Ref. to PM-8, IN-
SPECTION, Engine Oil.>
PM-00163
LU-00227
LU-00131
PM-10
PERIODIC MAINTENANCE SERVICES
Spark Plug
5. Spark Plug
A: REPLACEMENT
1. SOHC MODEL
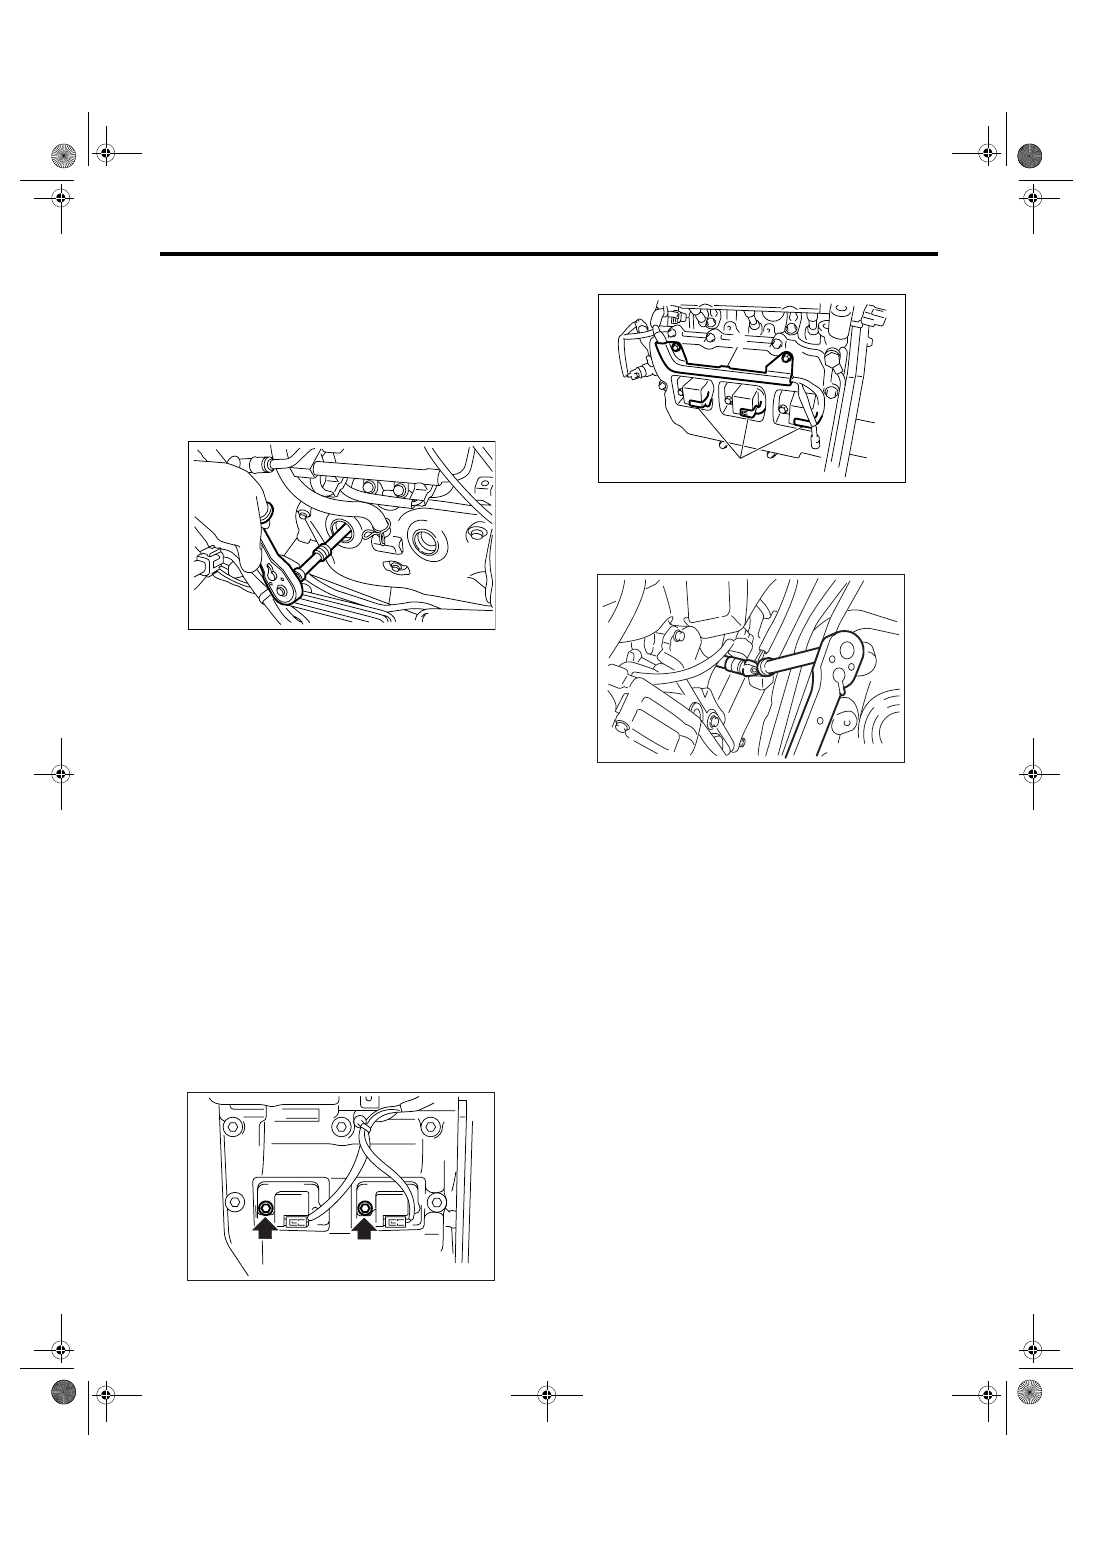
1) Remove the intake duct and intake chamber.
2) Remove the battery.
3) Disconnect the spark plug cord.
4) Remove the spark plug with a spark plug socket.
5) Tighten the new spark plug lightly with hand, and
then secure with a spark plug socket to the speci-
fied torque.
Recommended spark plug:
2.5 L EC, EK, K4, EH, ER model
NGK: PFR5B-11
Except for 2.5 L EC, EK, K4, EH, ER model
CHAMPION: RC10YC4
Tightening torque:
21 N
⋅
m (2.1 kgf-m, 15.2 ft-lb)
NOTE:
• Be sure to place the gasket between the cylinder
head and spark plug.
• If the torque wrench is not available, tighten the
spark plug until gasket contacts cylinder head; then
tighten further 1/4 to 1/2 turns.
2. DOHC MODEL
1) Remove the battery and battery carrier.
2) Remove the air cleaner case.
3) Detach the connector from ignition coil.
4) Remove the ignition coil.
• Except for 3.0 L model
• 3.0 L model
5) Remove the spark plug with a spark plug socket.
6) Tighten the new spark plug lightly with hand, and
then secure with a spark plug socket to the speci-
fied torque.
Recommended spark plug:
NGK: ILFR6B
Tightening torque:
21 N
⋅
m (2.1 kgf-m, 15.2 ft-lb)
7) Tighten the ignition coil.
Tightening torque:
16 N
⋅
m (1.6 kgf-m, 11.7 ft-lb)
NOTE:
• Be sure to place the gasket between the cylinder
head and spark plug.
• If the torque wrench is not available, tighten the
spark plug until gasket contacts cylinder head; then
tighten further 1/4 to 1/2 turns.
PM-00001
PM-00145
(A) Bracket
(B) Connector
IG-02004
(B)
(A)
PM-00112
Нет комментариевНе стесняйтесь поделиться с нами вашим ценным мнением.
Текст