Subaru Legacy (2005 year). Service manual — part 958
GW-39
GLASS/WINDOWS/MIRRORS
Wiper Deicer Switch
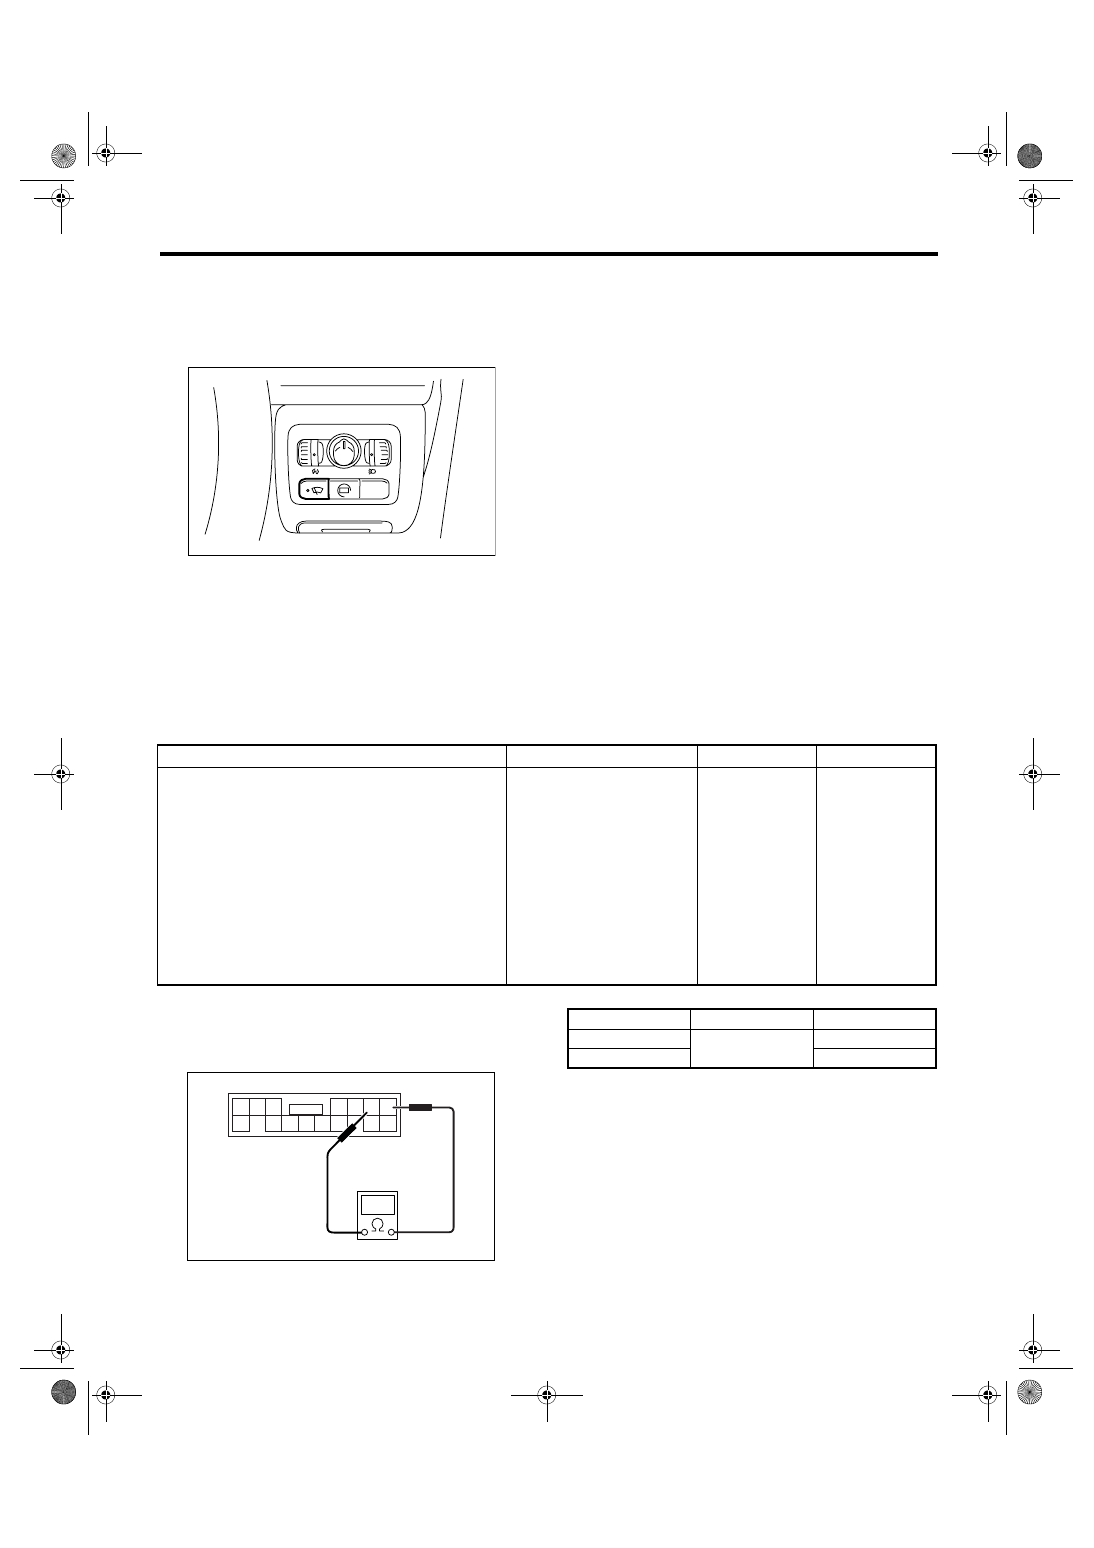
22.Wiper Deicer Switch
A: REMOVAL
1) Remove the instrument panel lower cover. <Ref. to EI-50, REMOVAL, Instrument Panel Lower Cover.>
2) Disconnect the harness connector and remove wiper deicer switch.
B: INSTALLATION
Install in the reverse order of removal.
C: INSPECTION
1. WITH SUBARU SELECT MONITOR
CAUTION:
Check whether the wiper deicer timer is in initial setting or customize setting before performing in-
spection.
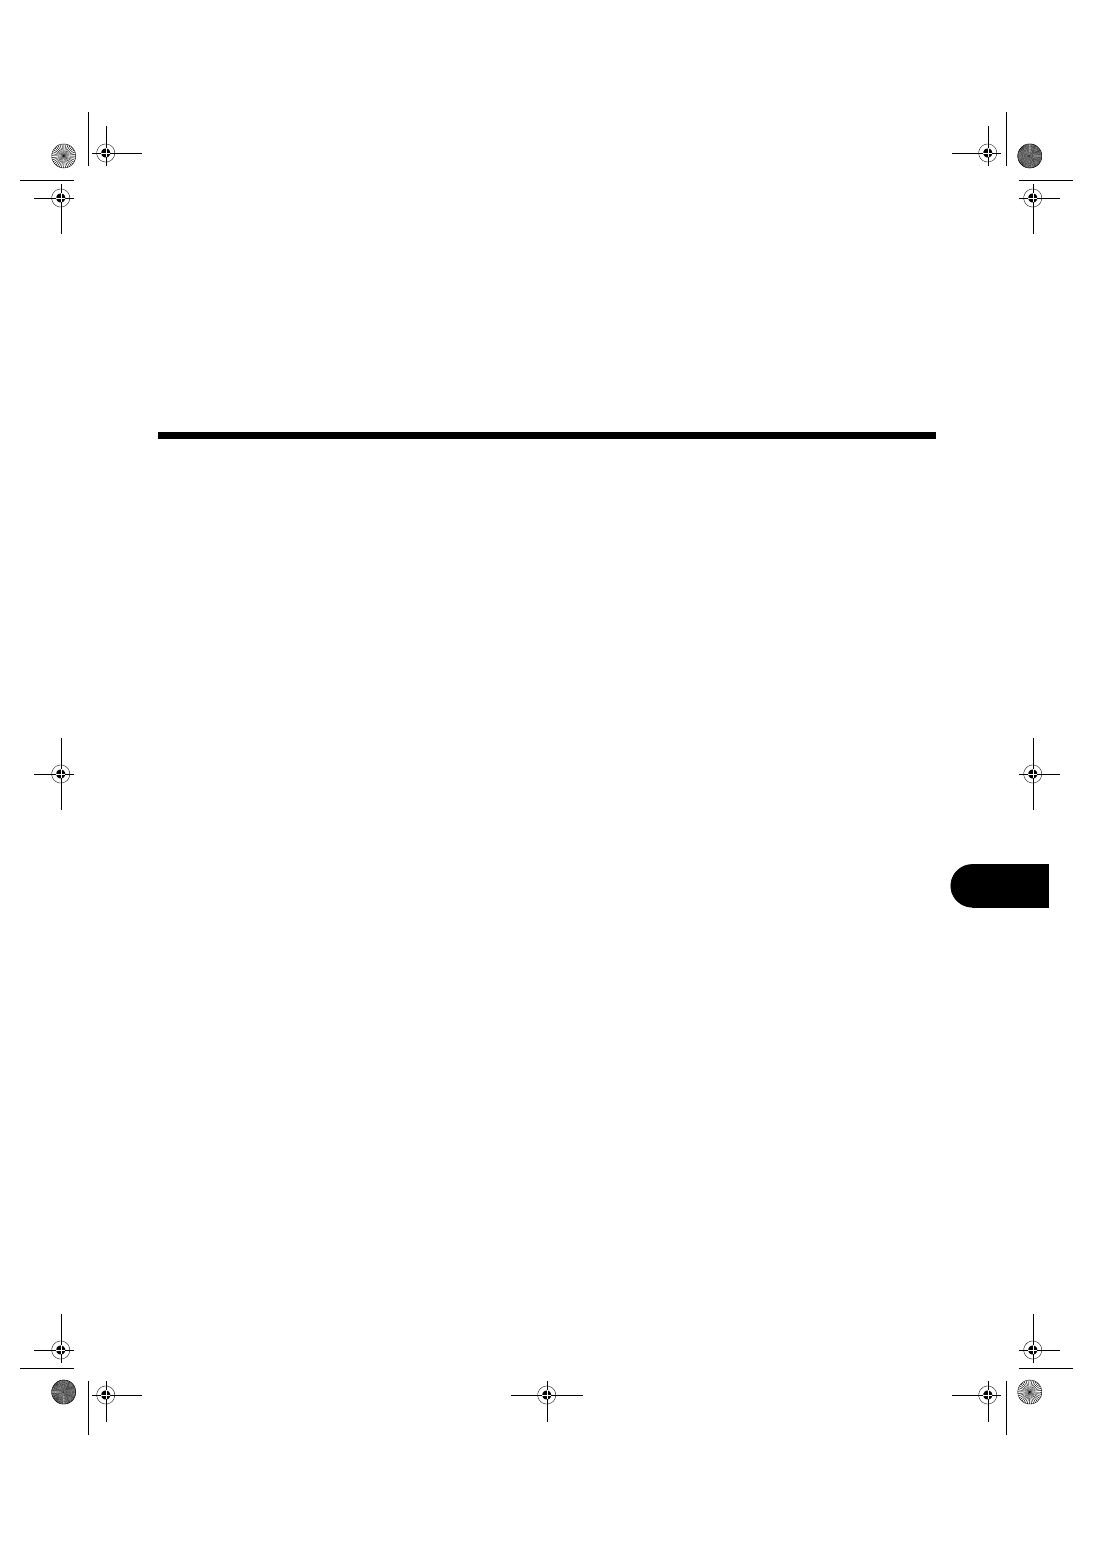
2. CHECK SWITCH
Remove the wiper deicer switch, and measure the
switch resistance.
Replace the wiper deicer switch if faulty.
GW-00292
L
R
0
1
2
Step
Check
Yes
No
1
CHECK INPUT SIGNAL TO BODY INTE-
GRATED MODULE.
Check the input signal when the wiper deicer
switch is operated using Subaru Select Moni-
tor.
1) Connect the Subaru Select Monitor to data
link connector.
2) Turn the ignition switch to ON.
3) Select the {Integ. unit} from the «Main
Menu».
4) Select the {Current Data Display & Save}.
5) Check the input signal when the wiper
deicer switch is set to ON.
After the wiper deicer switch is
set to ON, does it turn to OFF
in 15 minutes? Or does it oper-
ate continuously?
END.
Replace the body
integrated mod-
ule. <Ref. to SL-
44, REMOVAL,
Body Integrated
Module.>
GW-00330
9
14
7 6 5
4 3 2 1
8
13
11 10
15
12
Switch position
Terminal No.
Standard
OFF
1 and 2
More than 1 M
Ω
ON
Less than 1
Ω
GW-40
GLASS/WINDOWS/MIRRORS
Wiper Deicer Switch
BS-2
Vehicle-id:
SIE-id:S906001a22:A:SPECIFICATION
∼
BODY STRUCTURE
General Description
1. General Description
A: SPECIFICATION
Refer to “Body repair manual” for body structure,
datum points and datum dimensions. <Ref. to Pub
No. L0879GJ.>
Нет комментариевНе стесняйтесь поделиться с нами вашим ценным мнением.
Текст