Subaru Legacy (2005 year). Service manual — part 671
6MT-31
MANUAL TRANSMISSION AND DIFFERENTIAL
Differential Side Retainer Oil Seal
4. Differential Side Retainer Oil
Seal
A: INSPECTION
Inspect for oil leakage from the differential side re-
tainer oil seal. If there is oil leakage, perform the fol-
lowing procedure.
• Replace the oil seal.
• Check the front drive shaft.
B: REPLACEMENT
1) Lift-up the vehicle.
2) Remove the front and center exhaust pipes.
<Ref. to EX(H6DO)-4, REMOVAL, Front Exhaust
Pipe.>
3) Drain the gear oil from drain plug.
CAUTION:
• Directly after the vehicle has been running or
the engine has been long idle running, the dif-
ferential gear oil is hot. Be careful not to burn
yourself.
• Be careful not to spill the differential gear oil
on exhaust pipe to prevent it from emitting
smoke or fire. When the differential gear oil is
spilled on exhaust pipe, wipe it away complete-
ly.
4) Tighten the drain plug.
NOTE:
Use a new gasket.
Tightening torque:
Oil pan side
44 N
⋅
m (4.5 kgf-m, 32.5 ft-lb)
Clutch housing side
70 N
⋅
m (7.1 kgf-m, 51.6 ft-lb)
5) Separate the front drive shaft from transmission.
<Ref. to DS-22, REMOVAL, Front Drive Shaft.>
6) Remove the differential side retainer oil seal us-
ing driver wrapped with vinyl tape or etc.
7) Using the ST, install the differential side retainer
by slightly tapping with hammer.
ST
18675AA000
DIFFERENTIAL SIDE OIL
SEAL INSTALLER
8) Apply gear oil to the oil seal lips.
9) Set ST to side retainer.
ST
28399SA010
OIL SEAL PROTECTOR
10) Install the front drive shaft into transmission.
NOTE:
Replace the circlip of drive shaft with a new one.
11) Install the front drive shaft into transmission, re-
move the ST and insert the drive shaft securely.
ST
28399SA010
OIL SEAL PROTECTOR
12) Install the front and center exhaust pipes. <Ref.
to EX(H6DO)-5, INSTALLATION, Front Exhaust
Pipe.>
13) Lower the vehicle.
14) Pour gear oil through the oil level gauge hole.
Recommended gear oil:
<Ref. to 6MT-2, TRANSMISSION GEAR OIL,
SPECIFICATION, General Description.>
Gear oil capacity:
4.1
2(4.3 US qt, 3.6 Imp qt)
15) Check the level of the gear oil. <Ref. to 6MT-
29, INSPECTION, Transmission Gear Oil.>
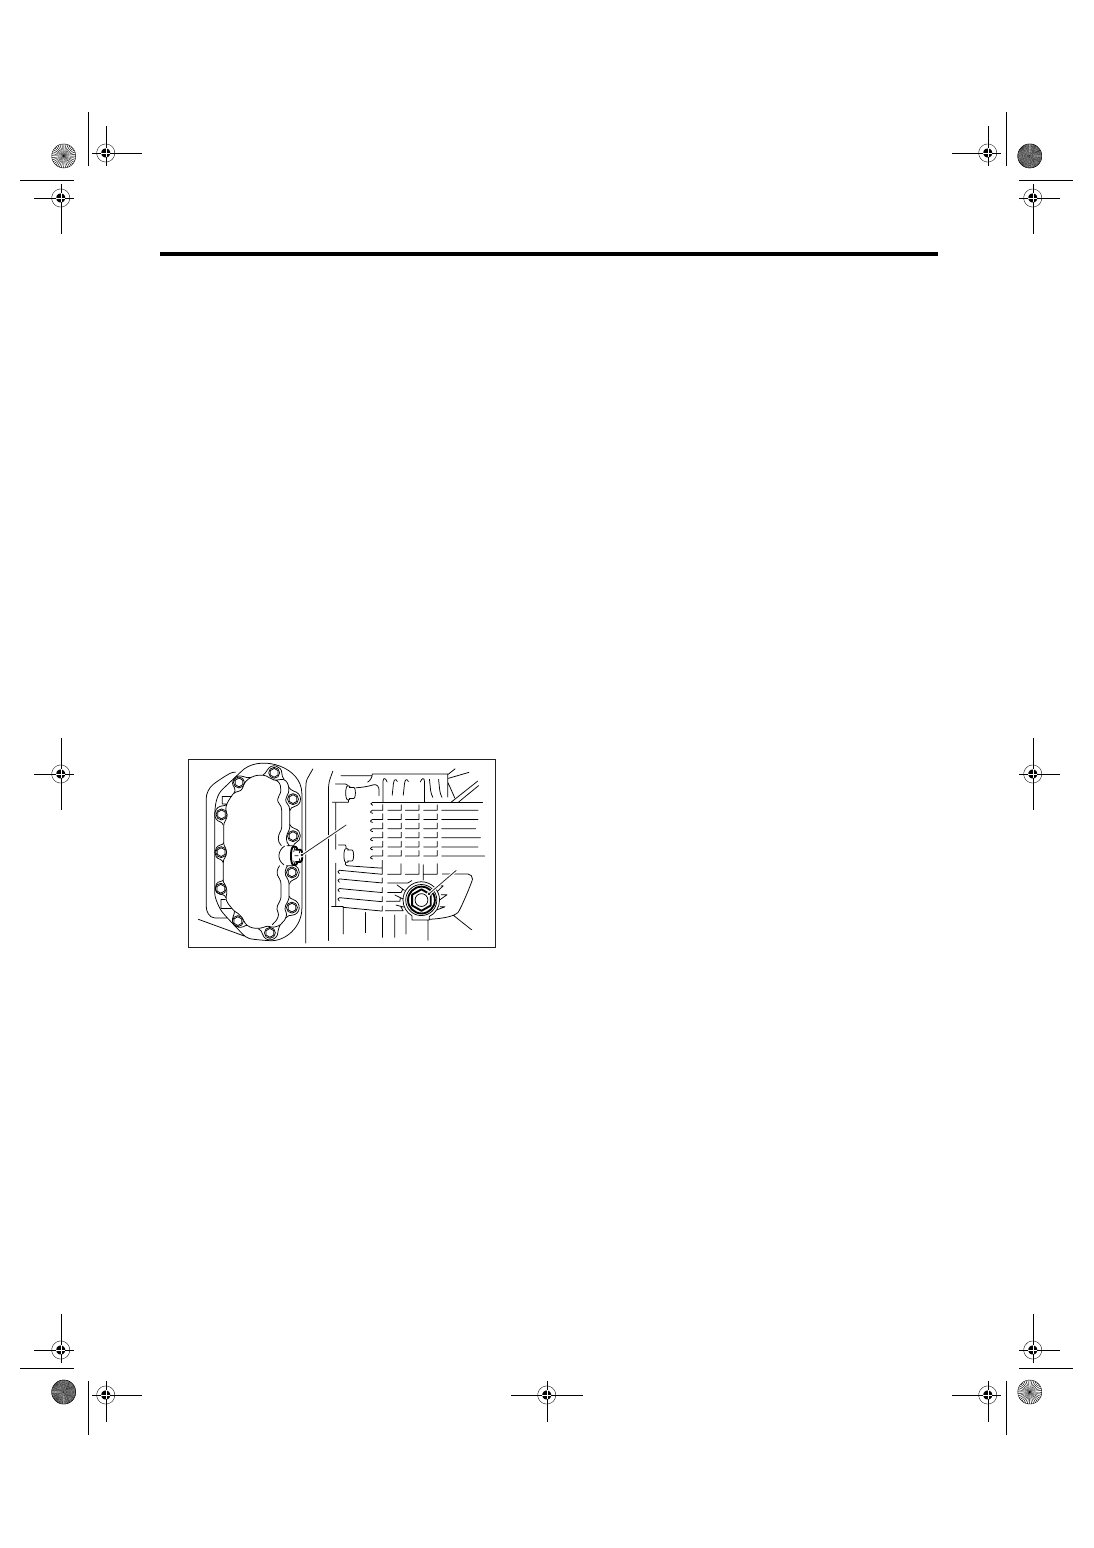
(A) Drain plug (Oil pan side)
(B) Drain plug (Clutch housing side)
(A)
(B)
MT-00450
6MT-32
MANUAL TRANSMISSION AND DIFFERENTIAL
Transmission Mounting System
5. Transmission Mounting Sys-
tem
A: REMOVAL
1. PITCHING STOPPER
1) Disconnect the ground cable from battery.
2) Remove the air intake chamber.
<Ref. to IN(H6DO)-7, REMOVAL, Air Intake Cham-
ber.>
3) Remove the air cleaner case. <Ref. to
IN(H6DO)-5, REMOVAL, Air Cleaner Case.>
4) Remove the pitching stopper.
2. CROSSMEMBER AND CUSHION RUB-
BER
1) Disconnect the ground cable from battery.
2) Lift-up the vehicle.
3) Remove the front exhaust pipe, rear exhaust
pipe and muffler.
<Ref. to EX(H6DO)-4, REMOVAL, Front Exhaust
Pipe.> <Ref. to EX(H6DO)-7, REMOVAL, Rear Ex-
haust Pipe.> <Ref. to EX(H6DO)-9, REMOVAL,
Muffler.>
4) Remove the heat shield cover.
5) Set the transmission jack under transmission
body.
CAUTION:
Always support transmission case with a trans-
mission jack.
6) Remove the rear crossmember.
7) Remove the rear cushion rubber.
B: INSTALLATION
1. PITCHING STOPPER
1) Install the pitching stopper.
Tightening torque:
T1: 50 N
⋅
m (5.1 kgf-m, 36.9 ft-lb)
T2: 58 N
⋅
m (5.9 kgf-m, 42.8 ft-lb)
2) Install the air cleaner case.
<Ref. to IN(H6DO)-6, INSTALLATION, Air Cleaner
Case.>
3) Install the air intake chamber.
<Ref. to IN(H6DO)-7, INSTALLATION, Air Intake
Chamber.>
4) Connect the ground cable to battery.
2. CROSSMEMBER AND CUSHION RUB-
BER
1) Install the rear cushion rubber.
Tightening torque:
35 N
⋅
m (3.6 kgf-m, 25.8 ft-lb)
2) Install the crossmember.
Tightening torque:
T1: 70 N
⋅
m (7.1 kgf-m, 51.6 ft-lb)
T2: 140 N
⋅
m (14.3 kgf-m, 103 ft-lb)
3) Remove the transmission jack.
4) Install the front exhaust pipe, rear exhaust pipe
and muffler. <Ref. to EX(H6DO)-5, INSTALLA-
TION, Front Exhaust Pipe.> <Ref. to EX(H6DO)-7,
INSTALLATION, Rear Exhaust Pipe.> <Ref. to
EX(H6DO)-9, INSTALLATION, Muffler.>
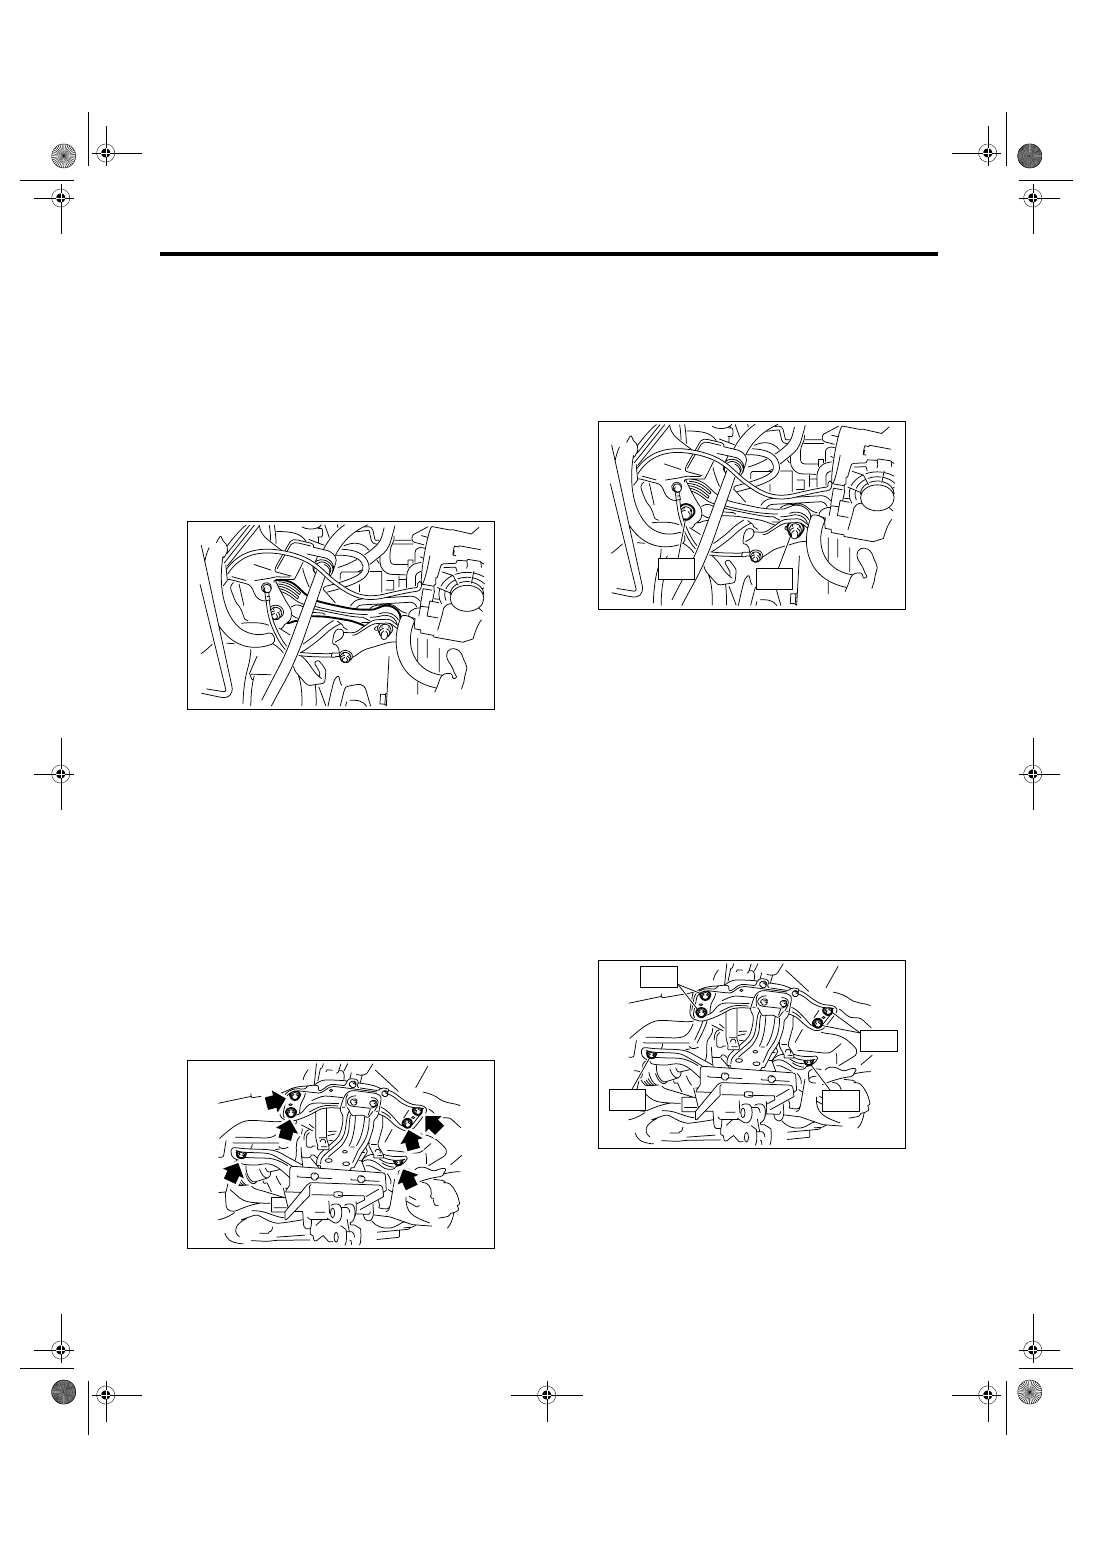
MT-01303
MT-01264
MT-01281
T1
T2
MT-01265
T1
T2
T2
T1
6MT-33
MANUAL TRANSMISSION AND DIFFERENTIAL
Transmission Mounting System
C: INSPECTION
Perform the following inspection procedures and
repair or replace defective parts.
1. PITCHING STOPPER
Check the pitching stopper for bends or damage.
Check that the rubber is not stiff, cracked or other-
wise damaged.
2. CROSSMEMBER AND CUSHION RUB-
BER
Check the crossmember for bends or damage.
Check that the cushion rubber is not stiff, cracked
or otherwise damaged.
6MT-34
MANUAL TRANSMISSION AND DIFFERENTIAL
Manual Transmission Assembly
6. Manual Transmission As-
sembly
A: REMOVAL
1) Set the vehicle on a lift, then fully open the front
hood and support with stay.
NOTE:
Set the hood stay to its specified hole.
2) Disconnect the ground cable from battery.
3) Remove the collector cover.
4) Remove the air intake chamber.
<Ref. to IN(H6DO)-7, REMOVAL, Air Intake Cham-
ber.>
5) Remove the air cleaner case.
<Ref. to IN(H6DO)-5, REMOVAL, Air Cleaner
Case.>
6) Lift-up the vehicle and remove the under cover.
7) Remove the front wheels.
8) Remove the universal joint. <Ref. to PS-22, RE-
MOVAL, Universal Joint.>
9) Disconnect the engine harness connectors, and
then remove the engine hanger rear.
10) Disconnect the ground cable at upper side of
transmission case and body.
11) Remove the starter assembly. <Ref. to
SC(H4SO 2.0)-6, REMOVAL, Starter.>
12) Remove the operating cylinder from transmis-
sion.
NOTE:
Hang the removed operating cylinder with wire or
etc.
13) Remove the pitching stopper and remove the
pitching stopper bracket.
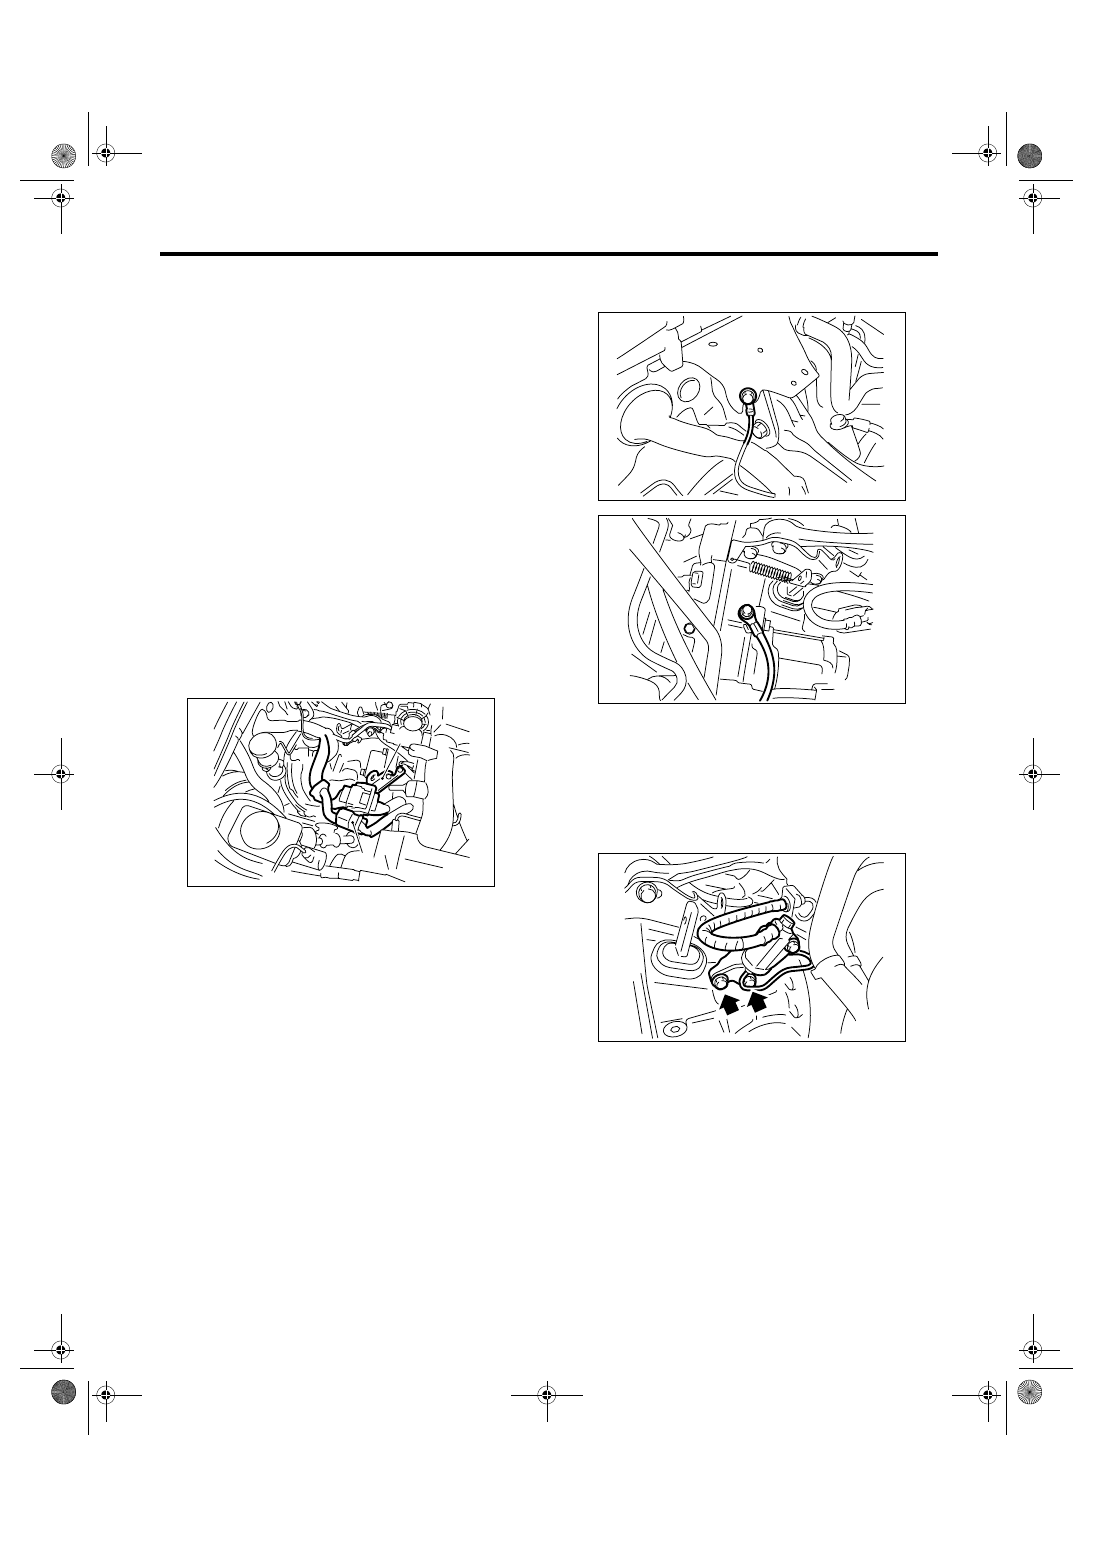
(A) Engine harness connectors
(B) Engine hanger rear
MT-01302
(B)
(A)
MT-01266
MT-01267
MT-01268
Нет комментариевНе стесняйтесь поделиться с нами вашим ценным мнением.
Текст