Subaru Legacy III (2000-2003 year). Service manual — part 435
EX(H4DOSTC)-8
EXHAUST
CENTER EXHAUST PIPE
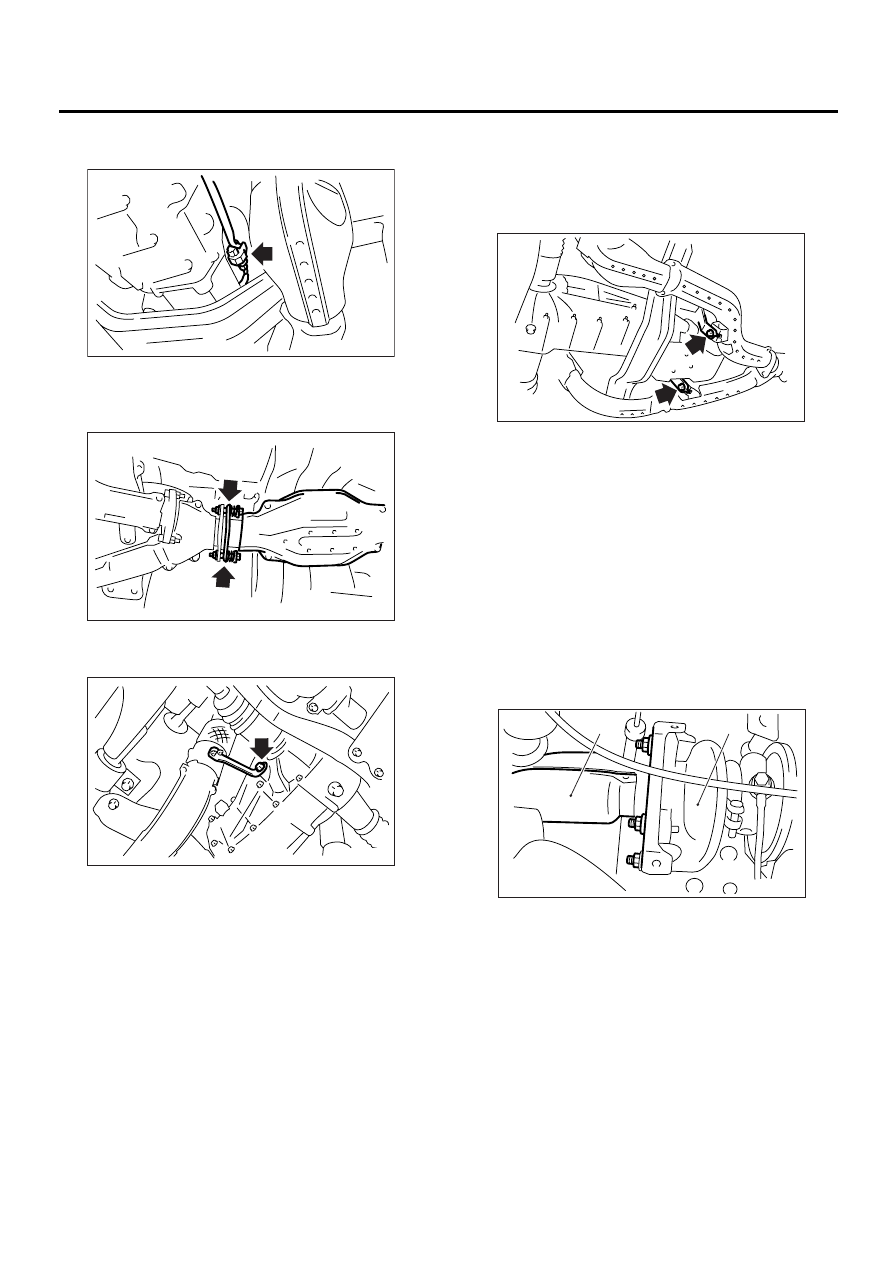
14) Disconnect the connector from rear oxygen
sensor.
15) Vertically draw out the clip from crossmember.
16) Separate the center exhaust pipe from rear ex-
haust pipe.
17) Remove the bolt which holds center exhaust
pipe bracket to transmission.
18) Remove the bolts which hold center exhaust
pipe to hanger bracket.
CAUTION:
Be careful not to pull down the center exhaust
pipe.
19) Remove the center exhaust pipe.
B: INSTALLATION
NOTE:
Replace the gaskets with new ones.
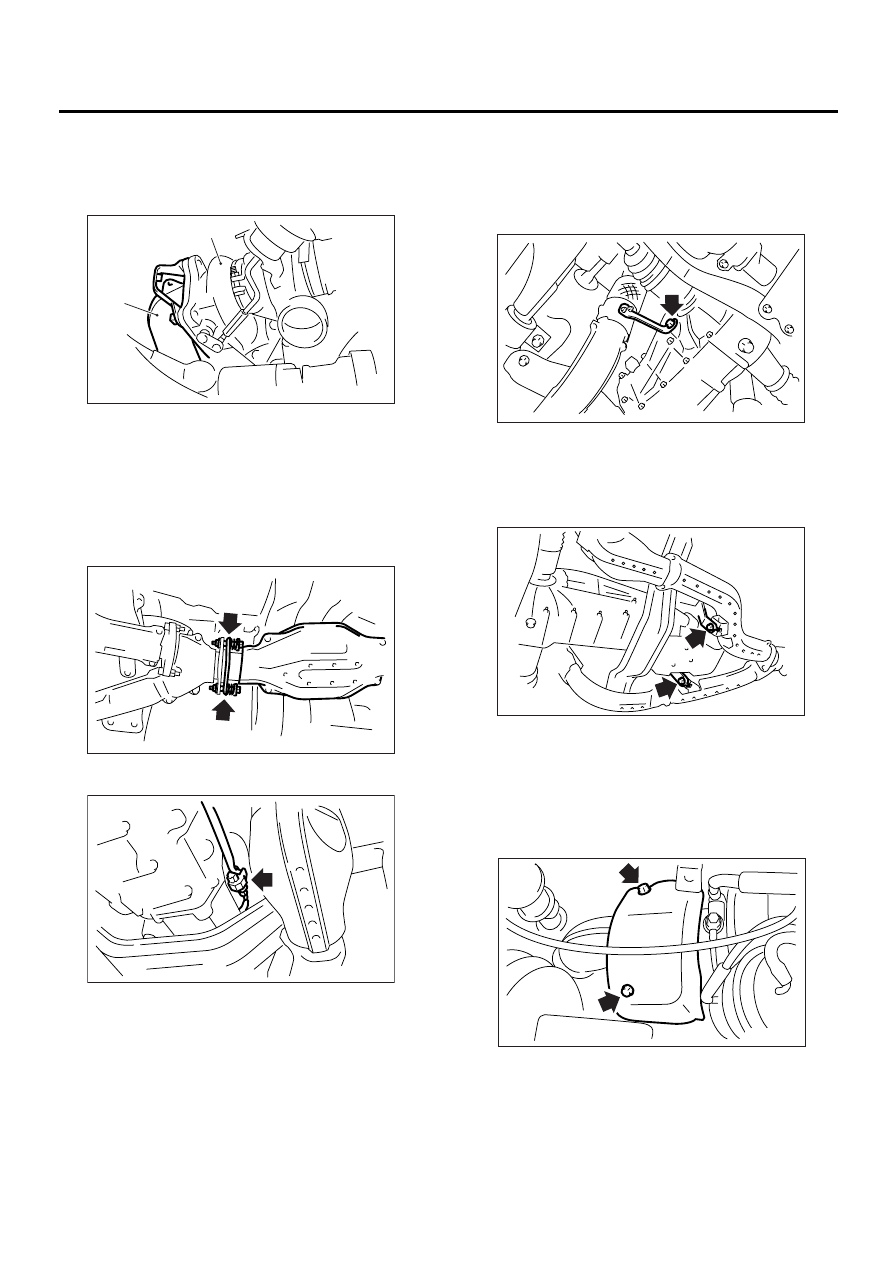
1) Install the center exhaust pipe and temporarily
tighten the bolt which holds center exhaust pipe to
hanger bracket.
2) Temporarily tighten the bolt which holds center
pipe to transmission.
3) Connect the center exhaust pipe (RH) to sec-
ondary turbocharger.
Tightening torque:
35 N·m (3.6 kgf-m, 26.0 ft-lb)
FU-00669
EX-00085
EX-00086
(A) Center exhaust pipe (RH)
(B) Secondary turbocharger
EX-00087
(A)
(B)
EX-00083
EX(H4DOSTC)-9
EXHAUST
CENTER EXHAUST PIPE
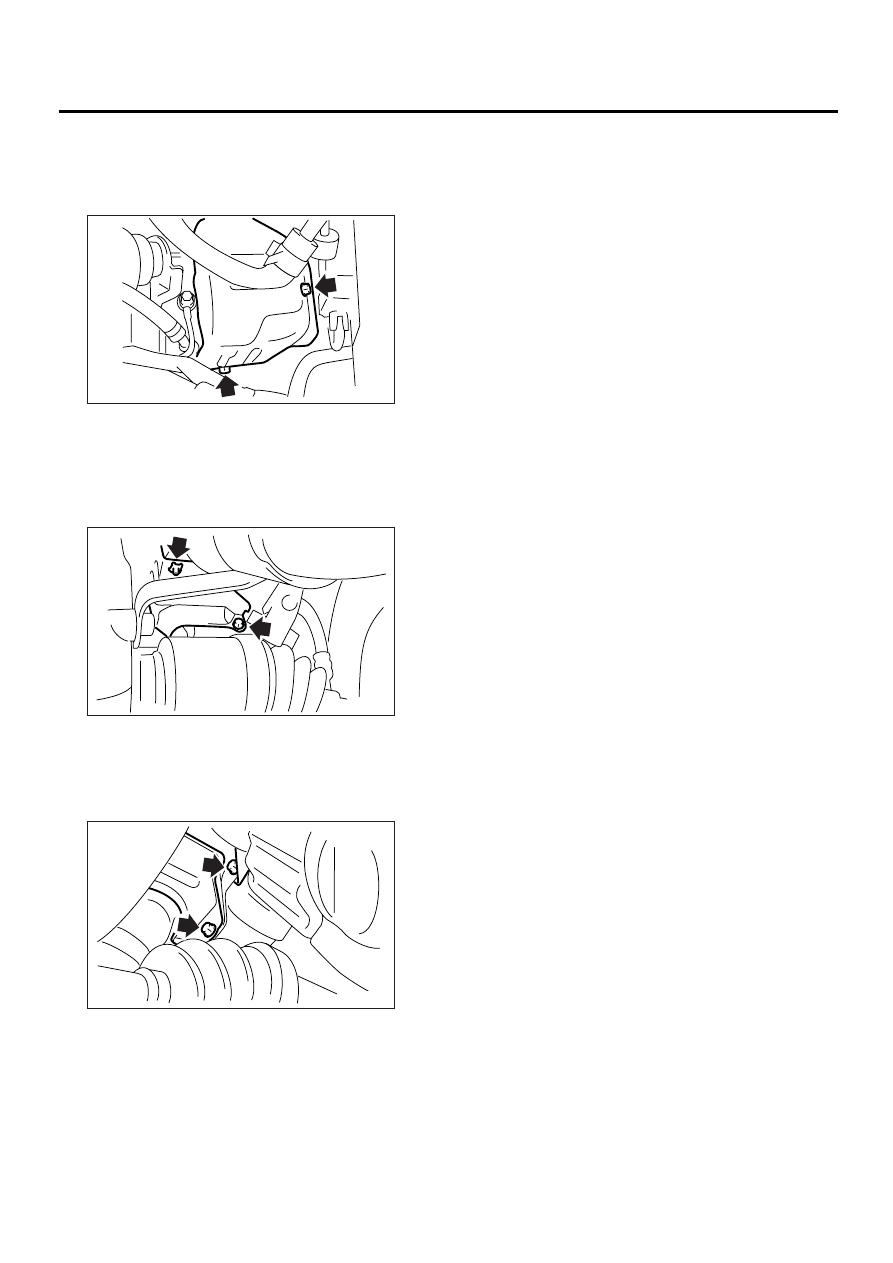
4) Connect the center exhaust pipe (LH) to primary
turbocharger.
Tightening torque:
35 N·m (3.6 kgf-m, 26.0 ft-lb)
5) Install the center exhaust pipe to rear exhaust
pipe.
Tightening torque:
18 N·m (1.8 kgf-m, 13.0 ft-lb)
6) Connect the connector to rear oxygen sensor.
7) Secure clip on the crossmember.
8) Tighten the bolt which holds center exhaust pipe
bracket to transmission.
Tightening torque:
30 N·m (3.1 kgf-m, 22.4 ft-lb)
9) Tighten the bolts which hold center exhaust pipe
to hanger bracket.
Tightening torque:
35 N·m (3.6 kgf-m, 26.0 ft-lb)
10) Lower the vehicle.
11) Place the turbocharger cover (RH), and then
tighten the bolts which install turbocharger cover
(RH).
Tightening torque:
7.4 N·m (0.75 kgf-m, 5.4 ft-lb)
(A) Center exhaust pipe (LH)
(B) Primary turbocharger
EX-00084
(A)
(B)
EX-00085
FU-00669
EX-00086
EX-00087
EX-00081
EX(H4DOSTC)-10
EXHAUST
CENTER EXHAUST PIPE
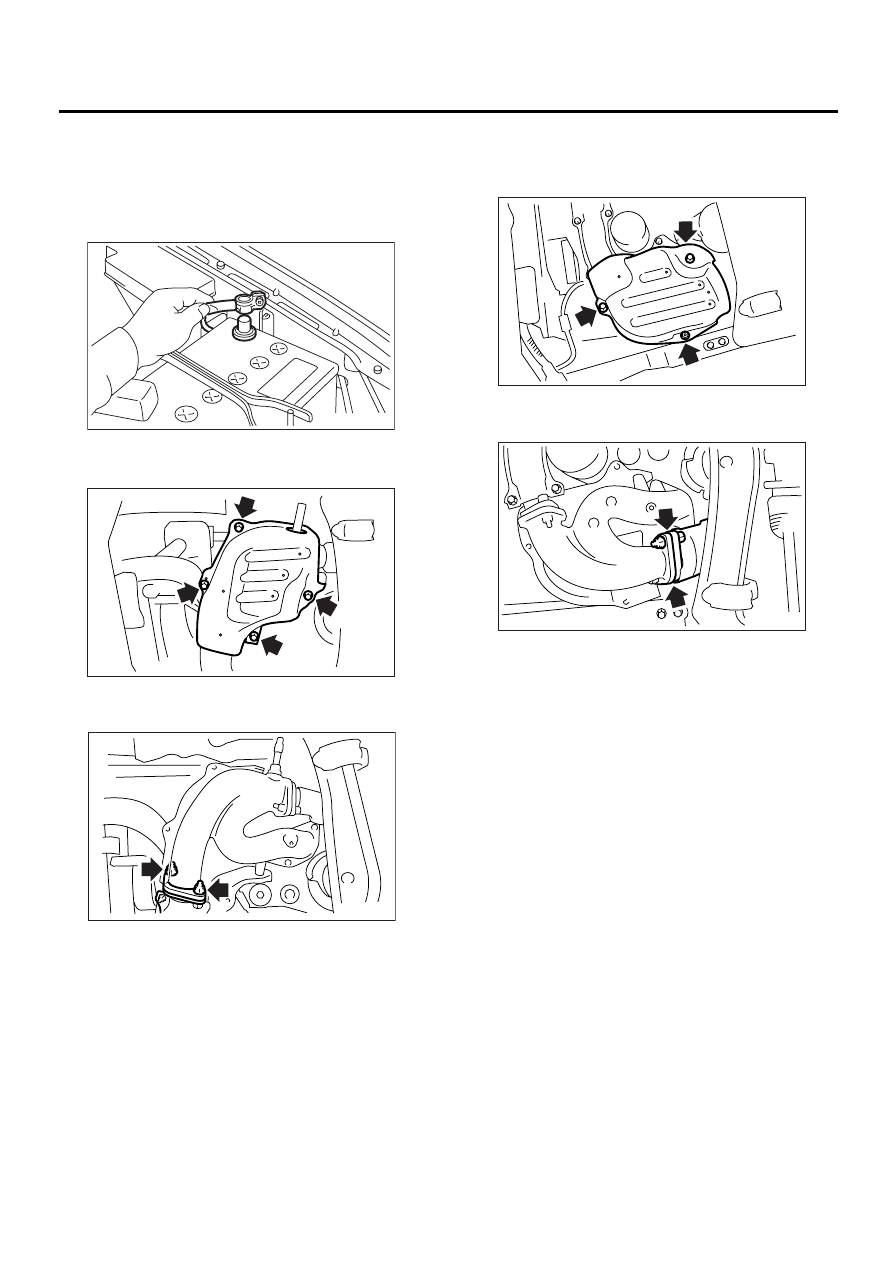
12) Place the turbocharger cover (LH), and tighten
the bolts which install turbocharger cover (LH).
Tightening torque:
7.4 N·m (0.75 kgf-m, 5.4 ft-lb)
13) Lift-up the vehicle.
14) Tighten the bolts which install under side of tur-
bocharger cover (RH).
Tightening torque:
7.4 N·m (0.75 kgf-m, 5.4 ft-lb)
15) Tighten the bolts which install under side of tur-
bocharger cover (LH).
Tightening torque:
7.4 N·m (0.75 kgf-m, 5.4 ft-lb)
16) Install the under cover.
17) Lower the vehicle.
18) Install the intercooler. <Ref. to IN(H4DOSTC)-
14, INSTALLATION, Intercooler.>
EX-00082
EX-00079
EX-00080
EX(H4DOSTC)-11
EXHAUST
JOINT PIPE
4. Joint Pipe
A: REMOVAL
1. PRIMARY SIDE
1) Disconnect the ground cable from battery.
2) Remove the under cover.
3) Remove the lower exhaust manifold cover (LH).
4) Remove the nuts which hold front exhaust man-
ifold to joint pipe.
5) Remove the center exhaust pipe. <Ref. to
EX(H4DOSTC)-7, REMOVAL, Center Exhaust
Pipe.>
6) Remove the turbocharger.
7) Take off the joint pipe in the upward direction.
2. SECONDARY SIDE
1) Remove the under cover.
2) Remove the lower exhaust manifold cover (RH).
3) Remove the nuts which hold front exhaust man-
ifold to joint pipe.
B: INSTALLATION
Install in the reverse order of removal.
NOTE:
Replace the gaskets with new ones.
Tightening torque:
T: 35 N·m (3.6 kgf-m, 26.0 ft-lb)
FU-00009
EX-00076
EX-00088
EX-00075
EX-00089
Нет комментариевНе стесняйтесь поделиться с нами вашим ценным мнением.
Текст