Subaru Legacy III (2000-2003 year). Service manual — part 990
EB-12
EXTERIOR BODY PANELS
FRONT DOOR PANEL
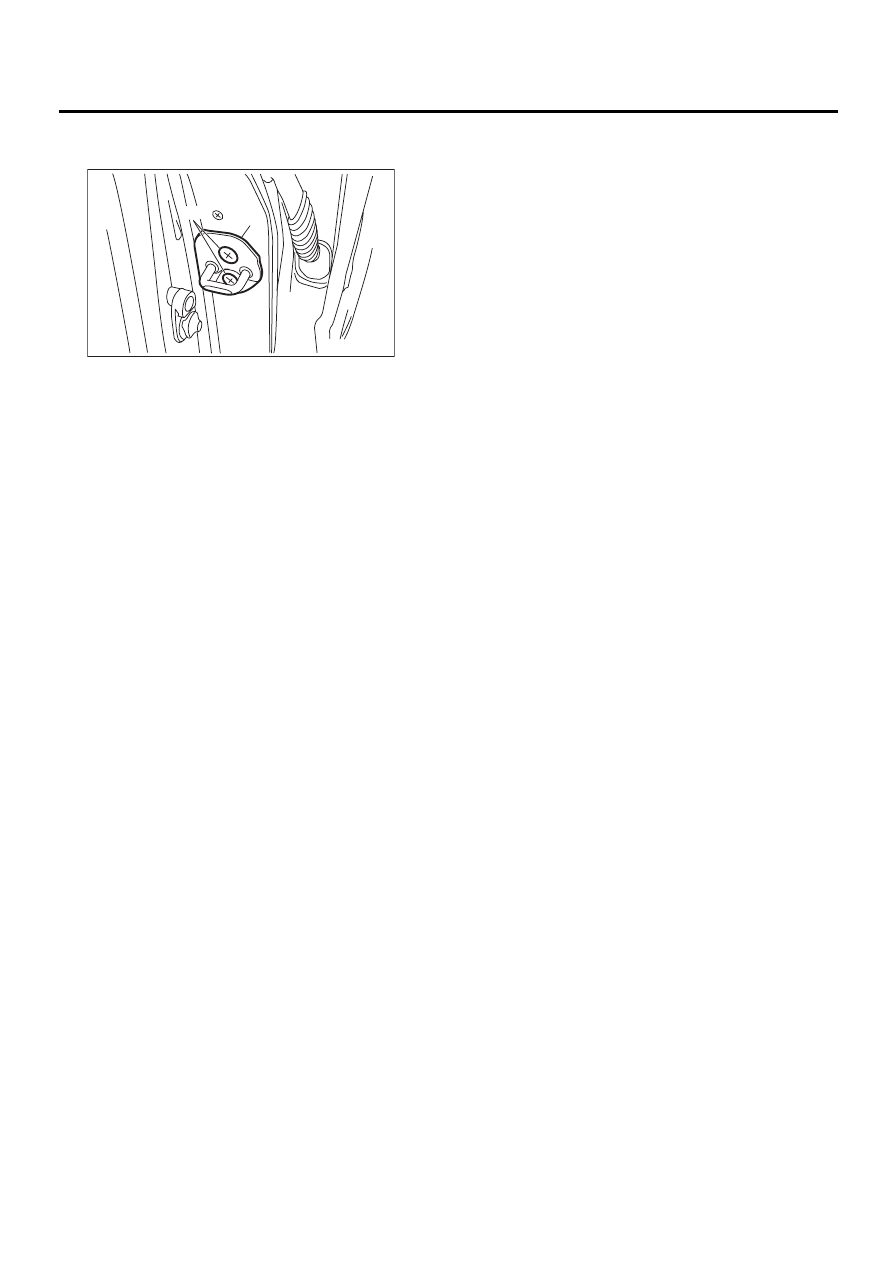
3) Loosen screw (A) and tap striker (B) using plas-
tic hammer to adjust striker.
CAUTION:
Do not use impact wrench. Welding area on
striker nut plate is easily broken.
EB-00057
( A )
( B )
EB-13
EXTERIOR BODY PANELS
FRONT SEALING COVER
5. Front Sealing Cover
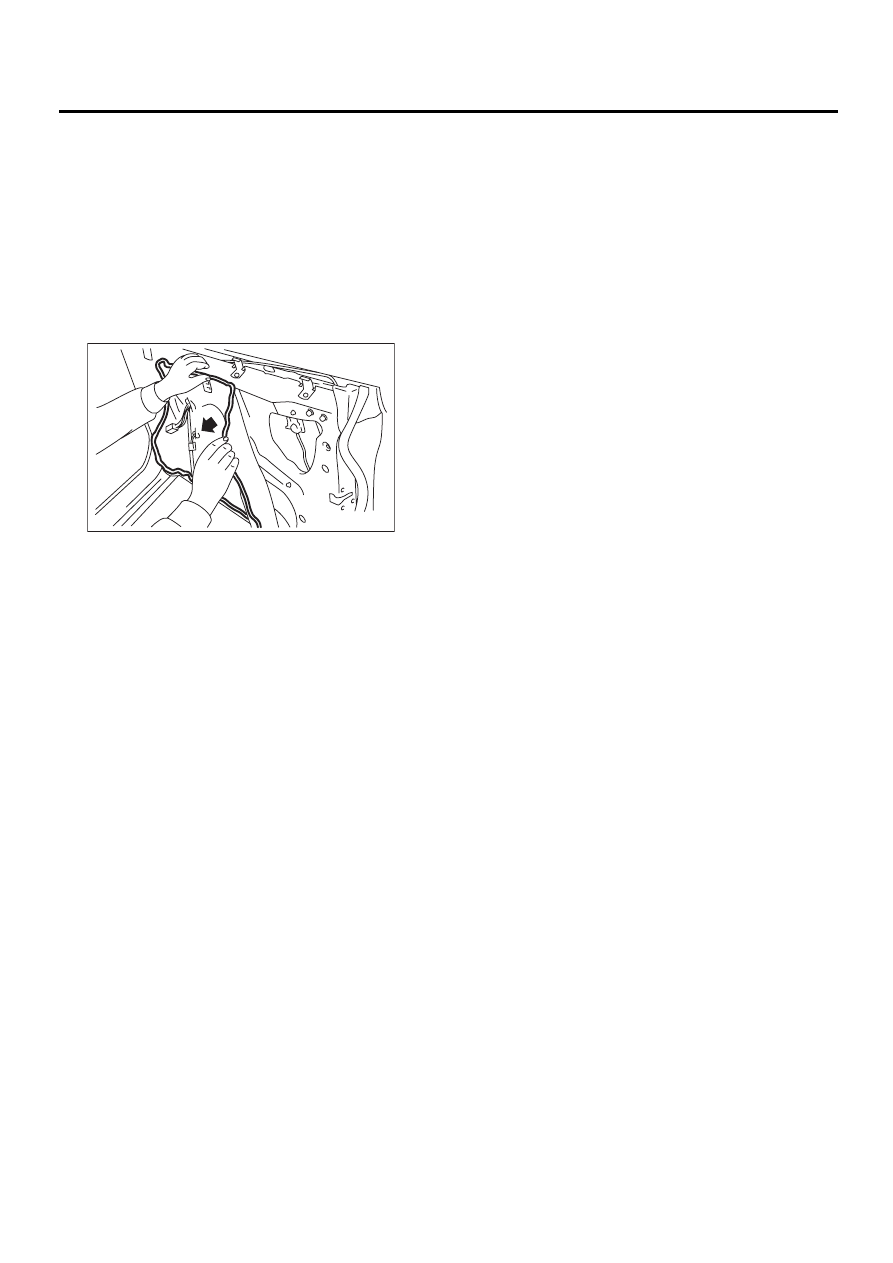
A: REMOVAL
1) Remove front door trim. <Ref. to EI-30, REMOV-
AL, Front Door Trim.>
2) Remove front speaker. <Ref. to ET-6, REMOV-
AL, Front Speaker.>
NOTE:
• Carefully remove butyl tape. Excessive force will
easily break the cover.
• If cover gets broken, replace it with a new one.
B: INSTALLATION
1) Install in the reverse order of removal.
2) When replacing sealing cover, use butyl tape.
3) Press sealer-applied area firmly to prevent any
floating on surface.
Butyl tape:
3M8626 or equivalent
NOTE:
• Apply a uniform bead of butyl tape.
• Attach sealing cover, keeping it from becoming
wrinkled.
• Breaks in the bead will allow water leakage and
contamination.
C: INSPECTION
If sealing cover is damaged, replace it with a new
one.
EB-00058
EB-14
EXTERIOR BODY PANELS
REAR DOOR PANEL
6. Rear Door Panel
A: REMOVAL
1) Disconnect ground cable from battery.
2) Remove rear door trim. <Ref. to EI-31, REMOV-
AL, Rear Door Trim.>
3) Remove rear door regulator and motor assem-
bly. <Ref. to GW-18, REMOVAL, Rear Regulator
and Motor Assembly.>
4) Remove rear outer handle. <Ref. to SL-24, RE-
MOVAL, Rear Outer Handle.>
5) Remove center pillar lower trim. <Ref. to EI-39,
REMOVAL, Lower Inner Trim.>
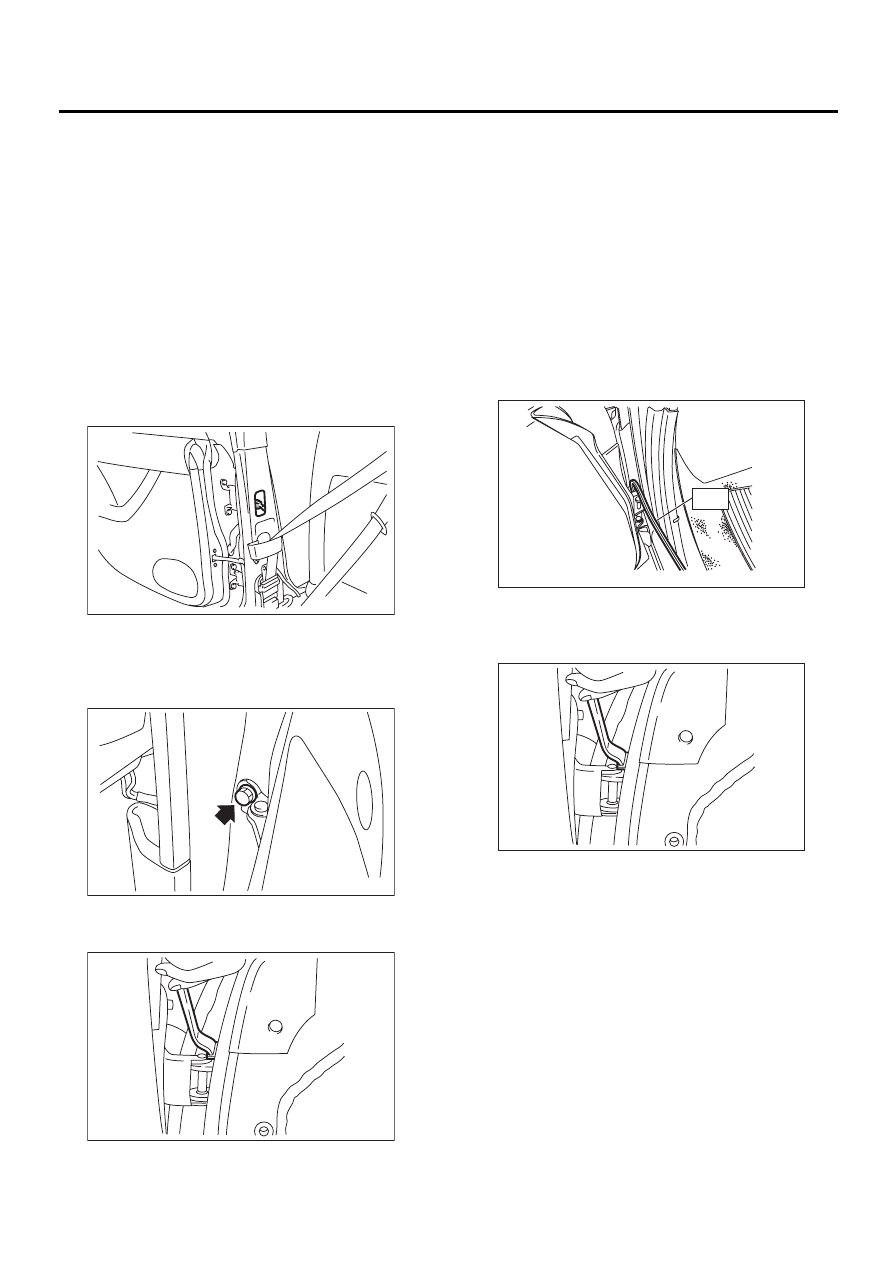
6) Remove seatbelt bracket and blind plug.
Disconnect connector of door harness and remove
door hinge nut.
7) Put a wooden block on the jack and place the
jack under the door. Support the door with the jack
to protect it.
8) Remove checker bolts.
9) Remove door-side bolts for upper and lower
hinges to remove door.
10) Using special tool, remove body-side bolts for
upper and lower hinges, and remove door hinges.
B: INSTALLATION
1) Install in the reverse order of removal.
2) Apply grease to sliding area of door hinges.
Tightening torque:
Refer to COMPONENT in General Descrip-
tion. <Ref. to EB-5, REAR DOOR PANEL,
COMPONENT, General Description.>
C: ADJUSTMENT
1) Using special tool, loosen body-side bolts of up-
per and lower hinges to align the position of rear
door panel longitudinally and vertically.
2) Loosen door-side bolts of upper and lower hing-
es to align the position of rear door panel vertically
and laterally at front-end.
EB-00059
EB-00052
EB-00053
EB-00054
ST
EB-00053

EB-15
EXTERIOR BODY PANELS
REAR DOOR PANEL
3) Loosen screw (A) and tap striker (B) using plas-
tic hammer to adjust striker.
CAUTION:
Do not use an impact wrench. The welding area
on the striker nut plate is easily broken.
EB-00057
( A )
( B )
Нет комментариевНе стесняйтесь поделиться с нами вашим ценным мнением.
Текст