Subaru Legacy III (2000-2003 year). Service manual — part 642
CL-24
CLUTCH SYSTEM
RELEASE BEARING AND LEVER
5) Tighten the plug.
Tightening torque:
44 N·m (4.5 kgf-m, 32.5 ft-lb)
6) Install the transmission assembly. <Ref. to MT-
35, INSTALLATION, Manual Transmission Assem-
bly.>
C: INSPECTION
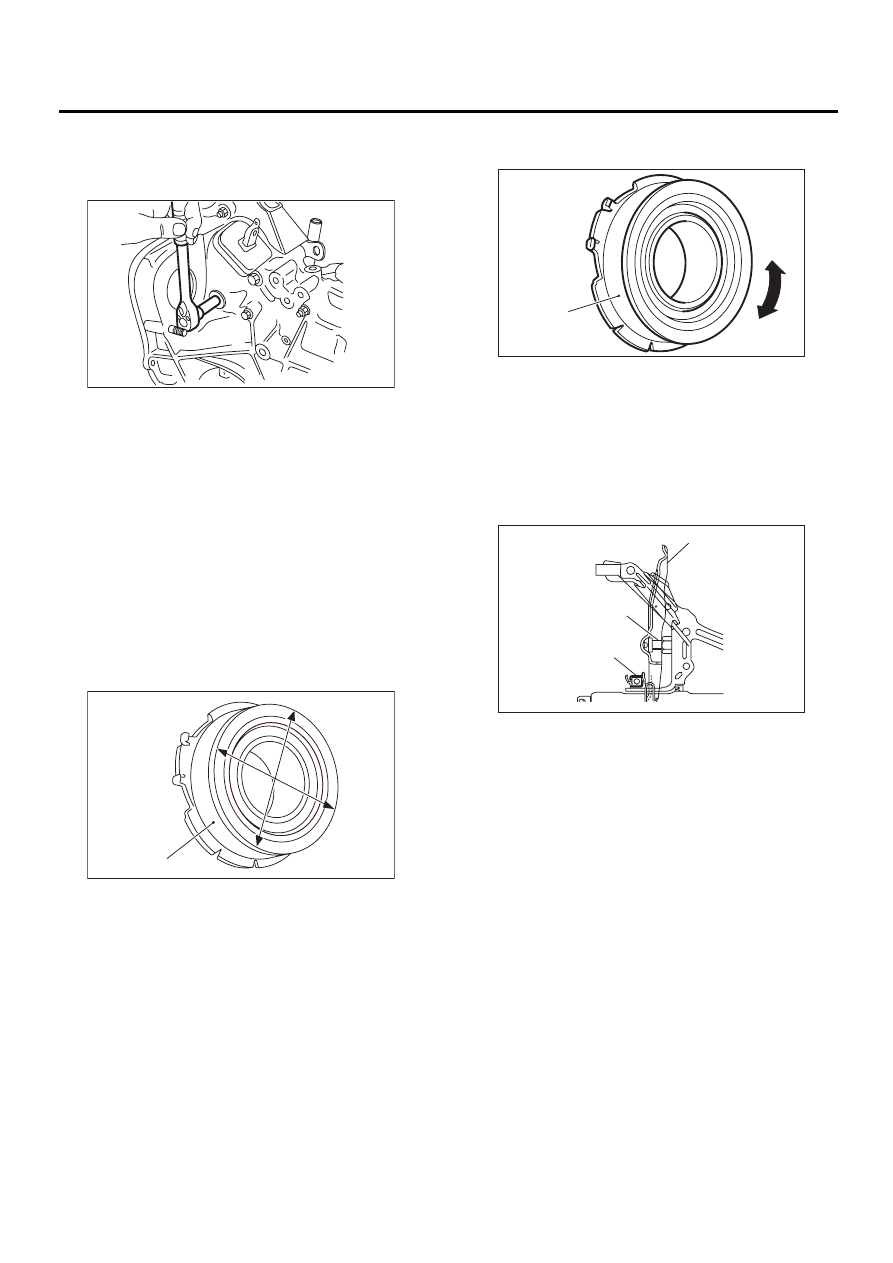
1. RELEASE BEARING
NOTE:
Since this bearing is grease sealed and is of a non-
lubrication type, do not wash with gasoline or any
solvent when servicing the clutch.
1) Check the bearing for smooth movement by ap-
plying force in the radial direction.
Radial direction stroke:
1.4 mm (0.055 in)
2) Check the bearing for smooth rotation by apply-
ing pressure in the thrust direction.
3) Check wear and damage of bearing case sur-
face contacting with lever.
2. RELEASE LEVER
1) Check lever pivot portion and the point of contact
with release bearing case for wear.
(A) Bearing case
CL-00031
CL-00032
( A )
(A) Bearing case
(A) Clutch release lever
(B) Pivot
(C) Clutch release bearing
CL-00136
( A )
CL-00034
( A )
( B )
( C )
CL-25
CLUTCH SYSTEM
OPERATING CYLINDER
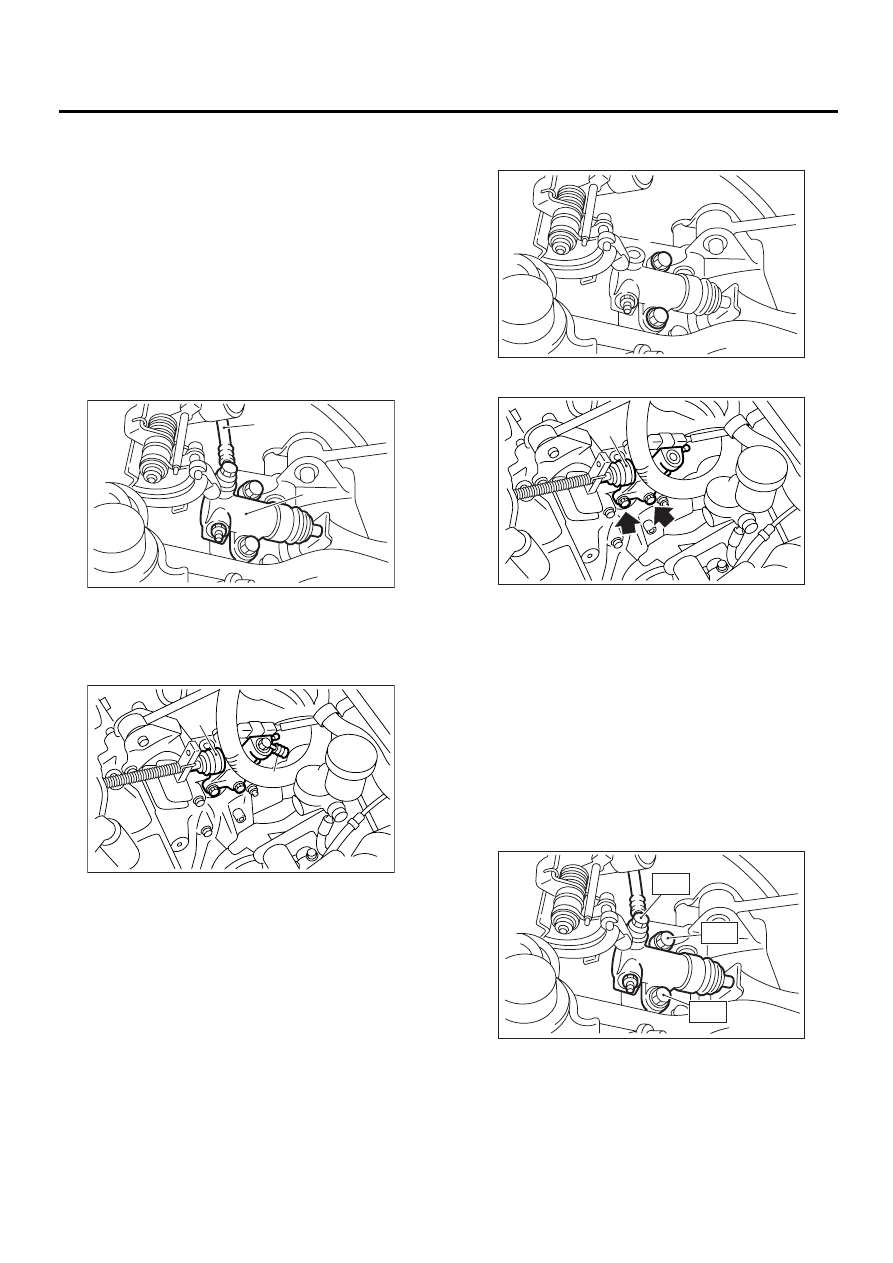
5. Operating Cylinder
A: REMOVAL
1) Remove air cleaner case. (Non-Turbo model)
<Ref. to IN(H4SO)-6, REMOVAL, Air Cleaner
Case.>
2) Remove intercooler. (Turbo model)
<Ref. to IN(H4DOSTC)-13, REMOVAL, Intercool-
er.>
3) Remove clutch hose from operating cylinder.
CAUTION:
Cover hose joint to prevent clutch fluid from
flowing out.
• Non-Turbo model
• Turbo model
4) Remove operating cylinder from transmission.
• Non-Turbo model
• Turbo model
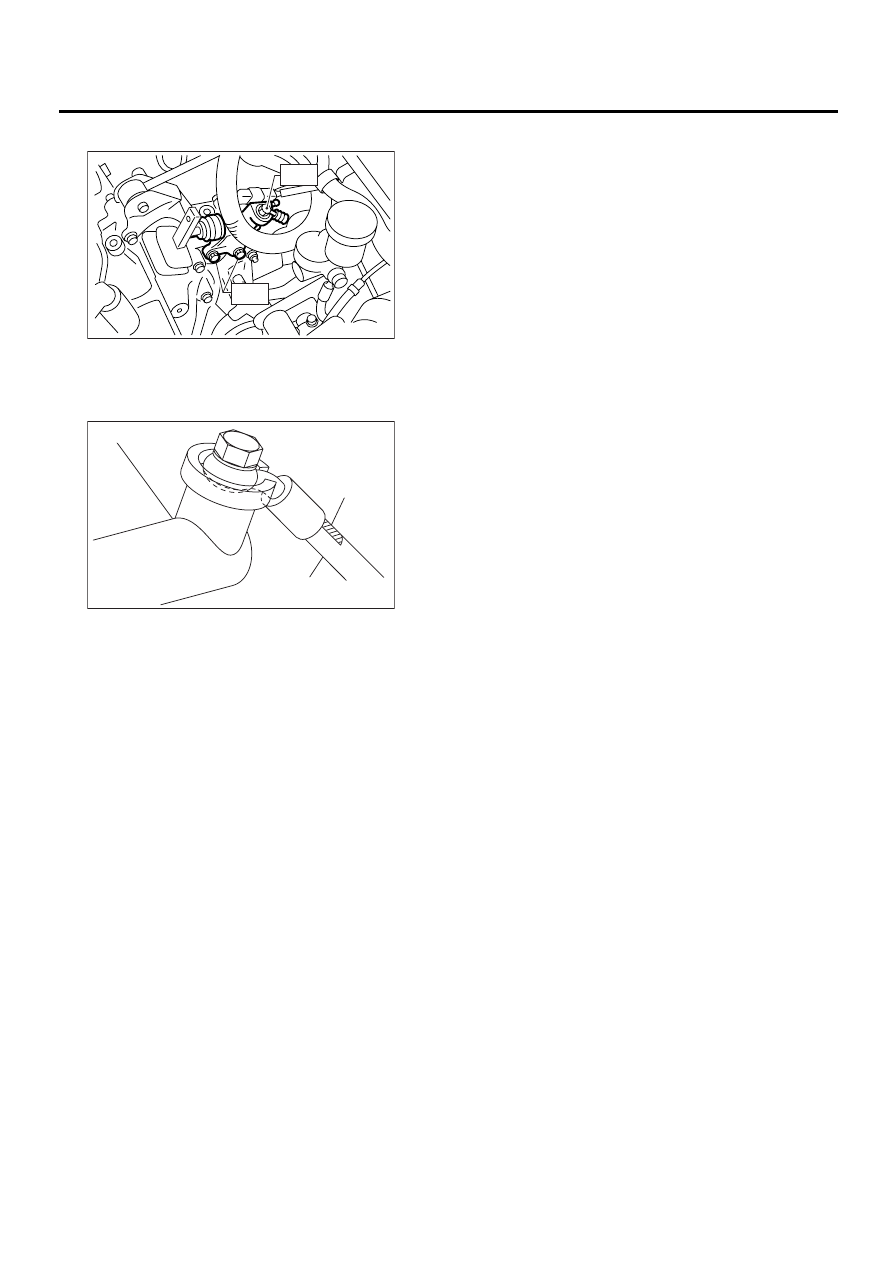
B: INSTALLATION
1) Install in the reverse order of removal.
NOTE:
Before installing operating cylinder, apply grease
(SUNLIGHT 2: P/N 003602010) to contact point of
release lever and operating cylinder.
Tightening torque:
T1: 18 N·m (1.8 kgf-m, 13.0 ft-lb)
T2: 37 N·m (3.8 kgf-m, 27.5 ft-lb)
• Non-Turbo model
(A) Clutch hose
(B) Operating cylinder
(A) Clutch hose
(B) Operating cylinder
CL-00035
( A )
( B )
CL-00036
( B )
( A )
(A) Operating cylinder
CL-00037
CL-00038
( A )
CL-00039
T1
T2
T2
CL-26
CLUTCH SYSTEM
OPERATING CYLINDER
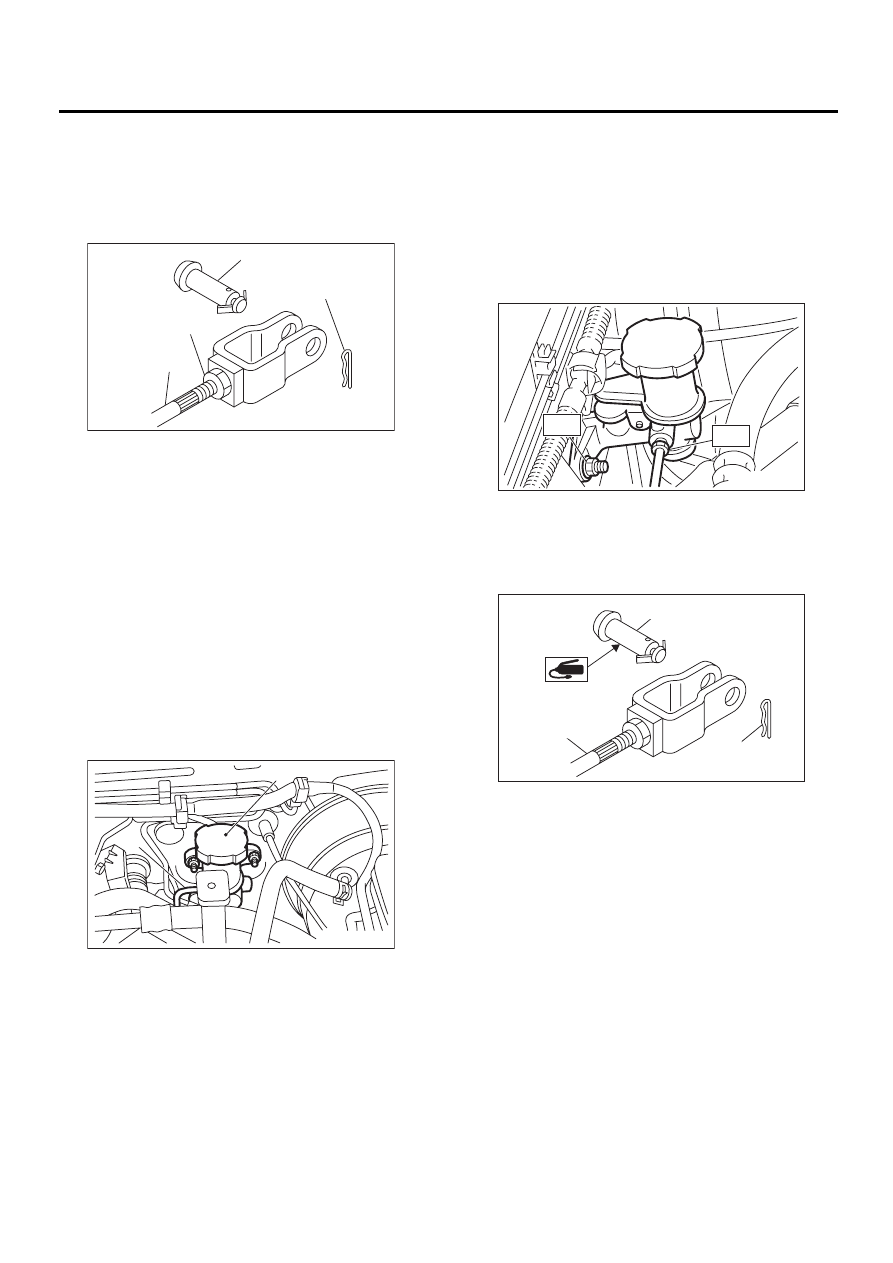
• Turbo model
NOTE:
• Install the clutch hose facing mark upward.
• Do not twist clutch hose while installing.
2) After bleeding air from operating cylinder, en-
sure that clutch operates properly.
<Ref. to CL-31, Clutch Fluid Air Bleeding.>
C: INSPECTION
1) Check operating cylinder for damage. If operat-
ing cylinder is damaged, replace it.
2) Check operating cylinder for fluid leakage or
damage on boot. If any leakage or damage is
found, replace operating cylinder.
(A) Mark
(B) Clutch hose
(C) Operating cylinder
CL-00040
T1
T2
( A )
( B )
( C )
CL-00041
CL-27
CLUTCH SYSTEM
MASTER CYLINDER
6. Master Cylinder
A: REMOVAL
1) Thoroughly drain brake fluid from reservoir tank.
2) Remove snap pin, clevis pin and separate push
rod of master cylinder from clutch pedal.
3) Remove air cleaner case. (Non-Turbo model)
<Ref. to IN(H4SO)-6, REMOVAL, Air Cleaner
Case.>
4) Remove intercooler. (Turbo model) <Ref. to
IN(H4DOSTC)-13, REMOVAL, Intercooler.>
5) Remove clutch pipe from master cylinder.
6) Remove master cylinder with reservoir tank.
CAUTION:
Be extremely careful not to spill brake fluid.
Brake fluid spilt on the vehicle body will harm
the paint surface; wipe it off quickly if spilt.
B: INSTALLATION
1) Install master cylinder to body, and install clutch
pipe to master cylinder.
CAUTION:
Check that pipe is routed properly.
Tightening torque:
T1: 15 N·m (1.5 kgf-m, 10.8 ft-lb)
T2: 18 N·m (1.8 kgf-m, 13.0 ft-lb)
2) Connect push rod of master cylinder to clutch
pedal, and install clevis pin and snap pin.
NOTE:
Apply grease to clevis pin.
3) After bleeding air from system, ensure that
clutch operates properly.
<Ref. to CL-31, Clutch Fluid Air Bleeding.>
4) Install air cleaner case. (Non-Turbo model)
<Ref. to IN(H4SO)-6, INSTALLATION, Air Cleaner
Case.>
5) Install intercooler. (Turbo model)
<Ref. to IN(H4DOSTC)-14, INSTALLATION, Inter-
cooler.>
(A) Clevis pin
(B) Snap pin
(C) Push rod
(D) Lock nut
(A) Master cylinder
(B) Clutch pipe
CL-00042
( A )
( B )
( C )
( D )
CL-00152
( A )
( B )
(A) Clevis pin
(B) Snap pin
(C) Push rod
CL-00153
T1
T2
CL-00045
( A )
( B )
( C )
Нет комментариевНе стесняйтесь поделиться с нами вашим ценным мнением.
Текст