Subaru Legacy III (2000-2003 year). Service manual — part 536
AT-38
AUTOMATIC TRANSMISSION
TRANSFER CLUTCH PRESSURE TEST
8. Transfer Clutch Pressure
Test
A: INSPECTION
1. TEST METHODS
• MPT model
Check the transfer clutch pressure in accordance
with the following chart in the same manner as with
line pressure. <Ref. to AT-36, Line Pressure Test.>
ST
498897700
OIL PRESSURE ADAPTER
SET
ST
498575400
OIL PRESSURE GAUGE
ASSY
AWD mode: “D” range
FWD mode: “P” range, engine speed 2,000 rpm
NOTE:
Before setting in FWD mode, install the spare fuse
on FWD mode switch.
• VTD model
Check transfer clutch pressure using the following
chart. <Ref. to AT-36, Line Pressure Test.>
ST
498897700
OIL PRESSURE ADAPTER
SET
ST
498575400
OIL PRESSURE GAUGE
ASSY
2. EVALUATION
• MPT model
NOTE:
If oil pressure is not produced or if it does not
change in the AWD mode, the transfer duty sole-
noid or transfer valve assembly may be malfunc-
tioning. If oil pressure is produced in the FWD
mode, the problem is similar to that in the AWD
mode.
• VTD model
(A) Test plug
(A) Test plug
AT-00021
( A )
AT-00676
( A )
Standard transfer clutch pressure kPa (kg/cm
2
, psi)
ON Duty
ratio (%)
Throttle
position
AWD mode
FWD
mode
5
Full open
951 — 1,089
(9.7 — 11.1, 138 —
158)
—
60
2/3 throttle
226 — 294
(2.3 — 3.0, 33 — 43)
—
95
Full closed
—
0 (0, 0)
Duty ratio
(%)
Throttle
opening angle
Standard of transfer clutch
pressure kPa (kg/cm
2
, psi)
95
Fully open
951 — 1,089
(9.7 — 11.1, 138 — 158)
60
2/3 open
226 — 294
(2.3 — 3.0, 33 — 43)
AT-39
AUTOMATIC TRANSMISSION
AUTOMATIC TRANSMISSION ASSEMBLY
9. Automatic Transmission As-
sembly
A: REMOVAL
1) Set the vehicle on a lift.
2) Open front hood fully, and support with stay.
3) Disconnect battery ground cable.
4) Remove air intake duct. (Non-TURBO model)
2.0 L and 2.5 L models
<Ref. to IN(H4SO)-7, REMOVAL, Air Intake Duct.>
3.0 L model
<Ref. to IN(H6DO)-7, REMOVAL, Air Intake Duct.>
5) Remove air cleaner case or air intake chamber.
(Non-TURBO model)
2.0 L and 2.5 L models
<Ref. to IN(H4SO)-6, REMOVAL, Air Cleaner
Case.>
3.0 L model
<Ref. to IN(H6DO)-6, REMOVAL, Air Intake Cham-
ber.>
6) Remove intercooler. (TURBO model)
<Ref. to IN(H4DOSTC)-13, REMOVAL, Intercool-
er.>
7) Remove air cleaner case stay. (Non-TURBO
model)
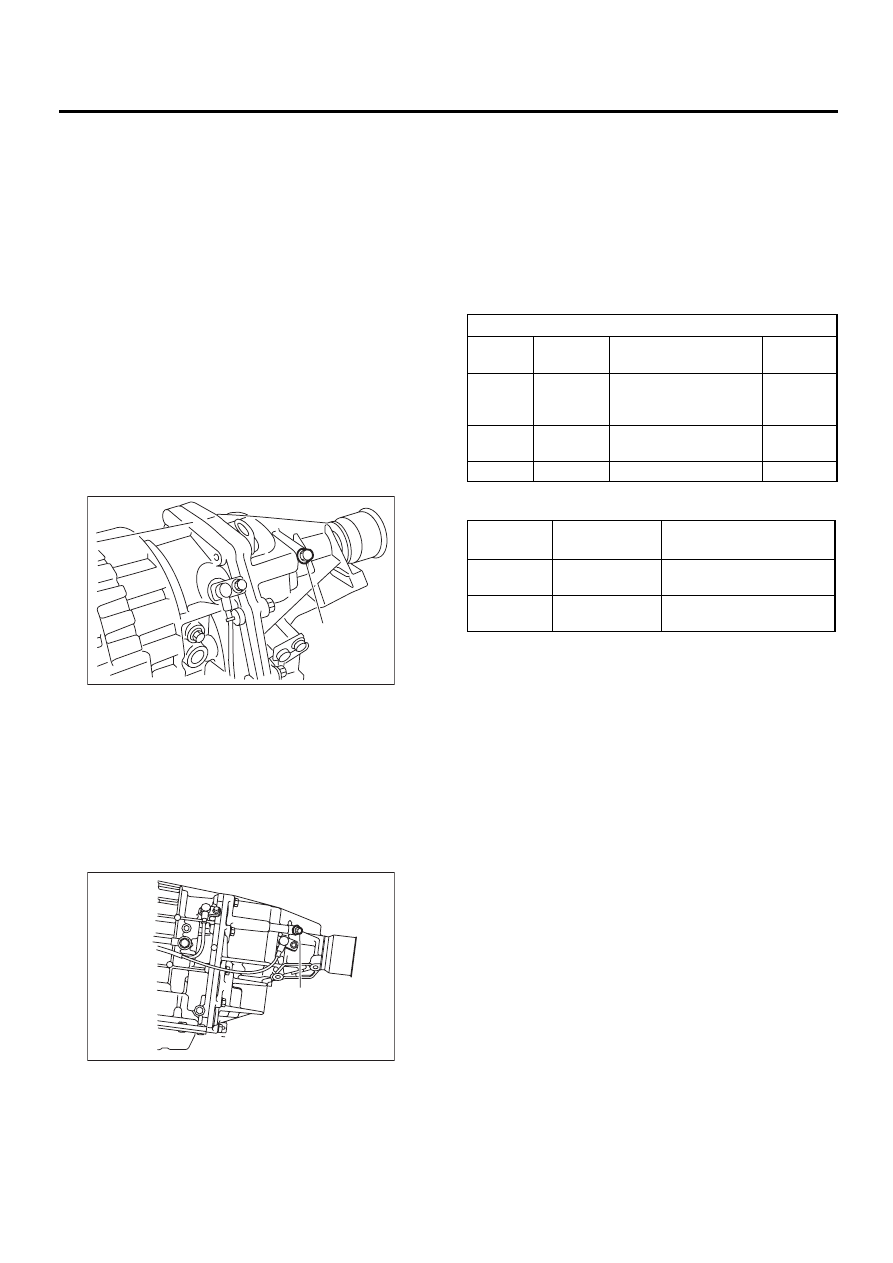
8) Disconnect the following connectors.
(1) Transmission harness connector
(2) Transmission ground terminal
9) Remove starter.
2.0 L non-TURBO and 2.5 L models
<Ref. to SC(H4SO)-6, REMOVAL, Starter.>
3.0 L model
<Ref. to SC(H6DO)-6, REMOVAL, Starter.>
2.0 L TURBO model
<Ref. to SC(H4DOSTC)-6, REMOVAL, Starter.>
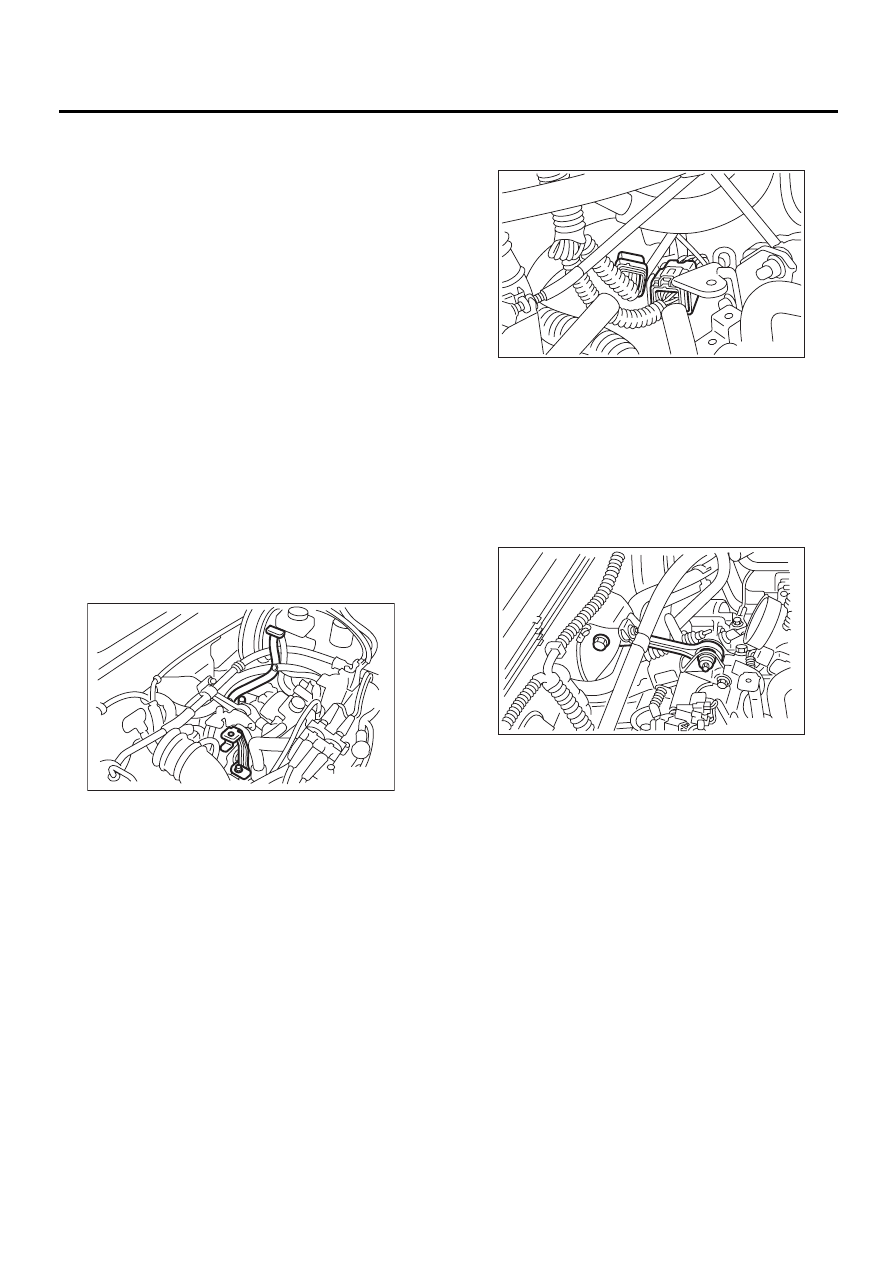
10) Remove pitching stopper.
11) Separate torque converter clutch from drive
plate.
(1) Remove service hole plug.
(2) Remove bolts which hold torque converter
clutch to drive plate.
(3) While rotating the engine, remove other
bolts using ST.
CAUTION:
Be careful not to drop bolts into torque convert-
er clutch housing.
AT-00101
AT-00678
AT-00679
AT-40
AUTOMATIC TRANSMISSION
AUTOMATIC TRANSMISSION ASSEMBLY
• Except 2.0 L model
ST
499977100
CRANKSHAFT PULLEY
WRENCH
• 2.0 L model
ST
499977400
CRANKSHAFT PULLEY
WRENCH
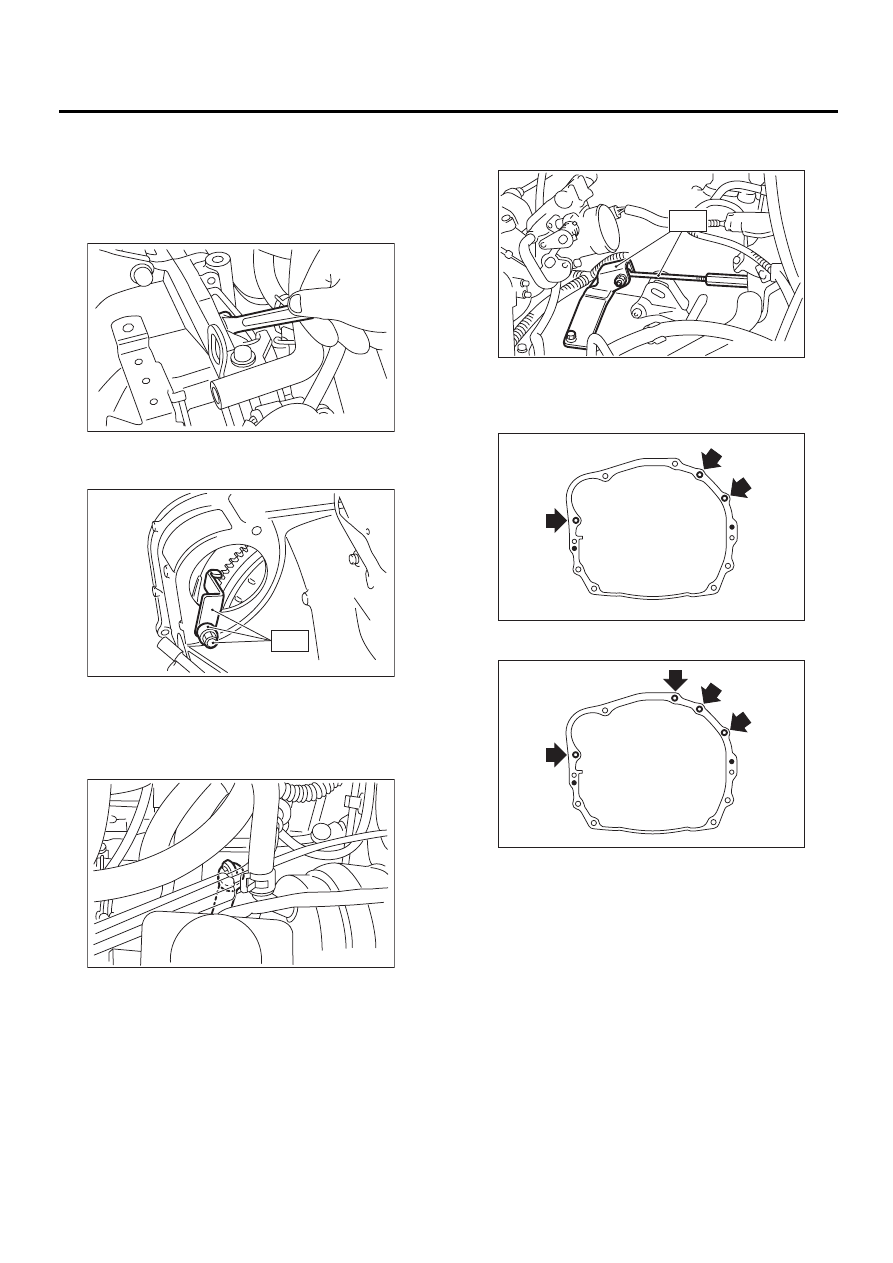
12) Install ST to torque converter clutch case.
ST
498277200
STOPPER SET
13) Remove ATF level gauge.
NOTE:
Plug opening to prevent entry of foreign particles
into transmission fluid.
14) Set ST.
ST
41099AA000
ENGINE SUPPORT ASSY
15) Remove bolt which holds right upper side of
transmission to engine.
Except 3.0 L model
3.0 L model
16) Lift-up the vehicle.
17) Remove under cover.
18) Remove front, center, rear exhaust pipe and
muffler. (Non-TURBO model)
2.0 L and 2.5 L with OBD models
<Ref. to EX(H4SO)-5, REMOVAL, Front Exhaust
Pipe.>, <Ref. to EX(H4SO)-9, REMOVAL, Rear
Exhaust Pipe.> and <Ref. to EX(H4SO)-10, RE-
MOVAL, Muffler.>
2.0 L and 2.5 L without OBD models
<Ref. to EX(H4SOw/oOBD)-9, REMOVAL, Front
Exhaust Pipe.>, <Ref. to EX(H4SOw/oOBD)-13,
REMOVAL, Rear Exhaust Pipe.> and <Ref. to
EX(H4SOw/oOBD)-14, REMOVAL, Muffler.>
AT-00102
AT-00804
ST
AT-00680
AT-00105
ST
AT-00106
AT-00681
AT-41
AUTOMATIC TRANSMISSION
AUTOMATIC TRANSMISSION ASSEMBLY
3.0 L model
<Ref. to EX(H6DO)-5, REMOVAL, Front Exhaust
Pipe.>, <Ref. to EX(H6DO)-8, REMOVAL, Rear
Exhaust Pipe.> and <Ref. to EX(H6DO)-9, RE-
MOVAL, Muffler.>
19) Remove center and rear exhaust pipes, and
muffler. (TURBO model)
<Ref. to EX(H4DOSTC)-7, REMOVAL, Center Ex-
haust Pipe.>, <Ref. to EX(H4DOSTC)-12, RE-
MOVAL, Rear Exhaust Pipe.> and <Ref. to
EX(H4DOSTC)-13, REMOVAL, Muffler.>
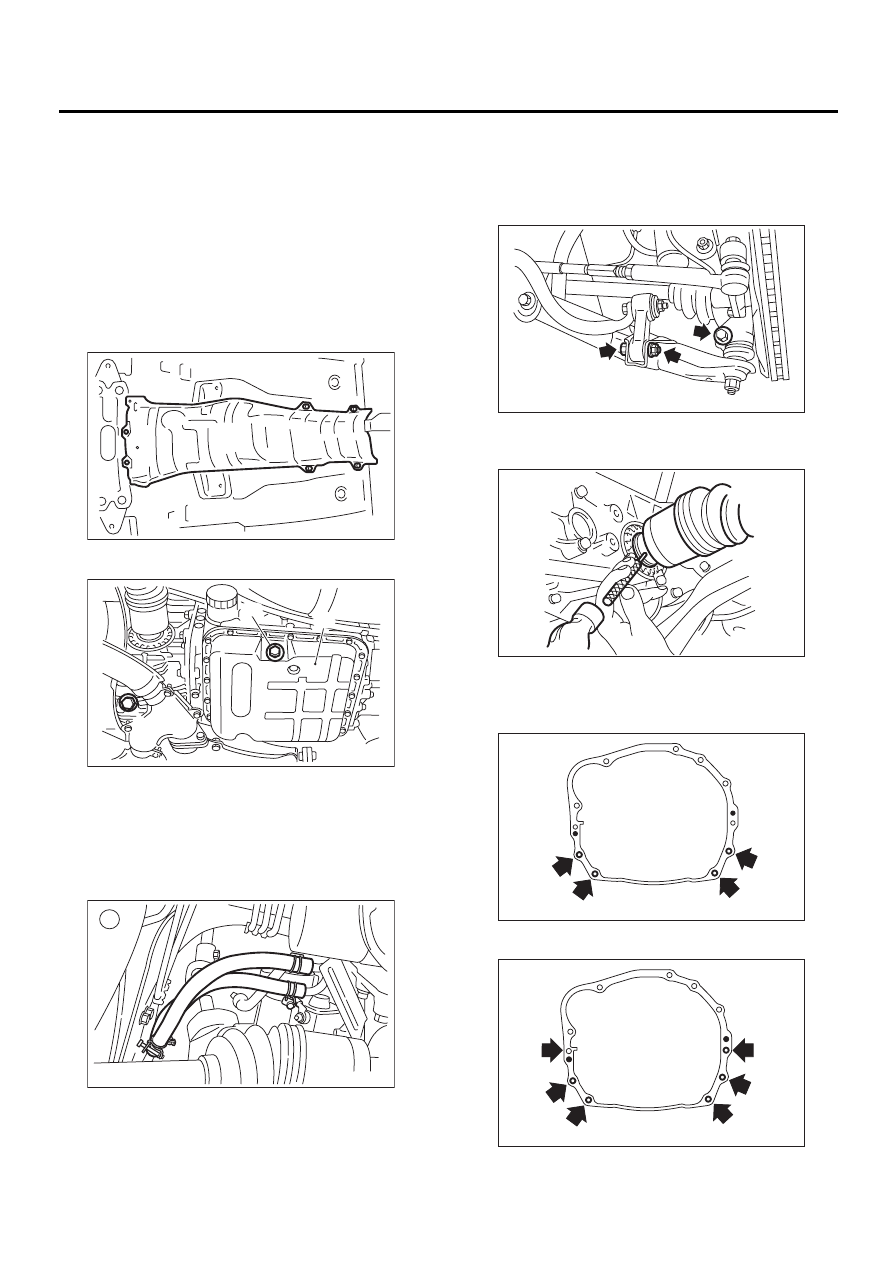
20) Remove heat shield cover.
21) Drain ATF to remove ATF drain plug.
22) Disconnect ATF cooler hoses from pipes of
transmission side, and remove ATF level gauge
guide.
23) Remove propeller shaft.
<Ref. to DS-14, REMOVAL, Propeller Shaft.>
24) Remove shift select cable. <Ref. to CS-12, RE-
MOVAL, Select Cable.>
25) Disconnect stabilizer link from transverse link.
26) Remove bolt securing ball joint of transverse
link to housing.
27) Remove spring pins and separate front drive
shafts from each side of the transmission.
28) Remove nuts which hold lower side of trans-
mission to engine.
Except 3.0 L model
3.0 L model
(A) Oil pan
(B) Drain plug
AT-00682
AT-00080
( A )
( B )
AT-00683
AT-00684
AT-00685
AT-00108
AT-00686
Нет комментариевНе стесняйтесь поделиться с нами вашим ценным мнением.
Текст