Infiniti QX56 (JA60). Manual — part 265

PREPARATION
DLK-231
< PREPARATION >
[WITH INTELLIGENT KEY SYSTEM]
C
D
E
F
G
H
I
J
L
M
A
B
DLK
N
O
P
PREPARATION
PREPARATION
Special Service Tool
INFOID:0000000005147048
The actual shapes of Kent-Moore tools may differ from those of special service tools illustrated here.
Tool number
(Kent-Moore No.)
Tool name
Description
—
(J-39570)
Chassis ear
Locating the noise
—
(J-43980)
NISSAN Squeak and Rat-
tle Kit
Repairing the cause of noise
—
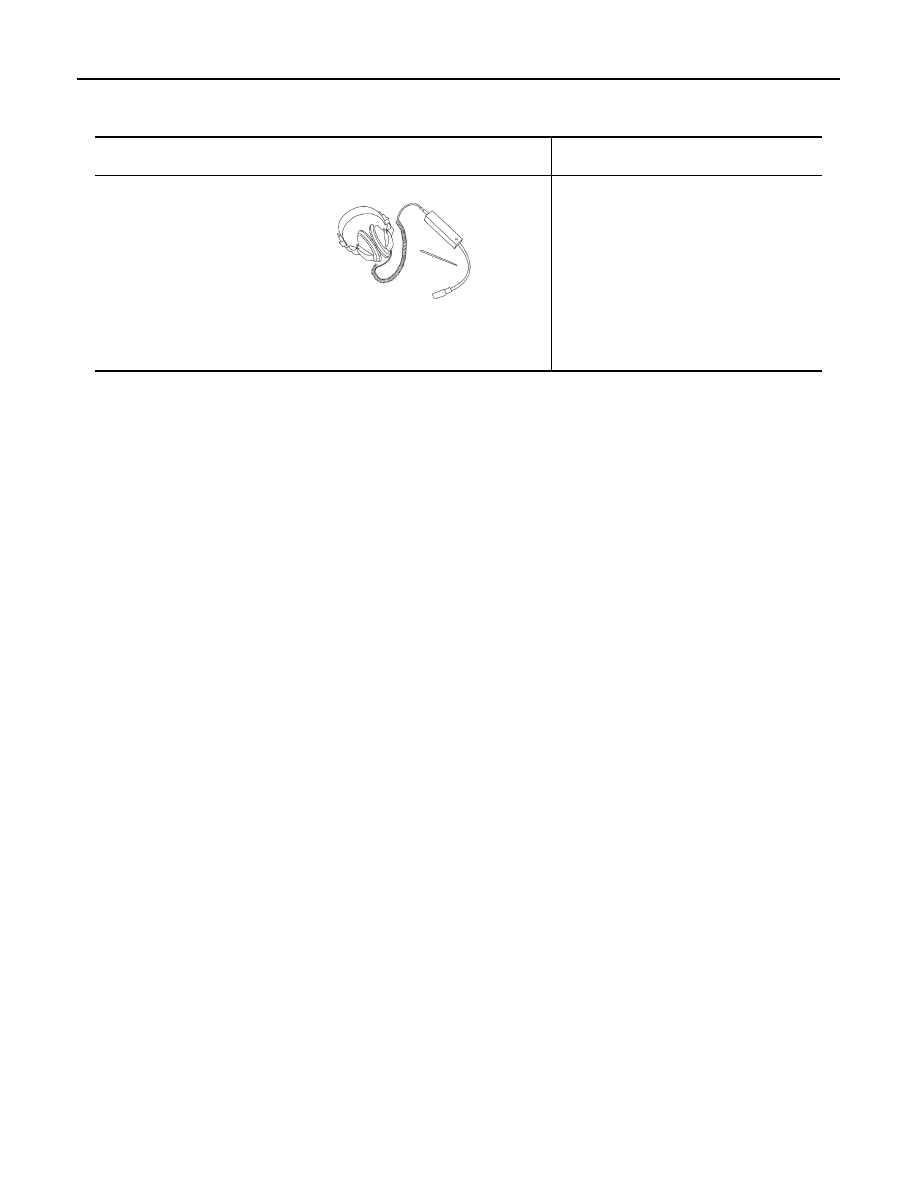
(J-43241)
Remote Keyless Entry
Tester
Used to test keyfobs
SIIA0993E
SIIA0994E
LEL946A
DLK-232
< PREPARATION >
[WITH INTELLIGENT KEY SYSTEM]
PREPARATION
Commercial Service Tool
INFOID:0000000005147049
(Kent-Moore No.)
Tool name
Description
(J-39565)
Engine ear
Locating the noise
SIIA0995E

HOOD
DLK-233
< ON-VEHICLE REPAIR >
[WITH INTELLIGENT KEY SYSTEM]
C
D
E
F
G
H
I
J
L
M
A
B
DLK
N
O
P
ON-VEHICLE REPAIR
HOOD
Fitting Adjustment
INFOID:0000000005147050
1.
Hood hinge
2.
Hood stay
3.
Hood lock assembly
4.
Hood assembly
5.
Front grille
6.
Headlamp
7.
Front fender
8.
Front bumper fascia
D.
8.0 mm (0.315 in)
E.
2.0 mm (0.079 in)
F.
8.0 mm (0.315 in)
AWKIA0674ZZ
DLK-234
< ON-VEHICLE REPAIR >
[WITH INTELLIGENT KEY SYSTEM]
HOOD
CLEARANCE AND SURFACE HEIGHT ADJUSTMENT
1. Remove the front grille. Refer to
EXT-17, "Removal and Installation"
2. Remove the hood lock assembly and adjust the height by rotating the bumper rubber until the hood clear-
ance of hood and fender becomes 1 mm (0.04 in) lower than fitting standard dimension.
3. Temporarily tighten the hood lock, and position it by engaging it with the hood striker. Check the lock and
striker for looseness, and tighten the lock mounting bolt to the specified torque.
4. Adjust the clearance and surface height of hood and fender according to the fitting standard dimension by
rotating right and left bumper rubbers.
CAUTION:
Adjust right/left gap between hood and each part to the following specification.
5. Install the front grille. Refer to
EXT-17, "Removal and Installation"
.
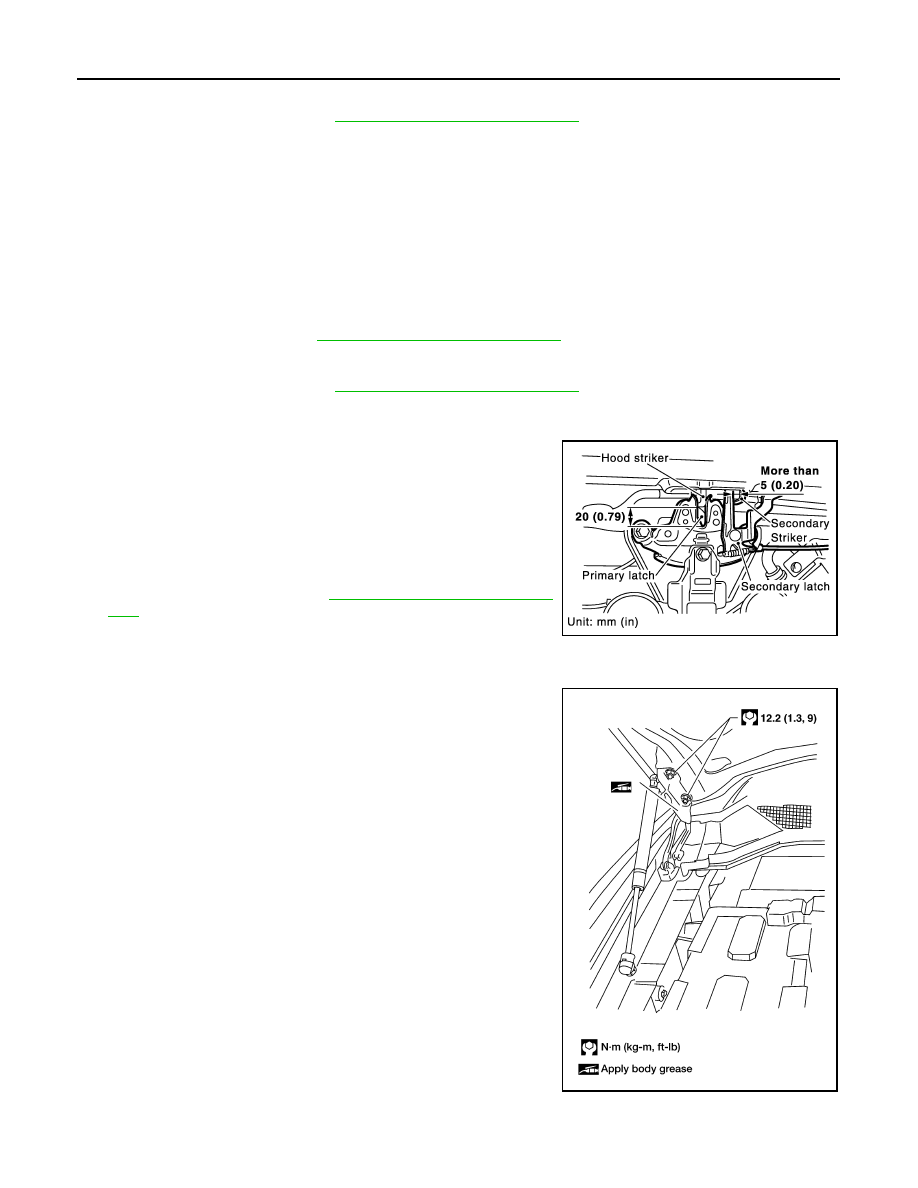
HOOD LOCK ADJUSTMENT
1. Remove the front grille. Refer to
EXT-17, "Removal and Installation"
2. Move the hood lock to the left or right so that striker center is vertically aligned with hood lock center
(when viewed from vehicle front).
3. Make sure the secondary latch is properly engaged with the sec-
ondary striker with hood's own weight by dropping it from
approx. 200 mm (7.87 in) height or by pressing it lightly approx.
3 kg (29 N, 7lb).
CAUTION:
Do not drop the hood from 300 mm (11.81 in) height or
higher.
4. After adjusting hood lock, tighten the lock bolts.
5. Install the front grille. Refer to
EXT-17, "Removal and Installa-
Removal and Installation of Hood Assembly
INFOID:0000000005147051
1. Support the hood striker with proper material to prevent it from
falling.
WARNING:
Body injury may occur if no supporting rod is holding the
hood open when removing the damper stay.
2. Remove the hinge nuts from the hood to remove the hood
assembly.
CAUTION:
Operate with two workers, because of its heavy weight.
Installation is in the reverse order of removal.
Hood and headlamp (B–B)
: 2.0 mm or less
PIIA3806E
LIIA1443E
Нет комментариевНе стесняйтесь поделиться с нами вашим ценным мнением.
Текст