Mazda Training manual — part 45
Using IDS
Curriculum Training
02-17
•
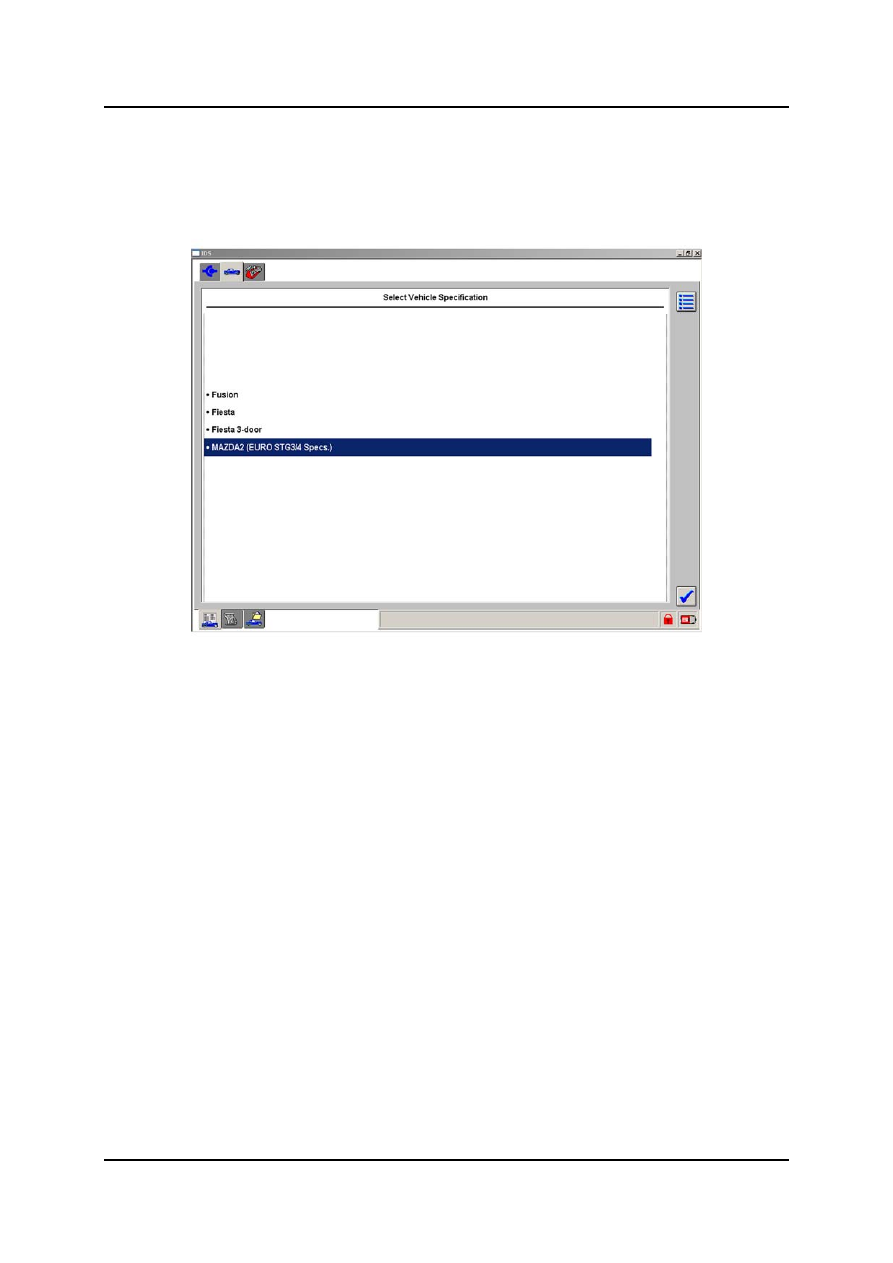
After establishing communication with the vehicle’s PCM, IDS might ask the user to
select a vehicle specification on certain vehicles. Left-click the correct specification and
click the tick symbol on the lower right corner of the screen to continue.
NOTE: In case of connectivity problems, re-boot the VCM.
L1001.2_019
Select Vehicle Specification Screen

Using
IDS
02-18 Curriculum
Training
•
At the end of the identification process the vehicle specification is displayed for
confirmation.
•
If the information on the screen is correct, press the YES button to continue.
•
If the information on the screen is incorrect, press the NO button and follow the on-
screen instructions as IDS tries to determine the appropriate course of action. If
communication cannot be established after several tries (during which IDS is checking
the network circuits, the PCM power supply and the PCM itself), the IDS allows the user
to establish communication via the function “Manual Vehicle Entry”.
L1001.2_020
Vehicle Specification Screen
Using IDS
Curriculum Training
02-19
•
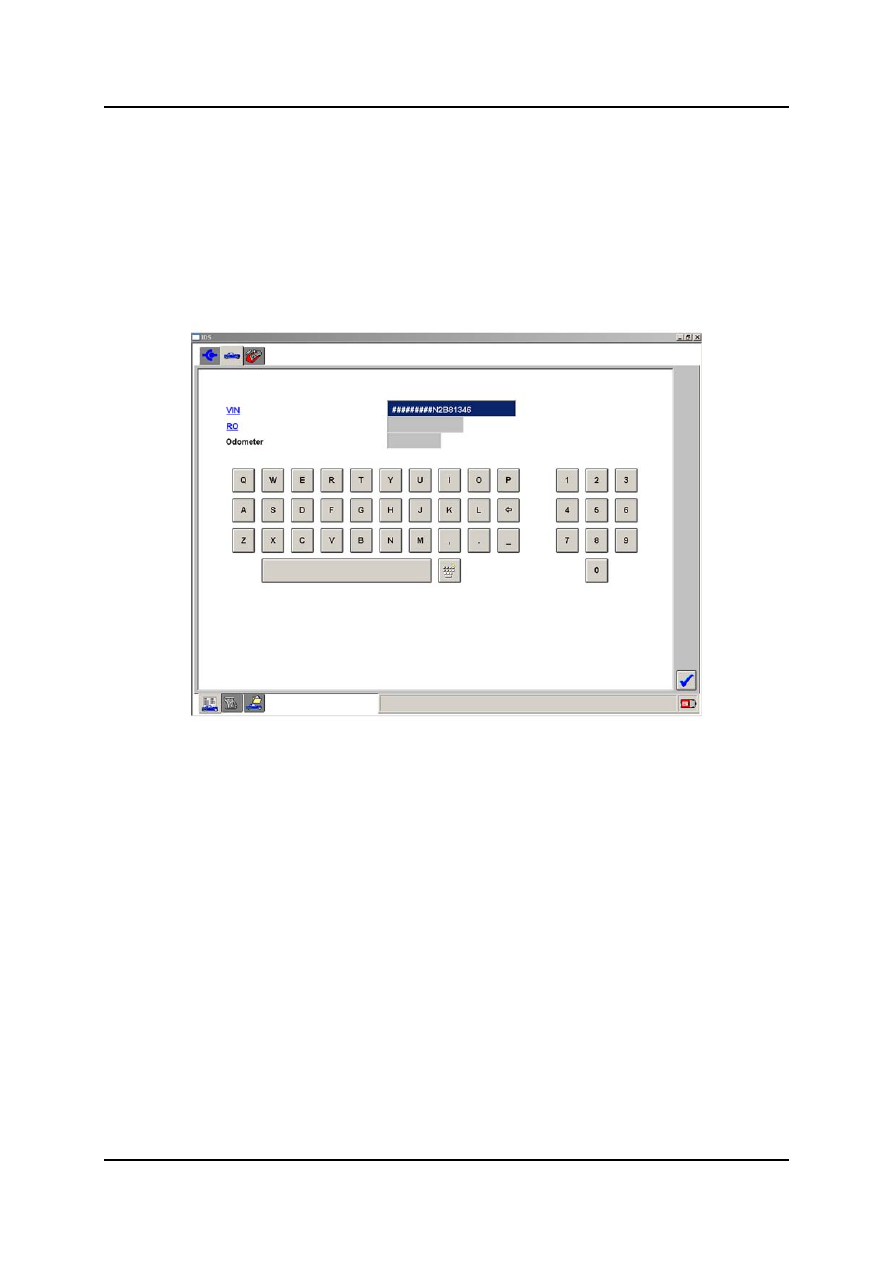
The next screen allows to enter the last 8 characters of the VIN (if all 17 were not already
confirmed previously). This field might become pre-filled with partial VIN data if available
from the PCM. Additionally, the repair order number and the odometer reading may be
entered. All the fields on the screen are optional and are used to aid in the later retrieval
of the session from the previous sessions list.
•
All these data are just for identification of the session and are not stored in the vehicle's
PCM.
NOTE: The repair order screen can be disabled in the User Preferences menu.
L1001.2_021
Repair Order Screen
NOTE: On some vehicles the IDS conducts the network test (refer to the section “Tools”)
after confirmation of the vehicle specification, i.e. the integrity of the vehicle network
communications is checked and the Continuous Memory DTCs (Diagnostic Trouble
Code) are retrieved for later use. The results of the network test can be viewed in the
log viewer.
Using
IDS
02-20 Curriculum
Training
Log Viewer
•
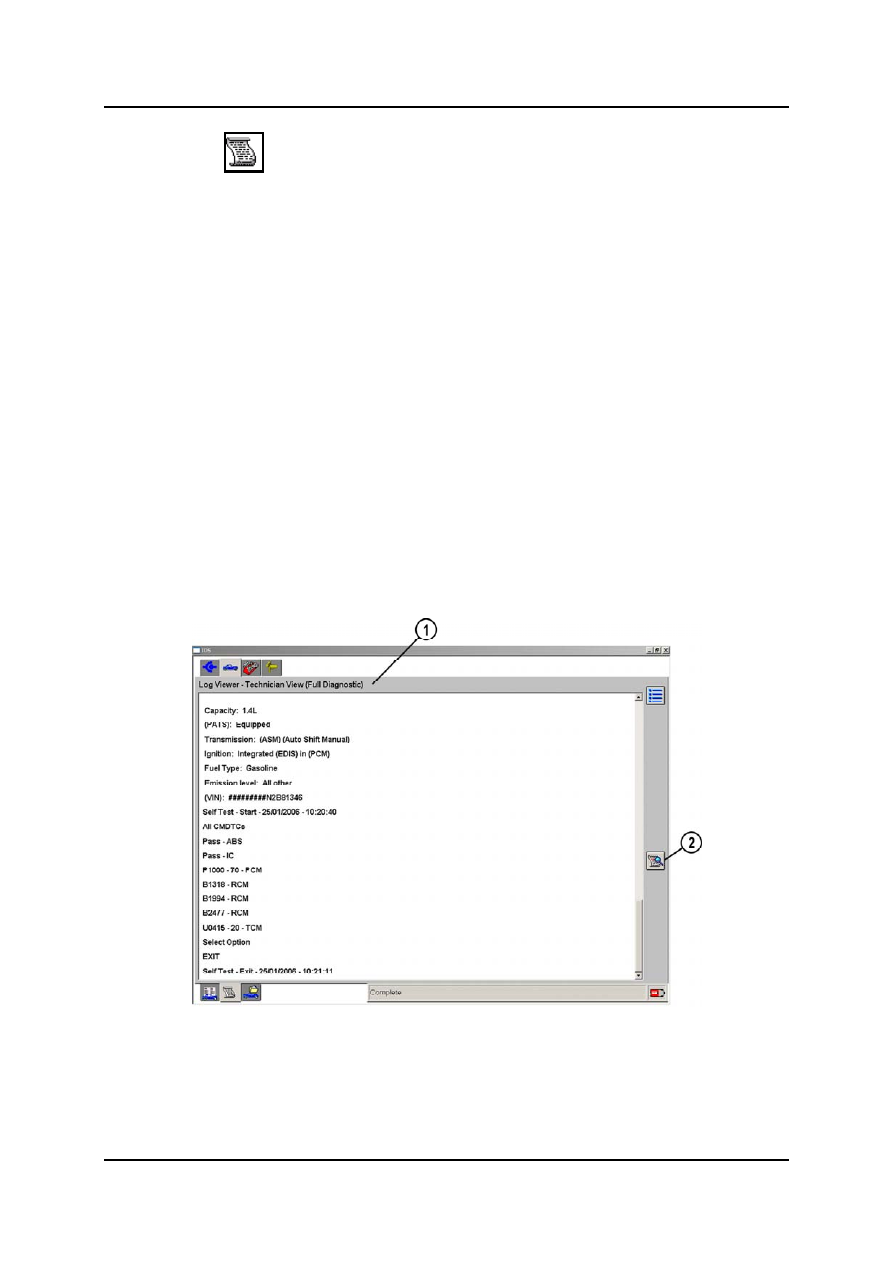
The sub-menu “Log Viewer” enables the user to call up a file of relevant information
collected during the diagnostic session.
The following information gets logged to this file:
–
Timestamp (date and time entered periodically)
–
Session (information gathered during the vehicle identification process)
–
User interaction (selections made or answers provided by the user)
–
Test results (measurements made during the various diagnostics checks)
–
Fault reports (any components indicated by a pinpoint test)
•
The quantity of information displayed is preselected in the user settings. However, it can
be changed at any time using the Select Item Type button. The following options are
available:
–
Technician view (Full Diagnostics)
–
Technician view (After Fault)
–
Freeze frame data
–
Long term fuel trim table
–
Complete view
L1001.2_022
1
Select Item Type
2
Selected View
Нет комментариевНе стесняйтесь поделиться с нами вашим ценным мнением.
Текст