Mazda Training manual — part 207
TC001-18-01H
INTRODUCTION TO M-MDS
09 - Removing PFM & PDS from Laptop
Activity 09- Page 5
Activity 09
(Continued)
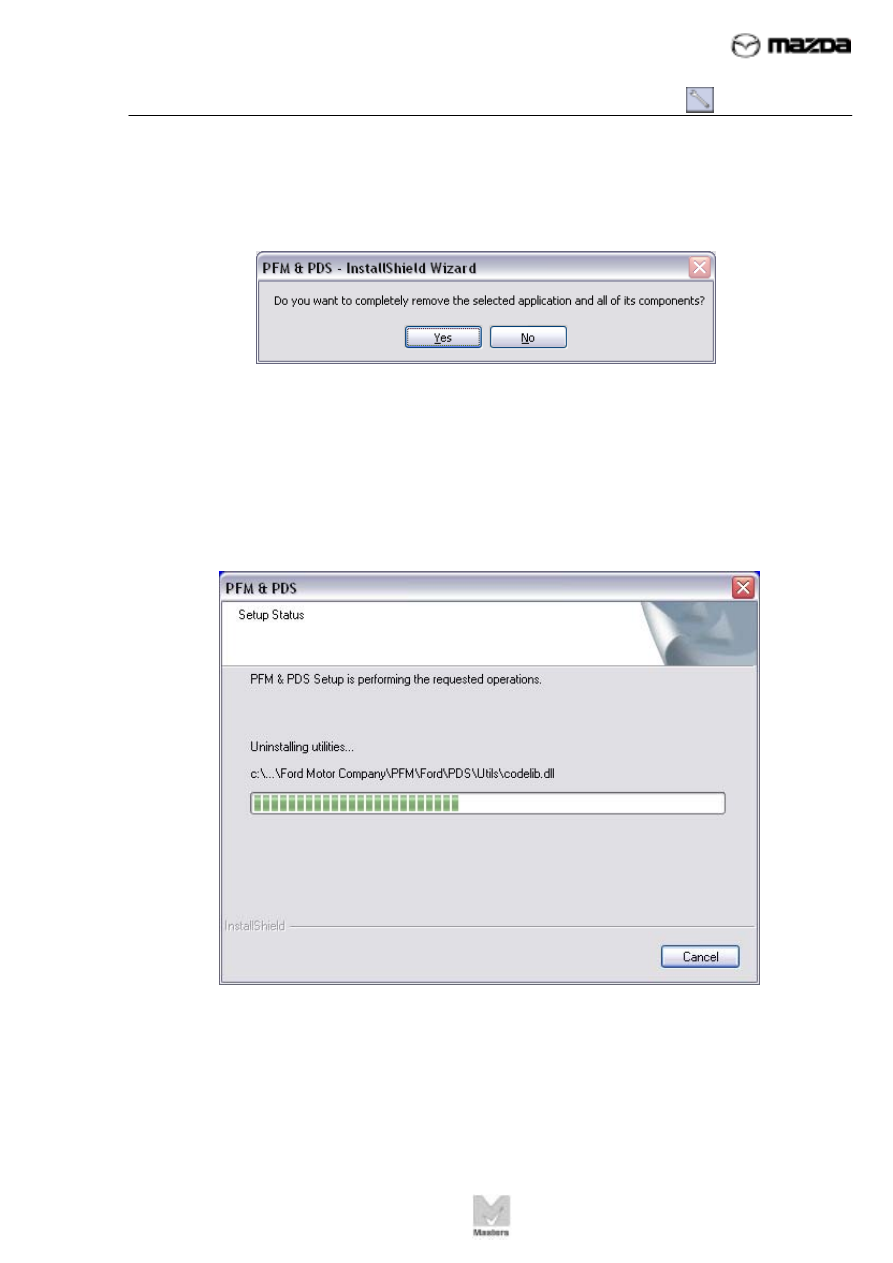
7. Click Yes.
8. This window indicates the progress of the requested operation, removing
PFM & PDS.

TC001-18-01H
INTRODUCTION TO M-MDS
09 - Removing PFM & PDS from Laptop
Activity 09- Page 6
Activity 09
(Continued)
9. Click
Finish.
10. If the VCM CD window is open click Exit in the lower left corner.

TC001-18-01H
INTRODUCTION TO M-MDS
09 - Removing PFM & PDS from Laptop
Activity 09- Page 7
Activity 09
(Continued)
11. Close the open windows on the desktop by clicking the
X
in the upper right
corner of each window.
PFM & PDS is now removed from your laptop or PC.
Conclusion:
In this activity, you removed PFM & PDS from your laptop or PC.
Instructor Sign-off: ____________________________________

TC001-18-01H
INTRODUCTION TO M-MDS
10 - Removing Microsoft ActiveSync
Activity 10- Page 1
Activity 10: Removing Microsoft ActiveSync
Upon completing this activity you will be able to remove Microsoft ActiveSync from
your host laptop or PC.
What you need to complete this activity:
•
Mazda-approved laptop or PC with ActiveSync installed
•
Ask your Instructor to log in to the PC before you begin this activity
Procedure:
NOTES
You will need to remove ActiveSync only if you are replacing or changing
the PDA.
To do this activity, you must have Administrator rights to install and
remove software from the laptop or PC.
1. Click Start, then click Control Panel.
Нет комментариевНе стесняйтесь поделиться с нами вашим ценным мнением.
Текст