Mazda Training manual — part 187
TC001-18-01H
INTRODUCTION TO M-MDS
02 - Installing PFM & PDS
Activity 02- Page 13
Activity 02
(Continued)
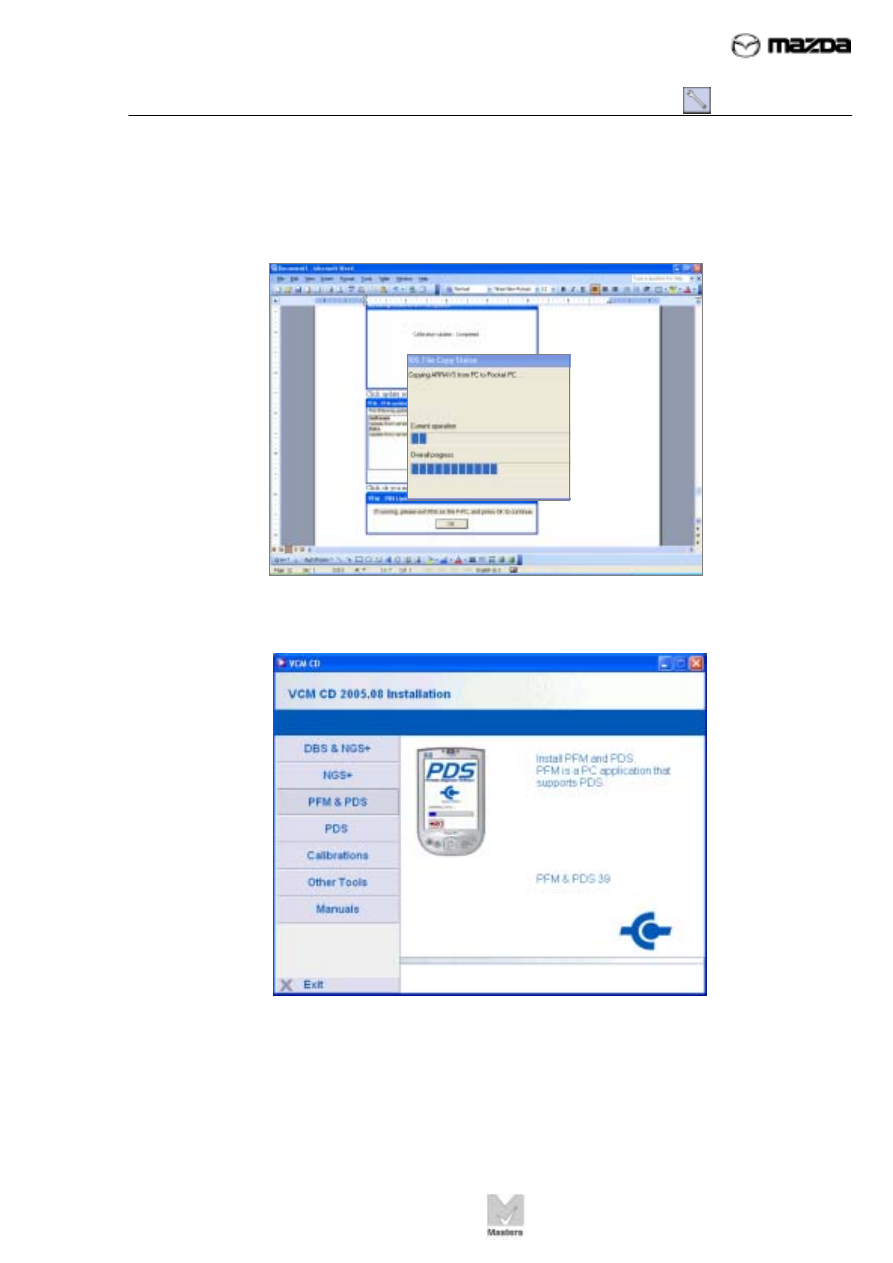
25. This will take a few minutes.
26. Click
Exit in the lower left corner to close this window.
27. Remove the VCM CD and store it in a safe place.
28. If the VCM has been updated already, you can end this activity here.

TC001-18-01H
INTRODUCTION TO M-MDS
02 - Installing PFM & PDS
Activity 02- Page 14
Activity 02
(Continued)
NOTE
If you are installing PDS for a new VCM (i.e., the VCM has not been used
before), you must perform the following steps to update the VCM.
29. Connect the M-MDS data cable to DLC 2 under the dash. The PDA will turn on
automatically.
Three USB pop-up messages quickly flash on and off the PDA. You may
not see the first two messages:
NOTE
When installing the PDS
and VCM into the carrying
case, make sure the LEDS
are visible from the back
side of the case.
USB message 2
USB message 1

TC001-18-01H
INTRODUCTION TO M-MDS
02 - Installing PFM & PDS
Activity 02- Page 15
USB message 3
Activity 02
(Continued)
The third message, “Status:
User Authenticated,” is the
most important message.
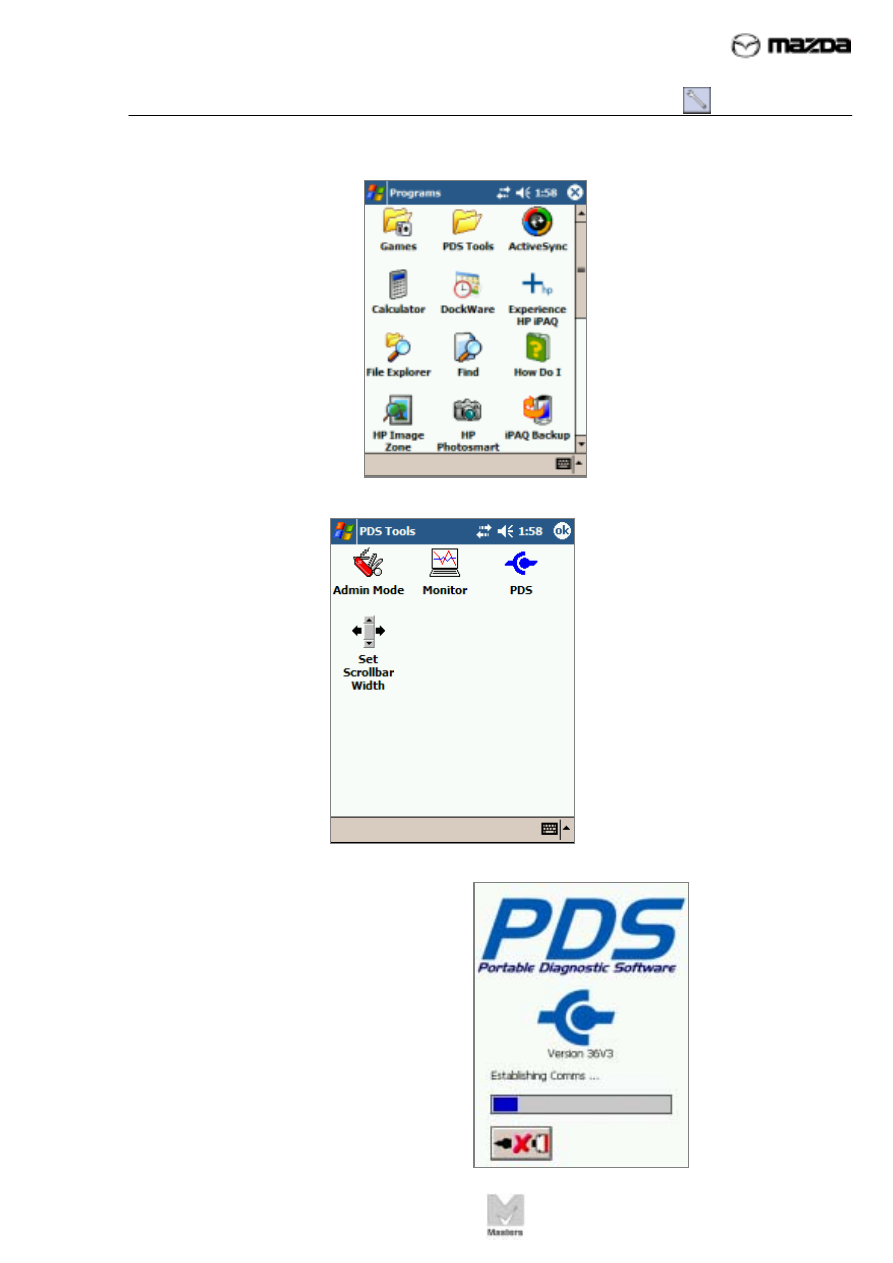
30. Tap
Start on the main screen.
31. Tap
Programs.
TC001-18-01H
INTRODUCTION TO M-MDS
02 - Installing PFM & PDS
Activity 02- Page 16
Activity 02
(Continued)
32. Tap
PDS Tools.
33. Tap
PDS
34. The PDS Establishing
Communications screen flashes
on then off. This screen indicates
the PDA is connecting to the
VCM via the USB network.
Нет комментариевНе стесняйтесь поделиться с нами вашим ценным мнением.
Текст