Mazda Training manual — part 60

M-MDS Introduction
•
PDS Soft Case
–
This soft case can be used to carry the optional available Pocket PC and the VCM.
L1001.2_007
•
PDS USB Master Host Adapter
–
The VCM and the designated Pocket PC can be connected using an off-the-shelf
USB sync cable or USB/Serial autosync cable with this adapter.
L1001.2_008
Curriculum Training
00-7
Introduction M-MDS
Optional M-MDS Accessory
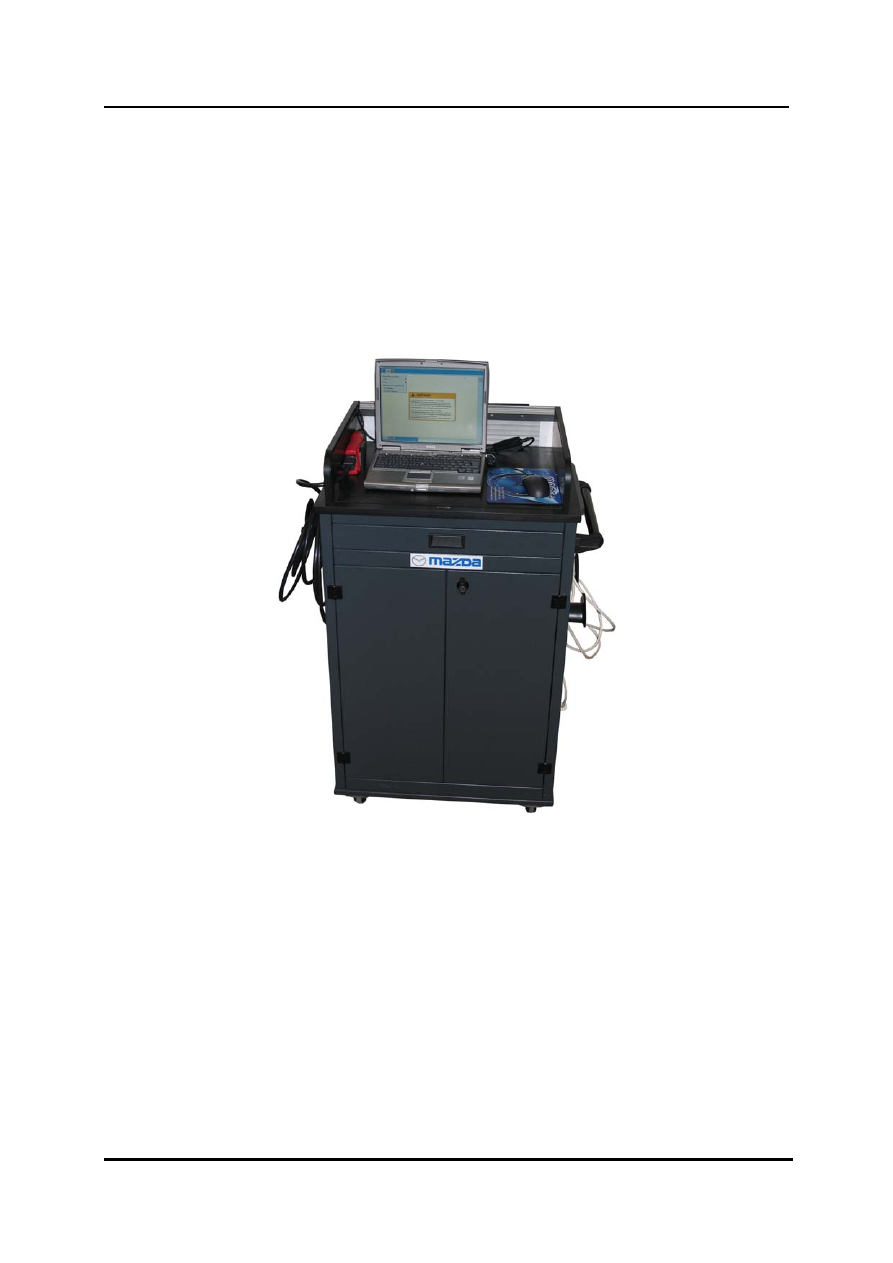
M-MDS Cart
•
The optional wheeled cart accommodates all the system components and allows flexible
use of the M-MDS laptop in different working locations. It comprises a retractable desk
and a VCM holding space.
•
In addition to that, the dedicated M-MDS cart is the right way to store and protect the
M-MDS when not in use. The laptop PC case and the lower cabinet can be locked by
key.
L1001.2_009
00-8 Curriculum
Training
IDS Installation
Curriculum Training
01-1
Setting up M-MDS
•
The following pages will enable you to build a fully operational M-MDS diagnostic
computer from the M-MDS Kit and a locally supplied laptop computer.
Installing IDS Software on the Laptop Computer
•
In this step the software will be installed on the laptop PC.
–
insert IDS DVD
–
select "IDS" from installation menue
–
select set-up language
–
click NEXT
–
accept license agreement (tick) and click NEXT
–
confirm information about firewall characteristics (tick) and click NEXT
–
accept (recommended) or change the proposed installation location on your hard
drive and click NEXT
–
click INSTALL (this will take a few minutes)
–
when the installation process is completed you will be asked to remove the IDS DVD
from the DVD drive
–
click FINISH
–
restart your computer
Installation IDS
01-2 Curriculum
Training
Installing Calibration Files
•
In this step the calibration files needed for module programming will be installed on the
laptop PC.
–
insert IDS DVD again
–
select "Calibrations" from installation menue
–
click NEXT
–
accept license agreement (tick) and click NEXT
–
accept (recommended) or change the proposed installation location on your hard
drive and click NEXT
–
click INSTALL (this will take a few minutes)
–
click FINISH
–
click EXIT
–
remove the IDS DVD from the DVD drive
Нет комментариевНе стесняйтесь поделиться с нами вашим ценным мнением.
Текст