Defender. Manual — part 79
Engine - 2.4L Duratorq-TDCi HPCR (103kW/140PS) - Puma - Camshafts
In-vehicle Repair
Special Tool(s)
Timing tool, crankshaft
303-698
Removal
All vehicles
1.
WARNING: Do not work on or under a vehicle
supported only by a jack. Always support the vehicle on safety
stands.
Raise and support the vehicle.
2. Disconnect the battery ground cable.
For additional information, refer to:
Battery Disconnect and
Connect
(414-01 Battery, Mounting and Cables, General
Procedures).
3. Remove the valve cover.
For additional information, refer to:
Valve Cover
(303-01
Engine - 2.4L Duratorq-TDCi HPCR (103kW/140PS) - Puma,
In-vehicle Repair).
4. Remove the timing cover.
For additional information, refer to:
Timing Cover
(303-01
Engine - 2.4L Duratorq-TDCi HPCR (103kW/140PS) - Puma,
In-vehicle Repair).
5. Remove the generator.
For additional information, refer to:
Generator
(414-02
Generator and Regulator - 2.4L Duratorq-TDCi HPCR
(103kW/140PS) - Puma, Removal and Installation).
6. Remove the crankshaft position (CKP) sensor.
For additional information, refer to:
Crankshaft Position (CKP)
Sensor
(303-14 Electronic Engine Controls - 2.4L Duratorq-
TDCi HPCR (103kW/140PS) - Puma, Removal and
Installation).
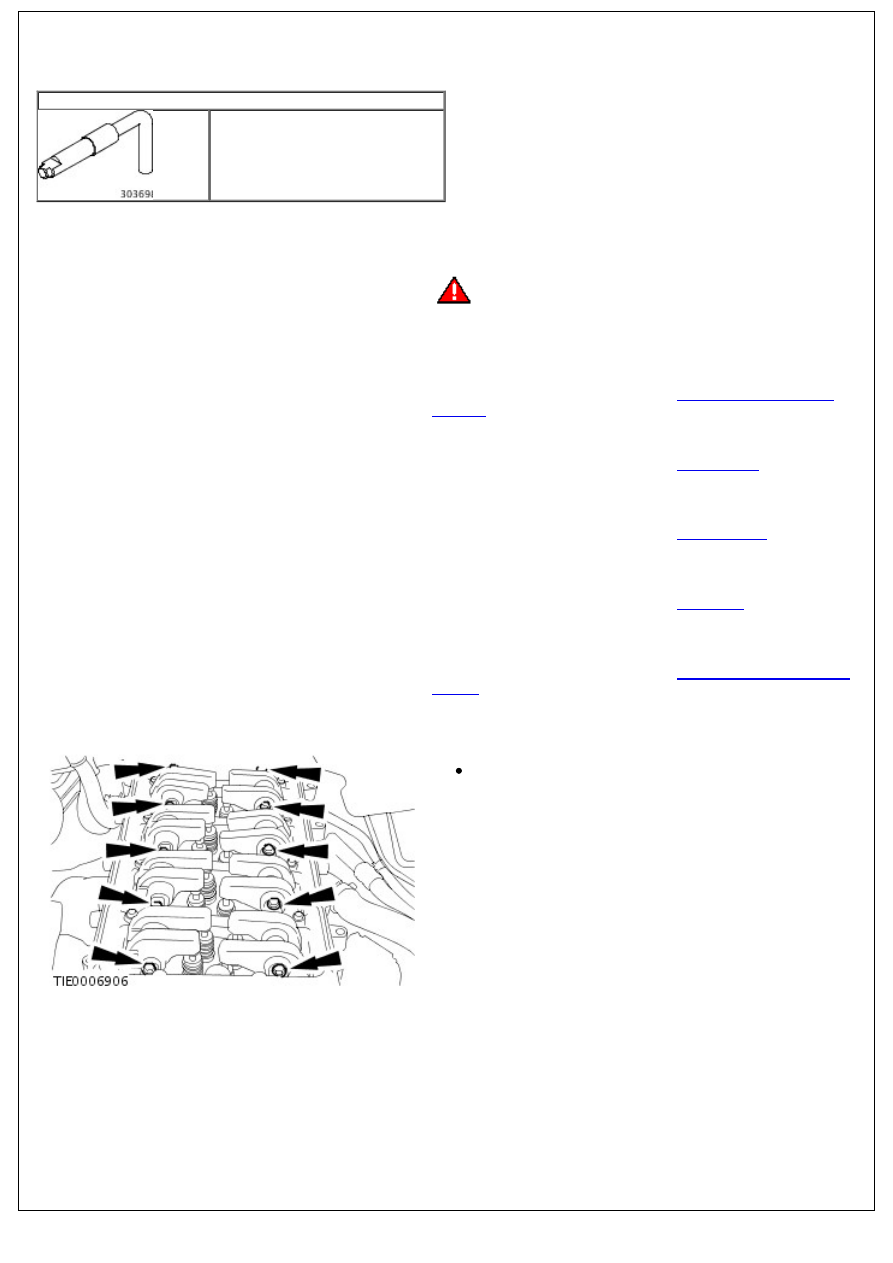
7. Remove the 2 rocker shafts.
Remove and discard the 10 bolts.
8. Loosen the 6 camshaft sprocket bolts.
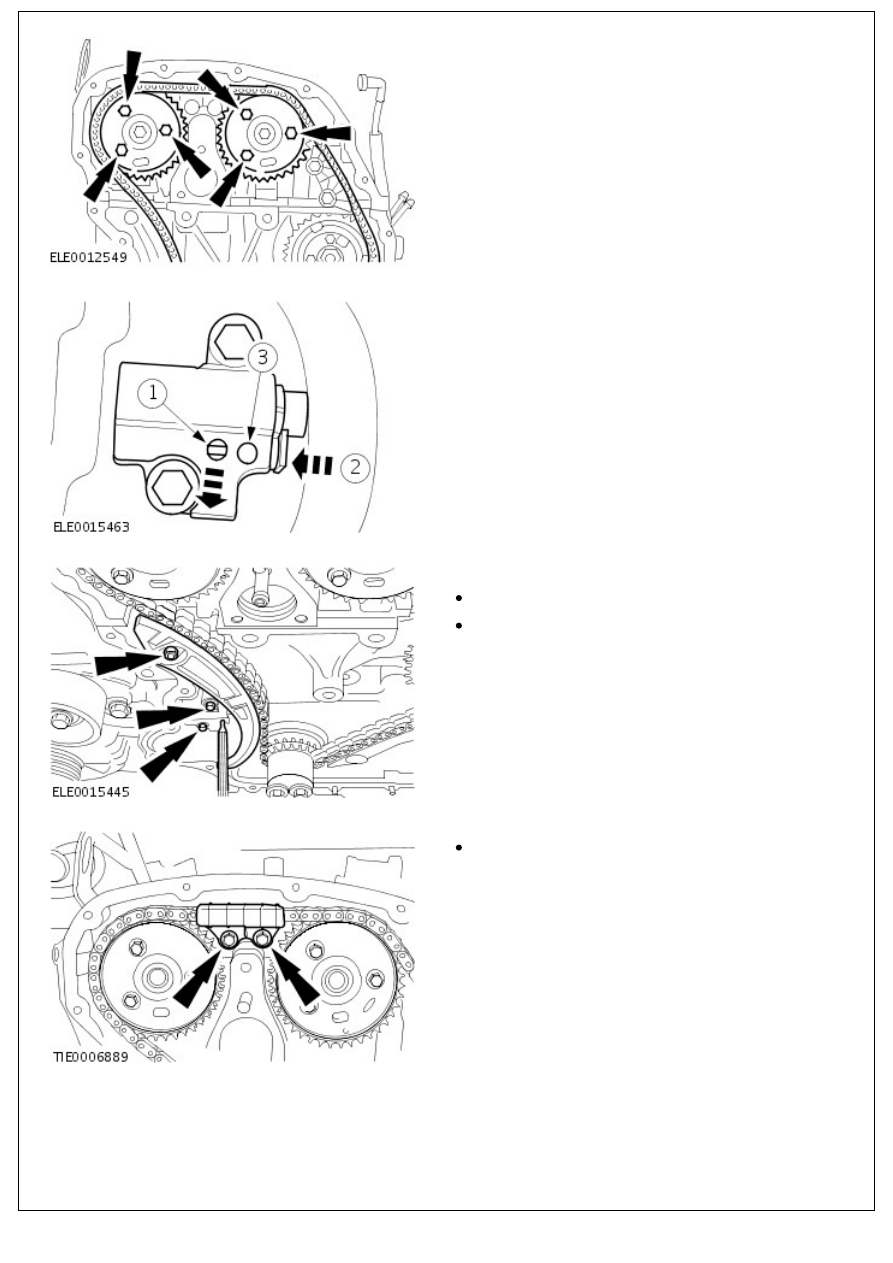
8. Loosen the 6 camshaft sprocket bolts.
9. Detension and lock the timing chain tensioner.
1. Retract the pawl.
2. Push the lock in.
3. Insert a suitable pin.
10. Remove the timing chain tensioner and the RH timing
chain guide.
Remove the 2 bolts.
Remove the nut.
11. Remove the upper timing chain guide.
Remove the 2 bolts.
12. Remove the camshaft sprockets and the timing chain.
12. Remove the camshaft sprockets and the timing chain.
Remove the 6 bolts.
Vehicles with air conditioning
13. Remove the air conditioning compressor.
For additional information, refer to:
Air Conditioning (A/C)
Compressor
(412-03 Air Conditioning - 2.4L Duratorq-TDCi
HPCR (103kW/140PS) - Puma, Removal and Installation).
All vehicles
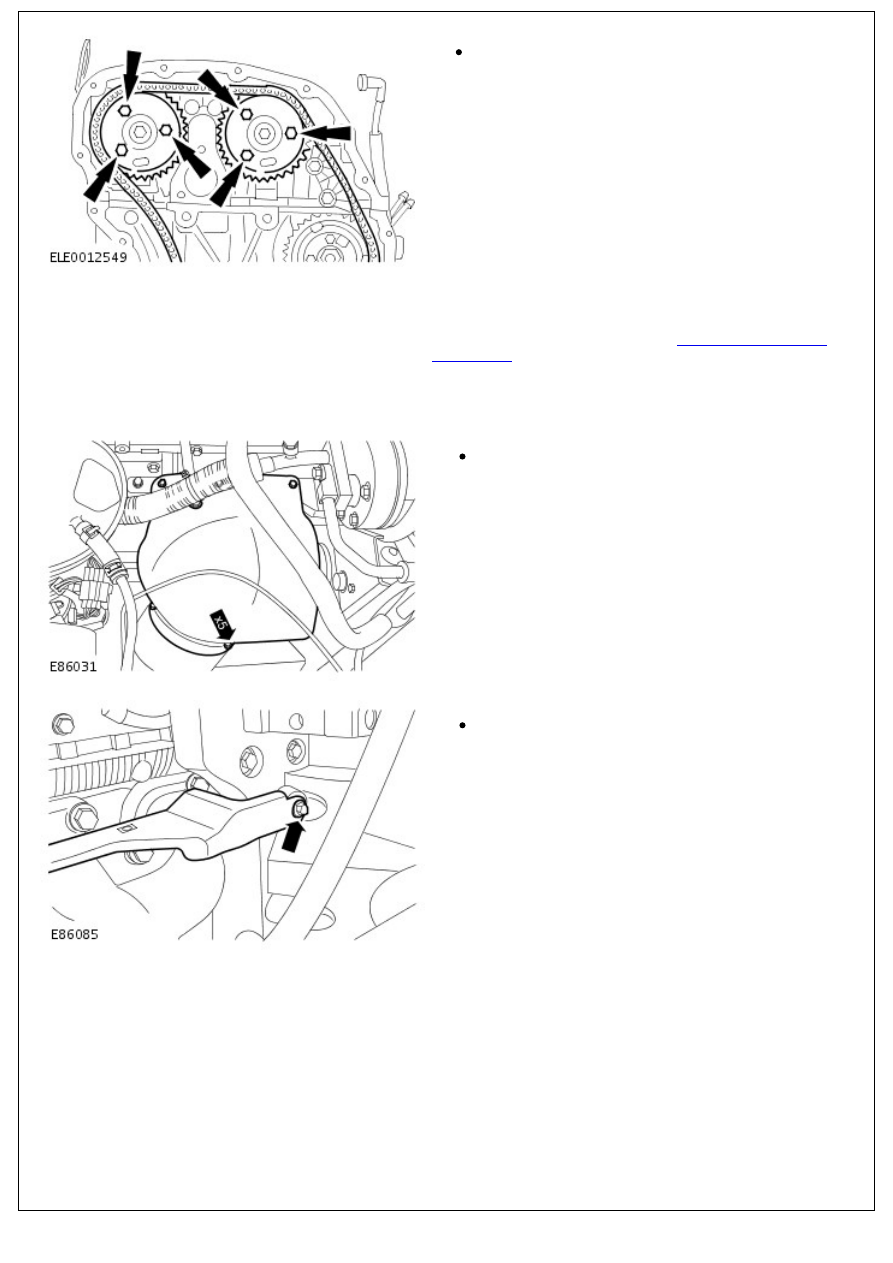
14. Remove the turbocharger heatshield.
Remove the 5 bolts.
15. Release the turbocharger heat shield bracket.
Remove the bolt.
16. Remove the turbocharger heat shield bracket.
16. Remove the turbocharger heat shield bracket.
Remove the bolt.
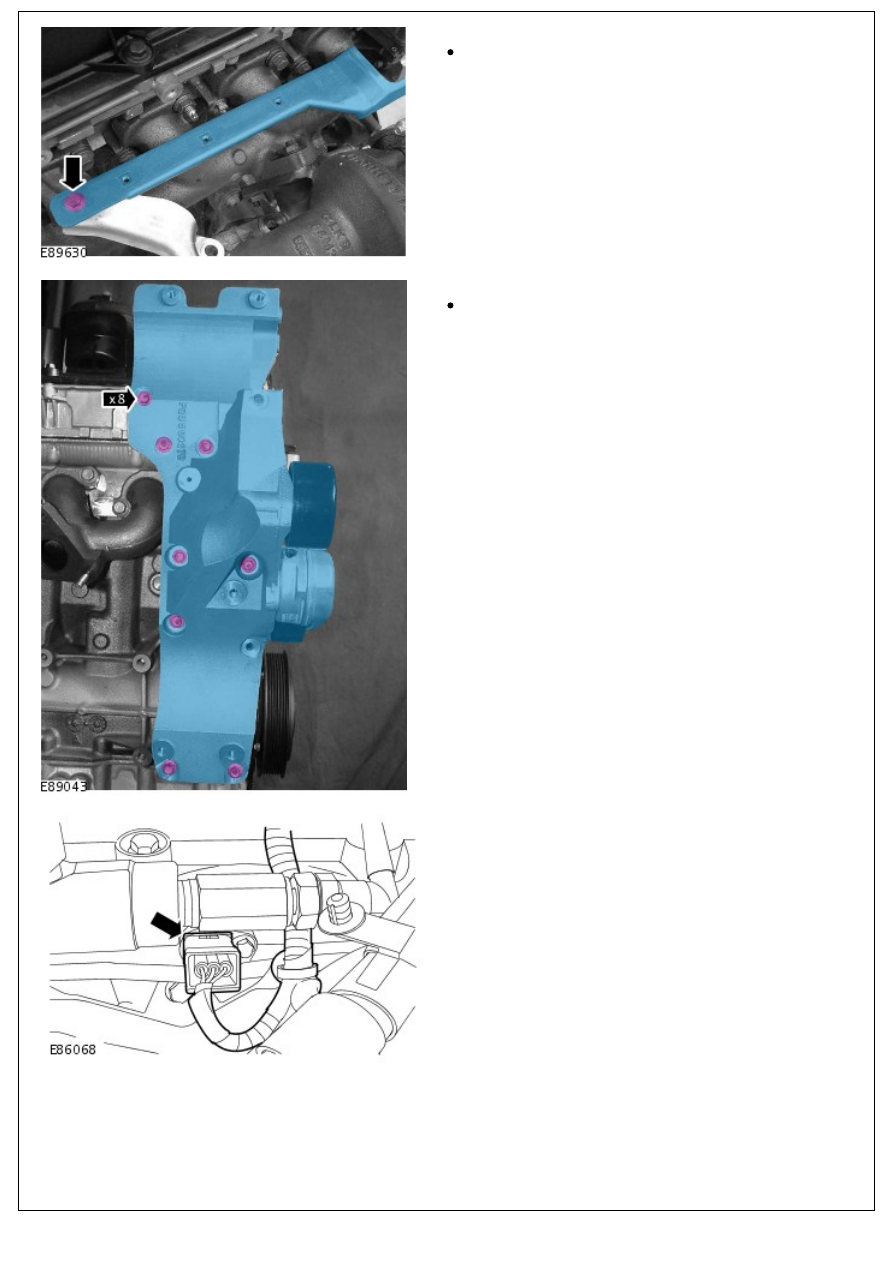
17. Remove the generator mounting bracket.
Remove the 8 bolts.
18. Disconnect the camshaft position (CMP) sensor.
19. Release the engine wiring harness.
Нет комментариевНе стесняйтесь поделиться с нами вашим ценным мнением.
Текст