Frelander 2. Manual — part 610
Bumpers - Front Bumper
Removal and Installation
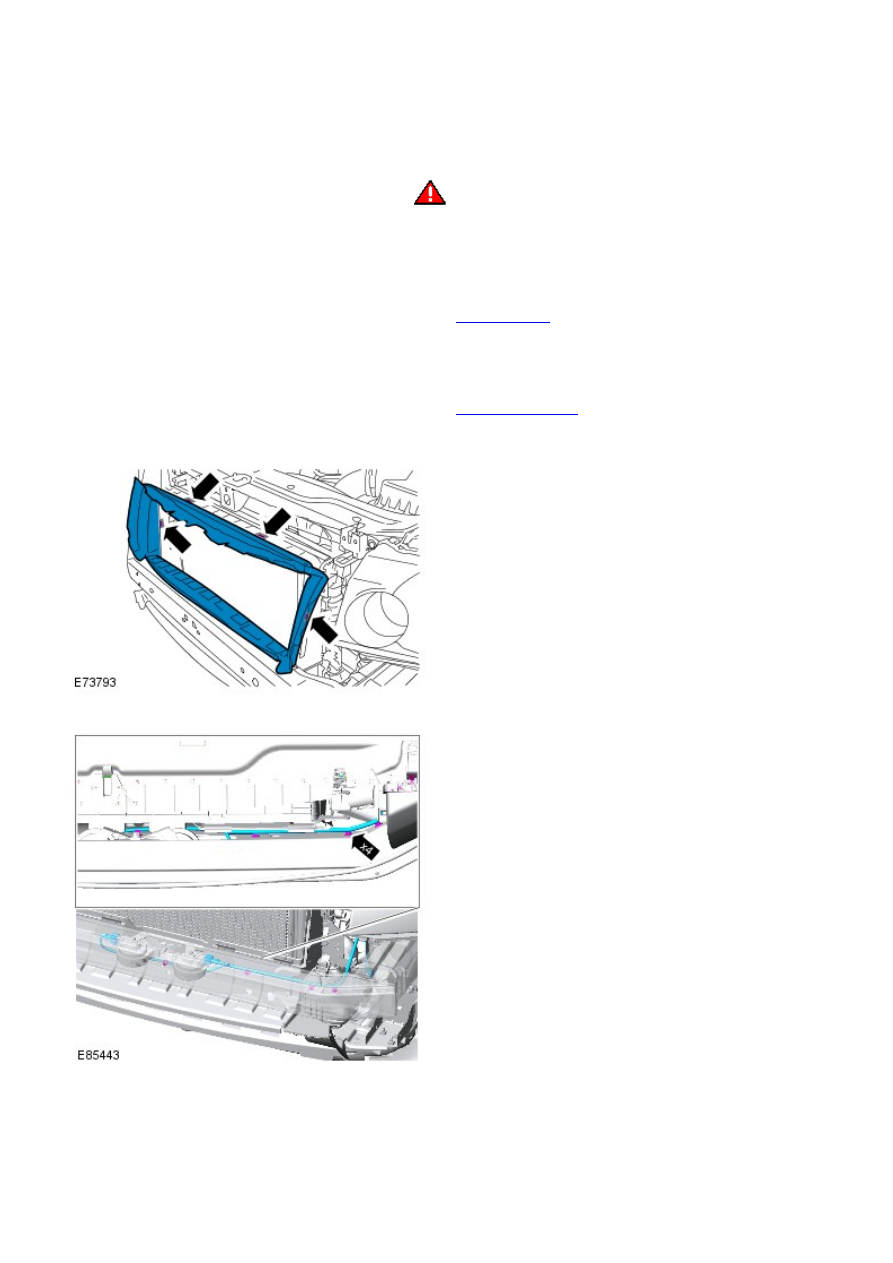
Removal
1.
WARNING: Do not work on or under a vehicle supported only
by a jack. Always support the vehicle on safety stands.
Raise and support the vehicle.
1.
Remove the front wheels and tires.
Refer to:
Wheel and Tire
(204-04 W heels and Tires, Removal and
Installation).
2.
Remove the front bumper cover.
Refer to:
Front Bumper Cover
(501-19 Bumpers, Removal and
Installation).
3.
4.
5.
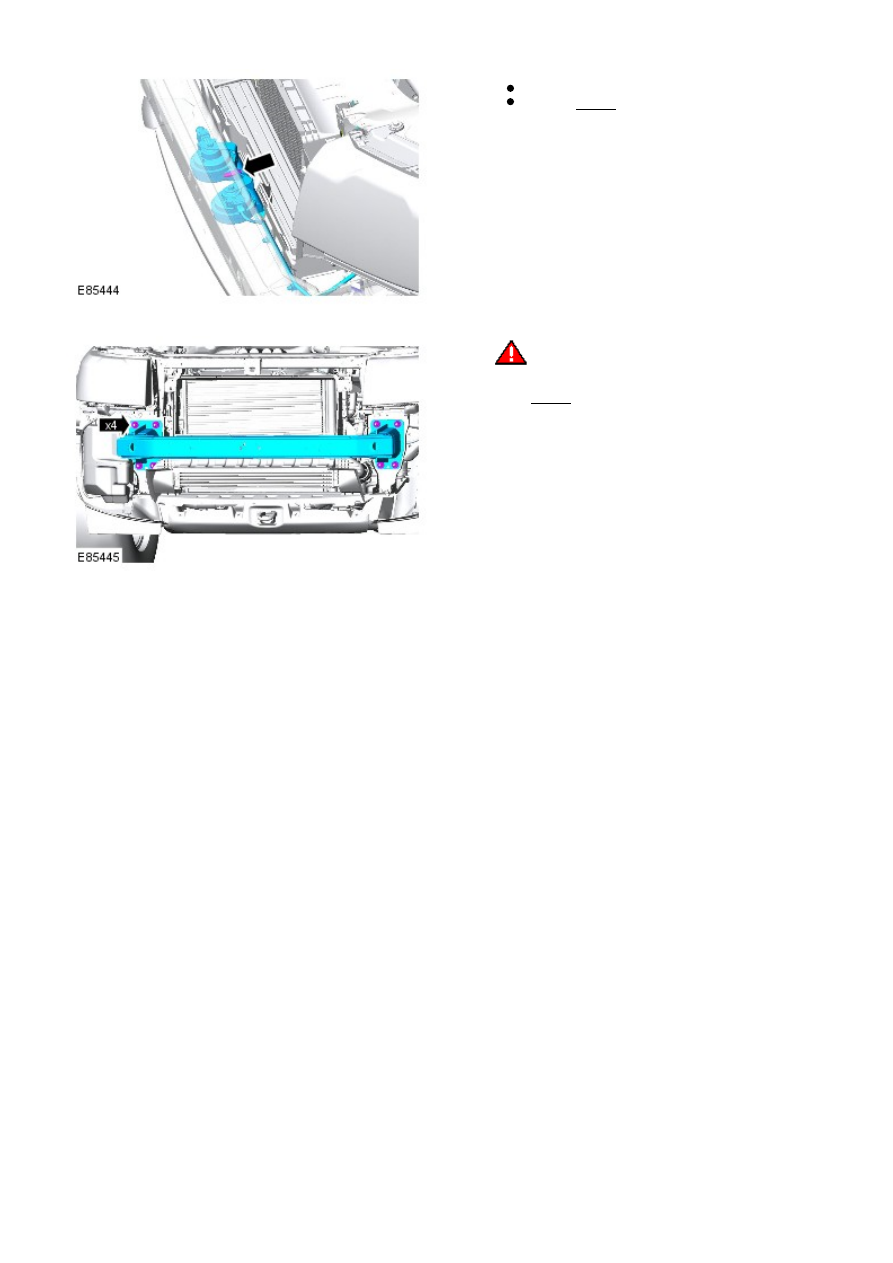
Tie the horns aside.
Torque: 25 Nm
6.
7.
WARNING: This step requires the aid of
another technician.
Torque: 48 Nm
7.
Installation
To install, reverse the removal procedure.
1.

Bumpers - Rear Bumper Cover
Removal and Installation
Removal
• NOTE: New bumper covers are supplied without the four holes for the park distance control sensors.
1.
WARNING: Do not work on or under a vehicle supported only
by a jack. Always support the vehicle on safety stands.
Raise and support the vehicle.
1.
Remove both rear wheels and tires.
Refer to:
Wheel and Tire
(204-04 W heels and Tires, Removal and
Installation).
2.
Remove the rear lamp assemblies.
Refer to:
Rear Lamp Assembly
(417-01 Exterior Lighting, Removal
and Installation).
3.
4.
5.
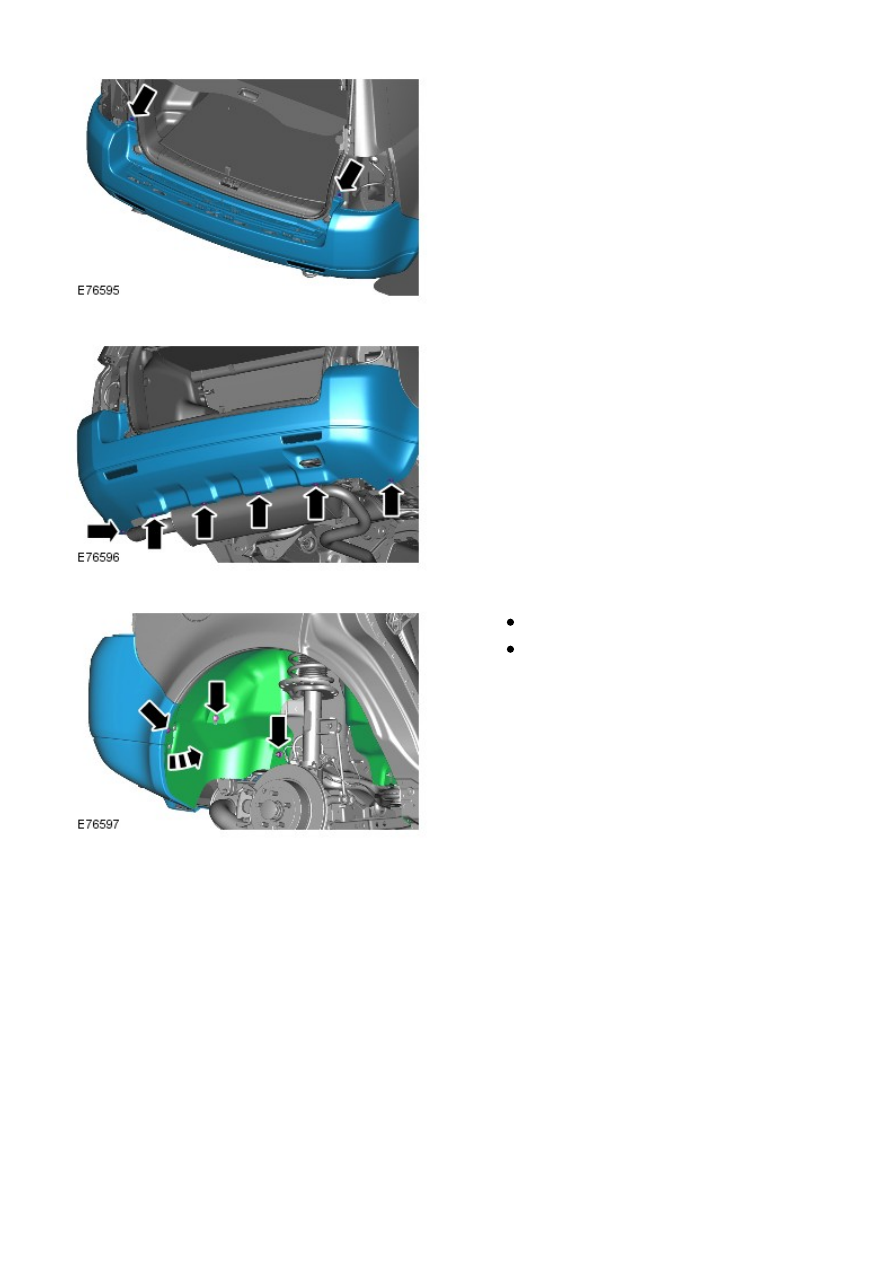
6.
7.
Release the rear lower edge of the rear fender
splash shield.
Repeat the above procedure for the other side.
8.
Нет комментариевНе стесняйтесь поделиться с нами вашим ценным мнением.
Текст