Frelander 2. Manual — part 61

Position the wheel knuckle assembly in a press
and support on special tool.
Special Tool(s):
205-726
Press the drive flange into the wheel knuckle
assembly using special tool.
Special Tool(s):
205-725
3.
4.
WARNING: Do not use compressed air to clean brake
components. Dust from friction materials can be harmful if inhaled.
Clean the backing plate and apply grease to the brake shoe
contacts.
4.
Clean the adjuster and set it to its minimum extension.
5.
Install the secondary brake shoe.
Install the hold-down spring and retaining pin.
6.
7.
WARNING: Make sure the return spring and the adjuster
spring are correctly installed to the primary shoe.
CAUTION: Make sure the brake shoe spring is not over
stretched.
Install the spreader plate and the spring.
Install the primary brake shoe.
Install the return spring.
Install the hold-down spring and retaining pin.
7.
8.
CAUTION: Make sure the brake shoe spring is not over
stretched.
Install the brake shoe adjuster.
8.
Install the wheel knuckle.
Refer to:
Wheel Knuckle
(204-02 Rear Suspension, Removal and
Installation).
9.
Adjust the parking brake.
Refer to:
Parking Brake Cable Adjustment
(206-05 Parking Brake and
Actuation, General Procedures).
10.
Install the wheel and tire.
Refer to:
Wheel and Tire
(204-04 W heels and Tires, Removal and
11.
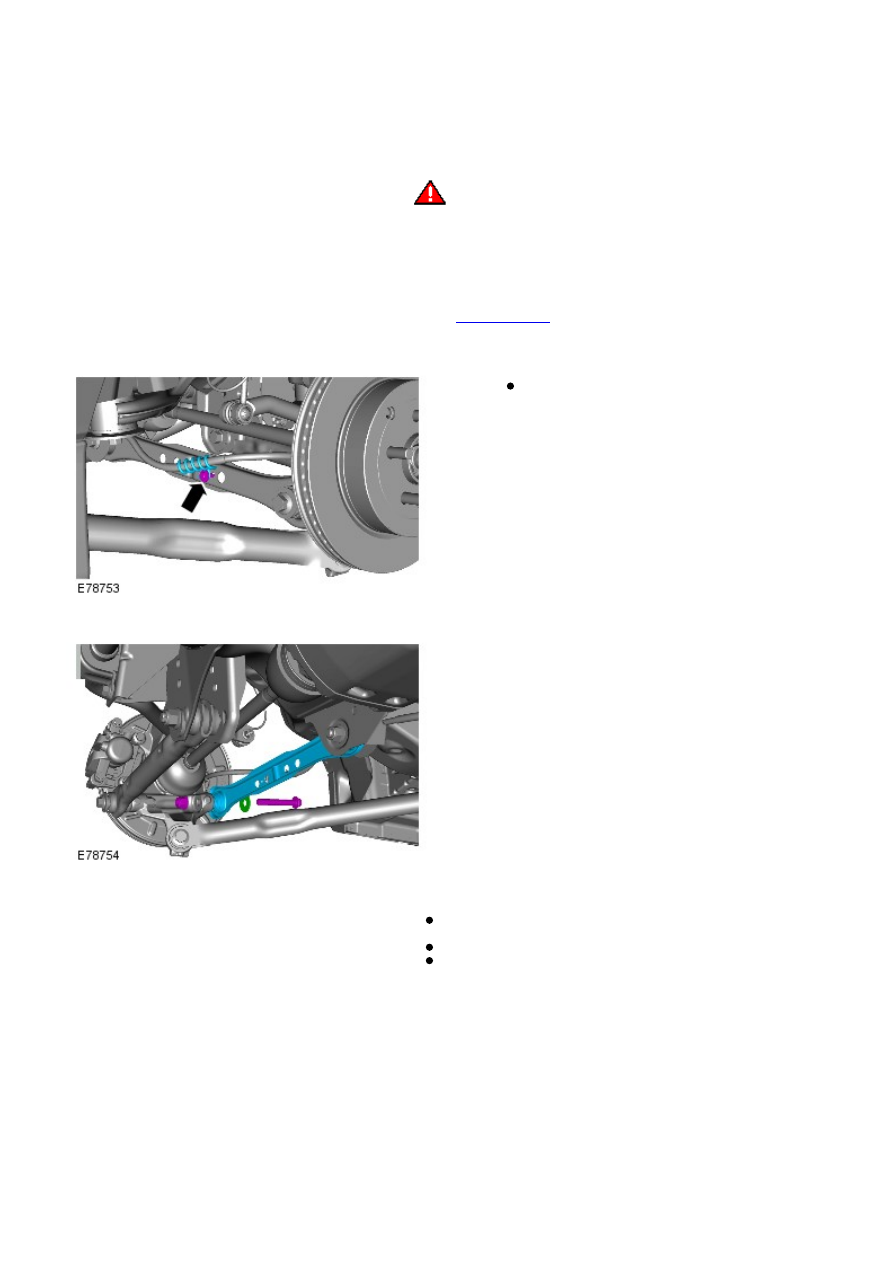
Rear Suspension - Front Lower Arm
Removal and Installation
Removal
1.
WARNING: Make sure to support the vehicle with axle
stands.
Raise and support the vehicle.
1.
Remove the wheel and tire.
Refer to:
Wheel and Tire
(204-04 W heels and Tires, Removal and
Installation).
2.
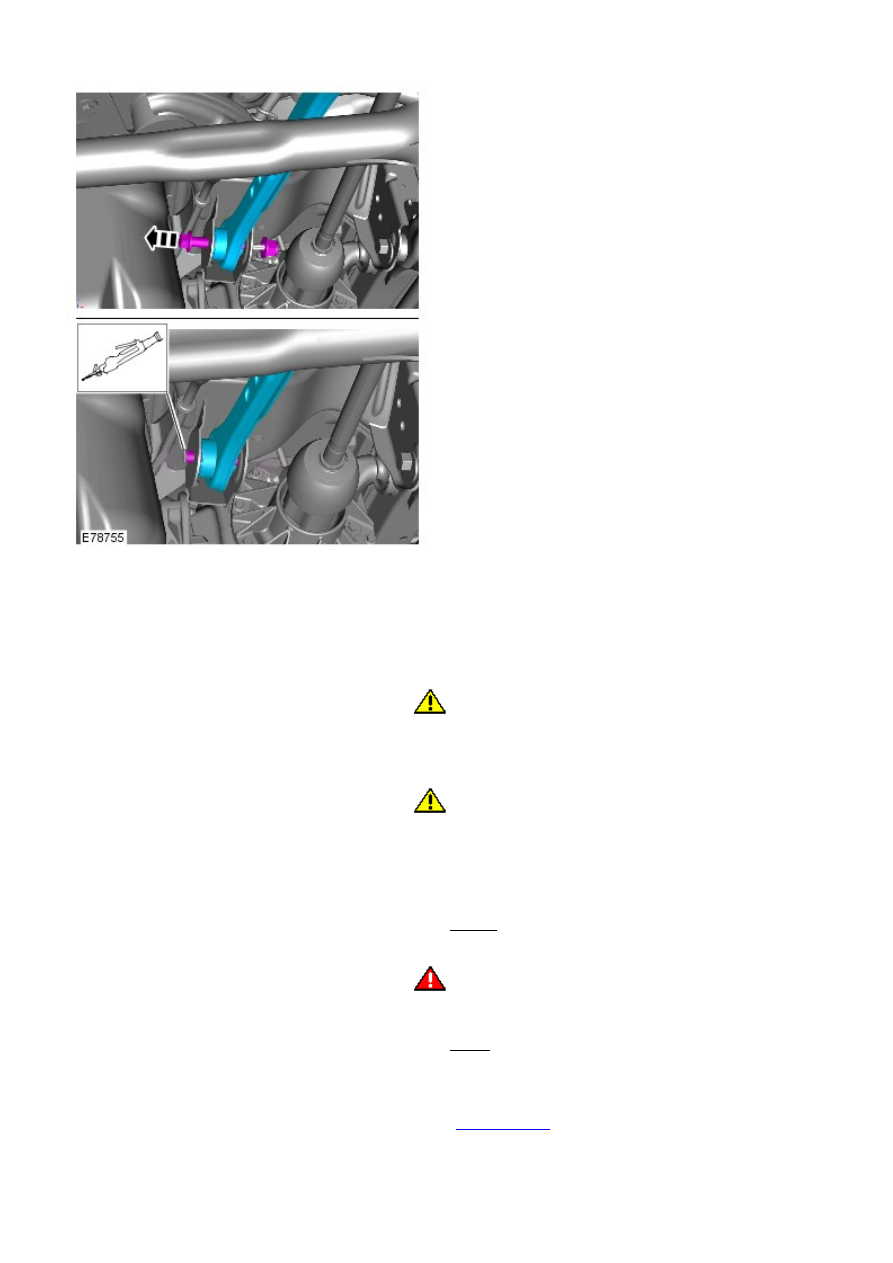
Discard the bolt.
3.
4.
Partially release the bolt for access. Cut off the bolt head
and withdraw in the opposite direction.
On installation, reverse the orientation of the new bolt.
Make sure the captive nut and protective shield from the
service kit is installed.
5.
6.
Installation
Install the front lower arm.
1.
2.
CAUTION: Nuts and bolts must be tightened with the weight
of the vehicle on the suspension.
Install the nuts, bolts and washers, do not tighten at this stage.
2.
3.
CAUTION: Nuts and bolts must be tightened with the weight
of the vehicle on the suspension.
Support weight of vehicle on a jack at the rear hub.
3.
Tighten the nuts and bolts.
Torque: 175 Nm
4.
5.
WARNING: Make sure that a new bolt is installed.
Install the parking brake cable retaining bolt.
Torque: 10 Nm
5.
Install the rear wheel.
Refer to:
Wheel and Tire
(204-04 W heels and Tires, Removal and
Installation).
6.
Check and if necessary, adjust the rear wheel alignment
7.

Rear Suspension - Rear Lower Arm
Removal and Installation
Removal
• NOTE: Removal steps in this procedure may contain installation details.
1.
WARNING: Do not work on or under a vehicle supported only
by a jack. Always support the vehicle on safety stands.
Raise and support the vehicle.
1.
Remove the wheel and tire.
Refer to:
Wheel and Tire
(204-04 W heels and Tires, Removal and
Installation).
2.
During installation, do not tighten the nuts and
bolts until the 4 wheel alignment procedure has
been carried out.
Torque: 175 Nm
3.
Installation
To install, reverse the removal procedure.
1.
Carry out the wheel alignment procedure.
2.
Нет комментариевНе стесняйтесь поделиться с нами вашим ценным мнением.
Текст