Frelander 2. Manual — part 261
Accessory Drive - I6 3.2L Petrol - Accessory Drive Component Bracket
Alignment
General Procedures
Special Tool(s)
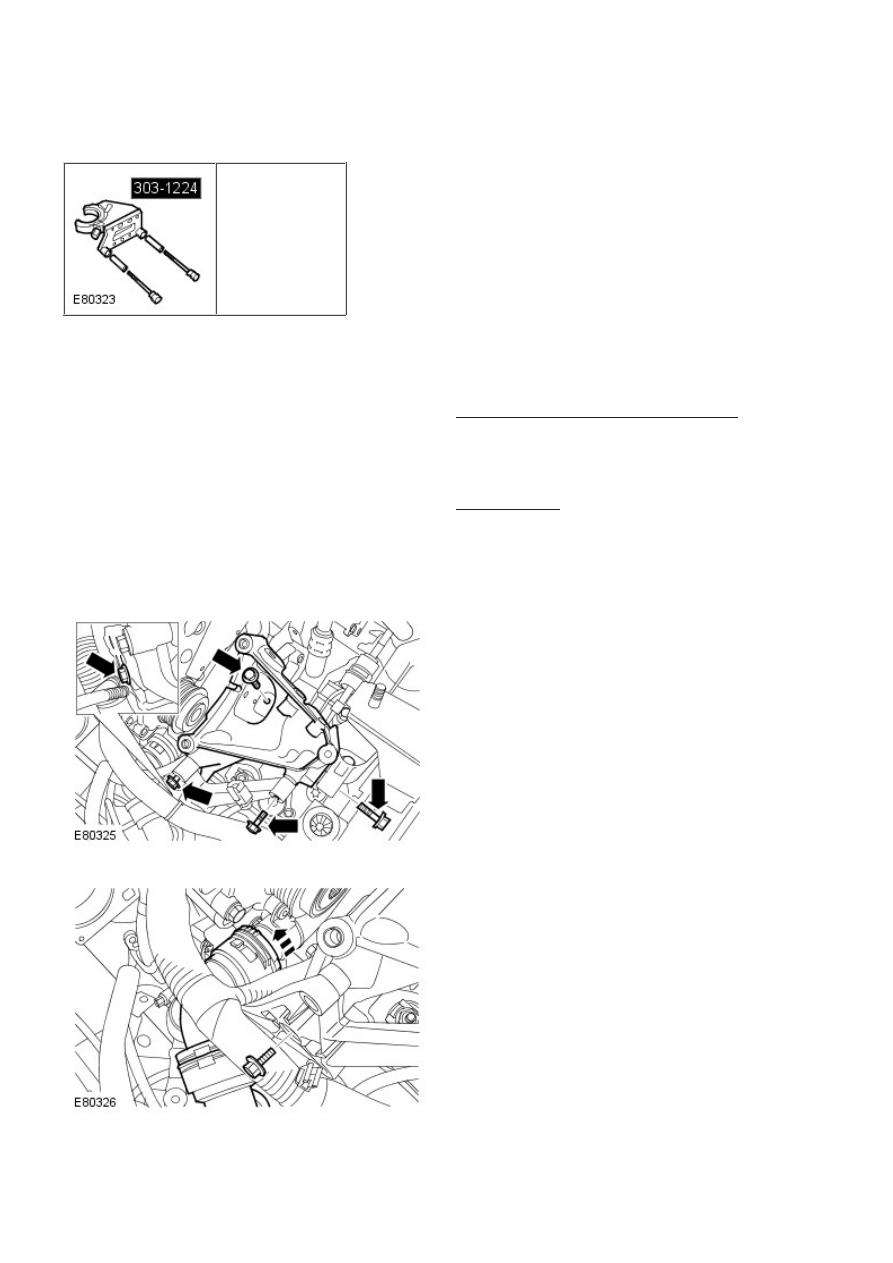
303-1224
Aligner, A/C Bracket
• NOTE: This procedure is to be used where an accessory drive belt alignment or accessory drive component bracket
alignment is required.
Drain the cooling system.
Refer to:
Cooling System Draining, Filling and Bleeding
(303-03A
Engine Cooling - I6 3.2L Petrol, General Procedures).
1.
Remove the LH engine mount.
Refer to:
Engine Mount LH
(303-01A Engine - I6 3.2L Petrol, Removal
and Installation).
2.
Raise and support the transmission to gain access to the engine
mount bracket adjuster.
3.
Release the bracket.
4.
Disconnect the coolant hose, to enable removal of the
bolt.
5.
Back-off both adjusters.
6.
Check the alignment of the bracket using the special
tool.
Special Tool(s):
303-1224
7.
Set both adjusters as required.
8.
Install the A/C compressor mounting bracket.
Torque:
M10 45 Nm
M8 25 Nm
9.
Connect and secure the coolant hose.
10.
Install the LH engine mount.
Refer to:
Engine Mount LH
(303-01A Engine - I6 3.2L Petrol, Removal
and Installation).
11.
Refill the cooling system.
Refer to:
Cooling System Draining, Filling and Bleeding
(303-03A
Engine Cooling - I6 3.2L Petrol, General Procedures).
12.
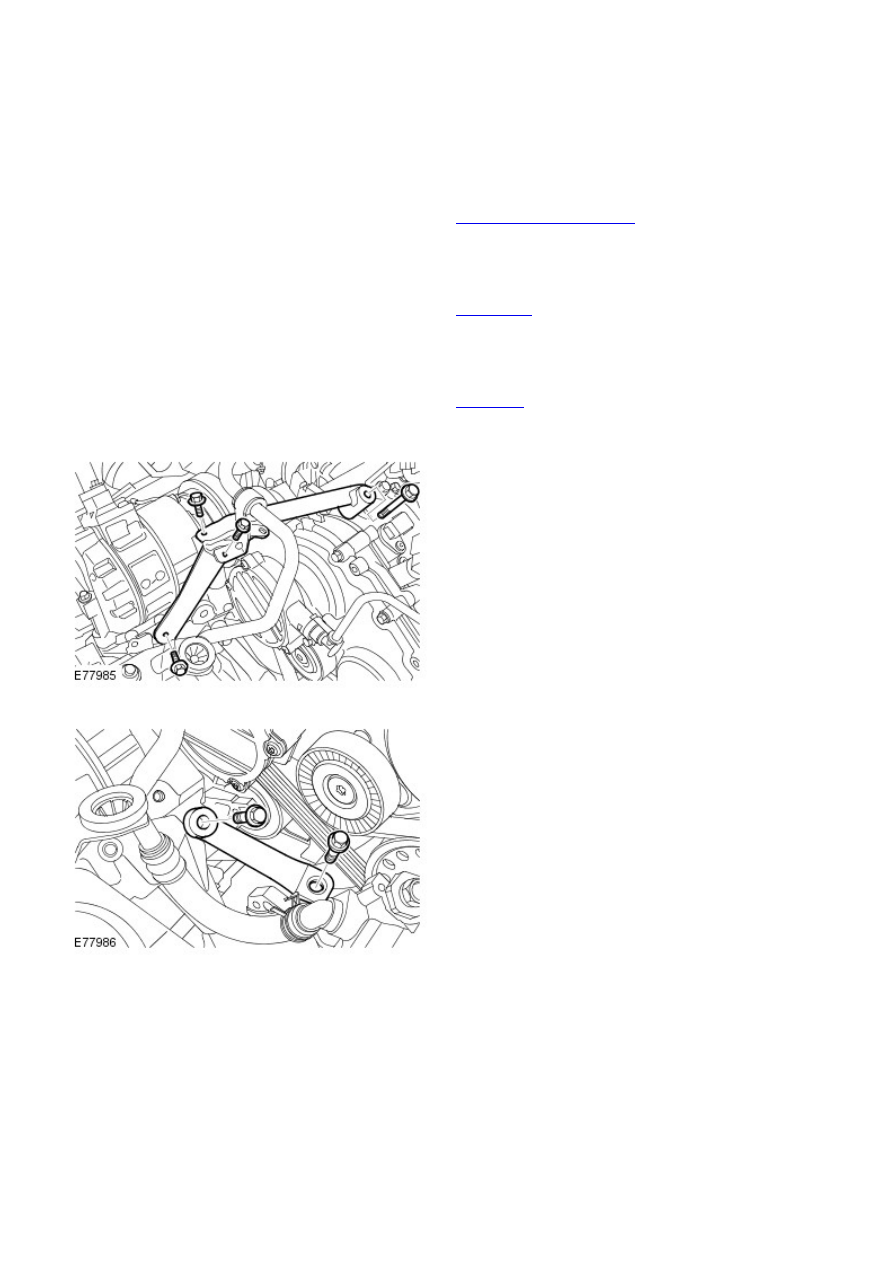
Accessory Drive - I6 3.2L Petrol - Accessory Drive Belt
Removal and Installation
Removal
Remove the engine cover.
Refer to:
Engine Cover - I6 3.2L Petrol
(501-05 Interior Trim and
Ornamentation, Removal and Installation).
1.
Remove the battery tray.
Refer to:
Battery Tray
(414-01 Battery, Mounting and Cables,
Removal and Installation).
2.
Remove the air cleaner assembly.
Refer to:
Air Cleaner
(303-12A Intake Air Distribution and Filtering -
I6 3.2L Petrol, Removal and Installation).
3.
Remove the A/C compressor, upper support bracket.
4.
Remove the A/C compressor, lower support bracket.
5.
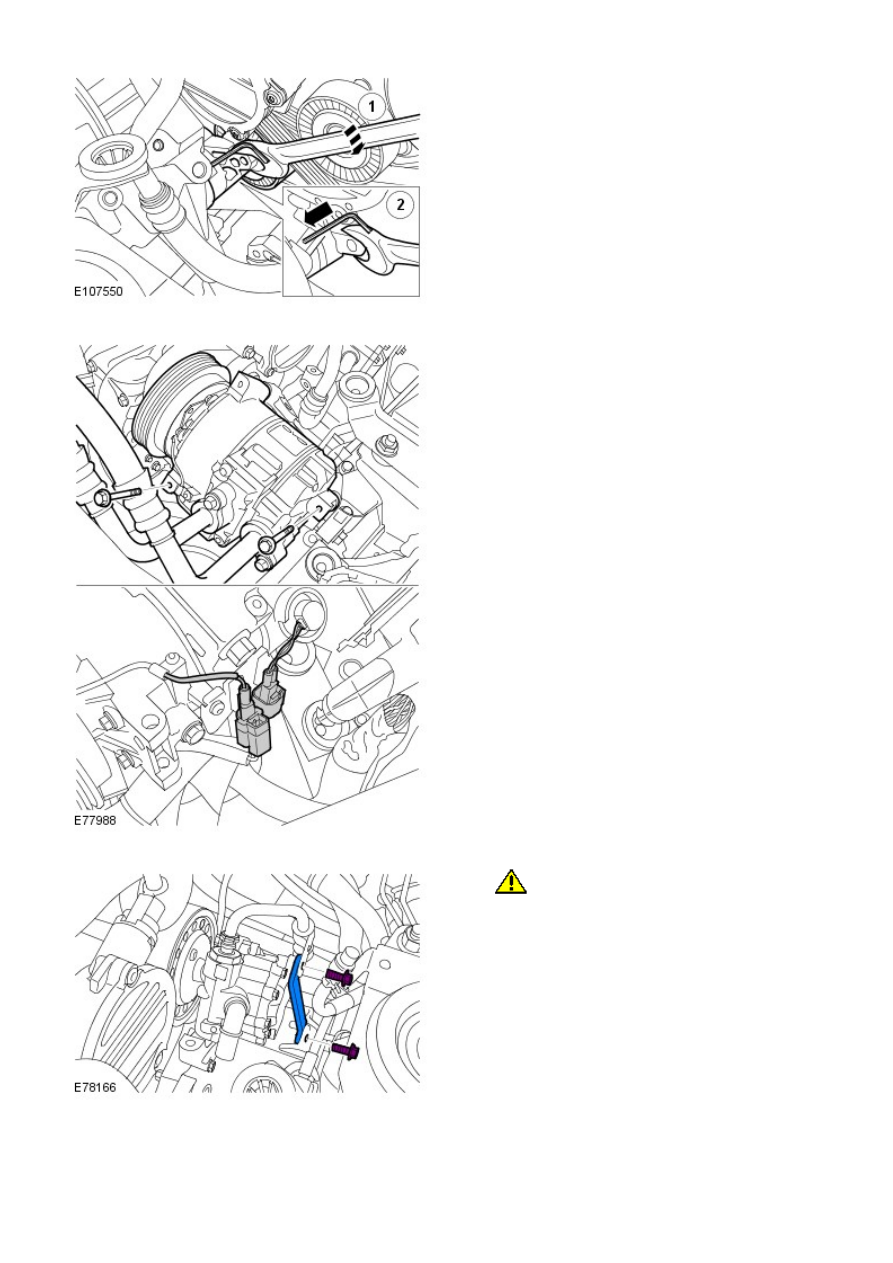
Using suitable tools, release the accessory drive belt
tension.
6.
Release the A/C compressor and position aside.
7.
8.
CAUTION: Note the fitted position of the
component prior to removal.
Release the PAS pump.
8.
Remove the accessory drive belt.
9.
Installation
Нет комментариевНе стесняйтесь поделиться с нами вашим ценным мнением.
Текст