Frelander 2. Manual — part 564
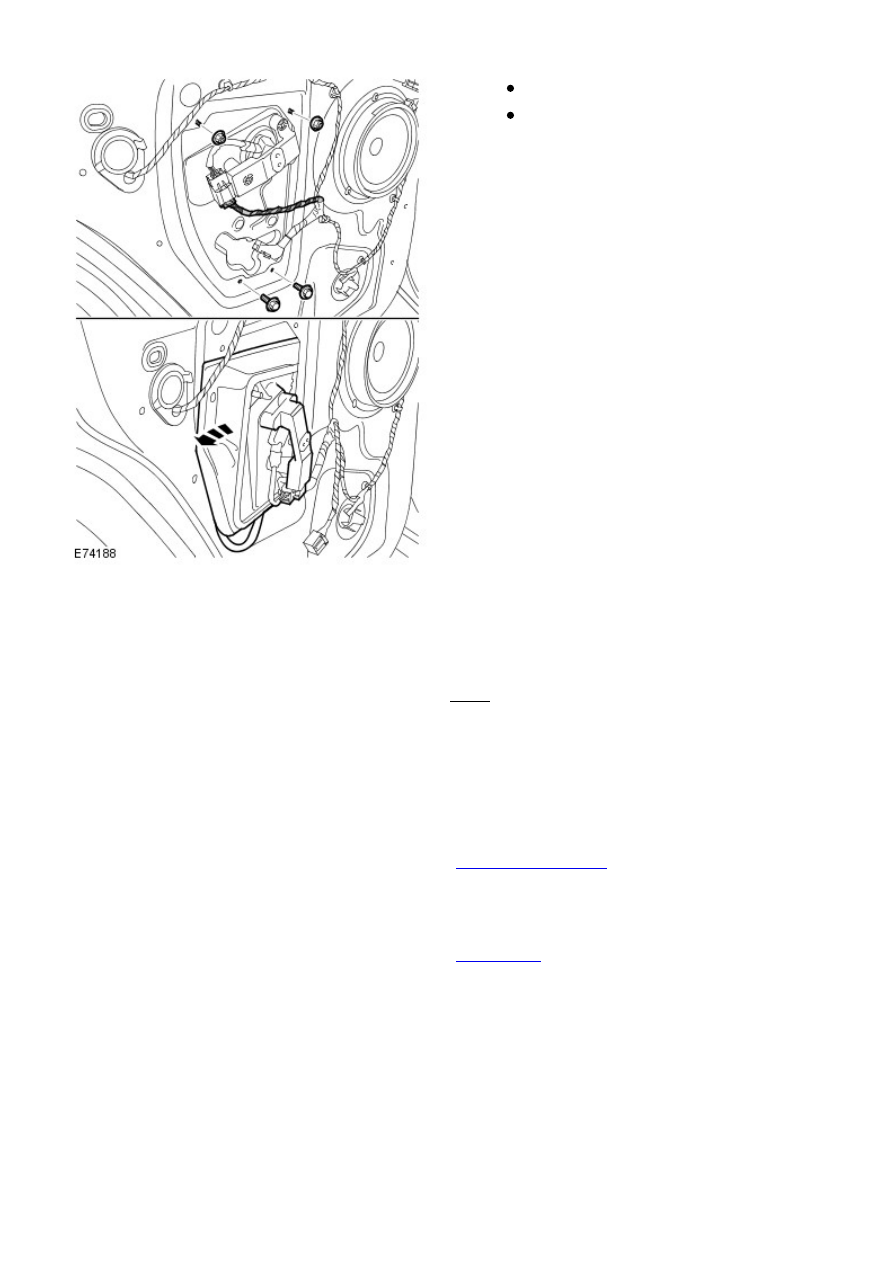
Remove the window motor and regulator
assembly.
Rotate the assembly within the door through 90
degrees and remove the upper edge from the
aperture first.
6.
Installation
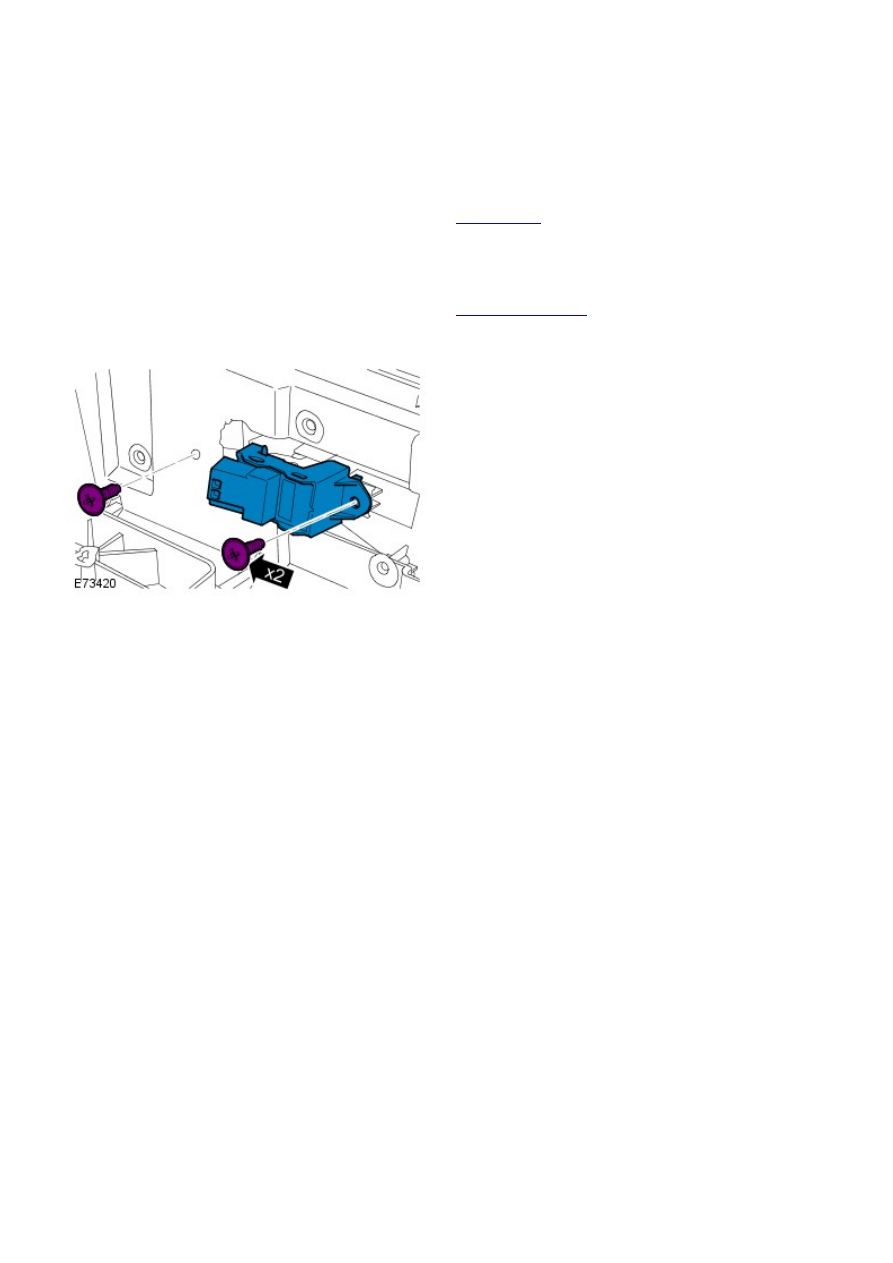
Install the window motor and regulator assembly. Tighten the nuts
and the bolts.
Torque: 10 Nm
1.
Secure the door window glass to the window lift mechanism.
2.
Install the outer waist seal and secure with the Torx screw.
3.
Install the rear door module.
Refer to:
Rear Door Module (RDM)
(419-10 Multifunction Electronic
Modules, Removal and Installation).
4.
Connect the battery ground cable.
Refer to:
Specifications
(414-00 Battery and Charging System -
General Information, Specifications).
5.
Glass, Frames and Mechanisms - Driver Door Window Control Switch
Removal and Installation
Removal
Disconnect the battery ground cable.
Refer to:
Specifications
(414-00 Battery and Charging System -
General Information, Specifications).
1.
Remove the front door trim panel.
Refer to:
Front Door Trim Panel
(501-05 Interior Trim and
Ornamentation, Removal and Installation).
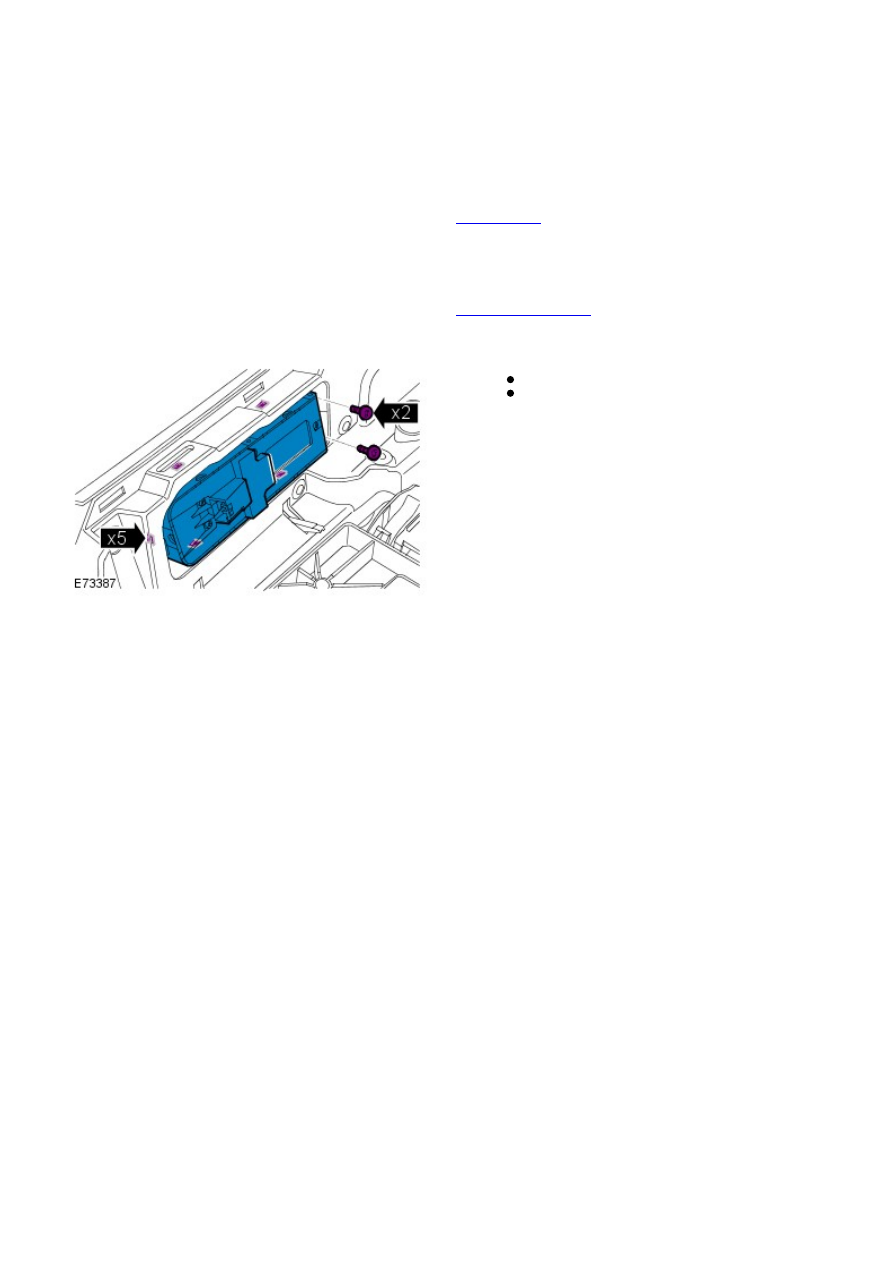
2.
Remove the 2 screws.
Release the 5 clips.
3.
Installation
To install, reverse the removal procedure.
1.
Glass, Frames and Mechanisms - Passenger Door Window Control Switch
Removal and Installation
Removal
Disconnect the battery ground cable.
Refer to:
Specifications
(414-00 Battery and Charging System -
General Information, Specifications).
1.
Remove the rear door trim panel.
Refer to:
Rear Door Trim Panel
(501-05 Interior Trim and
Ornamentation, Removal and Installation).
2.
3.
Installation
To install, reverse the removal procedure.
1.
Glass, Frames and Mechanisms - Rear Door Fixed Window Glass
Removal and Installation
Removal
Lower the door glass to the bottom of the door.
1.
Disconnect the battery ground cable.
Refer to:
Specifications
(414-00 Battery and Charging System -
General Information, Specifications).
2.
Remove the rear door trim panel.
Refer to:
Rear Door Trim Panel
(501-05 Interior Trim and
Ornamentation, Removal and Installation).
3.
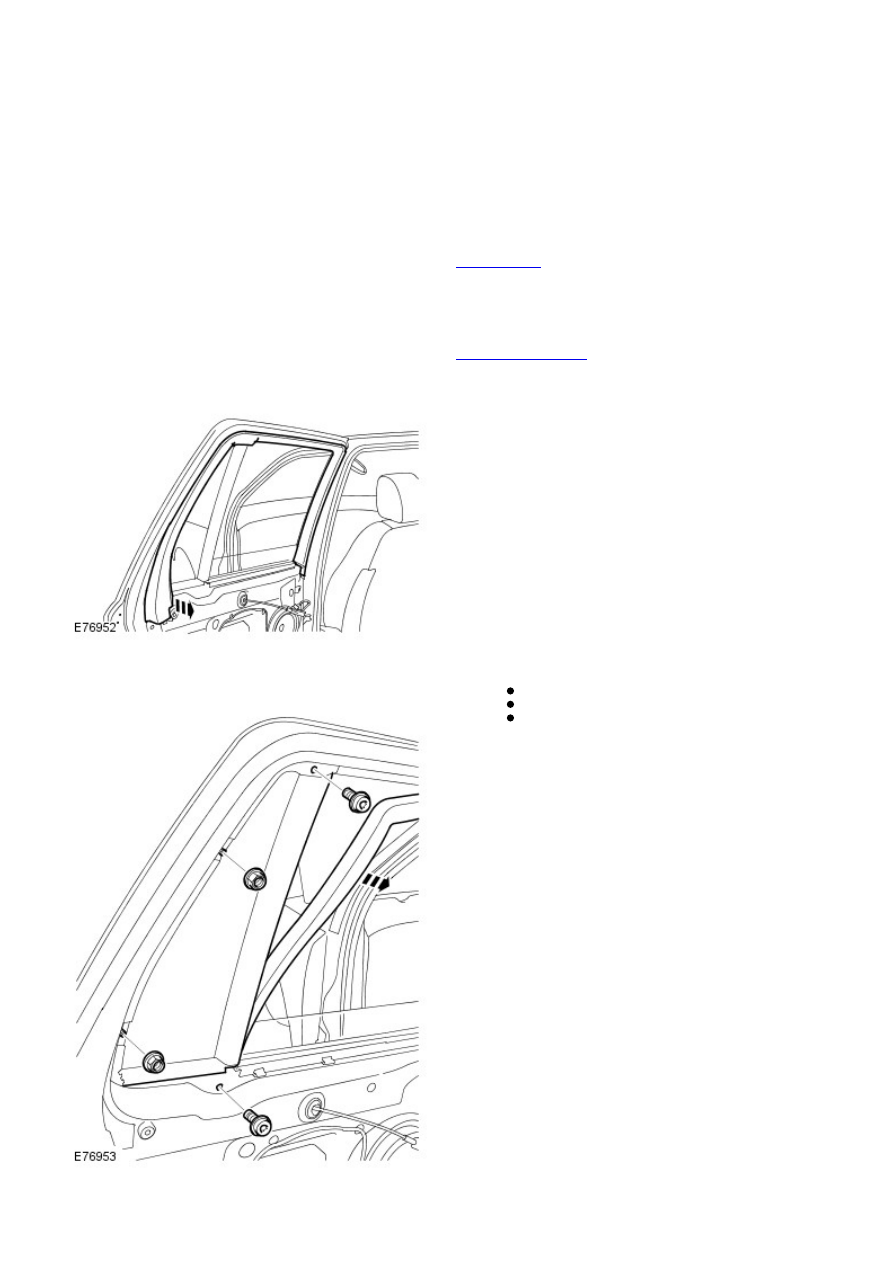
Remove the rear door frame trim.
4.
Remove the 2 nuts.
Remove the 2 Torx screws.
Release the glass channel lining.
5.
Нет комментариевНе стесняйтесь поделиться с нами вашим ценным мнением.
Текст