Discovery 2. Manual — part 156
AUTOMATIC GEARBOX - ZF4HP22 - 24
REPAIRS
44-55
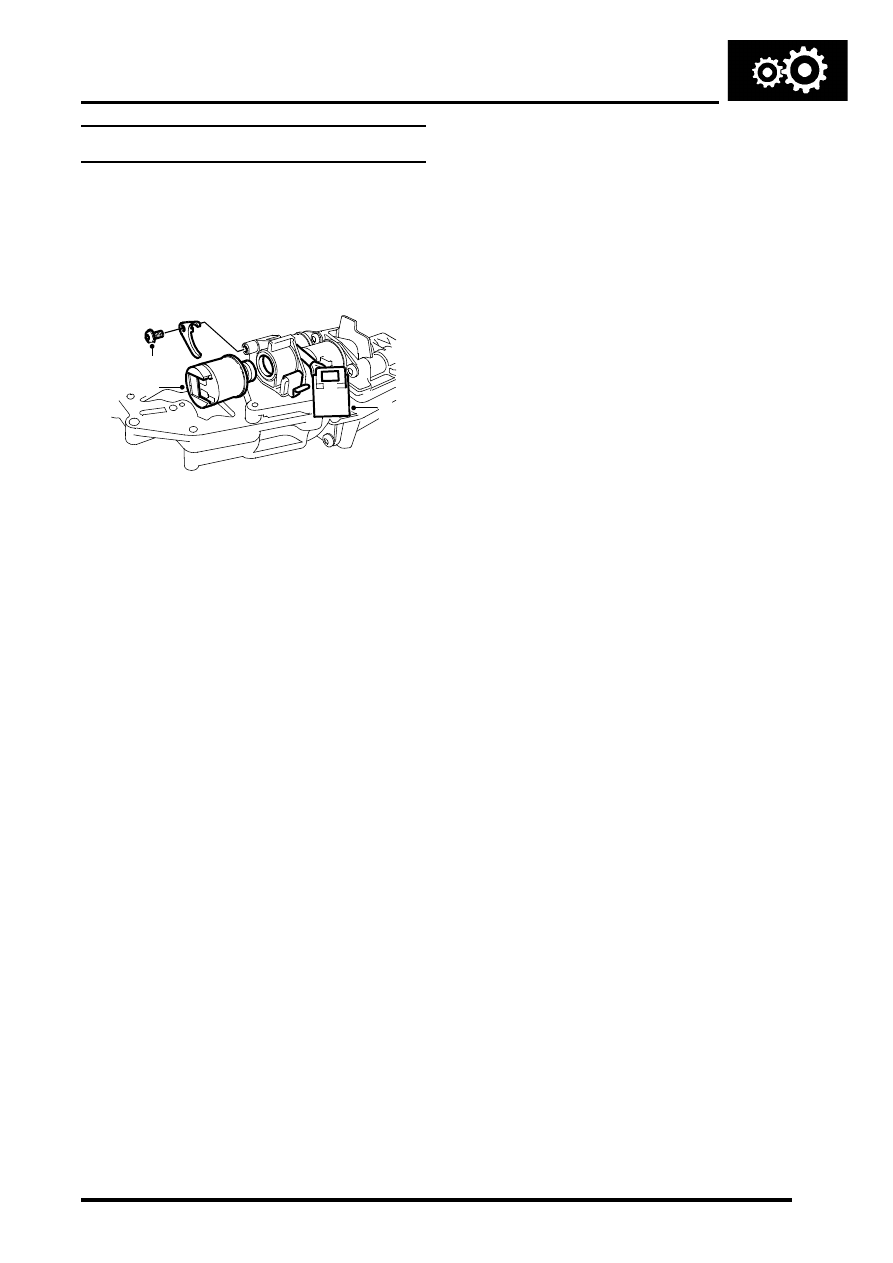
Lock-up solenoid valve (MV 3)
$% 44.15.35
Remove
1. Remove valve body assembly.
- 24, REPAIRS, Valve body assembly.
2. Disconnect multiplug from lock-up solenoid
valve and release harness from clip.
3. Remove Torx screw and retaining fork securing
solenoid valve to valve body.
4. Remove solenoid valve from valve body.
Refit
1. Clean lock-up solenoid valve with lint free cloth.
2. Position solenoid valve in valve body.
3. Position retaining fork, fit and tighten Torx
screw to 8 Nm (6 lbf.ft).
4. Connect multiplug to lock-up solenoid valve
and secure harness in clip.
5. Fit valve body assembly.
- 24, REPAIRS, Valve body assembly.
M44 1354A
2
3
4
AUTOMATIC GEARBOX - ZF4HP22 - 24
44-56
REPAIRS
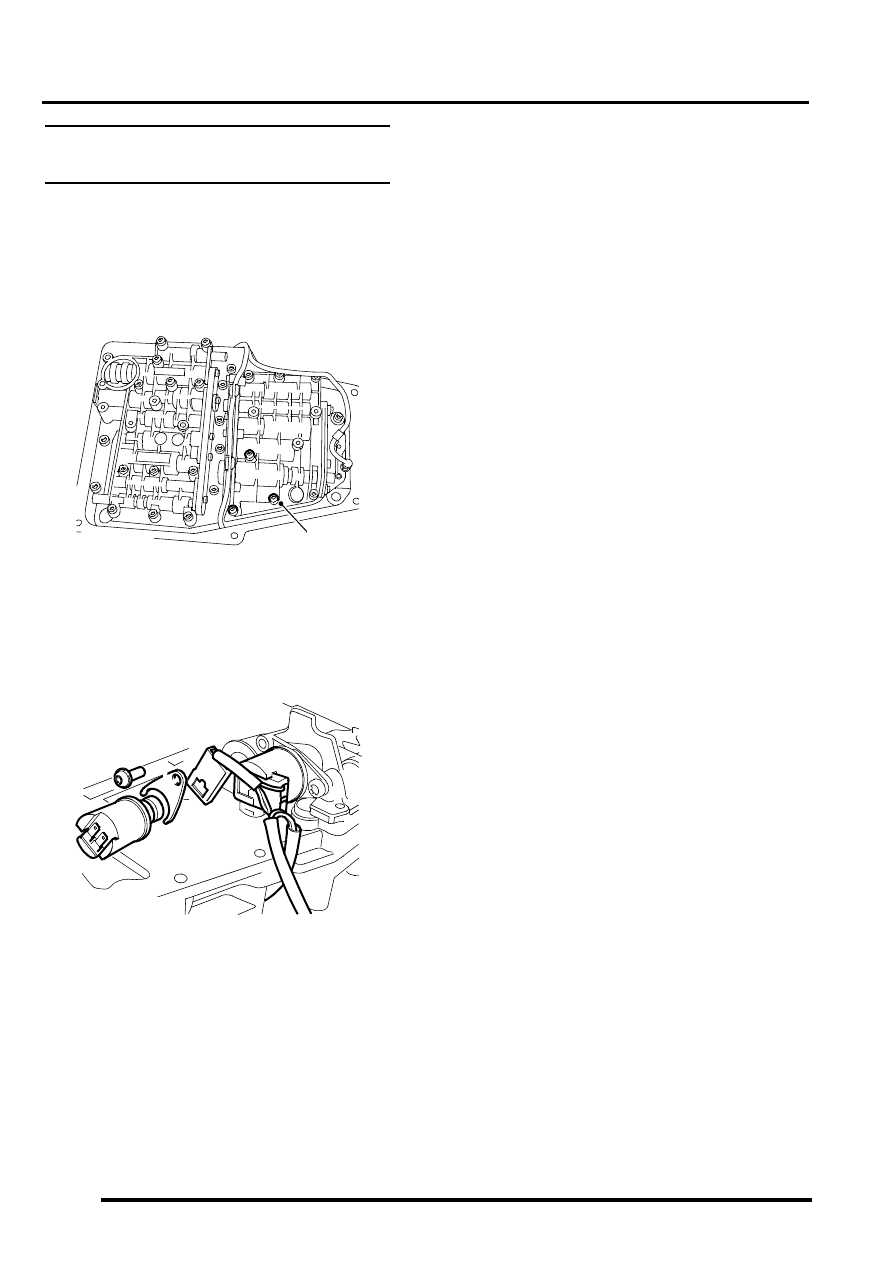
Solenoids - shift control valves
(MV 1 & 2)
$% 44.15.45
Remove
1. Remove valve body assembly.
- 24, REPAIRS, Valve body assembly.
2. Remove 3 Torx screws securing lock-up
solenoid valve assembly to valve body and
move solenoid aside.
NOTE: This is to gain access to remove Torx
screw and MV2 shift control valve.
3. Note their fitted position and disconnect
multiplugs from shift control valves MV 1 and
MV 2.
4. Remove Torx screw and retaining fork securing
MV2 shift control solenoid valve to valve body.
Note that the tag on the retaining fork faces
towards the valve body.
5. Remove shift control valve from valve body.
Refit
1. Clean MV2 shift control solenoid valve with lint
free cloth.
2. Position MV2 shift control solenoid valve to
valve body.
3. Position retaining fork, fit Torx screw and
tighten to 8 Nm (6 lbf.ft).
4. Connect multiplugs to both shift control
solenoid valves.
5. Clean lock-up solenoid valve assembly with a
lint-free cloth.
6. Position lock-up valve assembly, fit and tighten
Torx screws to 8 Nm (6 lbf.ft).
7. Fit valve body assembly.
- 24, REPAIRS, Valve body assembly.
M44 1352
1
M44 1353A
AUTOMATIC GEARBOX - ZF4HP22 - 24
REPAIRS
44-57
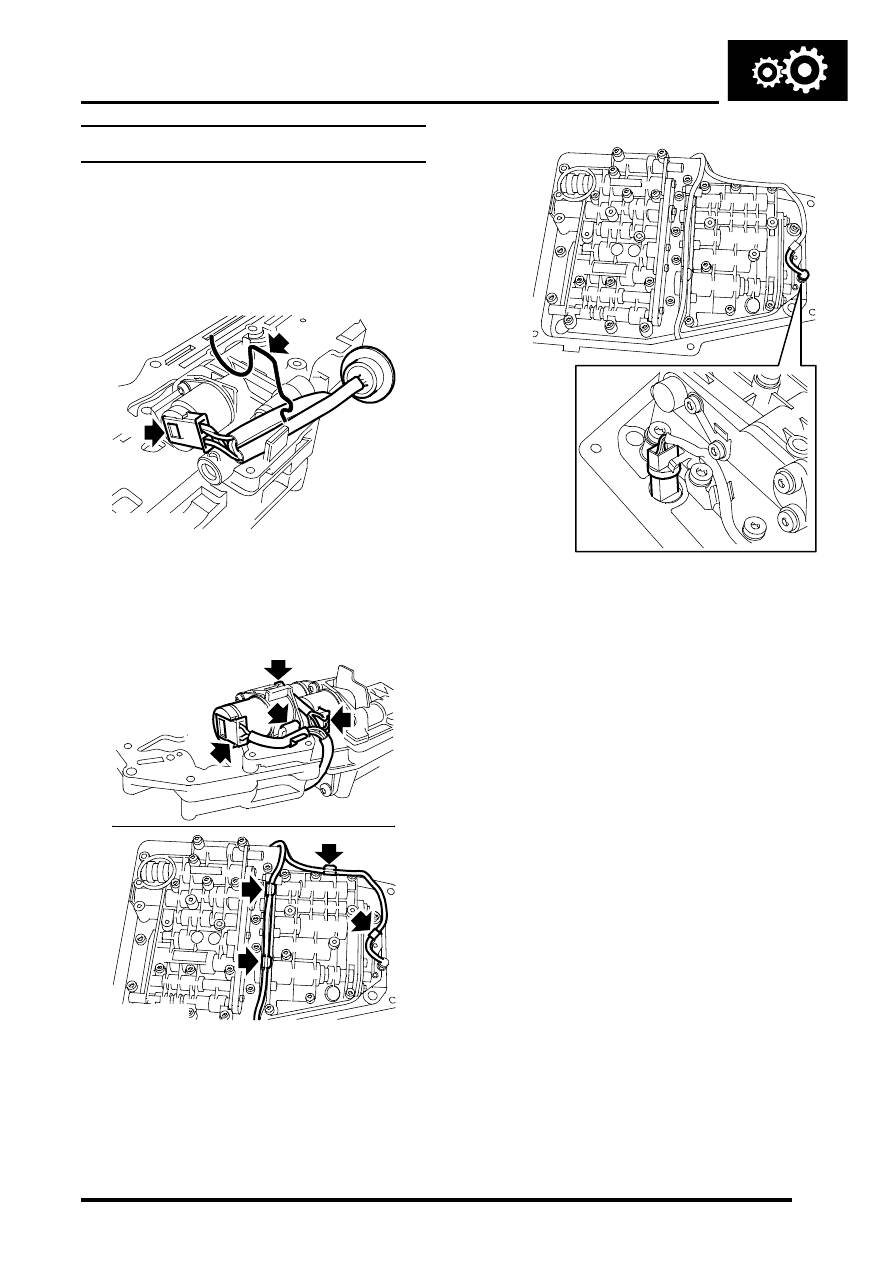
Harness - solenoid valves
$% 44.15.52
Remove
1. Remove valve body assembly.
- 24, REPAIRS, Valve body assembly.
2. Release and remove clip securing pressure
regulator solenoid harness to valve body.
3. Disconnect multiplug from pressure regulator
solenoid valve.
4. Disconnect multiplugs from lock-up solenoid
valve, shift control solenoid valves MV 1 and
MV 2.
5. Release harness from 5 clips on valve body
and remove harness.
6. Disconnect and remove speed sensor from
harness.
Refit
1. Connect speed sensor to harness multiplug.
2. Position harness to valve body.
3. Connect multiplugs to shift control solenoid
valves MV 1 and MV 2 and lock-up solenoid
valve.
4. Connect multiplug to pressure regulator
solenoid valve and secure solenoid valve
harness with clip to valve body.
5. Position and secure harness in clips on valve
body.
6. Fit valve body assembly.
- 24, REPAIRS, Valve body assembly.
M44 1350
M44 1355
M44 1359
AUTOMATIC GEARBOX - ZF4HP22 - 24
44-58
REPAIRS
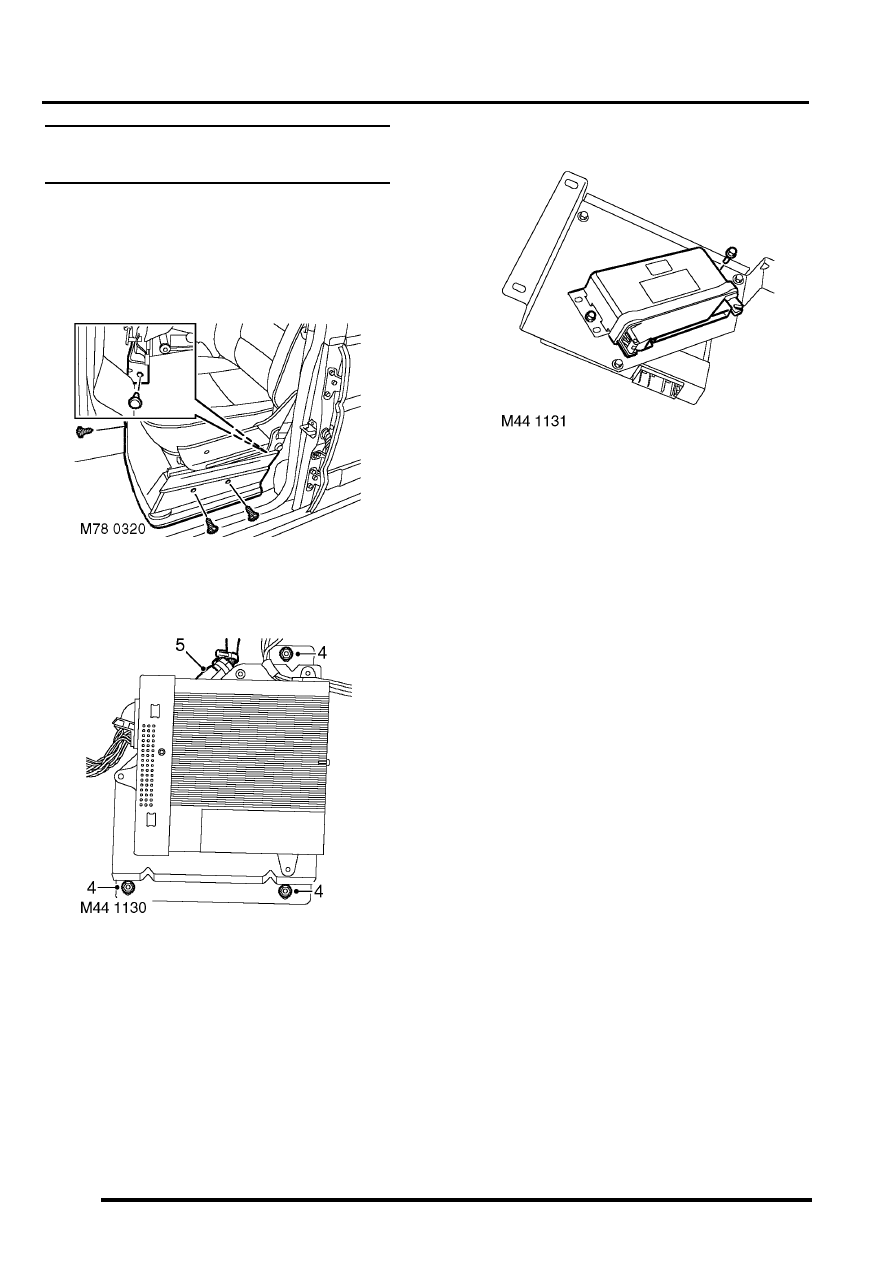
Electronic control unit - automatic
transmission
$% 44.15.46
Remove
1. Release fixings and remove battery cover.
2. Disconnect battery earth lead.
3. Remove 3 screws and trim clip securing lower
trim casing to LH front seat.
4. Remove 3 nuts securing speaker power
amplifier bracket to the body.
5. Disconnect multiplug from automatic
transmission ECU located on underside of
amplifier mounting bracket.
6. Remove 2 nuts securing ECU to mounting
bracket and remove ECU.
Refit
1. Position ECU to mounting bracket and secure
with nuts.
2. Connect multiplug to ECU.
3. Position speaker power amplifier mounting
bracket to body and secure with nuts.
4. Position lower trim casing to seat and secure
with screws and trim clip.
5. Connect battery earth lead.
6. Fit battery cover and secure fixings.
Нет комментариевНе стесняйтесь поделиться с нами вашим ценным мнением.
Текст