Discovery 2. Manual — part 288
HEATING AND VENTILATION
REPAIRS
80-23
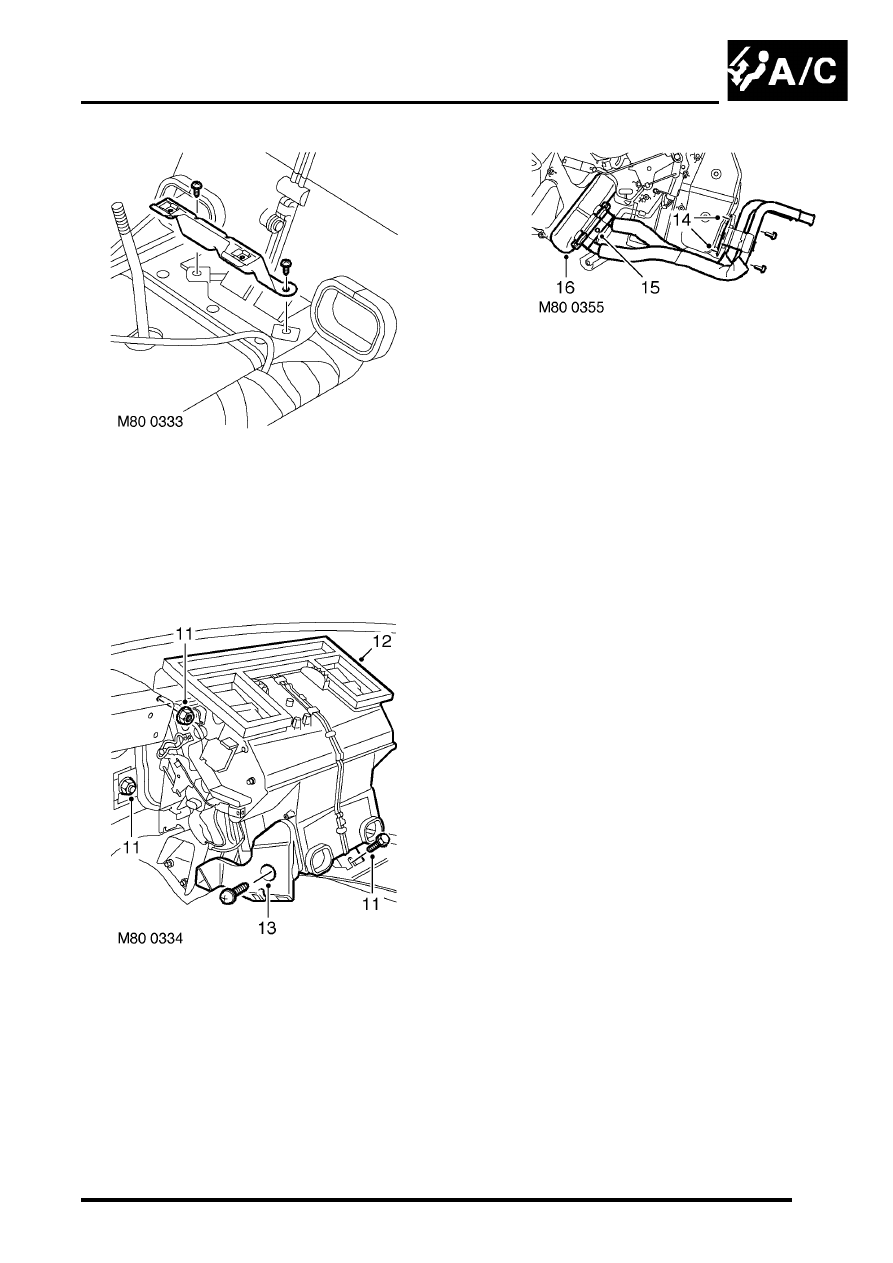
8. Remove 2 screws securing console bracket to
tunnel and remove bracket.
9. Release radio coaxial cable from behind heater
pipes.
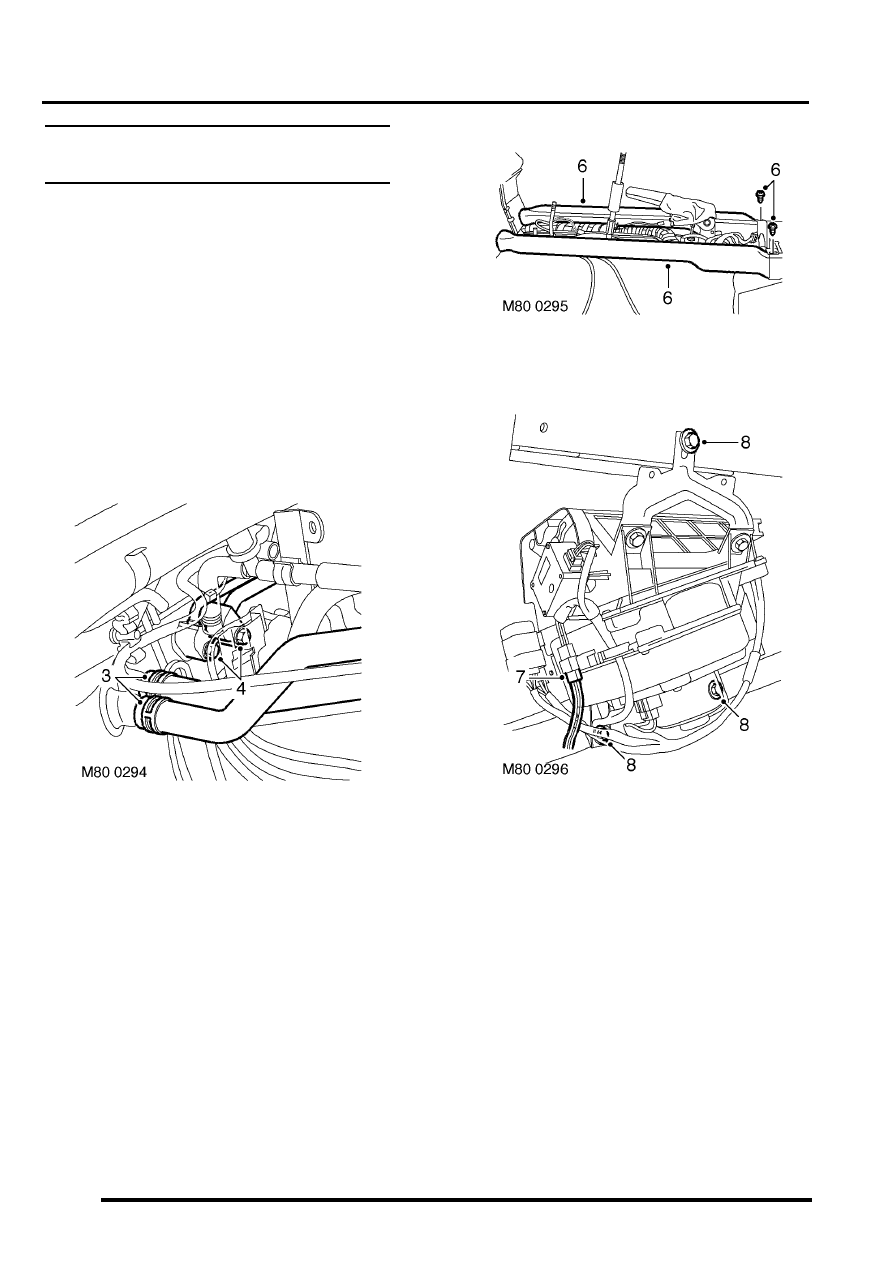
10. Protect the carpet from coolant spillage.
11. Remove 4 nuts and 1 bolt securing heater to
body.
12. Remove heater from vehicle.
13. Remove 2 screws securing heater RH and LH
footwell outlet duct to heater casing and
remove ducts.
14. Remove 2 screws securing matrix pipe bracket
to heater casing.
15. Remove screw securing pipe clamp to heater
casing and remove clamp.
16. Carefully remove matrix from heater.
Refit
1. Fit matrix into heater casing.
2. Fit screws securing pipe bracket to heater
casing.
3. Fit pipe clamp and secure with screw.
4. Fit heater ducts and secure with screws.
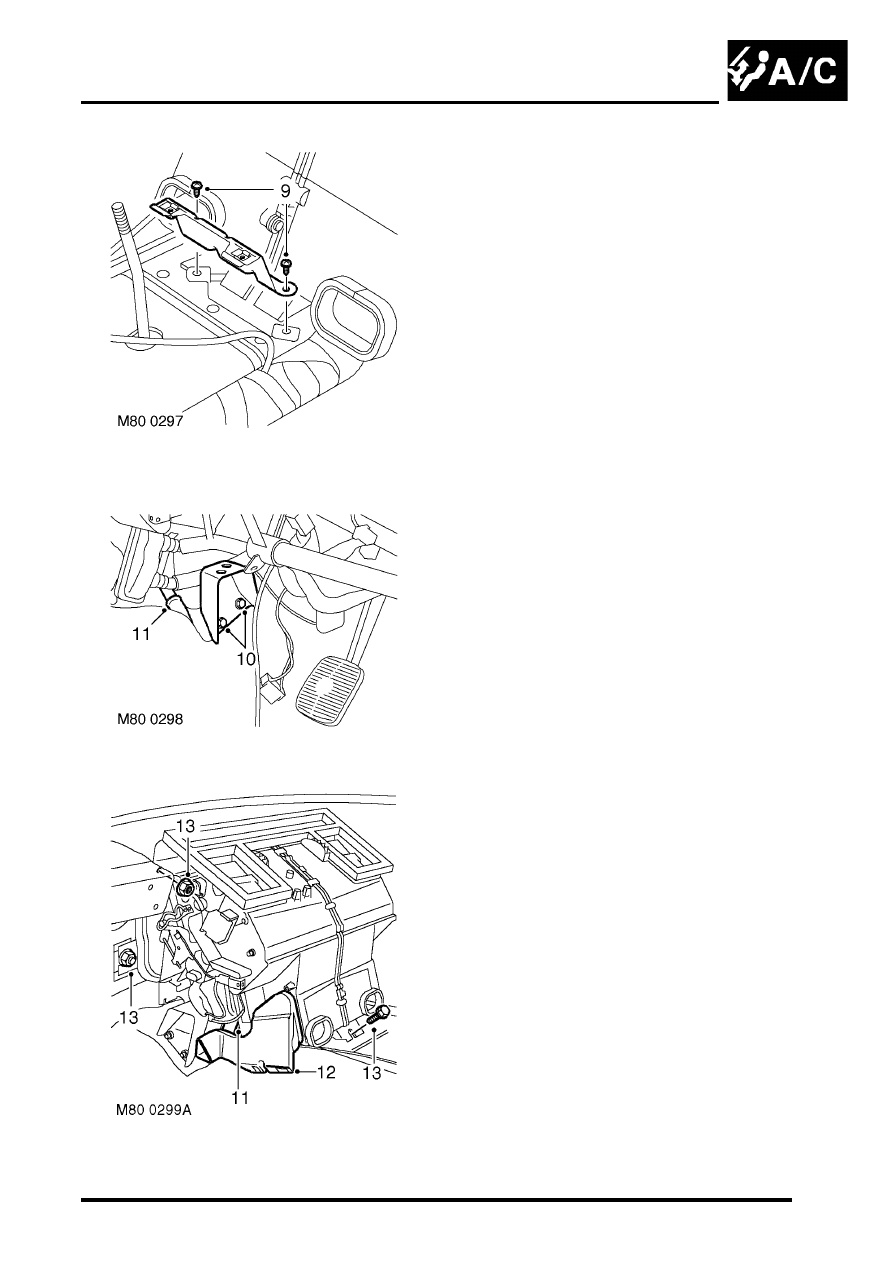
5. Position heater assembly to vehicle, ensure
heater coolant pipe grommet is correctly
located in bulkhead and secure with nuts and
bolt.
6. Fit radio coaxial cable behind heater pipes.
7. Fit console bracket and secure with screws.
8. Connect drain tubes to base of heater.
9. Fit blower unit to heater and secure to body
with nuts and bolt.
10. Connect harness multiplug to blower motor.
11. Fit facia assembly
12. Connect heater hoses and secure with clips.
13. Diesel models: Fit engine cover and secure
with bolts.
14. Refill cooling system
l
ADJUSTMENTS, Drain and refill.
l
HEATING AND VENTILATION
80-24
REPAIRS
Heater assembly - models with air
conditioning
$% 80.20.01.98
Remove
1. Drain cooling system.
l
ADJUSTMENTS, Drain and refill.
l
ADJUSTMENTS, Drain and refill.
2. Evacuate air conditioning system.
RECOVERY, RECYCLING AND
RECHARGING, Refrigerant recovery,
recycling and recharging.
3. Release 2 clips securing heater hoses to
heater and release hoses.
4. Remove 2 bolts securing air conditioning pipes
to evaporator, release pipes and discard 'O'
rings.
CAUTION: Always fit plugs to open
connections to prevent contamination.
5. Remove fascia.
6. Remove screws securing rear heater ducting
and remove ducting.
7. Disconnect multiplug from heater motor.
8. Remove 2 nuts and bolt securing heater motor
assembly and remove motor assembly from
heater casing.
HEATING AND VENTILATION
REPAIRS
80-25
9. Remove 2 screws securing centre console
support bracket and remove bracket.
10. Remove 2 nuts securing RH fascia support
bracket and remove bracket.
11. Disconnect both evaporator drain hoses.
12. Remove front heater ducting.
13. Remove 4 nuts and bolt securing heater
assembly, release heater assembly from
bulkhead grommet and remove from vehicle.
Refit
1. Position heater assembly to bulkhead, locate
heater in bulkhead grommet.
2. Fit nuts and bolt securing heater and tighten to
16 Nm (12 lbf.ft).
3. Position RH fascia support bracket, fit and
tighten nuts.
4. Fit front heater ducting.
5. Position centre console support bracket, fit and
tighten screws.
6. Connect evaporator drain hoses.
7. Position heater motor to heater casing, fit nuts
and bolt and tighten to 19 Nm (14 lbf.ft).
8. Connect multiplug heater motor.
9. Position rear heater ducting and secure with
screws.
10. Fit fascia.
11. Using new 'O' rings, position air conditioning
pipes to evaporator fit bolts and tighten to 5 Nm
(3.7 lbf.ft).
12. Position heater hoses and secure hose clips.
13. Recharge air conditioning system.
RECOVERY, RECYCLING AND
RECHARGING, Refrigerant recovery,
recycling and recharging.
14. Refill cooling system.
l
ADJUSTMENTS, Drain and refill.
l
HEATING AND VENTILATION
80-26
REPAIRS
Blower assembly
$% 80.20.12
Remove
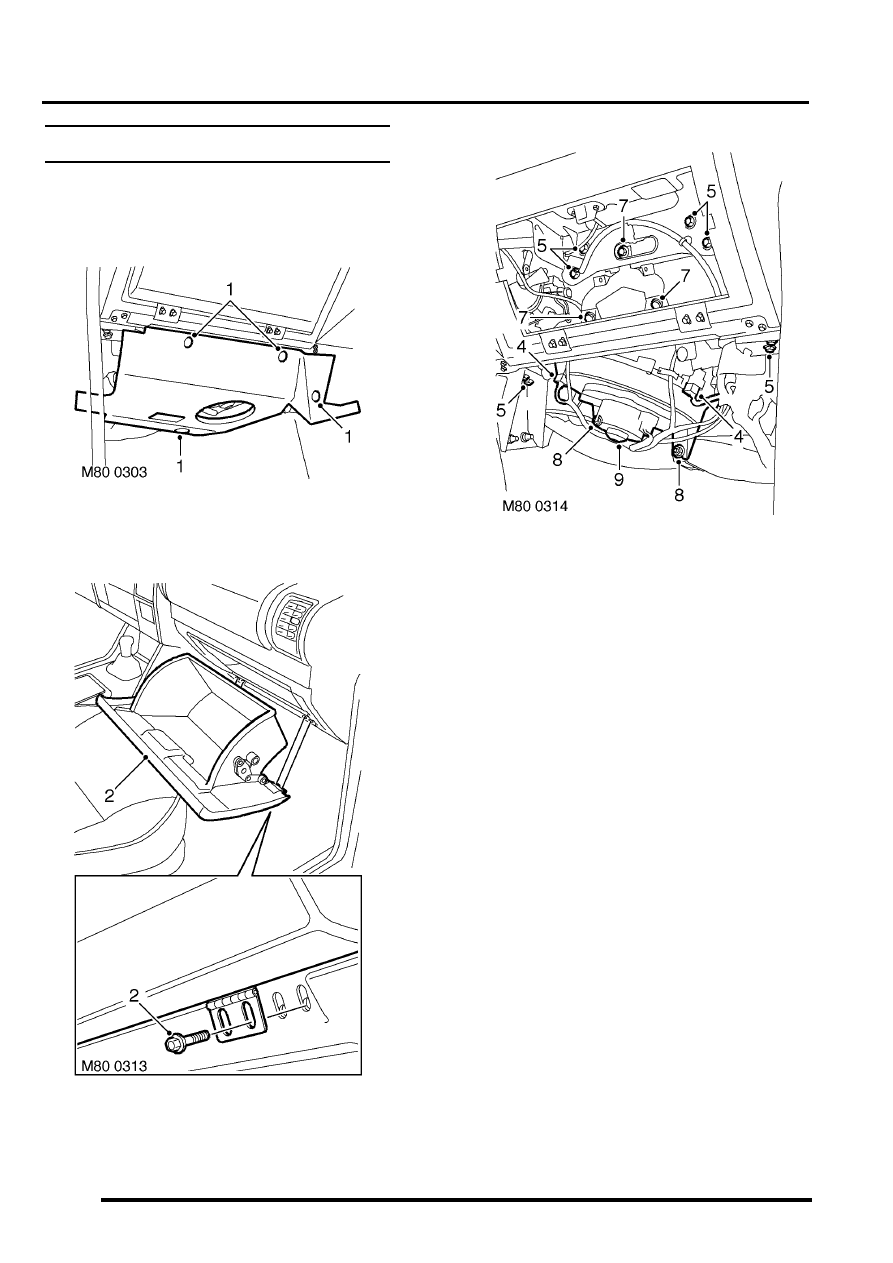
1. Remove 4 studs securing toe board and
remove toe board.
2. Remove 4 screws securing glove box, release
catch and remove glove box.
3. Disconnect battery earth lead.
4. Disconnect multiplugs from blower motor.
5. Remove 8 bolts securing passenger side of
fascia panel.
6. Carefully ease fascia away from bulkhead
7. Remove 3 bolts securing blower motor support
bracket and remove bracket.
8. Remove 2 nuts securing motor assembly.
9. Release blower motor assembly from heater
and manoeuvre from under fascia.
Refit
1. Position blower motor assembly under fascia
and locate to heater casing.
2. Position support bracket, fit and tighten nuts
and bolts.
3. Align fascia, fit bolt to support bracket and
tighten to 26 Nm (19 lbf.ft).
4. Connect multiplugs to blower motor.
5. Connect battery earth lead.
6. Fit glove box, align hinges and tighten screws.
7. Position toe board and secure with studs.
Нет комментариевНе стесняйтесь поделиться с нами вашим ценным мнением.
Текст