Toyota Sequoia (2005). Manual — part 927
H16762
H05324
H05730
H16763
BO–144
–
BODY
REAR NO.1 SEAT (Split Type LH)
3697
5.
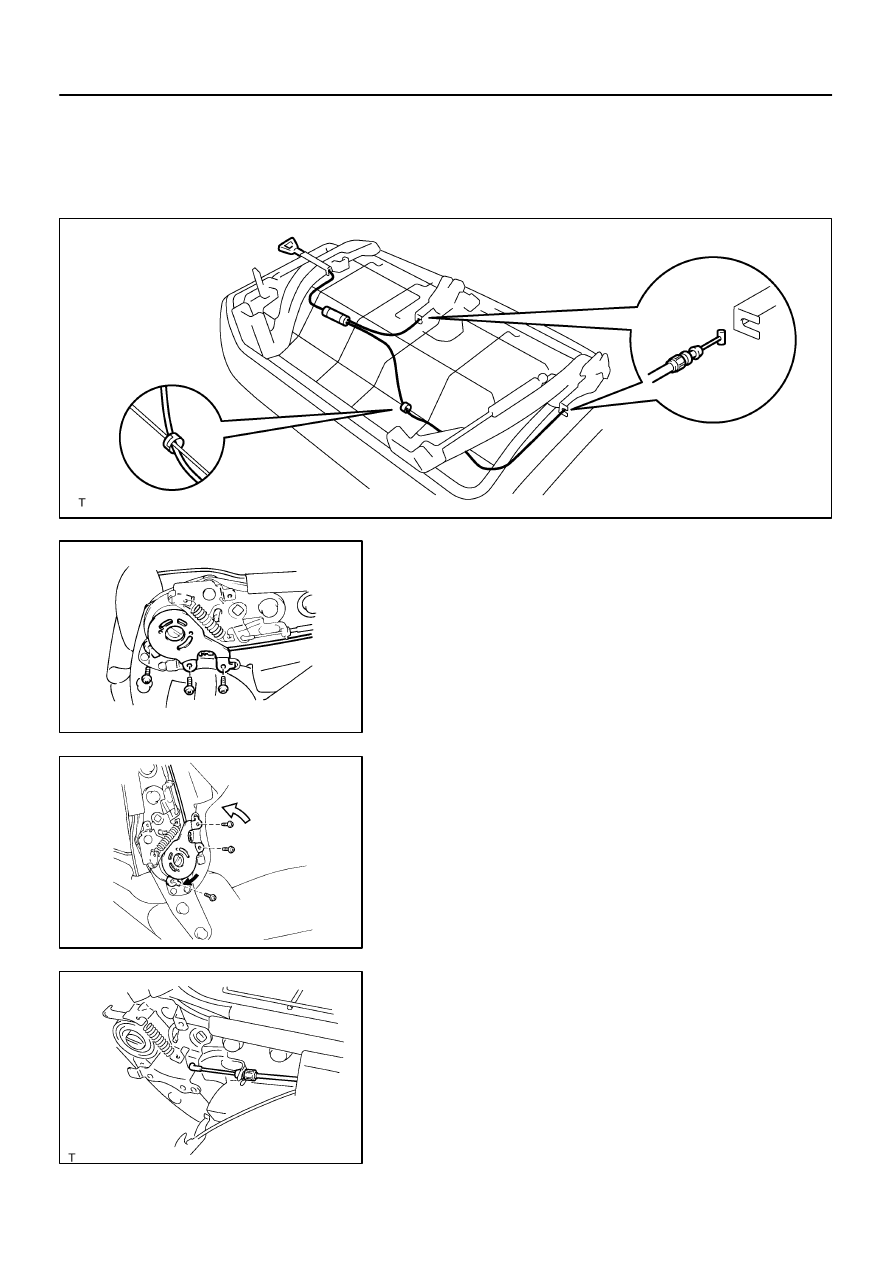
REMOVE NO. 1 FOLD SEAT LOCK CONTROL CABLE
Remove the clamp and No. 1 fold seat lock control cable as
shown in the illustration.
6.
REMOVE SEATBACK ASSEMBLY
(a)
Remove the 3 screws and seat belt reclining detecting
part.
HINT:
At the time of reassembly, please refer to the following items.
Tighten the 2 screws on the seatback side.
Fold down the seatback forward and raise it up to the first
lock position.
Turn A to the rear side of the seat cushion for initial posi-
tioning.
Check visually that the reference holes are penetrated.
Tighten the screws on the cushion side of seat belt reclin-
ing detecting part.
(b)
Remove the reclining connecting wire of LH side edge.
H05326
H05331
H16764
–
BODY
REAR NO.1 SEAT (Split Type LH)
BO–145
3698
(c)
Remove the reclining connecting wire of RH side edge.
(d)
Remove the 4 bolts and seatback assembly.
Torque: 41 N·m (420 kgf·cm, 30 ft·lbf)
7.
REMOVE ARMREST
8.
REMOVE SEATBACK FRAME
(a)
Using a screwdriver, remove the rear seat shoulder belt
cover.
HINT:
Tape the screwdriver tip before use.
(b)
Remove the 4 headrest supports
(c)
Disengage the hooks, remove the seatback frame.
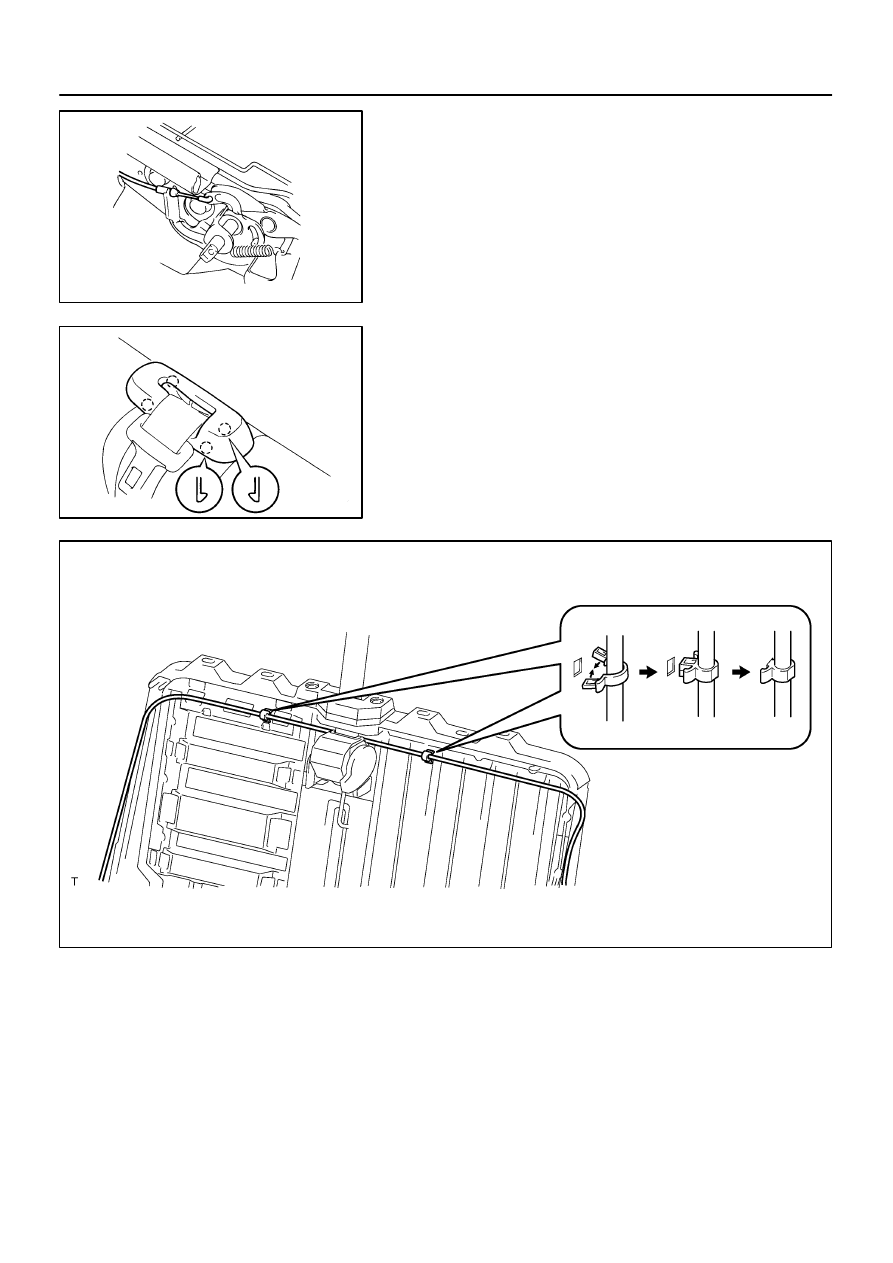
9.
REMOVE SEAT ADJUSTER CONTROL CABLE
Remove the 2 clamps and seat adjuster control cable.
H16765
H16766
H07940
BO–146
–
BODY
REAR NO.1 SEAT (Split Type LH)
3699
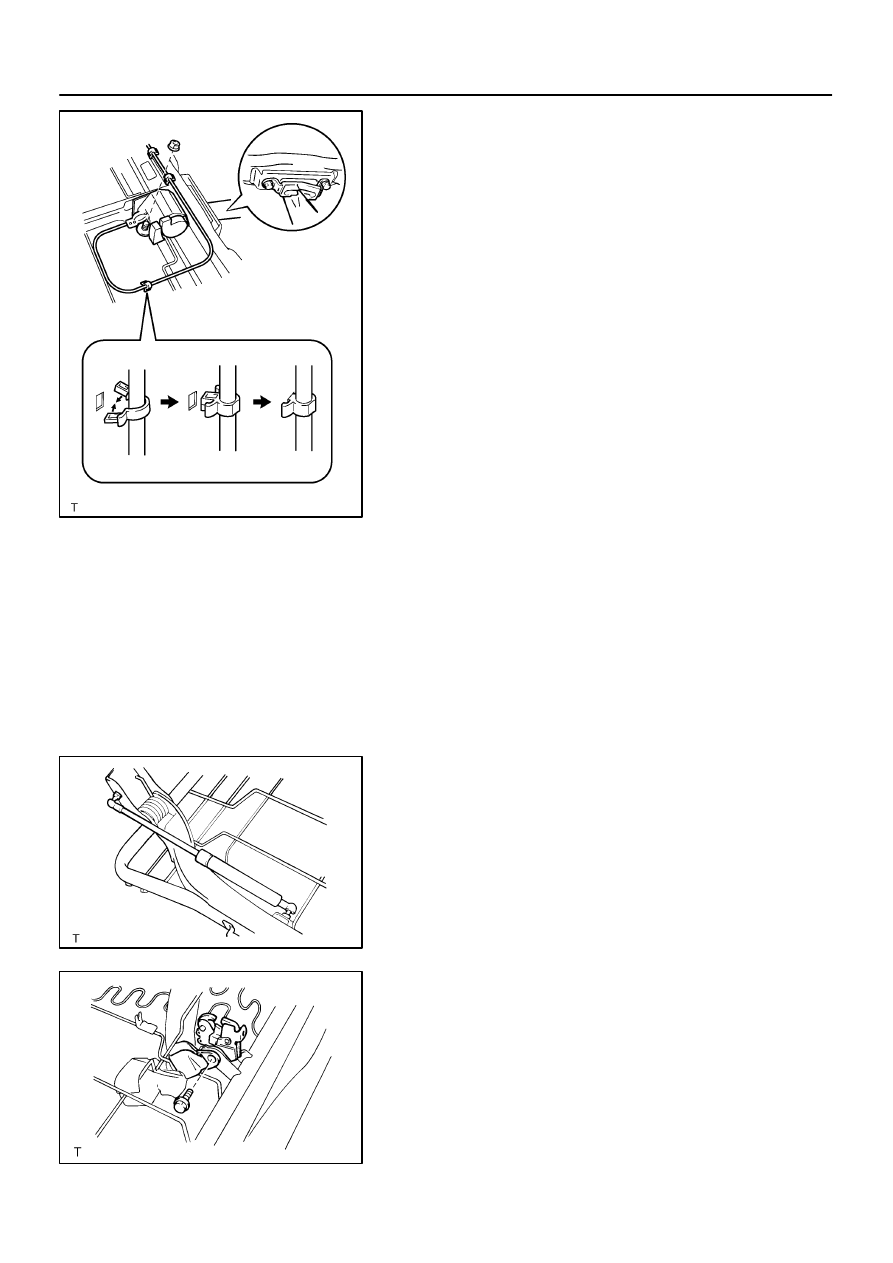
10.
REMOVE REAR SEAT OUTER BELT
(a)
Remove the 2 bolts and rear seat shoulder belt guide.
Torque: 42 N·m (430 kgf·cm, 31 ft·lbf)
HINT:
At the time of reassembly, please refer to the following item.
Install the shoulder belt guide to the seatback frame with a sit
the guide facing to the rear side of the vehicle.
(b)
Remove the nut, 3 clamps and rear seat outer belt.
Torque: 42 N·m (430 kgf·cm, 31 ft·lbf)
11.
REMOVE SEATBACK COVER
Remove the hog rings and seatback cover.
HINT:
At the time of reassembly, please refer to the following item.
When instaling hog rings, take care to prevent wrinkles as little
as possible.
12.
REMOVE SEAT CUSHION FRAME
Remove the hog rings and seat cushion frame.
HINT:
At the time of reassembly, please refer to the following item.
When instaling hog rings, take care to prevent wrinkles as little
as possible.
13.
REMOVE REAR NO. 1 SEAT ADJUSTER
(a)
Remove the 2 bolts and rear No. 1 seat outer adjuster.
Torque: 43 N·m (440 kgf·cm, 32 ft·lbf)
(b)
Remove the 2 bolts and rear No. 1 seat inner adjuster.
Torque: 43 N·m (440 kgf·cm, 32 ft·lbf)
(c)
Remove the 4 screws and 2 hinges covers from the rear
No. 1 seat outer and inner adjusters.
(d)
Remove the 2 screws and 2 reclining inner covers from
the rear No. 1 seat outer and inner adjuster.
14.
REMOVE REAR SEAT STAY
Remove the 2 bolts and rear seat stay.
15.
REMOVE REAR SEAT CUSHION HINGE
(a)
Using a screwdriver, remove the spring nut and E–rings.
(b)
Remove the 2 hinge pins, 2 cushion spacers, 2 cushion
support springs and 2 rear seat cushion hinges.
16.
REMOVE LH REAR SEAT LOCK
Unfasten the bolt, then remove the inner belt and LH rear seat
lock.
17.
REMOVE RH REAR SEAT LOCK
(a)
Remove the screw and rear seat lock cover.
(b)
Remove the bolt, seat belt anchor and inner belt.
Torque: 42 N·m (430 kgf·cm, 31 ft·lbf)
(c)
Remove the RH rear seat lock.
BO4SK–01
–
BODY
REAR NO.1 SEAT (Split Type LH)
BO–147
3700
REASSEMBLY
Reassembly is in the reverse order of disassembly (See page
).
Нет комментариевНе стесняйтесь поделиться с нами вашим ценным мнением.
Текст