Toyota Sequoia (2005). Manual — part 664
A23357
Push
A23337
A
B
C
D
E
A
B
C
D
E
E
E
E
E
E
E
E
E
E
E
E
E
A23337
1
4
22
8
9
2
3
21
6
10
17
18
5
7
13
14
19
12
11
15
16
20
A23335
Service Bolt
EM–66
–
ENGINE MECHANICAL
CYLINDER HEAD
2645
(9)
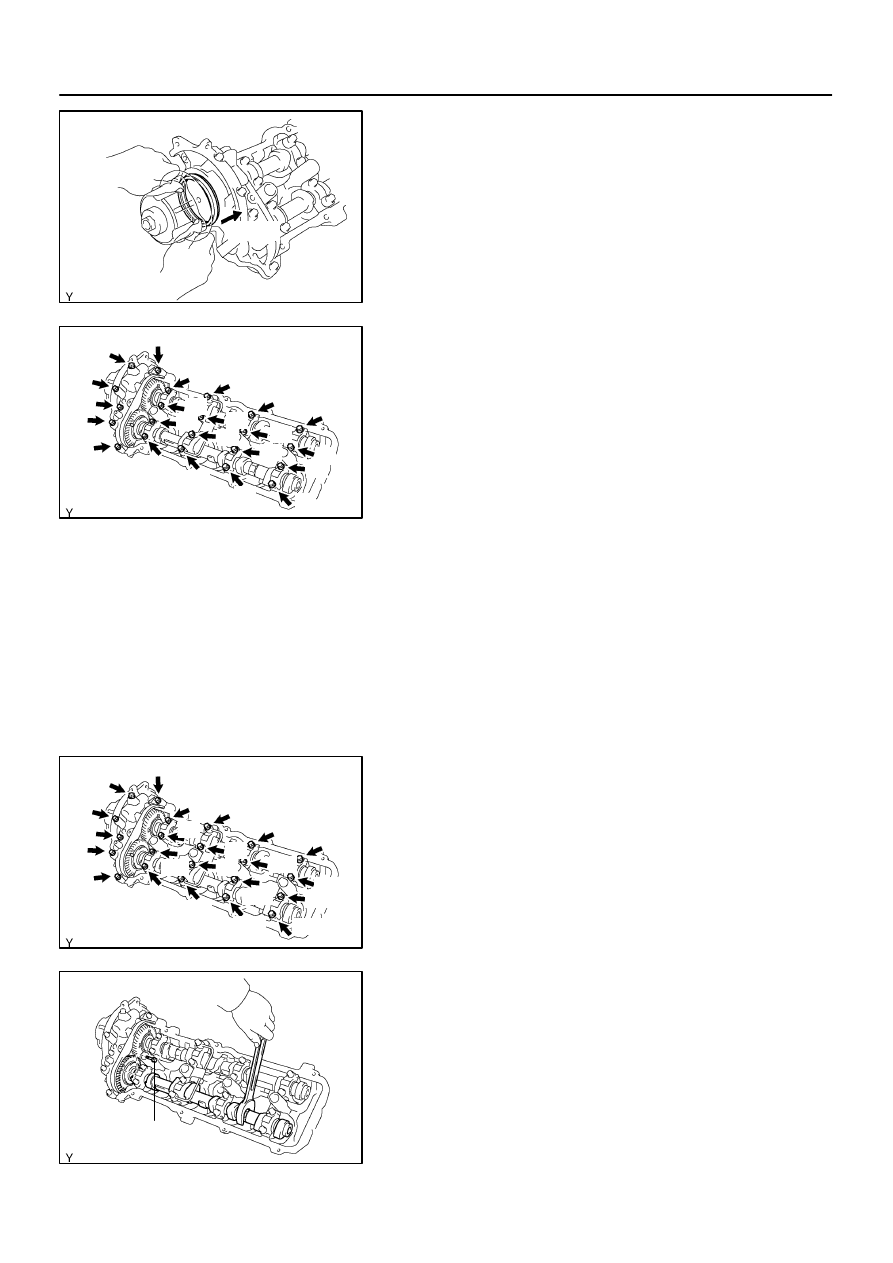
Push in the camshaft oil seal.
(10) Install 4 new seal washers to the bearing cap bolts
(A and B).
(11) Apply a light coat of engine oil to the threads and un-
der the heads of the bearing cap bolts (D and E).
NOTICE:
Do not apply engine oil under the heads of the bearing cap
bolts (A), (B) and (C).
HINT:
Each bolt length is indicated in the illustration.
Bolt length:
94 mm (3.70 in.) for A with seal washer
72 mm (2.83 in.) for B with seal washer
25 mm (0.98 in.) for C
52 mm (2.05 in.) for D
38 mm (1.50 in.) for E
(12) Install the oil feed pipe and the 22 bearing cap bolts
as shown in the illustration.
(13) Uniformly tighten the 22 bearing cap bolts in several
steps, in the sequence shown.
Torque:
7.5 N·m (76 kgf·cm, 66 in.·lbf) for bolt C
16 N·m (160 kgf·cm, 12 ft·lbf) for others
(14) Remove the service bolt.
A23358
Approx. 10
°
B02636
Seal Packing
A23359
–
ENGINE MECHANICAL
CYLINDER HEAD
EM–67
2646
(c)
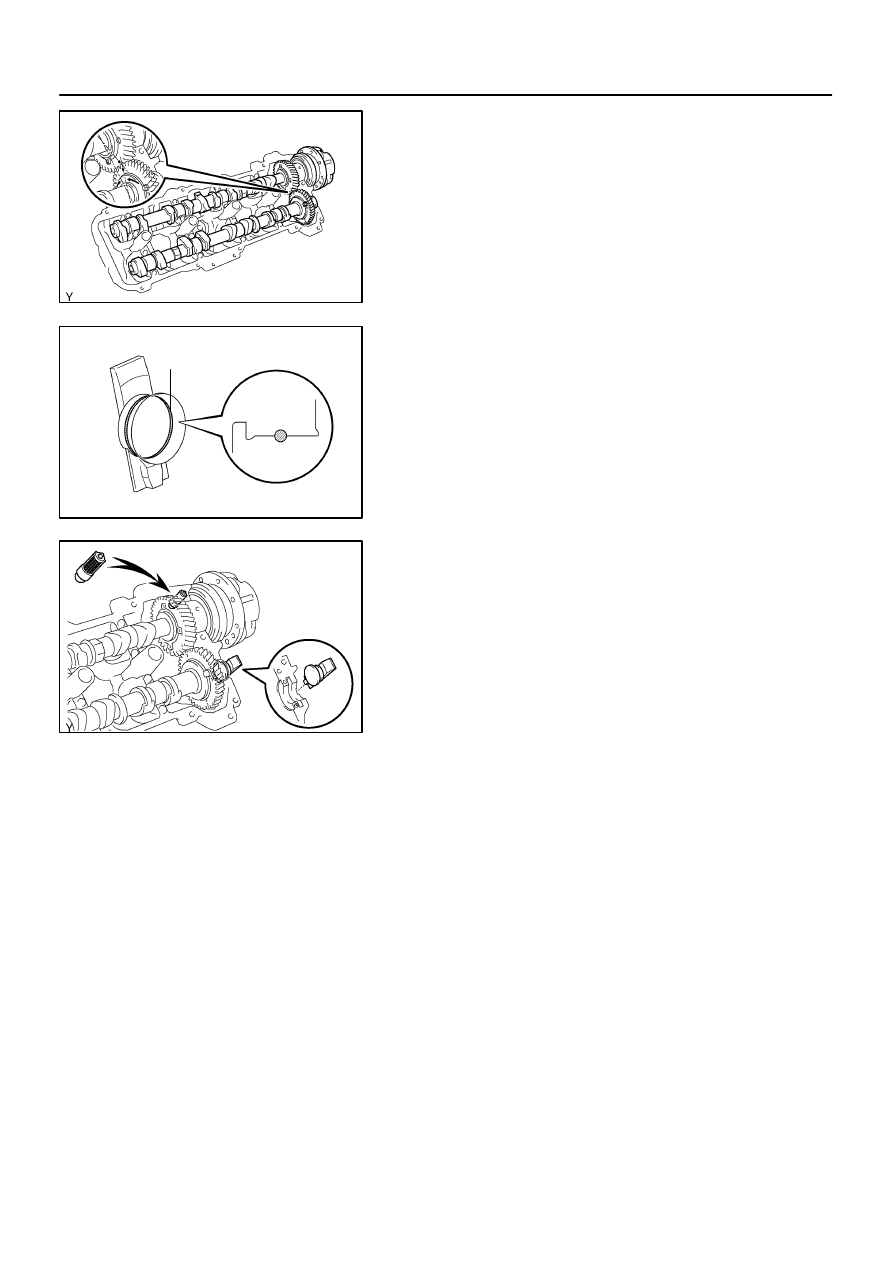
Install the RH camshafts.
(1)
Apply MP grease to the thrust portions of the intake
and exhaust camshafts.
(2)
Align the timing marks (1–dot mark) of the camshaft
drive and driven main gears, and place the intake
and exhaust camshafts.
(3)
Set the timing mark (1–dot mark) of the camshaft
drive and driven main gears at approx. 10
°
angle.
(4)
Apply seal packing to the camshaft housing plug.
Remove the old packing material (FIPG).
Apply seal packing to the housing plug.
Seal packing: Part No. 08826–00080 or equivalent
(5)
Install the camshaft housing plug to the cylinder
head as shown in the illustration.
(6)
Install the strainer to the cylinder head.
NOTICE:
Be careful of the installation direction.
A16832
Seal Packing
Seal Width
1.5 mm
A23360
A23361
Push
EM–68
–
ENGINE MECHANICAL
CYLINDER HEAD
2647
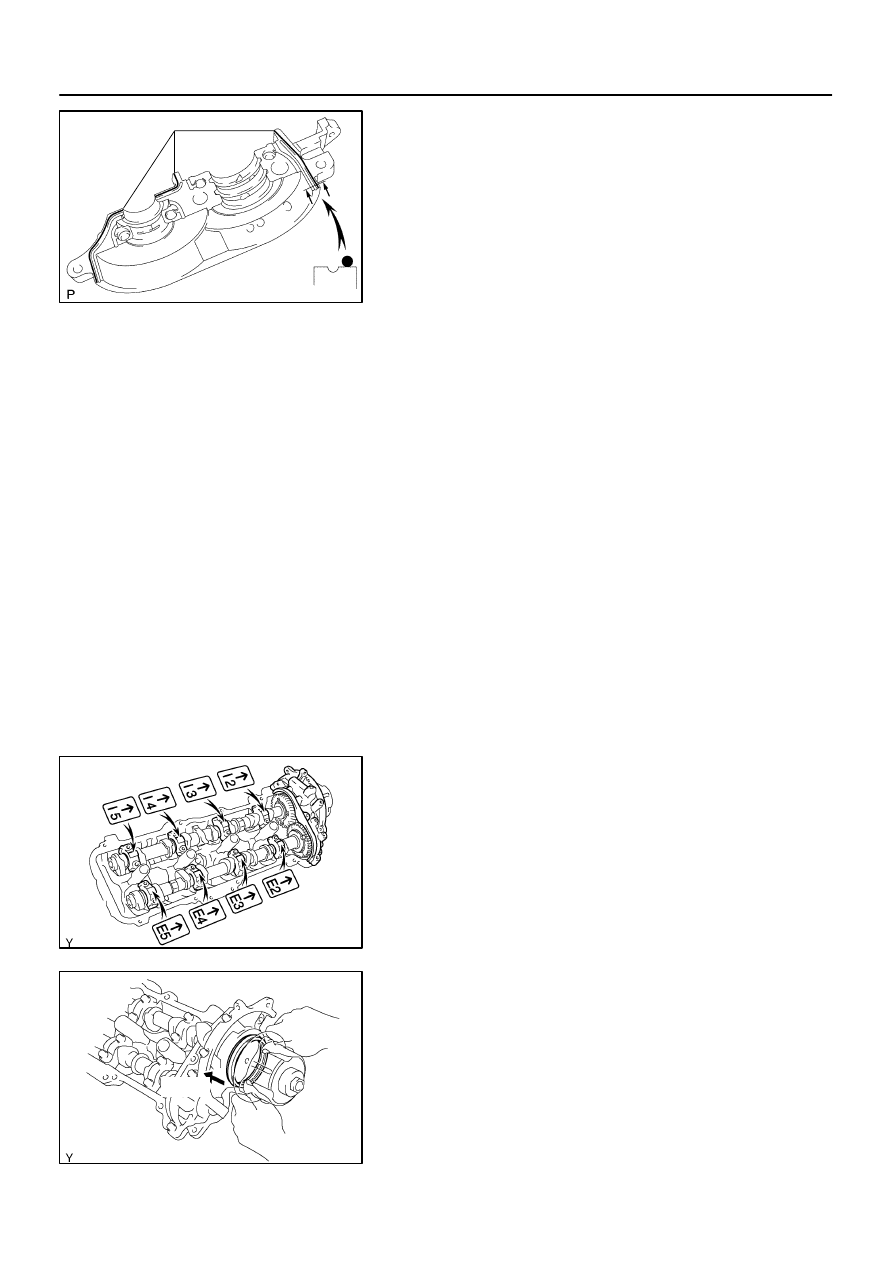
(7)
Apply seal packing to the front bearing cap.
Remove any old packing material (FIPG) and
be careful not to drop any oil on the contact
surfaces of the bearing cap and cylinder
head.
Using a razor blade and gasket scraper, re-
move all the old packing material (FIPG) from
the gasket surfaces and groove.
Thoroughly clean all components to remove
all the loose material.
Using a non–residue solvent, clean both
sealing surfaces.
Apply seal packing to the bearing cap as
shown in the illustration.
Install a nozzle that has been cut to a 1.5 mm
(0.059 in.) opening.
Parts must be assembled within 5 minutes of
application. Otherwise the material must be
removed and reapplied.
Immediately remove the nozzle from the tube
and reinstall cap.
Seal packing: Part No. 08826–00080 or equivalent
NOTICE:
Do not apply seal packing to the front bearing cap grooves.
(8)
Install the front bearing cap.
HINT:
Installing the front bearing cap will determine the thrust portion
of the camshaft.
(9)
Install the other bearing caps in the sequence
shown with the arrow mark facing forward.
(10) Push in the camshaft oil seal.
A23340
A
B
C
E
E
A
B
C
E
E
E
E
E
E
E
D
E
E
E
E
E
D
A23340
1
4
22
8
2
3
21
6
5
7
13
14
19
12
11
15
16
20
9
10
17
18
A23338
Service Bolt
EM7143
Seal Packing
–
ENGINE MECHANICAL
CYLINDER HEAD
EM–69
2648
(11) Install 4 new seal washers to the bearing cap bolts
(A and B).
(12) Apply a light coat of engine oil on the threads and
under the heads of the bearing cap bolts (D and E).
NOTICE:
Do not apply engine oil under the heads of the bearing cap
bolts (A), (B) and (C).
HINT:
Each bolt length is indicated in the illustration.
Bolt length:
94 mm (3.70 in.) for A with seal washer
72 mm (2.83 in.) for B with seal washer
25 mm (0.98 in.) for C
52 mm (2.05 in.) for D
38 mm (1.50 in.) for E
(13) Install the oil feed pipe and the 22 bearing cap bolts
as shown in the illustration.
(14) Uniformly tighten the 22 bearing cap bolts in several
steps, in the sequence shown.
Torque:
7.5 N·m (76 kgf·cm, 66 in.·lbf) for bolt C
16 N·m (160 kgf·cm, 12 ft·lbf) for others
(15) Remove the service bolt.
9.
CHECK AND ADJUST VALVE CLEARANCE
(See page
Turn the camshaft so that the cam lobe faces upward, and
check and adjust the valve clearance.
10.
INSTALL CAMSHAFT TIMING OIL CONTROL VALVE
(See page
11.
INSTALL SEMI–CIRCULAR PLUGS
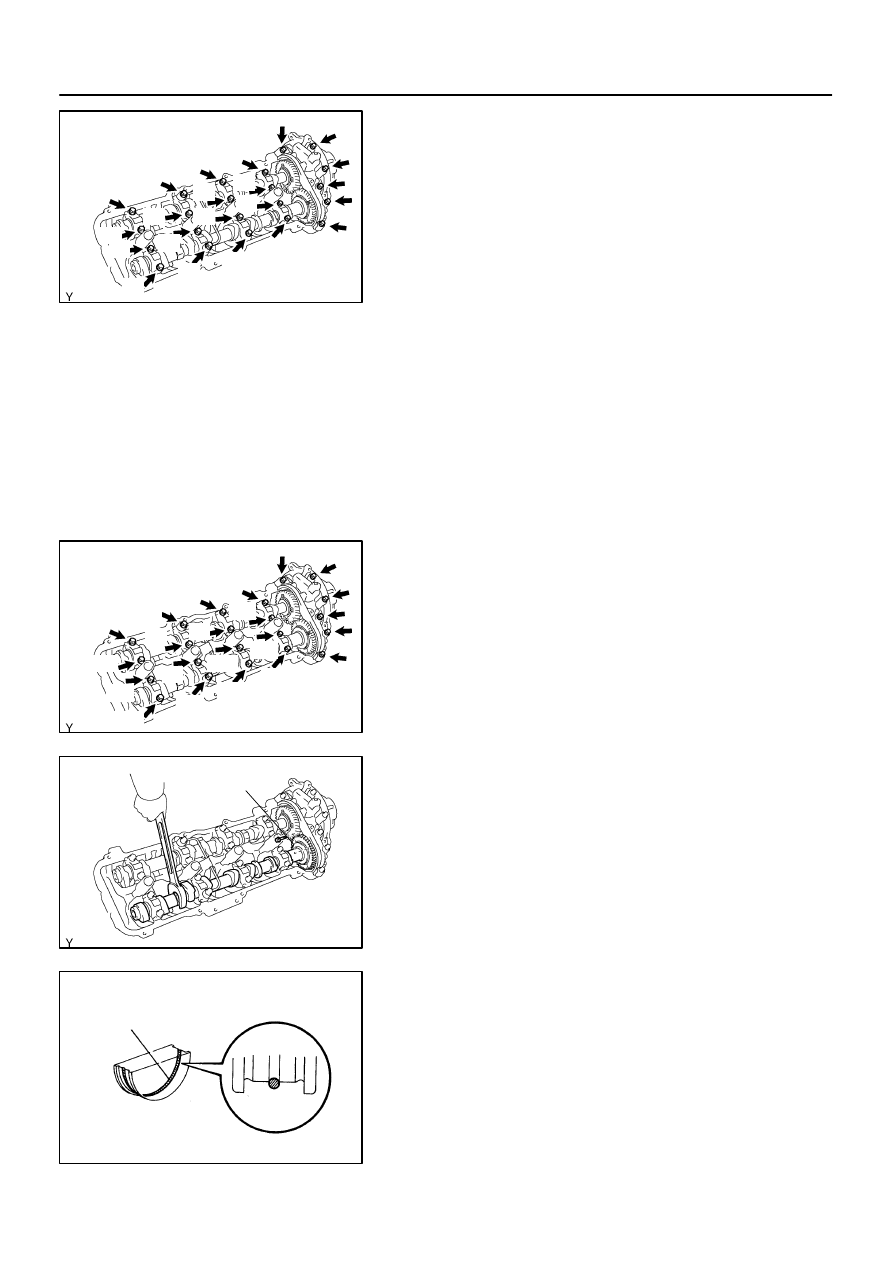
(a)
Remove any old packing material (FIPG).
(b)
Apply seal packing to the semi–circular plug grooves.
Seal packing:
Part No. 08826–00080 or equivalent
Нет комментариевНе стесняйтесь поделиться с нами вашим ценным мнением.
Текст