Toyota Tundra. Manual — part 687

Fig. 551: Identifying Headrest Supports Claws
Courtesy of TOYOTA MOTOR SALES, U.S.A., INC.
g. Remove the hog rings and seatback cover with pad.
Fig. 552: Identifying Seatback Cover Hog Rings
Courtesy of TOYOTA MOTOR SALES, U.S.A., INC.
8. REMOVE LUMBAR SUPPORT ADJUSTER ASSEMBLY LH (see DISASSEMBLY )
INSPECTION
1. INSPECT LUMBAR SUPPORT ADJUSTER ASSEMBLY LH
a. Check operation of the lumbar support adjuster.
1. Check if the lumbar support adjuster moves smoothly when the battery is connected to the
lumbar support adjuster motor connector terminals.
OK
LUMBAR SUPPORT ADJUSTER ASSEMBLY LH
If the result is not as specified, replace the lumbar support adjuster assembly.
Measurement Condition Operation Direction
Battery positive (+) --> 1
Battery negative (-) --> 2
Hold
Battery positive (+) --> 2
Battery negative (-) --> 1
Release
2009 Toyota Tundra
2009 ACCESSORIES AND EQUIPMENT Seat - Tundra

Fig. 553: Identifying Lumbar Support Adjuster Connector Terminals (LH)
Courtesy of TOYOTA MOTOR SALES, U.S.A., INC.
2. INSPECT LUMBAR SUPPORT ADJUSTER ASSEMBLY RH
a. Check operation of the lumbar support adjuster.
1. Check if the lumbar support adjuster moves smoothly when the battery is connected to the
lumbar support adjuster motor connector terminals.
OK
LUMBAR SUPPORT ADJUSTER ASSEMBLY RH
If the result is not as specified, replace the lumbar support adjuster assembly.
Measurement Condition Operation Direction
Battery positive (+) --> 2
Battery negative (-) --> 1
Hold
Battery positive (+) --> 1
Battery negative (-) --> 2
Release
2009 Toyota Tundra
2009 ACCESSORIES AND EQUIPMENT Seat - Tundra

Fig. 554: Identifying Lumbar Support Adjuster Connector Terminals (RH)
Courtesy of TOYOTA MOTOR SALES, U.S.A., INC.
INSTALLATION
HINT:
Use the same procedures for the LH side and RH side.
The procedures listed below are for the LH side.
1. INSTALL LUMBAR SUPPORT ADJUSTER ASSEMBLY LH (see REASSEMBLY )
2. INSTALL FRONT SEATBACK COVER WITH PAD LH
a. Install seatback cover with pad to the seatback frame.
b. Using hog ring pliers, install new hog rings to the seat frame.
CAUTION: Wear protective gloves. Sharp areas on the seat frame and adjuster may
injure your hands.
2009 Toyota Tundra
2009 ACCESSORIES AND EQUIPMENT Seat - Tundra
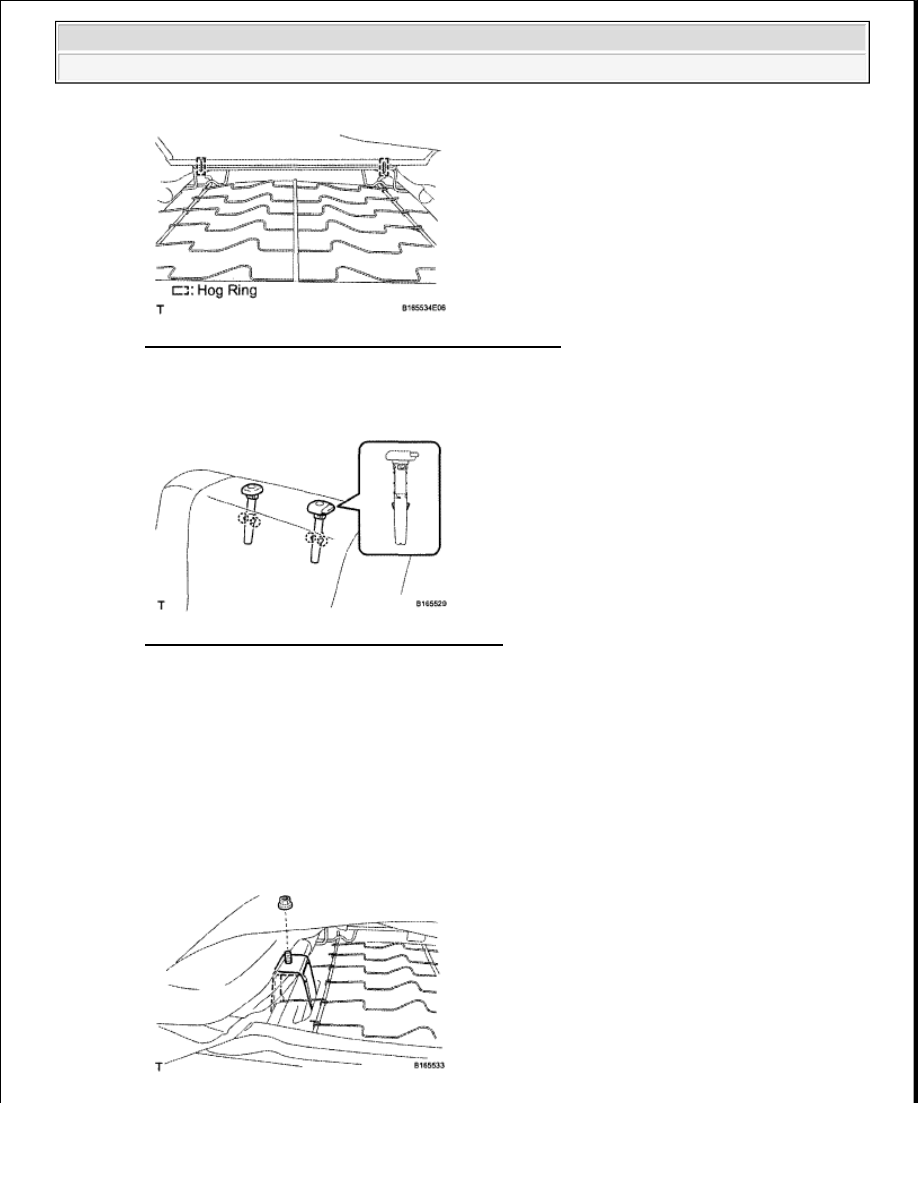
Fig. 555: Identifying Front Seatback Cover Hog Rings
Courtesy of TOYOTA MOTOR SALES, U.S.A., INC.
c. Attach the 4 claws to install the 2 headrest supports.
Fig. 556: Identifying Headrest Supports Claws
Courtesy of TOYOTA MOTOR SALES, U.S.A., INC.
d. Install the seatback cover bracket to the seat frame with the nut.
Torque: 5.5 N*m (56 kgf*cm, 49 in.*lbf)
e. Install the seatback cover wires.
CAUTION: After the seatback trim cover is assembled, make sure the side
airbag strap is not twisted.
2009 Toyota Tundra
2009 ACCESSORIES AND EQUIPMENT Seat - Tundra
Нет комментариевНе стесняйтесь поделиться с нами вашим ценным мнением.
Текст