Toyota Tundra. Manual — part 2504

Fig. 140: Identifying Personal Light Claws
Courtesy of TOYOTA MOTOR SALES, U.S.A., INC.
c. Remove the 2 bulbs.
Fig. 141: Identifying Personal Light Bulbs
Courtesy of TOYOTA MOTOR SALES, U.S.A., INC.
REASSEMBLY
HINT:
When only replacing the personal light bulbs, use the following procedures.
1. INSTALL PERSONAL LIGHT BULB
a. Install the 2 bulbs.
Fig. 142: Identifying Personal Light Bulbs
Courtesy of TOYOTA MOTOR SALES, U.S.A., INC.
2009 Toyota Tundra
2009 ACCESSORIES AND EQUIPMENT Lighting - Tundra

b. Attach the 6 claws to install the 2 personal light lenses.
Fig. 143: Identifying Personal Light Claws
Courtesy of TOYOTA MOTOR SALES, U.S.A., INC.
INSTALLATION
1. INSTALL ROOF CONSOLE BOX ASSEMBLY (See INSTALLATION )
PERSONAL LIGHT ASSEMBLY (FOR LONG TYPE OVERHEAD CONSOLE
BOX)
COMPONENTS
2009 Toyota Tundra
2009 ACCESSORIES AND EQUIPMENT Lighting - Tundra

Fig. 144: Identifying Personal Light Assembly (For Long Type Overhead Console Box) Components
Courtesy of TOYOTA MOTOR SALES, U.S.A., INC.
REMOVAL
1. REMOVE ROOF CONSOLE BOX ASSEMBLY (See REMOVAL )
DISASSEMBLY
HINT:
2009 Toyota Tundra
2009 ACCESSORIES AND EQUIPMENT Lighting - Tundra
When only replacing the room light bulbs, use the following procedures.
1. REMOVE PERSONAL LIGHT BULB
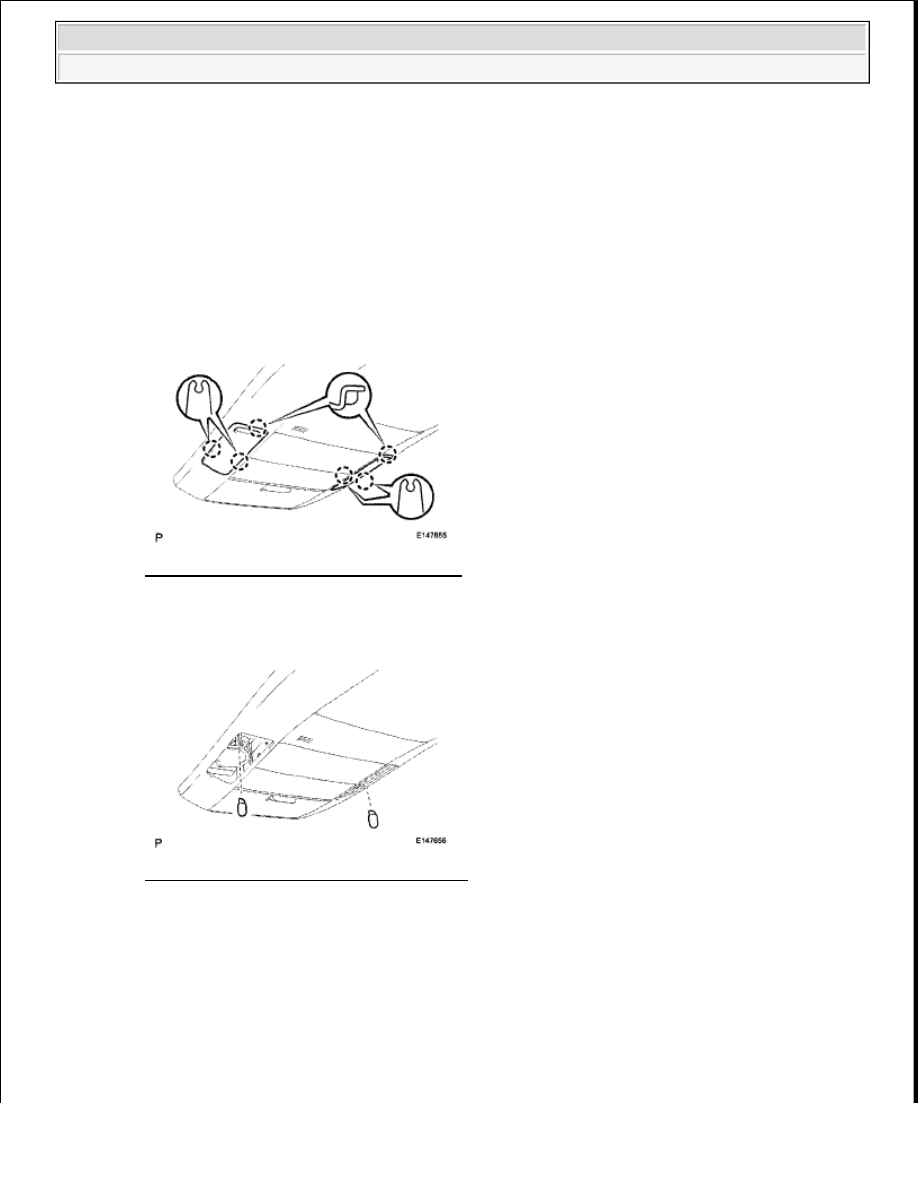
a. Using a screwdriver, detach the 6 claws.
HINT:
Tape the screwdriver tip before use.
b. Remove the 2 personal light lenses.
Fig. 145: Identifying Personal Light Lens
Courtesy of TOYOTA MOTOR SALES, U.S.A., INC.
c. Remove the 2 bulbs.
Fig. 146: Identifying Personal Light Bulbs
Courtesy of TOYOTA MOTOR SALES, U.S.A., INC.
REASSEMBLY
HINT:
When only replacing the room light bulbs, use the following procedures.
1. INSTALL PERSONAL LIGHT BULB
a. Install the 2 bulbs.
2009 Toyota Tundra
2009 ACCESSORIES AND EQUIPMENT Lighting - Tundra
Нет комментариевНе стесняйтесь поделиться с нами вашим ценным мнением.
Текст