Toyota Tundra. Manual — part 2891

b. Remove the O-ring from the input shaft.
Fig. 432: Identifying Input Shaft O-Ring
Courtesy of TOYOTA MOTOR SALES, U.S.A., INC.
51. INSPECT FORWARD CLUTCH RETURN SPRING SUB-ASSEMBLY (See INSPECTION )
52. REMOVE DIRECT CLUTCH DISC SET
a. Using a screwdriver, remove the 2 hole snap rings from the clutch drum.
Fig. 433: Using Screwdriver To Remove Hole Snap Rings
Courtesy of TOYOTA MOTOR SALES, U.S.A., INC.
b. Remove the direct clutch flange, 5 discs and 5 plates from the clutch drum.
2009 Toyota Tundra
2009 TRANSMISSION AB60F Automatic Transaxle - Tundra

Fig. 434: Identifying Direct Clutch Flange, Discs & Plates
Courtesy of TOYOTA MOTOR SALES, U.S.A., INC.
53. INSPECT DIRECT CLUTCH DISC (See INSPECTION )
54. REMOVE NO. 3 CLUTCH BALANCER
a. Place SST on the No. 3 clutch balancer, and compress the return spring with a press.
SST 09380-60010 (09381-06020, 09381-06030, 09381-06040, 09381-06050, 09381-06080)
Fig. 435: Placing SST On Clutch Balancer & Compressing Return Spring With Press
Courtesy of TOYOTA MOTOR SALES, U.S.A., INC.
b. Using SST, remove the snap ring.
SST 09350-30020 (09350-07070)
c. Remove the No. 3 clutch balancer.
2009 Toyota Tundra
2009 TRANSMISSION AB60F Automatic Transaxle - Tundra
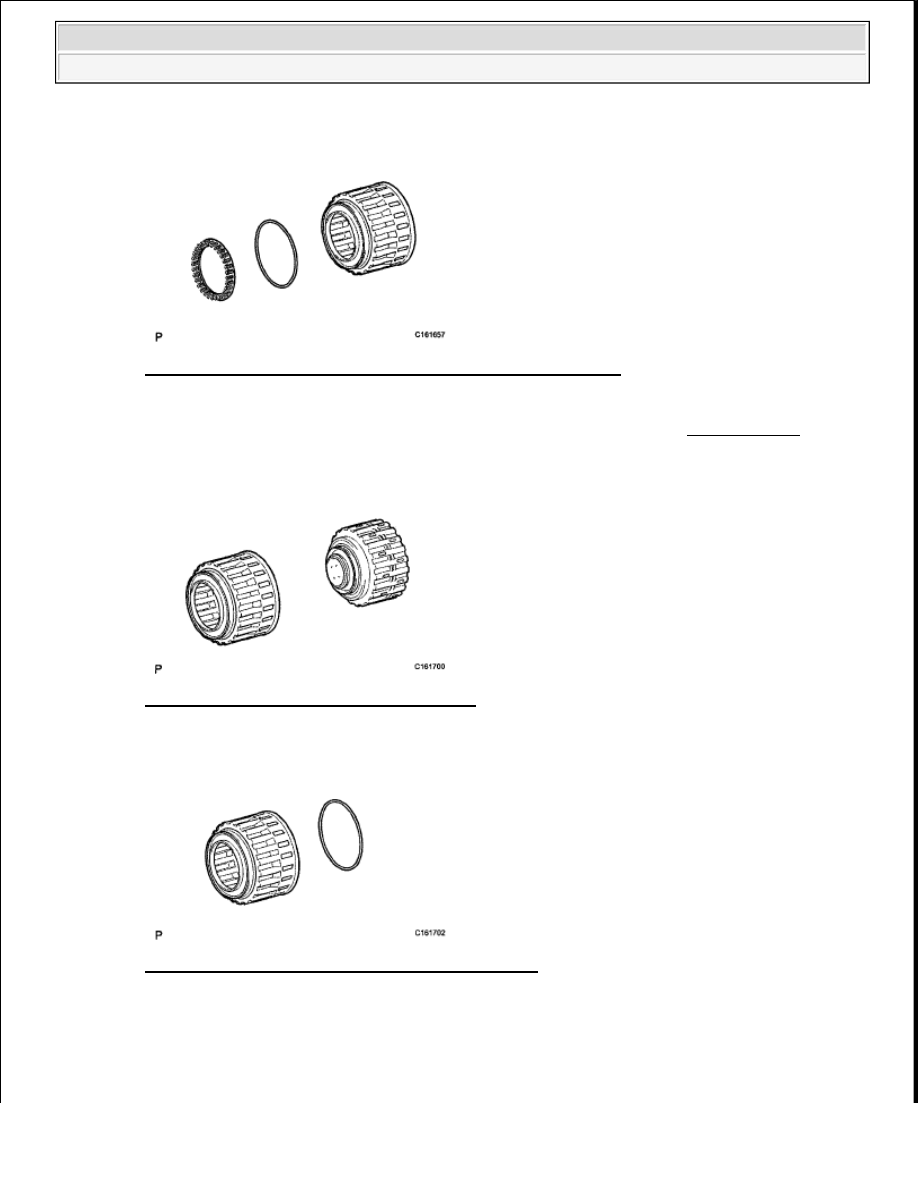
d. Remove the reverse clutch return spring and O-ring from the reverse clutch piston sub-assembly.
Fig. 436: Identifying Reverse Clutch Return Spring & O-Ring
Courtesy of TOYOTA MOTOR SALES, U.S.A., INC.
55. INSPECT REVERSE CLUTCH RETURN SPRING SUB-ASSEMBLY (See INSPECTION )
56. REMOVE REVERSE CLUTCH PISTON SUB-ASSEMBLY
a. Remove the reverse clutch piston from the clutch drum.
Fig. 437: Identifying Reverse Clutch Piston
Courtesy of TOYOTA MOTOR SALES, U.S.A., INC.
b. Remove the O-ring from the reverse clutch piston.
Fig. 438: Identifying Reverse Clutch Piston O-Ring
Courtesy of TOYOTA MOTOR SALES, U.S.A., INC.
c. Remove the O-ring from the clutch drum.
2009 Toyota Tundra
2009 TRANSMISSION AB60F Automatic Transaxle - Tundra

Fig. 439: Identifying Clutch Drum O-Ring
Courtesy of TOYOTA MOTOR SALES, U.S.A., INC.
57. REMOVE DIRECT CLUTCH PISTON SUB-ASSEMBLY
a. Place SST on the direct clutch piston, and compress the return spring with a press.
SST 09380-60010 (09381-06030, 09381-06040, 09381-06080)
Fig. 440: Placing SST On Direct Clutch Balancer & Compressing Return Spring With Press
Courtesy of TOYOTA MOTOR SALES, U.S.A., INC.
b. Using SST, remove the snap ring.
SST 09350-30020 (09350-07070)
c. Place the oil pump onto the torque converter clutch, and then place the clutch drum onto the oil
pump.
d. Hold the direct clutch piston by hand and apply compressed air to the oil hole of the oil pump as
shown below to remove the direct clutch piston with the No. 2 clutch balancer and direct clutch
return spring sub-assembly.
2009 Toyota Tundra
2009 TRANSMISSION AB60F Automatic Transaxle - Tundra
Нет комментариевНе стесняйтесь поделиться с нами вашим ценным мнением.
Текст