Nissan Qashqai J11. Manual — part 50
DRIVE BELTS
EM-139
< PERIODIC MAINTENANCE >
[MR20DD]
C
D
E
F
G
H
I
J
K
L
M
A
EM
N
P
O
PERIODIC MAINTENANCE
DRIVE BELTS
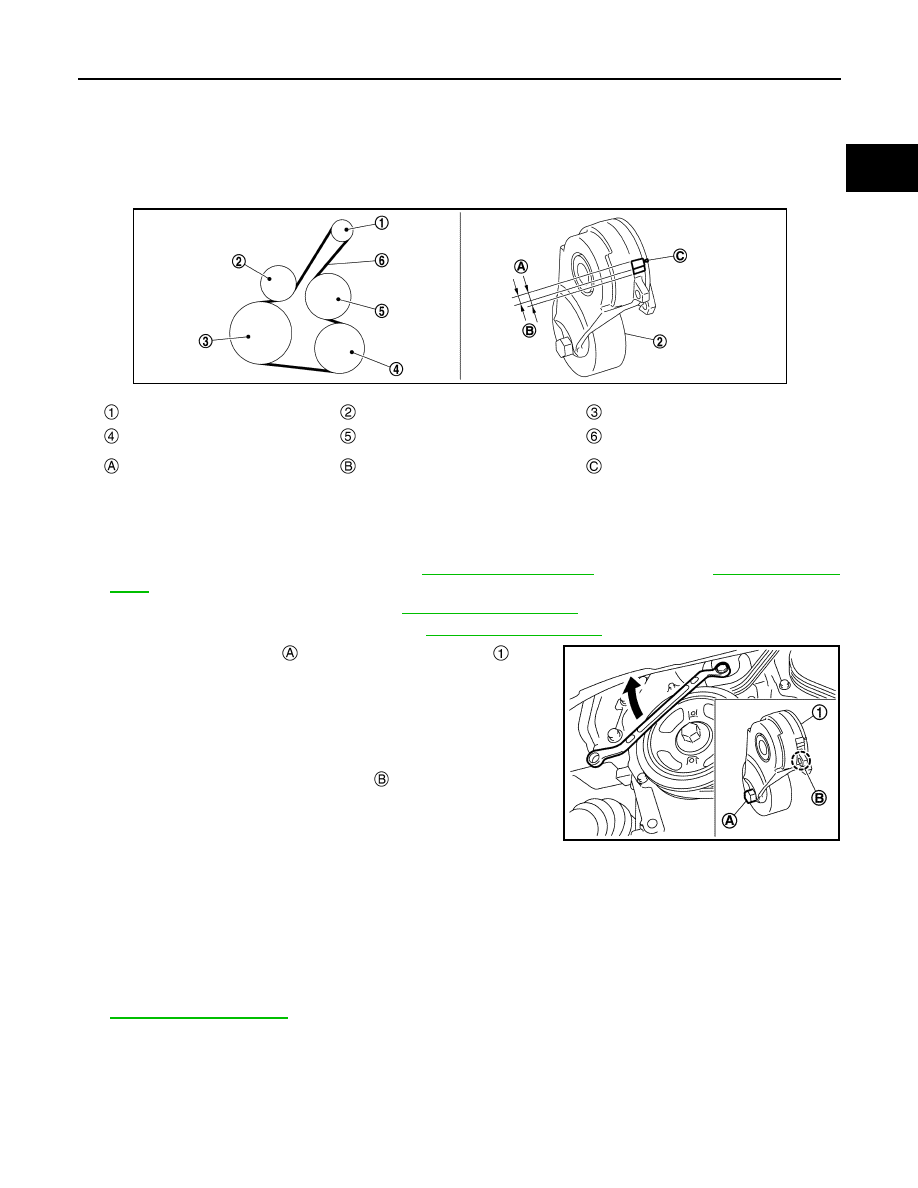
Exploded View
INFOID:0000000010715455
Removal and Installation
INFOID:0000000010715456
REMOVAL
1.
Remove front wheel and tire (RH). Refer to
(with TPMS) or
(without TPMS).
2.
Remove front fillet molding (RH). Refer to
.
3.
Remove front fender protector (RH). Refer to
4.
Hold the hexagonal part
of drive belt auto-tensioner
with a
wrench securely. Then move the wrench handle in the direction
of arrow (loosening direction of tensioner).
CAUTION:
Avoid placing hand in a location where pinching may occur
if the holding tool accidentally comes off.
5.
Insert a rod approximately 6 mm (0.24 in) in diameter such as
short-length screwdriver into the hole
of the retaining boss to
drive belt auto-tensioner.
• Keep drive belt auto-tensioner pulley arm locked after drive
belt is removed.
INSTALLATION
CAUTION:
• Confirm drive belt is completely set to pulleys.
• Check for engine oil, working fluid and engine coolant are not adhered to drive belt and each pulley
groove.
1.
Release drive belt auto-tensioner, and apply tension to drive belt.
2.
Turn crankshaft pulley clockwise several times to equalize tension between each pulley.
3.
Confirm tension of drive belt at indicator (notch on fixed side) is within the possible use range. Refer to
.
Alternator
Drive belt auto-tensioner
Crankshaft pulley
A/C compressor
Water pump
Drive belt
Possible use range
Range when new drive belt is in-
stalled
Indicator
JPBIA4302ZZ
JPBIA4351ZZ

EM-140
< PERIODIC MAINTENANCE >
[MR20DD]
DRIVE BELTS
Inspection
INFOID:0000000010715457
WARNING:
Perform this step when engine is stopped.
• Check that the indicator (notch on fixed side) of drive belt auto-tensioner is within the possible use range
in the figure.
NOTE:
• Check the drive belt auto-tensioner indication when the engine is cold.
• When new drive belt is installed, the indicator (notch on fixed side) should be within the range
in the fig-
ure.
• Visually check entire drive belts for wear, damage or cracks.
• If the indicator (notch on fixed side) is out of the possible use range or belts is damaged, replace belts.
Adjustment
INFOID:0000000010715458
Alternator
Drive belt auto-tensioner
Crankshaft pulley
A/C compressor
Water pump
Drive belt
Possible use range
Range when new drive belt is in-
stalled
Indicator
JPBIA4302ZZ
Refer to

AIR CLEANER FILTER
EM-141
< PERIODIC MAINTENANCE >
[MR20DD]
C
D
E
F
G
H
I
J
K
L
M
A
EM
N
P
O
AIR CLEANER FILTER
Exploded View
INFOID:0000000010715459
Removal and Installation
INFOID:0000000010715460
REMOVAL
1.
Release air resonator pawls and remove to upper direction.
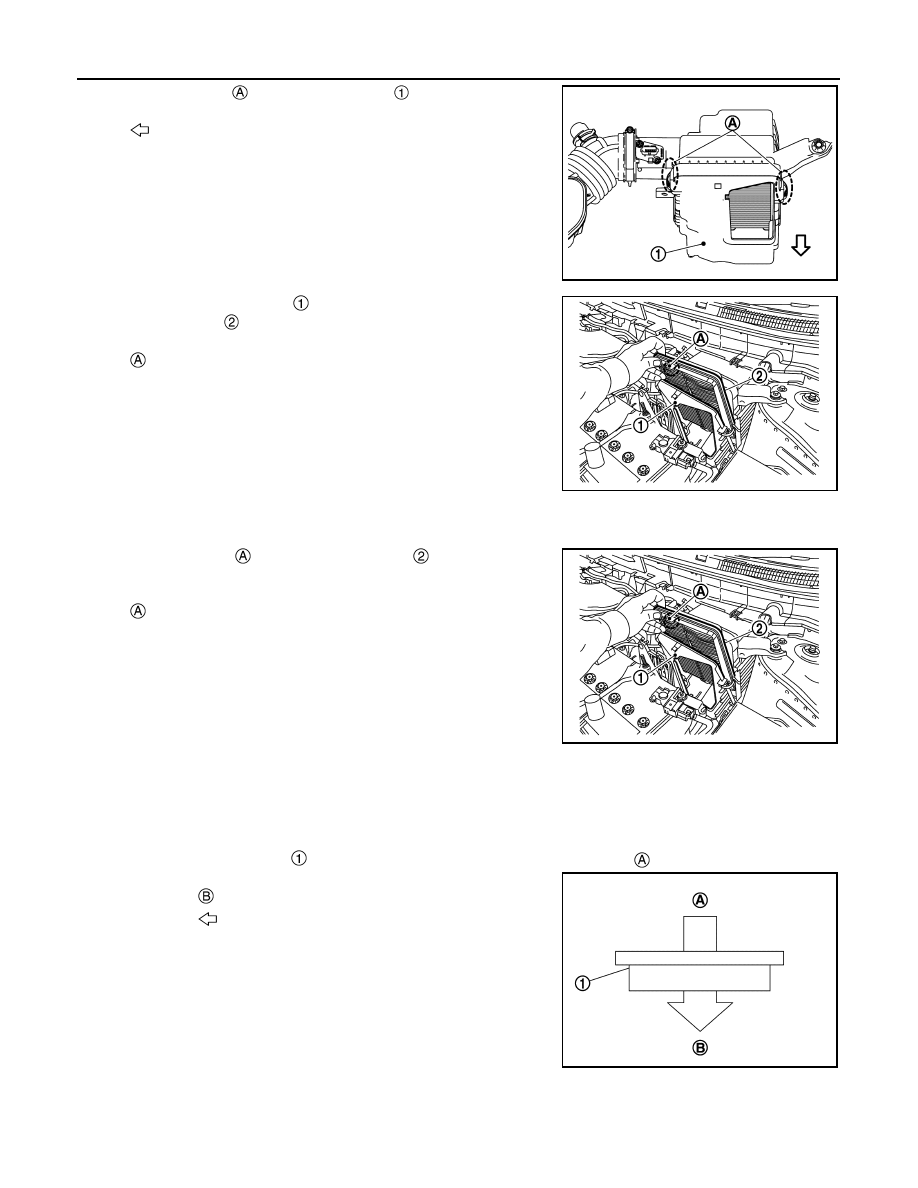
Mounting rubber
Air duct assembly
Air cleaner filter unit assembly
Air cleaner filter unit bracket
Air resonator bracket
Air Resonator
Air duct inlet
Clip
Air duct assembly bracket 1
Air duct assembly bracket 2
: Always replace after every disassembly.
: N·m (kg-m, in-lb)
E1BIA1175GB
EM-142
< PERIODIC MAINTENANCE >
[MR20DD]
AIR CLEANER FILTER
2.
Remove the clips
of air cleaner cover
.
3.
Shifte air cleaner cover
to car front side and remove air
cleaner element
.
INSTALLATION
Install in the reverse order of removal.
• Insert the projection
of air cleaner element
in such a way so
that it becomes the position (upper front side of car) of illustration.
• Verify that there is no looseness in air cleaner cover and has been
fixed accurately.
• Check that pawls of air resonator are engaged.
Inspection (Dry Paper Type)
INFOID:0000000010715461
INSPECTION AFTER REMOVAL
Examine with eyes that there is no stain, clogging, or damage on air cleaner element.
• Remove dusts (such as dead leafs) on air cleaner element surface and inside cleaner case.
• To clean air cleaner element
, blow air on it from the air intake manifold side
to remove trash or dust.
CAUTION:
• When blowing air on the air cleaner element, attach the
cover to the air cleaner case and stay away from the vehicle
as much as possible to prevent the entry of dirt into the air
cleaner case.
• Never blow air from the ambient air side to prevent clogging.
When the ambient air side needs to be cleaned, attach the
cover to the intake manifold side and lightly dust by hand.
• If clogging or damage is observed, replace the air cleaner element.
: Vehicle front
JPBIA6829ZZ
: Projection
JPBIA6830ZZ
: Projection
JPBIA6830ZZ
Ambient air side
Air blow direction
JSBIA3460ZZ
Нет комментариевНе стесняйтесь поделиться с нами вашим ценным мнением.
Текст