Daewoo Musso. Manual — part 19
1B1-12 M162 ENGINE MECHANICAL
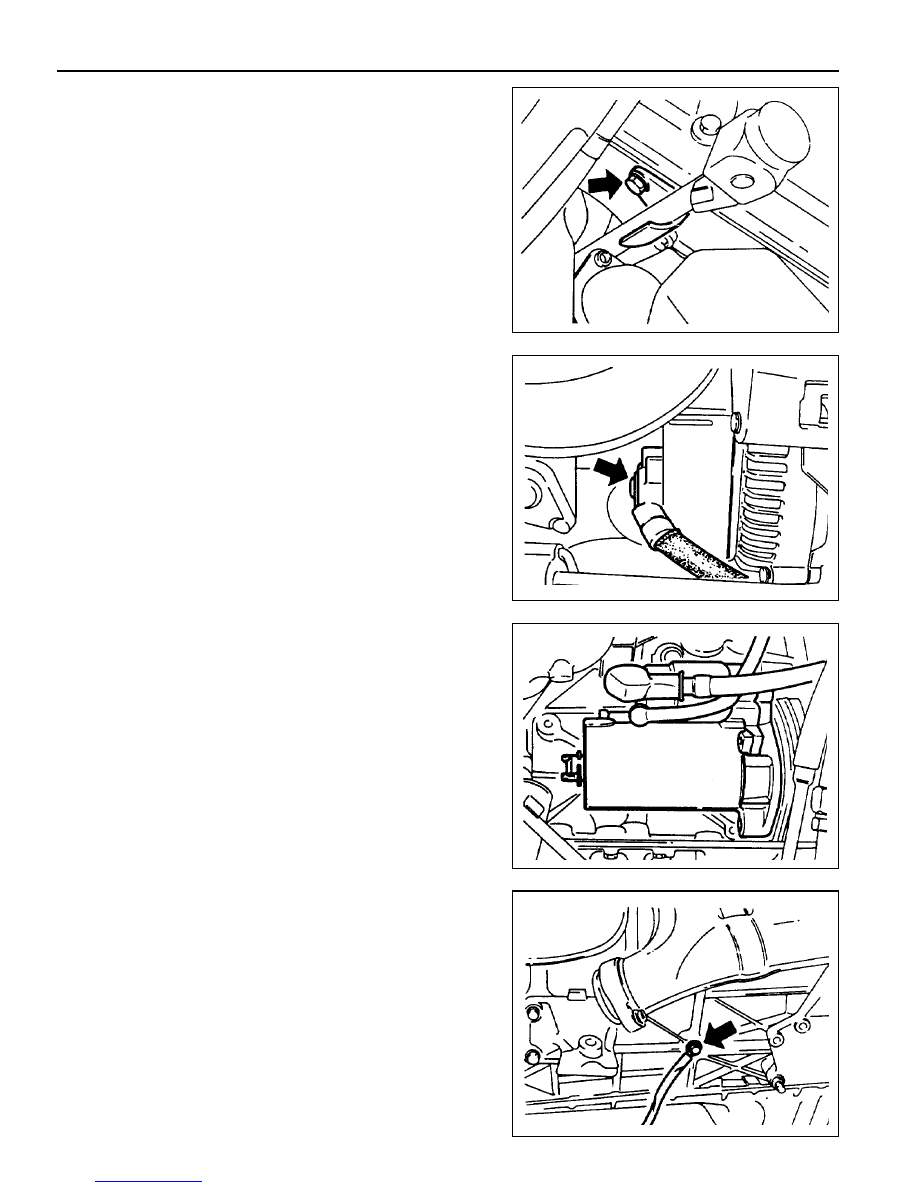
19. Disconnect the engine ground wire.
15. Remove the automatic transmission dipstick guide tube.
16. Disconnect the wire of alternator.
17. Disconnect the wire of starter motor and remove the starter
motor.
18. Disconnect the engine main harness ground.

M162 ENGINE MECHANICAL 1B1-13
20. Disconnect following sensors connector.
l
HFM sensor.
l
Coolant temperature sensor.
l
2 knock sensors.
l
Camshaft and crankshaft sensors.
21. After removing the ignition coil cover, disconnect the ignition
coil connector.
22. Remove the harness cover and disconnect the 6 injection
valve connectors. Disconnect the main harness
23. Separate the hose toward engine from canister purge
solenoid valve.
24. Remove the automatic transmission oil cooler line.
1B1-14 M162 ENGINE MECHANICAL
Tightening Torque
30 Nm
29. Remove the exhaust manifold and exhaust pipe.
Installation Notice
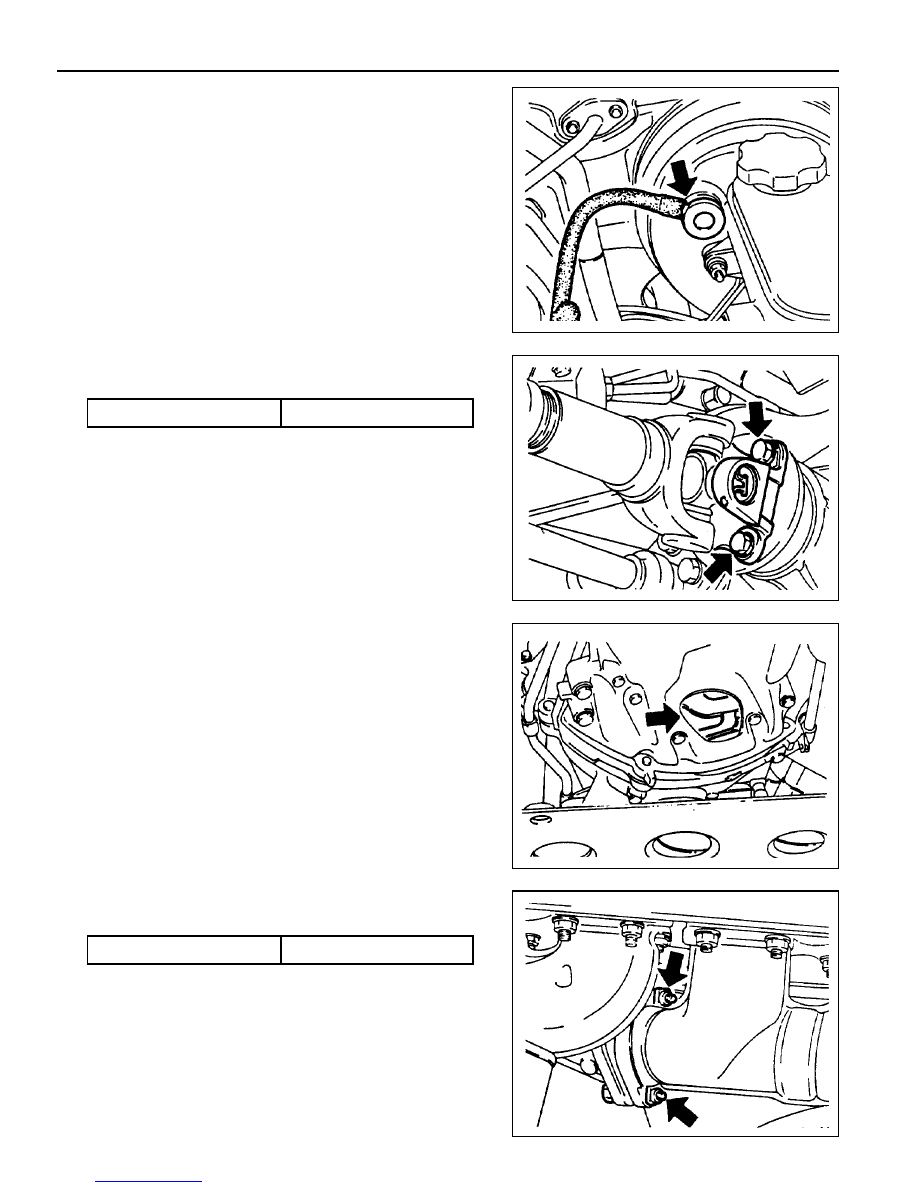
25. Separate the vacuum hose for brake booster.
26. Separate the other vacuum hoses.
27. Remove the propeller shaft from the front axle.
Installation Notice
28. By rotating the crankshaft from the front of engine, remove
the 6 torque converter mounting bolts from the engine
ring gear plate.
Tightening Torque
81 - 89 Nm
M162 ENGINE MECHANICAL 1B1-15
30. Remove the transmission mounting bolts and separate
the transmission from the engine.
Installation Notice
Tightening Torque
65 Nm
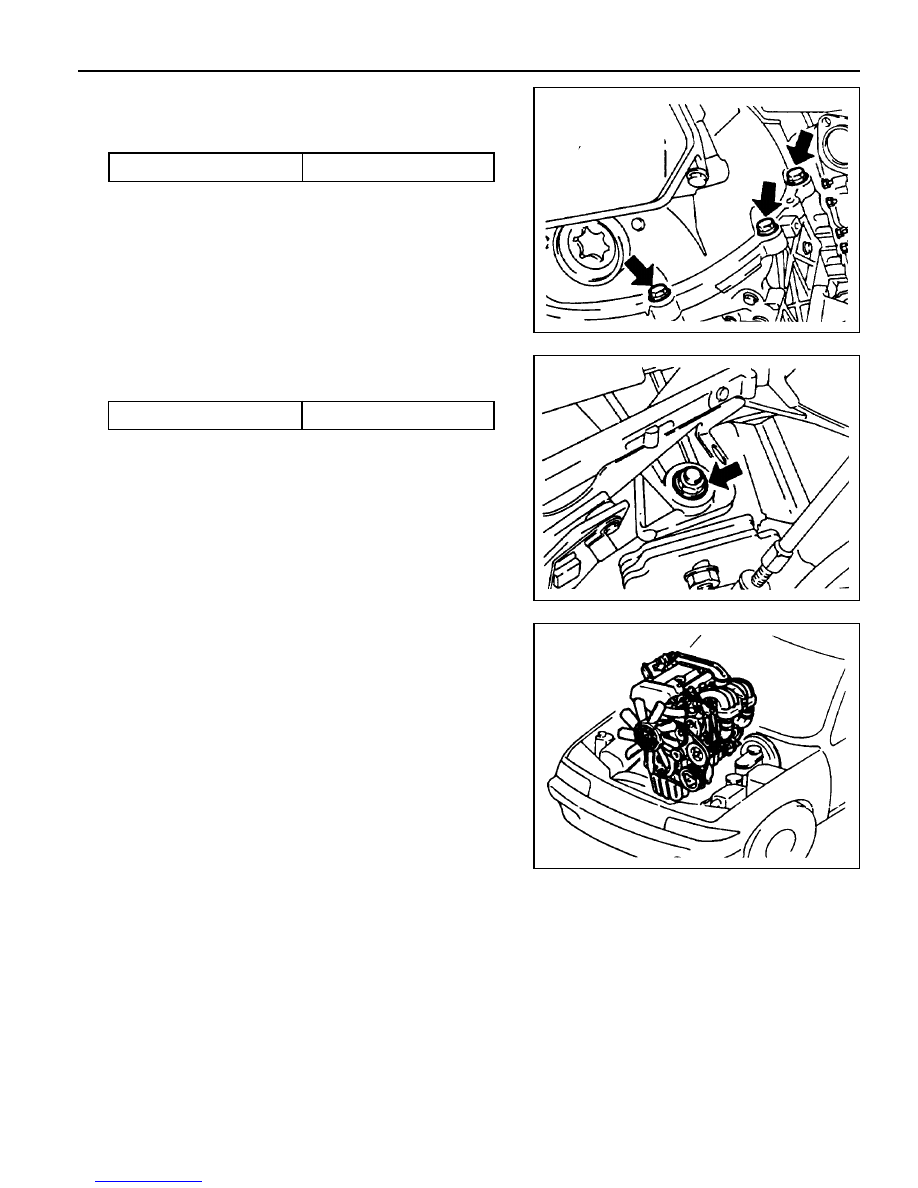
31. Remove the bolts for engine mounting bracket.
Installation Notice
Tightening Torque
50 - 75 Nm
32. Hook the chain to the bracket of engine and by using a
hoist or crane, carefully separate the engine assembly
from the vehicle.
33. Installation should follow the removal procedure in the
reverse order.
Нет комментариевНе стесняйтесь поделиться с нами вашим ценным мнением.
Текст