Chery Tiggo 5 (T21). Service manual — part 474
43–
76
43
8. Install the front windshield weatherstrip.
9. Check and repair the sealing of the glass.
a. Check the glass for leakage after adhesive has completely hardened.
b. If it leaks, seal the leaks by adding adhesive.
10.Install the front windshield lower garnish assembly.
11.Install the wiper arm assembly.
12.Install the inside rear view mirror assembly.
13.Install the roof assembly.
14.Connect the negative battery cable.
43–
77
43
Rear Windshield Assembly
Removal
1. Turn off all the electrical equipment and ignition switch.
2. Disconnect the negative battery cable.
3. Remove the back door protector assembly (
).
4. Remove the rear wiper arm assembly (
5. Remove the rear wiper motor assembly (
).
6. Remove the rear spoiler assembly (
).
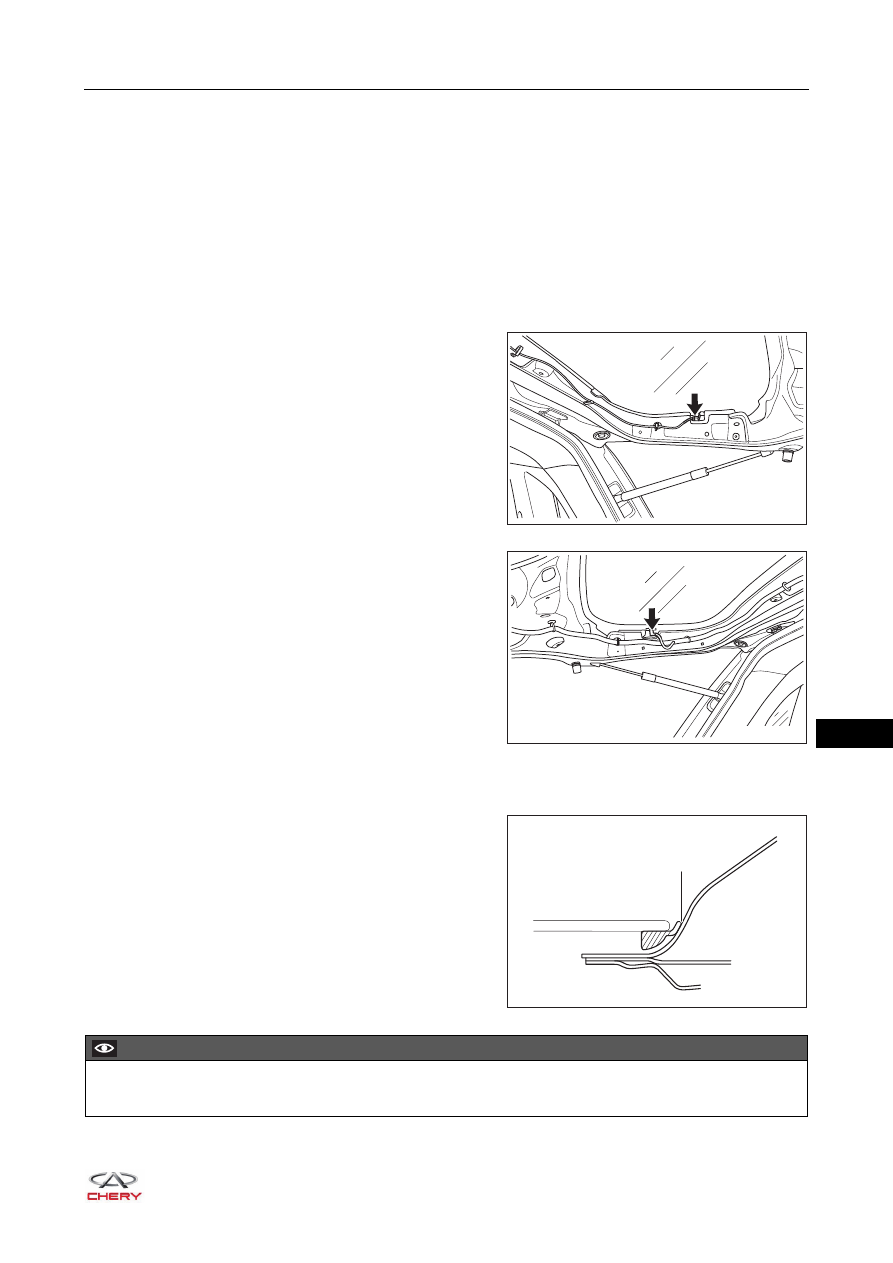
7. Remove the defroster wire harness assembly.
a. Disconnect the left defroster wire harness connector
(arrow).
b. Disconnect the right defroster wire harness connector
(arrow).
8. Remove the rear windshield weatherstrip.
9. Remove the rear windshield assembly.
a. Cut the adhesive with a knife.
RT21430281
RT21430282
Cut
RT21430300
CAUTION
Try to prevent body paint surface from being scratched when cutting the adhesive.
43–
78
43
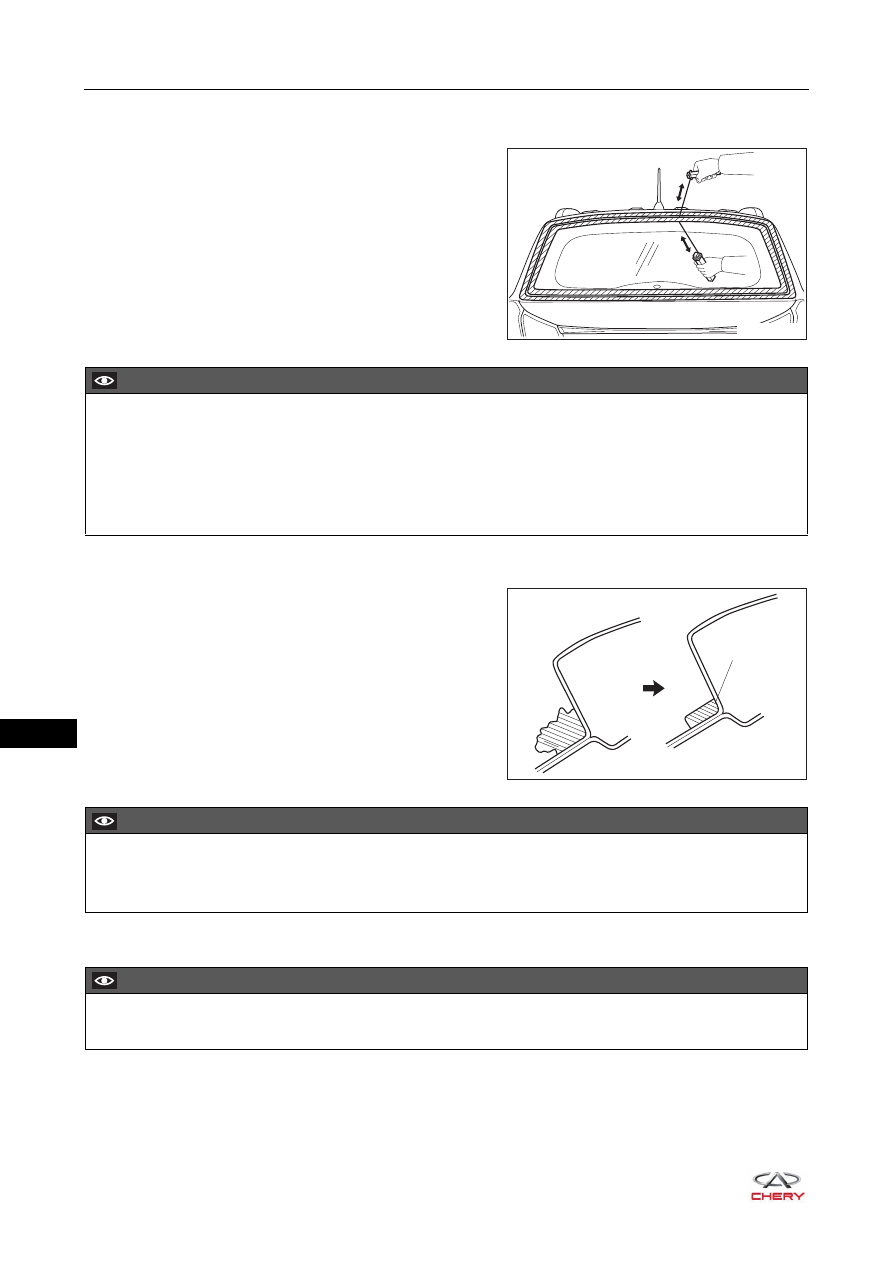
b. Apply protective tape to the outer surface of body to prevent scratches.
c. Pass a piano wire through the seam between body and rear windshield assembly.
d. Tie wooden blocks or similar objects to both piano
wire ends, cut off adhesive by pulling the piano wire
around rear windshield assembly, and remove the
rear windshield assembly.
10.Clean the vehicle body.
a. Using a knife, cut away excess adhesive on the
contact surface of vehicle body as shown in the
illustration.
b. Clean the contact surface of vehicle body with cleaner.
RT21430341
CAUTION
When removing the rear windshield assembly, 2 technicians are required.
DO NOT drop the rear windshield assembly when removing it.
Leave as much adhesive on body as possible when cutting the adhesive.
When separating the rear windshield assembly from the vehicle, be careful not to damage the body paint
or interior/exterior ornaments.
Adhesive
RT21430320
CAUTION
Try to prevent body paint surface from being scratched when cutting the adhesive.
Leave as much adhesive on body as possible when cutting the adhesive.
CAUTION
Even if all adhesive has been removed, cleaning of vehicle would be necessary.
43–
79
43
11.Clean the removed glass.
a. Remove the adhesive sticking to glass with a scraper.
b. Clean the outer edges of glass with glass cleaner.
Installation
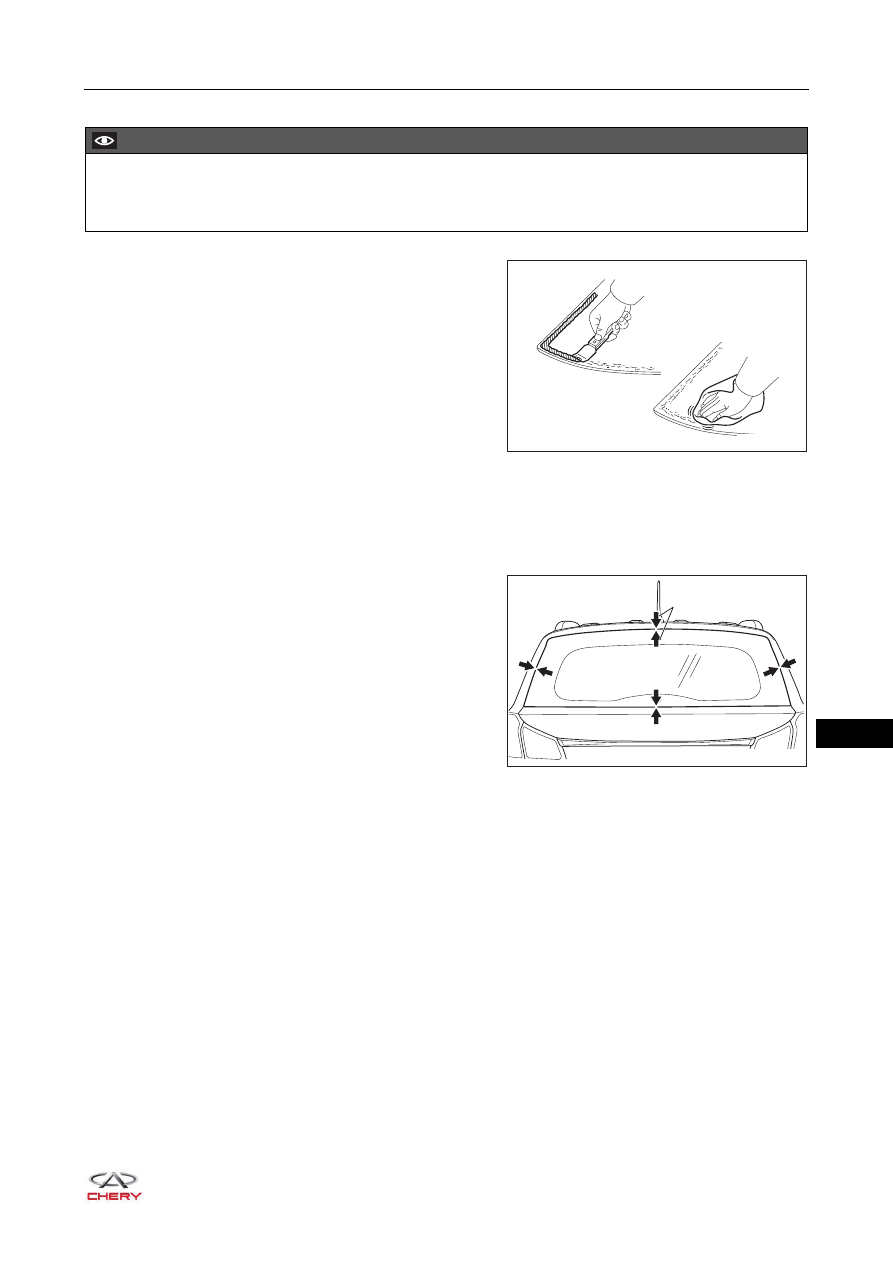
1. Position the rear windshield assembly.
a. Align the clip with installation hole on roof panel.
b. Check if whole contact surface of glass rim is perfectly even.
c. Place matchmarks on the rear windshield and body at
the positions shown in the illustration.
d. Remove the rear windshield assembly.
CAUTION
DO NOT touch the glass after cleaning it.
Even if new glass is used, it is necessary to clean it with glass cleaner.
RT21430330
Matchmarks
RT21430471
Нет комментариевНе стесняйтесь поделиться с нами вашим ценным мнением.
Текст